Categories
Dessert Sourdough discard

Sourdough Scones with Sprouted Flour, Almond Flour and Berry-Nut Combo


How easy it is to make a healthier dessert? Not really difficult if you put your mind and creativity into it. All you have to do is analyze the ingredients in your homemade dessert and figure out what ingredients you can replace with their healthier counterparts. Basically, you will replace empty calories with nourishing calories. 
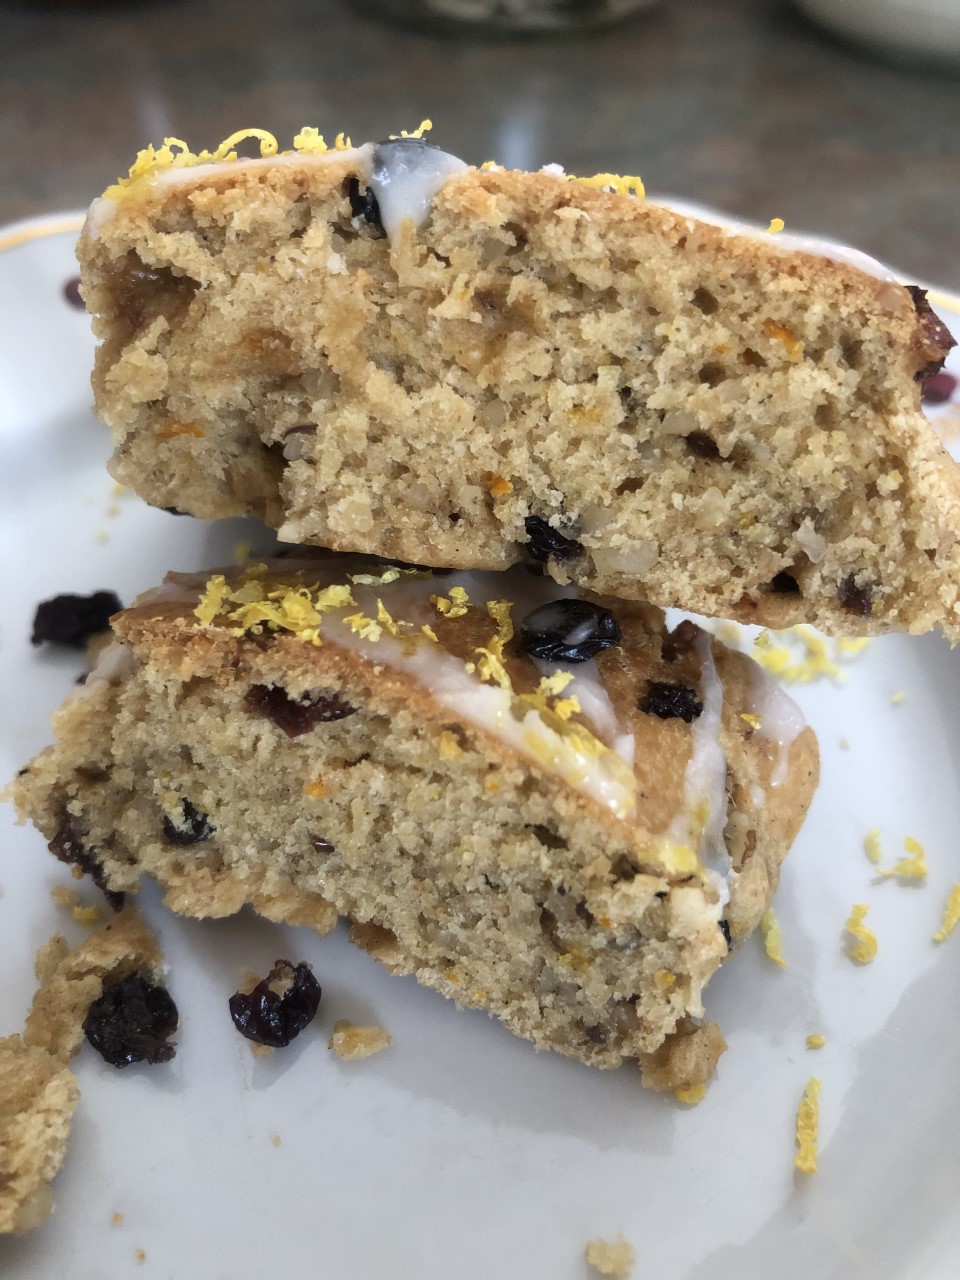
Sourdough Scones with Sprouted Flour, Almond Flour and Berry-Nut Combo

This is one of my favorite dessert recipes. I used organic coconut sugar and organic sprouted wheat flour to add sweetness to the dough. Both sprouted wheat flour and almond flour help to create that wonderful light and moist texture, which many people like that much. Oat milk contributed to the texture too. All the flavors are well balanced.
Prep Time 25 minutes
Cook Time 25 minutes
Course Breakfast, Dessert
Servings 13

Ingredients
  

  • 210 grams active sourdough
  • 300 grams all-purpose flour, unbleached and unbromated
  • 100 grams organic sprouted whole wheat flour
  • 100 grams almond flour
  • 75 grams organic coconut sugar
  • 170 grams oat milk or any nut milk
  • 113 grams cold butter or Ghee
  • 1/2 teaspoon sea salt
  • 1/2 teaspoon baking soda
  • 1 1/2 teaspoon baking powder
  • 120 grams dried currants
  • 30 grams dried cranberries
  • 40 grams black walnuts

Instructions
 

  • I started with sourdough. As you can see my sourdough was pretty active. It could go without refreshing for another half hour or so, but it was in good condition for scones.
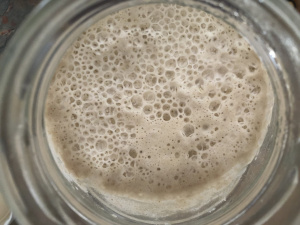
  • I took out almost all the sourdough from the jar. I left just enough to refresh my sourdough culture in 2 steps for the next day's bread dough. Basically, I added 25 grams of room temperature water to it and 25 grams all-purpose and white rye flour mixture.

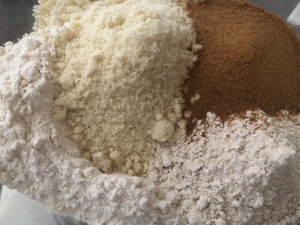
  • I added all three types of flour to a large glass bowl.
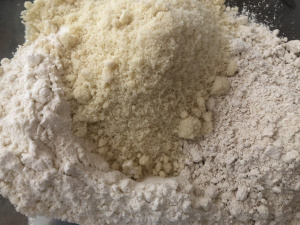
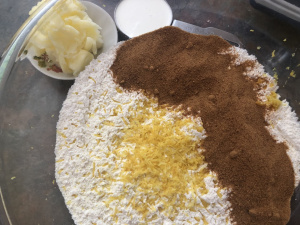
  • Then I added coconut sugar.
  • I also added sea salt, baking soda, and baking powder. When you can see what is in your bowl, it is easier to control all the dry ingredients. It is time to whisk everything together.
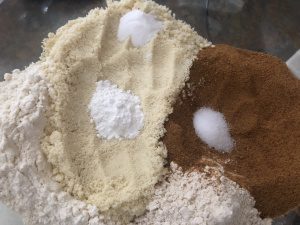
  • Whisking in the orange zest.
  • I am absolutely adamant about not employing my food processor for simple recipes. I wanted to use a fine grater and a pastry cutter for my cold butter.
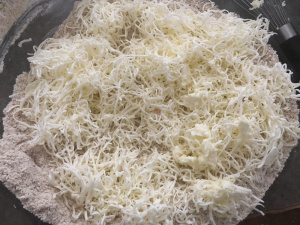
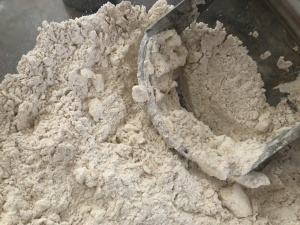
  • My pastry cutter worked just fine.
  • In a separate bowl, I mixed together all my wet ingredients -- my sourdough and oat milk.

  • I combined all my dry ingredients and all my wet ingredients. I mixed everything with my hands.
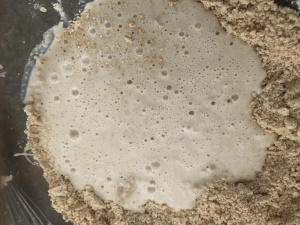
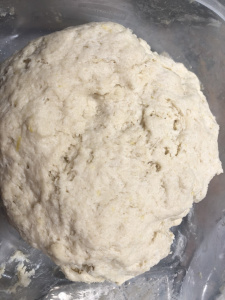
  • The dough is a bit sticky, but very easy to work with.
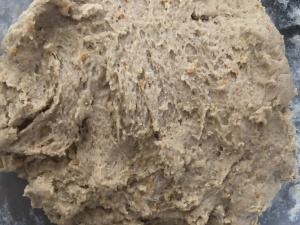
  • In a separate bowl, I mixed together dried currants, dried cranberries and black walnuts. Dried currants are smaller than raisins, which is great for scones. I had to cut cranberries into smaller pieces to create more or less harmonious texture. I got finely chopped walnuts at a discounted price, so I did not have to cut them.
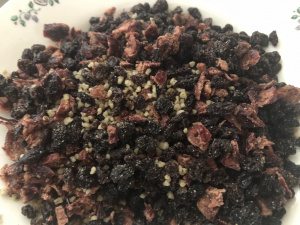
  • I mixed my berries and walnuts into the dough with my hands.
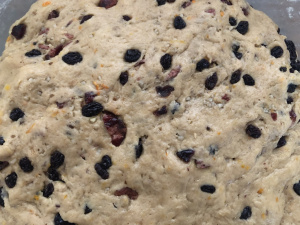
  • I greased a square glass baking tray with Ghee and spread all my dough evenly all over it. Then I covered the tray with plastic wrap and put it into the refrigerator for a few hours. Chilled dough is easier to cut into pieces.
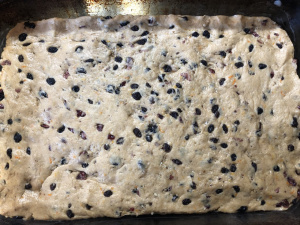
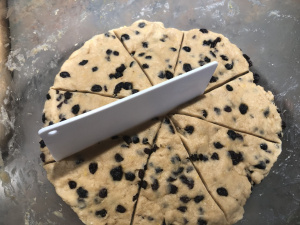
  • I cut the dough into little triangles with a plastic dough cutter and put them onto a baking sheet lined with parchment paper.
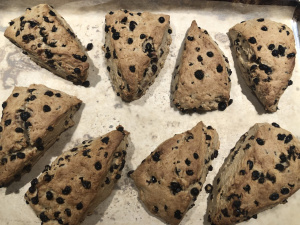
  • I baked these scones at 400°F or 204°C for 20 minutes. Then I lower the temperature to 375°F  or 190°C and bake for 5 more minutes.

  • It is best to enjoy these scones with a simple lemon glaze. You will need 1/4 cup of fresh lemon juice and 1 cup of powdered sugar. Whisk everything together and garnish your scones with it. I also like adding fresh lemon zest on top of the glaze.

Notes

These scones are moist and fragrant.
The recipe calls for many healthy ingredients, which are easily customizable. 
Coconut sugar is a healthier replacement for traditional white sugar with a lower glycemic index.
You may use some other dried fruits and nuts in any combination you like.
Any nut milk will do just fine. 
Have fun with your dessert!
 

This is definitely a keeper in my recipe collection. I love the texture of the crumb. Almond flour and finely chopped walnuts were major contributors to the flavor. Two thumbs up from my family!


Have a wonderful baking day!
 

Categories
Dessert Sourdough discard

Sourdough Scones with Dried Currants

The key to any good baked dessert is using the best ingredients available to you. When I use the sourdough discard, I actually use the surplus sourdough. The term “sourdough discard” is widely used within the baking community, although most bakers regard this as a surplus sourdough. This is normally the same active sourdough you use for making bread.

This is the picture of the sourdough surplus (discard) that I used for these scones.


I refresh my sourdough regularly and do not let it become dormant for a long time. That is why I need to use it many times throughout the week not just for bread baking.


There many recipes for sourdough deserts and sourdough scones are among my family favorites. Sourdough scones with dried currants and refreshing lemon glaze pair wonderfully with a cup of espresso to cheer you up on a cold winter morning.


Sourdough Scones with Dried Currants

This is another delicious way to use your sourdough surplus to make a dessert for your weekend breakfast.
Prep Time 20 minutes
Cook Time 25 minutes
Course Breakfast, Dessert
Servings 8

Ingredients
  

  • 400 grams all-purpose flour
  • 75 grams sugar or coconut sugar
  • 200 grams sourdough surplus, active (About 1 cup plus 1 tablespoon)
  • 160 grams nut milk, milk or heavy cream 3/4 cup
  • 113 grams cold butter or Ghee 1/2 cup, packed
  • 1/2 teaspoon sea salt
  • 1/2 teaspoon baking soda
  • 1 1/2 teaspoon baking powder
  • zest of one lemon
  • 160 grams dried currants (About 2 cups)

Instructions
 

  • Combine together all-purpose flour, coconut sugar, salt, baking soda, baking powder and the zest of one lemon. I use whisk to mix them together.
  • Mix your cold butter with your dry ingredients. You could use a food processor. I prefer to use a pastry cutter.
  • Now combine all your dry and wet ingredients together. You may whisk together your sourdough and milk first, and then add it to the dry ingredients. I omitted that step and added my sourdough and milk directly to the bowl. After that, I mixed everything well with my hands.
  • The dough is ready for the ingredients of your choice. I added dried currants. You may use other dried berries and/or your favorite nuts.
  • Carefully mix in the berries. I would not advise you to use a food processor at this step. Currants are rather small. You want to preserve your berries intact. Use your hands to distribute the berries all over the dough. if you have larger berries, use your best judgment on how to handle them.
  • Refrigerate your dough for an hour or so. Refrigeration makes it slightly easier to divide the dough into pieces. I used a simple plastic dough cutter for both cutting the dough and placing the pieces onto a baking sheet lined with parchment paper.

Baking

  • I bake my scones at 400°F or 204°C for 20 minutes. Then I lower the temperature to 375°F  or 190°C and bake for 5-7 minutes.

Glazing

  • It is best to enjoy these scones with a simple lemon glaze. You will need 1/4 cup of fresh lemon juice and 1 cup of powdered sugar. Whisk everything together and garnish your scones with it.

Notes

This recipe is for dried berries or dried berries and nut combos. If you want to use fresh berries, freeze them to make them strong enough to withstand mixing without breaking. Depending on the type of berries, you might need to adjust the quantity of milk in the recipe.
You may enjoy the scones with lemon glaze, or with whipped cream and mascarpone mixed with lemon juice and some powdered sugar. I had some mascarpone cream left from the filling, which I made for the tart, and it complemented the scones nicely.
Categories
Baking from the refrigerator Sourdough Bread

One-week long cold fermentation


When I started baking from the refrigerator, I did some research on how long can one keep the shaped bread in the refrigerator without compromising the quality of the finished product. A great number of baking books and websites unanimously state that for the best tasting bread you should give your bread 8-12-24 hours of cold fermentation. This is ideal. Many bakers agree you can keep your unbaked bread refrigerated up to 72 hours after shaping.

I followed these guidelines myself and planned to work with the dough twice a week. A few times I baked my bread after 4 days in the refrigerator and the bread turned out well. 

Last week I refreshed my sourdough on Saturday, made the dough on Sunday evening, and baked the first loaf of bread (out of two) on Monday evening.

The second loaf of bread stayed in the refrigerator for a week. I baked it on Saturday evening one week later. My experiment with the long fermentation proved to be a success. 

The second loaf lost some volume, but other than that the bread looked well and the taste was excellent.

Making weekly baking plans just got easier. 


Happy baking!

Categories
Pizza Spelt flour Yeasted bread

Spelt inspiration

I do not make all my bread sourdough. In fact, I started my baking adventure with artisan yeasted bread. Sourdough came into my life much later. I do make my everyday bread mostly sourdough, though. I also bake a lot of yeasted bread. I employ different methods, which allow me to work with as little yeast as possible. My goal is to make healthy bread.


Sourdough bread is trickier to handle than yeasted bread. I leave sourdough preparation for the weekend and use yeasted dough when I need some extra bread on weekdays. Yeasted dough is very forgiving and versatile. You can fit it into a very busy daily routine with ease. Stay tuned and I will show you how.


This dough is my new favorite for weekdays, unanimously approved by the family. It has a 40% flour mix with spelt flour, which gives a lot of flavor to the finished product. For the other 60%, I use bread flour. The dough has only 1/4 teaspoon of yeast for 1,770 grams of raw dough. It is suitable for bread and for a pizza or flatbread.


The ingredients:


Filtered or spring water — 725 grams

Bread flour — 600 grams

Spelt flour — 200 grams

Millet flour — 100 grams

Sprouted whole wheat flour — 100 grams

Yeast, active dry or instant — 1/4 teaspoon, leveled

Sea salt — 20 grams


Mixing the dough:


Pour water into the mixer bowl. Sprinkle yeast on top. If you use Active Dry yeast, follow the directions on the package on how to activate the yeast. I use lukewarm water and let the yeast rehydrate for 5-10 minutes. Instant yeast is ready for mixing with no activation. 

Add about half of the flour and start mixing on a low speed. Gradually add the rest of the flour. This way you do not overload your mixer and avoid dusting your kitchen with flour. Add salt with the last portion of the flour and mix the dough for 5 minutes.
 
 
After the mixing:
 
Give your dough another 20-minute rest. Then shape the dough into a ball and put it into an oiled container for proofing. 
 
 
 Refrigerating the dough:
 
Let your dough proof at room temperature for about an hour and a half before putting it in the refrigerator. You may use it any time the next day (up to 72 hours after the mixing). 
 
 
Preparing the dough for baking:
 
Take the dough out of the refrigerator. Cut the piece of dough to make a flatbread, pre-shape it into a ball, and let it rest for 20-30 minutes at room temperature. 
 
 
If you want to make pizza or flatbread, you may start stretching the dough with your fingers as I explained in my post about the Pizza Margherita.
 
 
If you want to make mini bread, follow the shaping directions for the batard from my post about the Basic Sourdough Bread.
 
 
Let your bread proof for 1.5-2 hours. The bread will rise, but it will not double in size. To check if the bread finished proofing, you could try to poke it lightly with your finger. The bread is ready for baking when the indentation from your finger springs back slowly. If it springs back fast, the bread needs some more time to proof. If the indentation does not spring back, your bread is over-proofed and the bread will not rise to its full potential. 
 
 
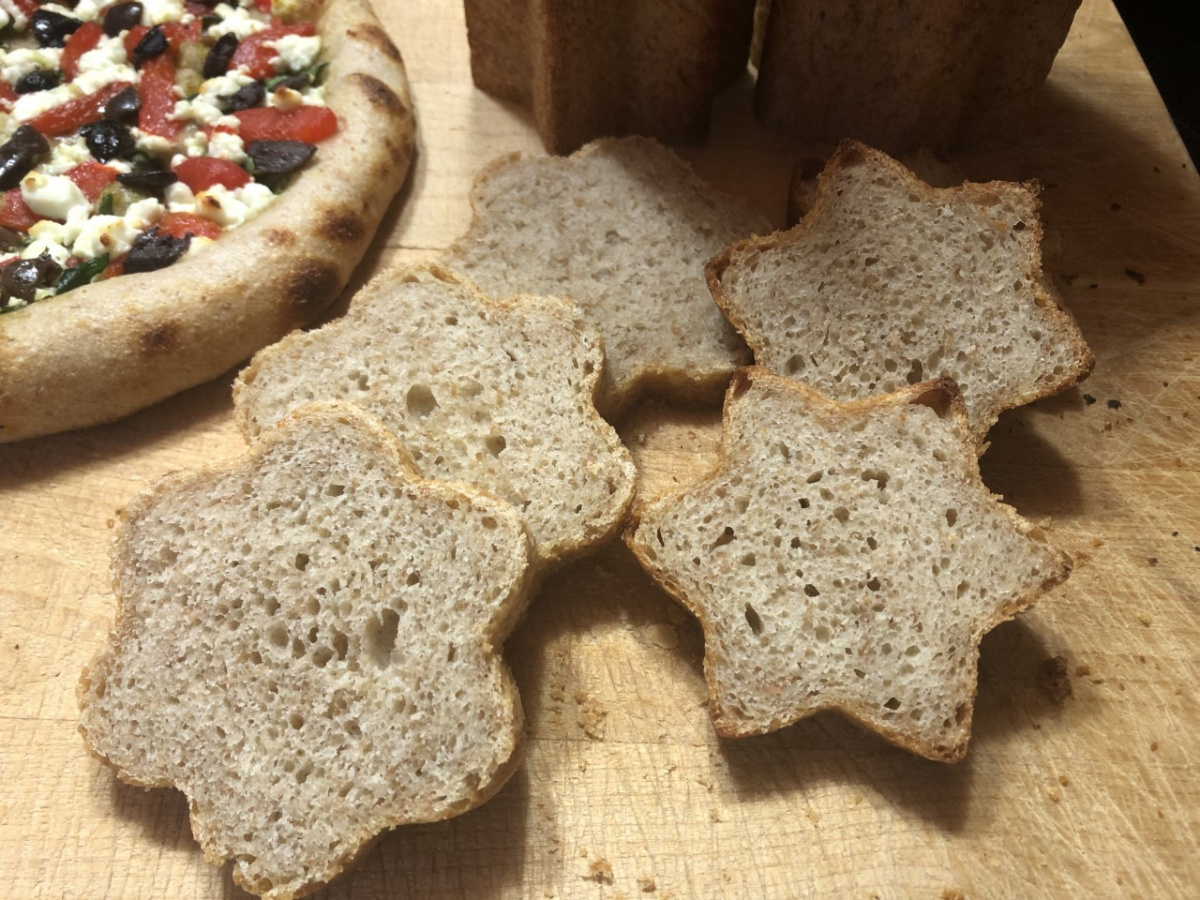
This time I wanted to make 2 mini pizzas, 2 mini loaves of bread, and leave some dough for the next day’s flatbread. In the dark corner of my pantry, I found two tin baking molds, which I bought years ago and never used. I did not know how much dough to put inside. 400 grams looked fine.
 
 
Then I cut two 400-gram pieces of dough for the mini bread and two 200-gram pieces for mini pizzas. I also put three 150-gram pieces in the refrigerator to use in the next few days.


I greased the baking molds with Ghee, shaped the 400-gram pieces of dough into mini batards, and put them inside the molds for proofing. These molds have removable lids on both sides. When the bread rose by 50% I started preheating the oven to 400° F (204° C). 
 
Baking:
 
400° F (204° C) — 40 minutes. Then I took the bread out of the tins and finished the baking at 375° F (190° C) — 5 minutes. 
 
 
Mini Pizza — 1
 
 
It is a fusion of pizza and flatbread. It is not as thin as my white pizza. The dough in this mini pizza is as important as the toppings. I did not use any tomatoes on this pizza. Instead of the traditional tomato sauce, I used pesto. 
 
 
Toppings:
 
 
Pesto, roasted peppers, arugula, goat cheese, and a variety of olives.

Baking — pizza or flatbread:


550°F (288°C) on ceramic tiles for 6-7 minutes for 1 mini pizza or 8-9 minutes for 2 at a time.


Mini Pizza — 2


I used the refrigerated 150-gram pieces to make two mini pizzas and one flatbread with cinnamon and sugar for the kids. I baked all three of them at the same time.


550°F (288°C) on ceramic tiles for 9-10 minutes for 3 at a time. I do not make my dough rounds very thin. I think that the bread part in these mini pizzas is very significant. A thicker crust creates the perfect harmony between the bread and its toppings. 

Happy baking!


Categories
Flatbread Mini Bread

Mini bread

In my bakery, I always had mini bread made from all the dough varieties I used for large loaves. I used some of them to provide samples for my customers and to give to my kids. 

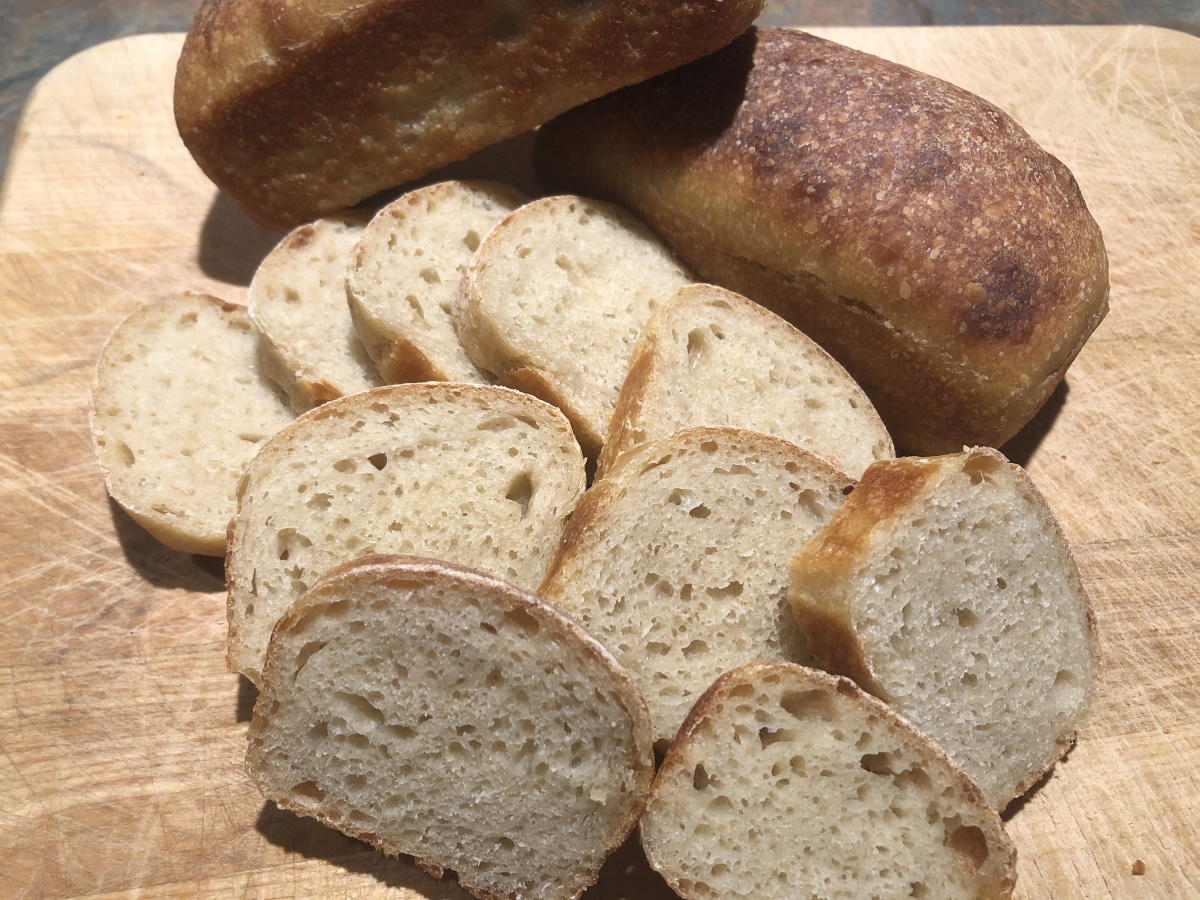
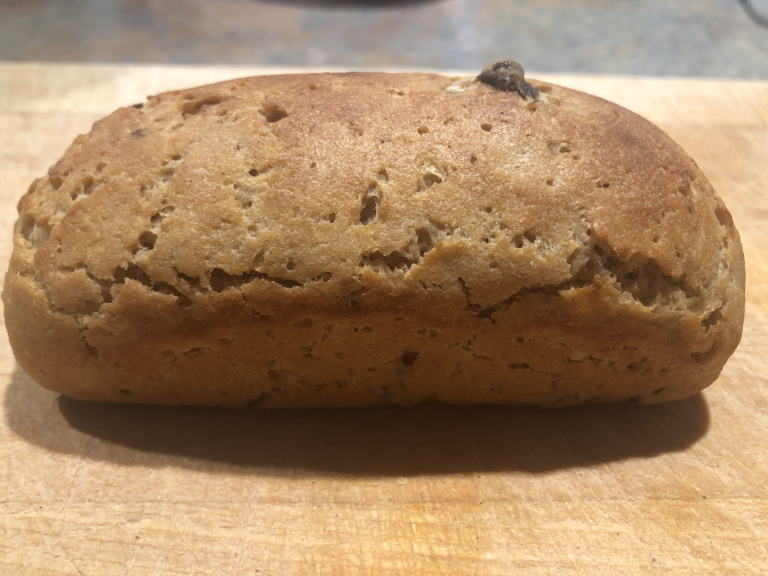
One morning I used my sourdough discard to make just one mini bread. I baked some other bread that day, so I did not use the oven just for that little bread. I added a few raisins, a little coconut sugar, and enough organic sprouted wheat flour to make the dough. I let it rise for a few hours and baked it at 400°F (204°C).

I gave this little bread to my son. He liked it very much and asked me if I was going to bake something similar soon. I thought that next time I should bake several mini loaves to last for a few days. So, to continue my old tradition of making larger bread first and then using some leftover dough for mini bread, I made the dough for pizza and used some dough for several miniature loaves.

This was not my regular pizza dough because I wanted to make it somewhat similar to that sourdough mini bread and yet suitable for a pizza and/or a flatbread. I created a new recipe. 

I made enough dough for one pizza, one flatbread, and several mini loaves. It is not sourdough bread, but a yeasted loaf with a very little amount of yeast and a long fermentation time. The dough is very easy to make and handle.


The Ingredients:


Water — 550 grams

Yeast, active dry or instant — 1/8 teaspoon 

White wheat flour, unbleached — 350 grams

Semola (or Semolina) flour — 260 grams

Sprouted whole wheat flour — 100 grams

Millet flour — 40 grams

Sea salt — 12 grams


Mixing the dough:


Pour water into the mixer bowl. Sprinkle yeast on top. If you use Active Dry yeast, follow the directions on the package on how to activate the yeast. I use lukewarm water and let the yeast rehydrate for 5-10 minutes. Instant yeast is ready for mixing with no activation. 


Add about half of the flour and start mixing on a low speed. Gradually add the rest of the flour. This way you do not overload your mixer and avoid dusting your kitchen with flour. Add salt with the last portion of the flour and mix the dough for 5 minutes.
 
 
After the mixing:
 
Give your dough another 20-minute rest. Then shape the dough into a ball and put it into an oiled container for proofing. 
 
 
Refrigerating the dough:
 
Let your dough proof at room temperature for about an hour and a half before putting it in the refrigerator. You may use it any time the next day (up to 72 hours after the mixing). 
 
 
Preparing the dough for baking.
 
Take the dough out of the refrigerator. Cut the piece of dough to make a flatbread, pre-shape it into a ball, and let it rest for 20-30 minutes at room temperature. 
 
After that, you may start stretching the dough with your fingers as I explained in my post about the Pizza Margherita.
 
To make sure that sesame seeds and the Zatar seasoning stick well to my flatbread, I brush the dough with kefir. Milk is a suitable substitute.
 
Follow the baking directions from the same post. The baking time should be 1-2 minutes less, though. Watch your flatbread closely after the 5 minutes of baking.
 

I divided the rest of the dough into 4 parts and shaped them into small loaves. You may find the shaping instructions here.


The dough is not sticky and you may just use some oil on the silicone mat to make it easier to handle the dough on the work surface (silicone mat). You do not dust your mat with flour, but use olive oil to lubricate the surface of the mat. This will prevent your dough from sticking to the mat. All your hand movements will be the same, but you will have to seal the dough folds more meaningfully. Experience is the best teacher here. You will learn to feel your dough.


I let my mini loaves rise for a few hours and baked them at 400°F (204°C). Baking time depends on the actual size of your mini loaves. I baked my bread for 15 minutes.


Happy baking!

Solverwp- WordPress Theme and Plugin