

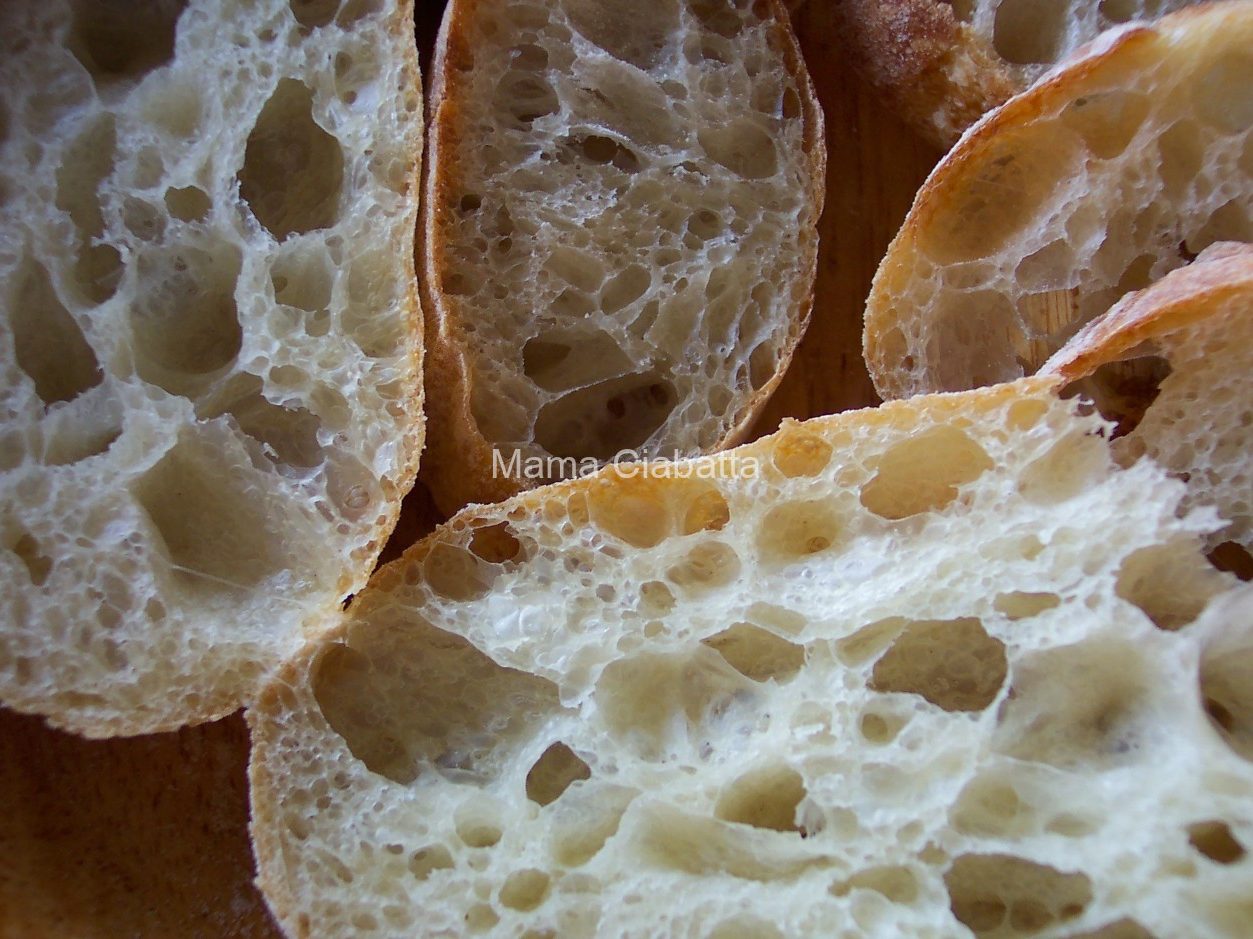
 MAMA CIABATTA
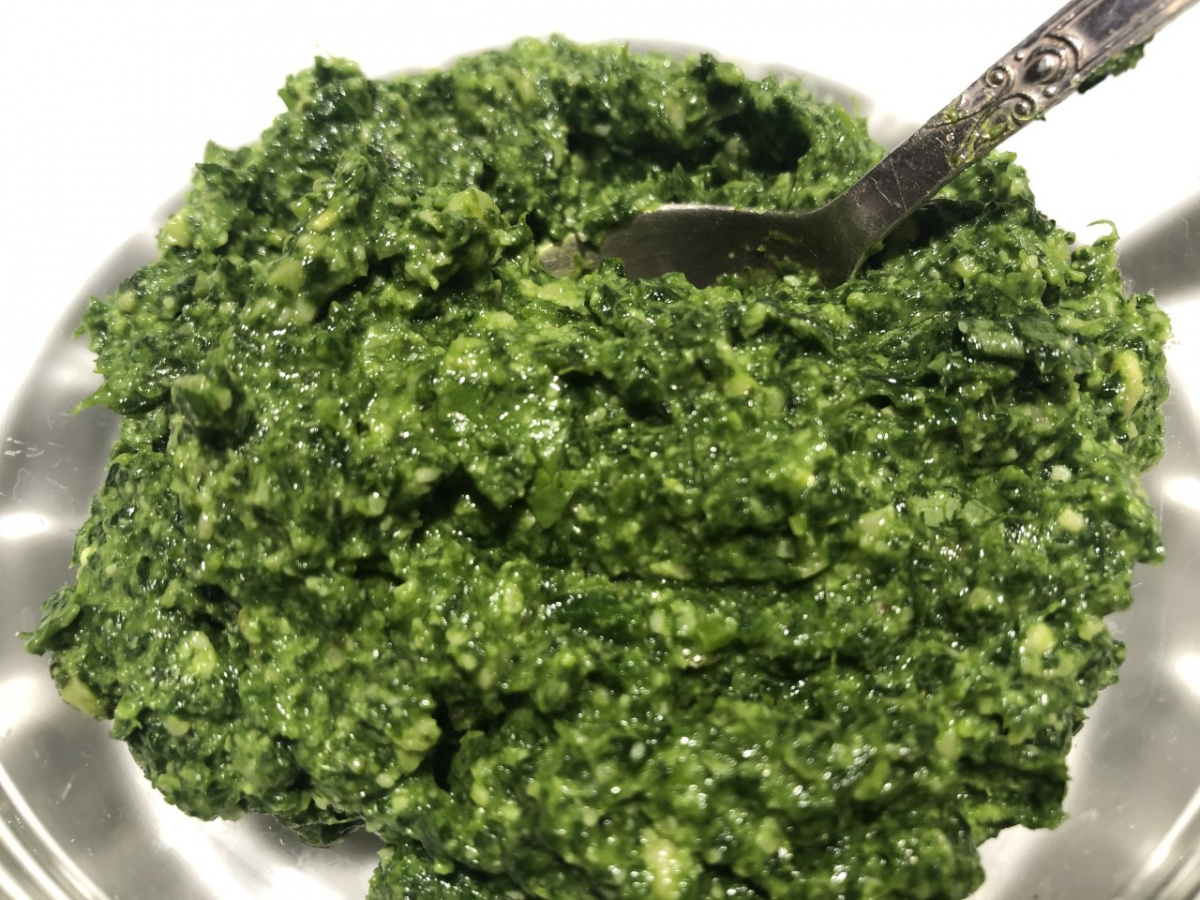
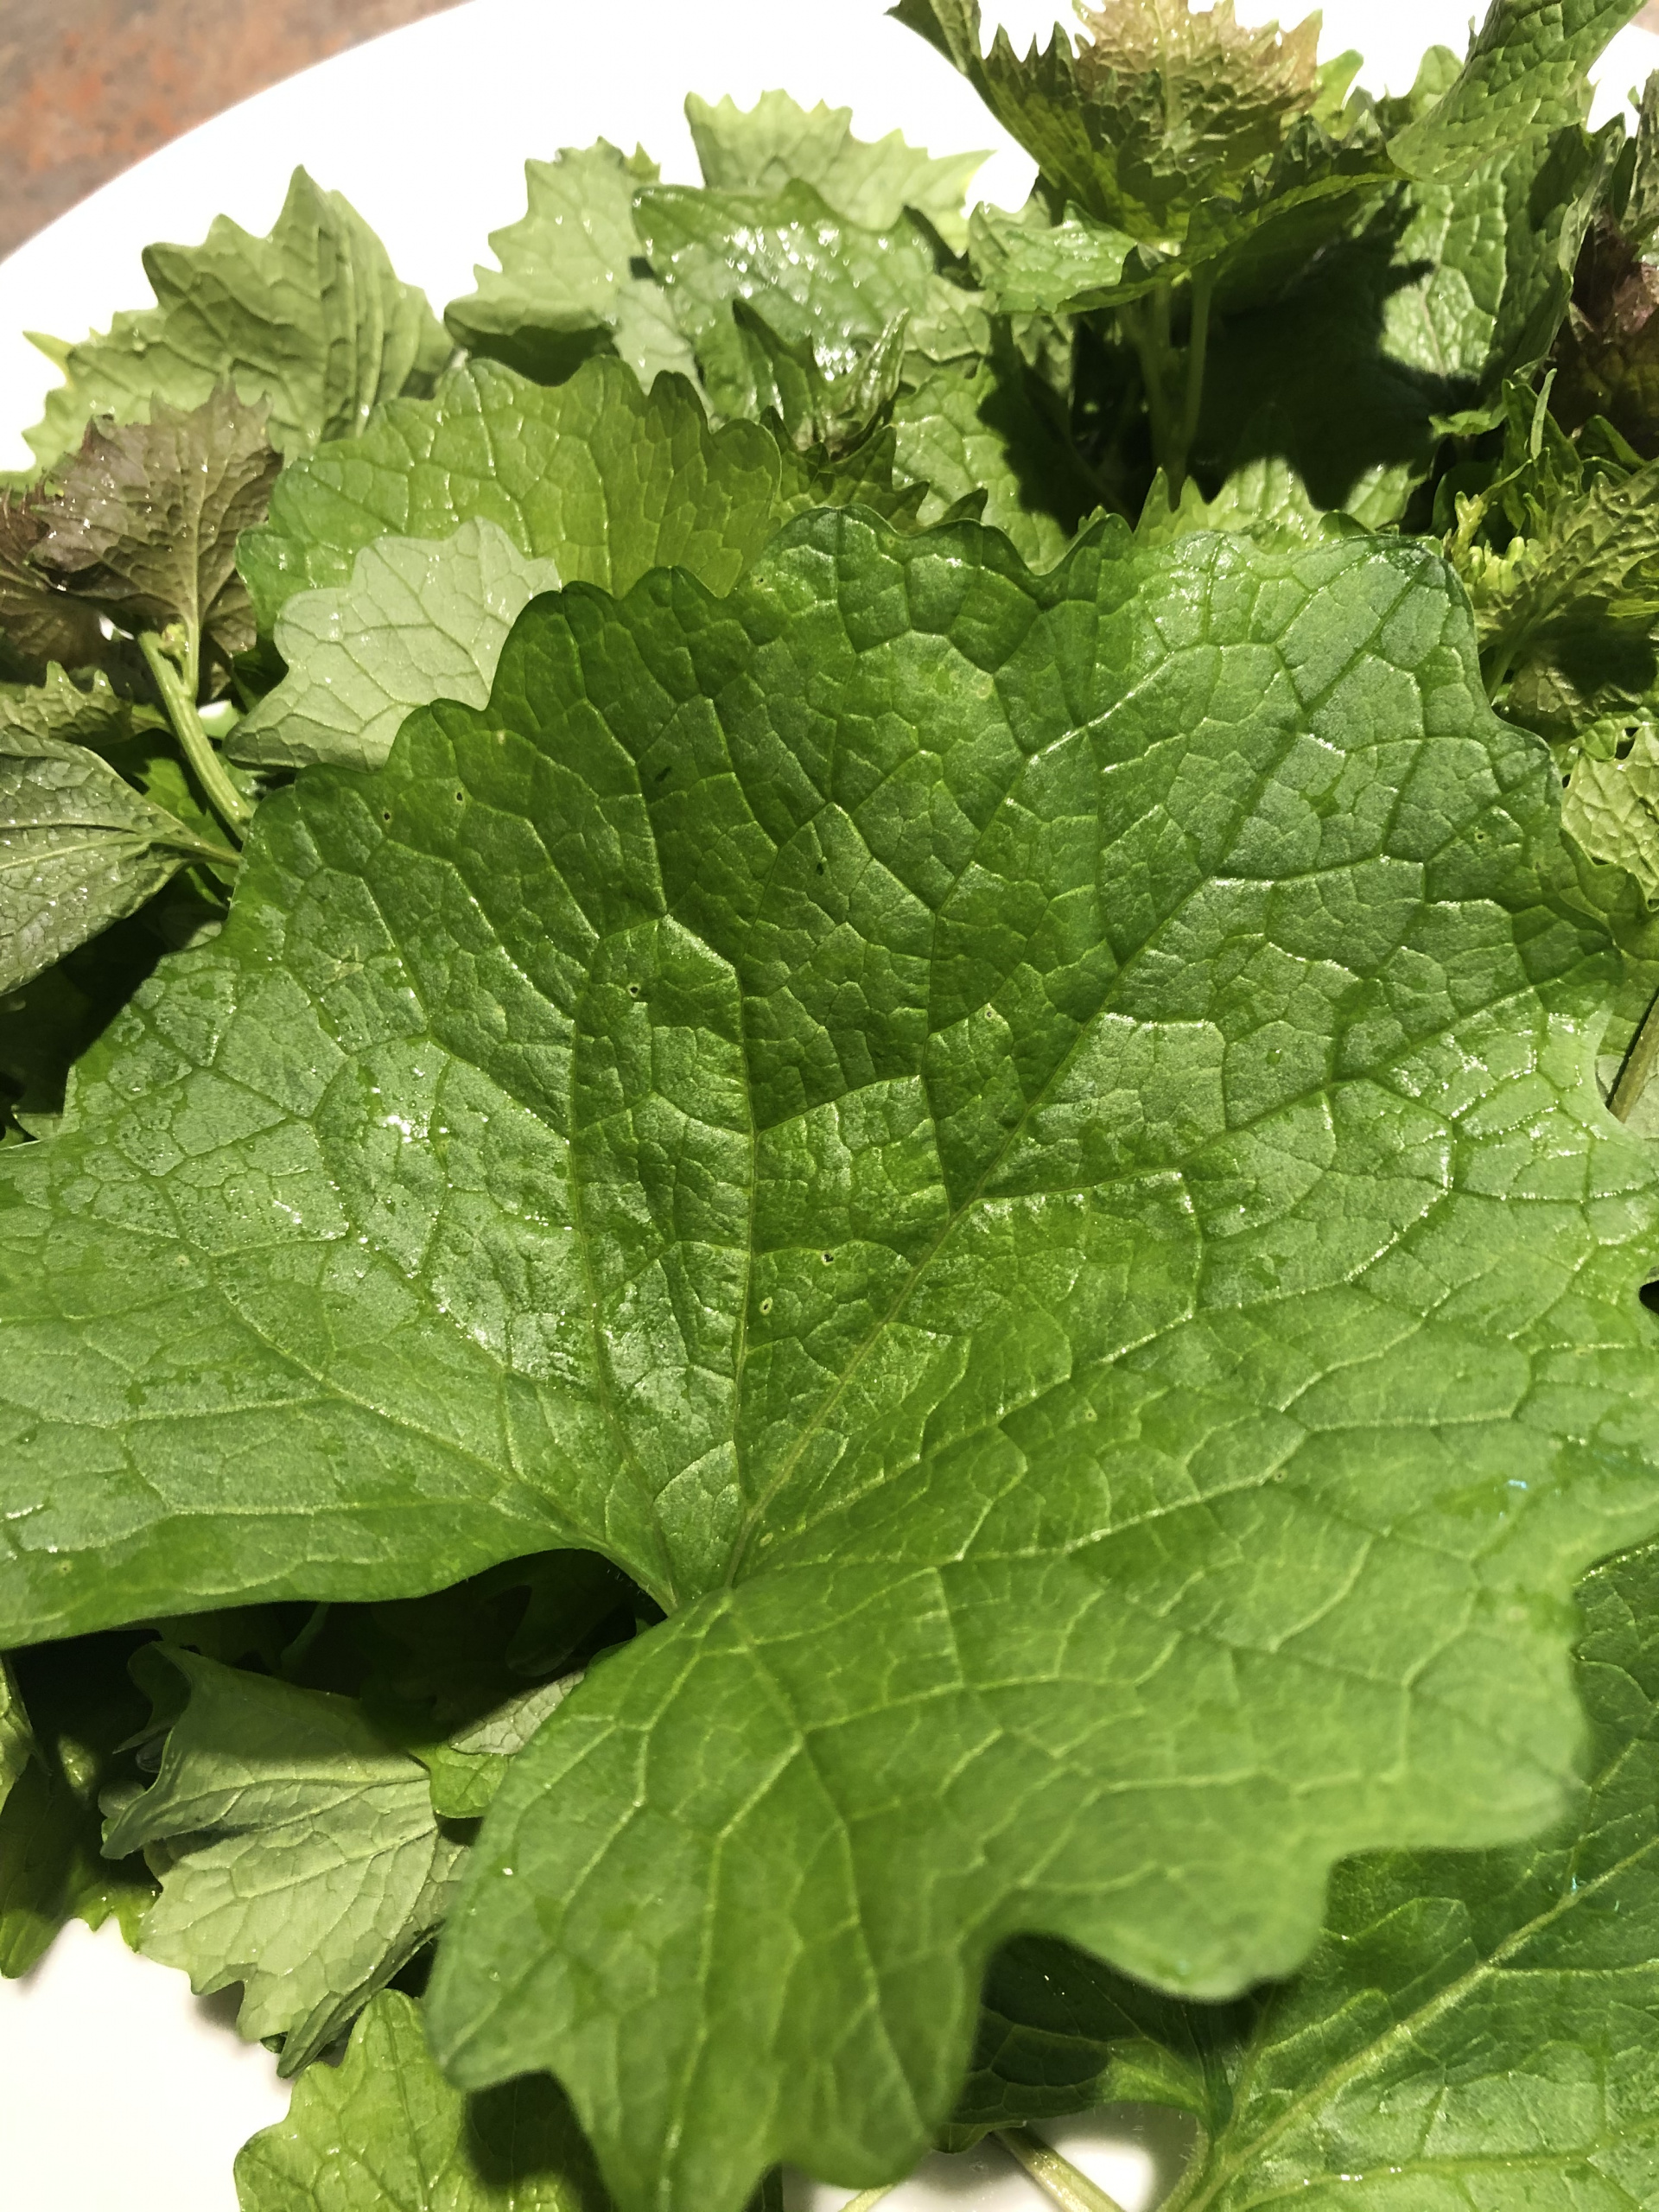
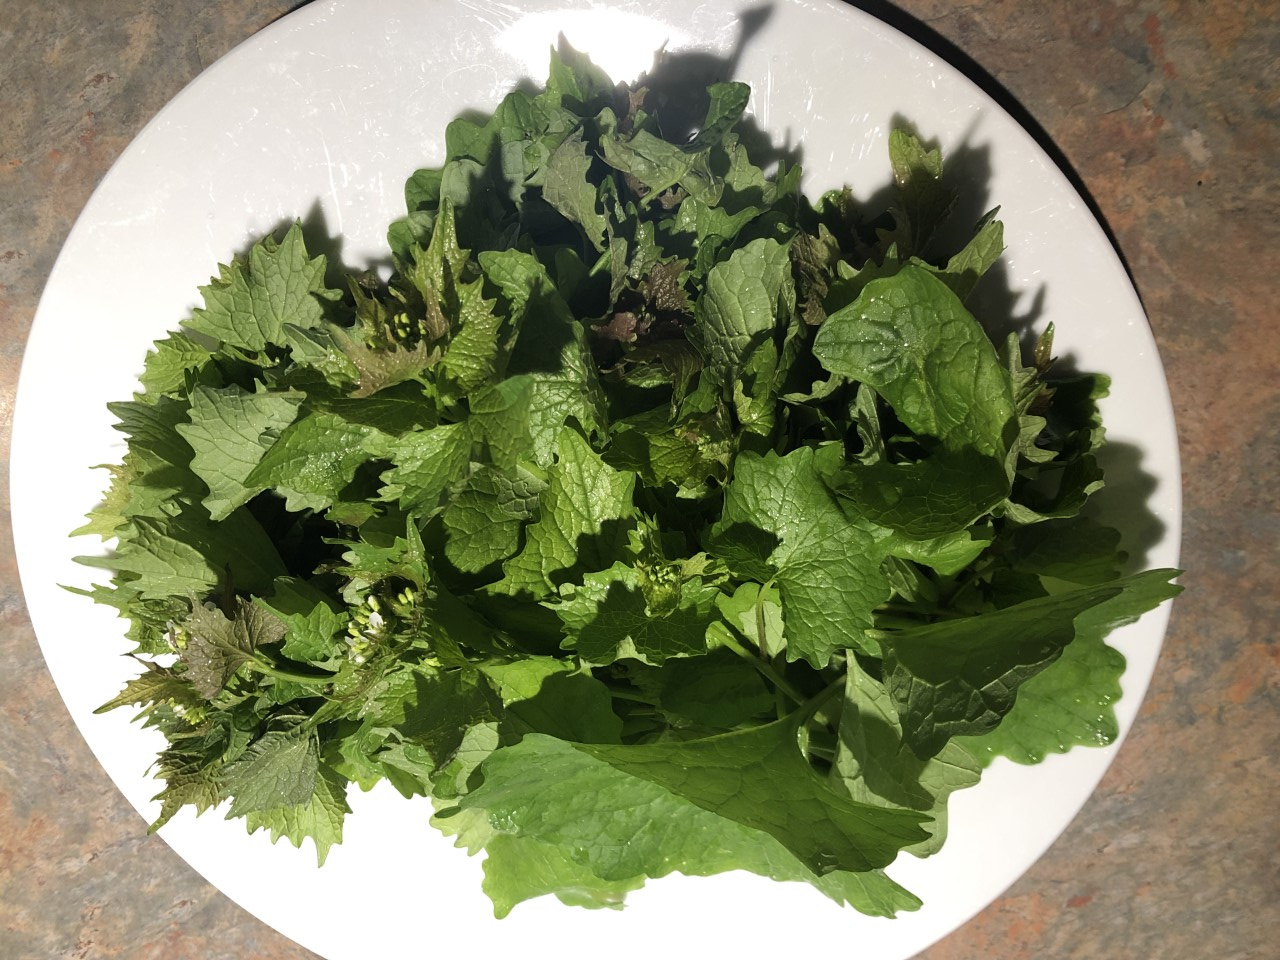
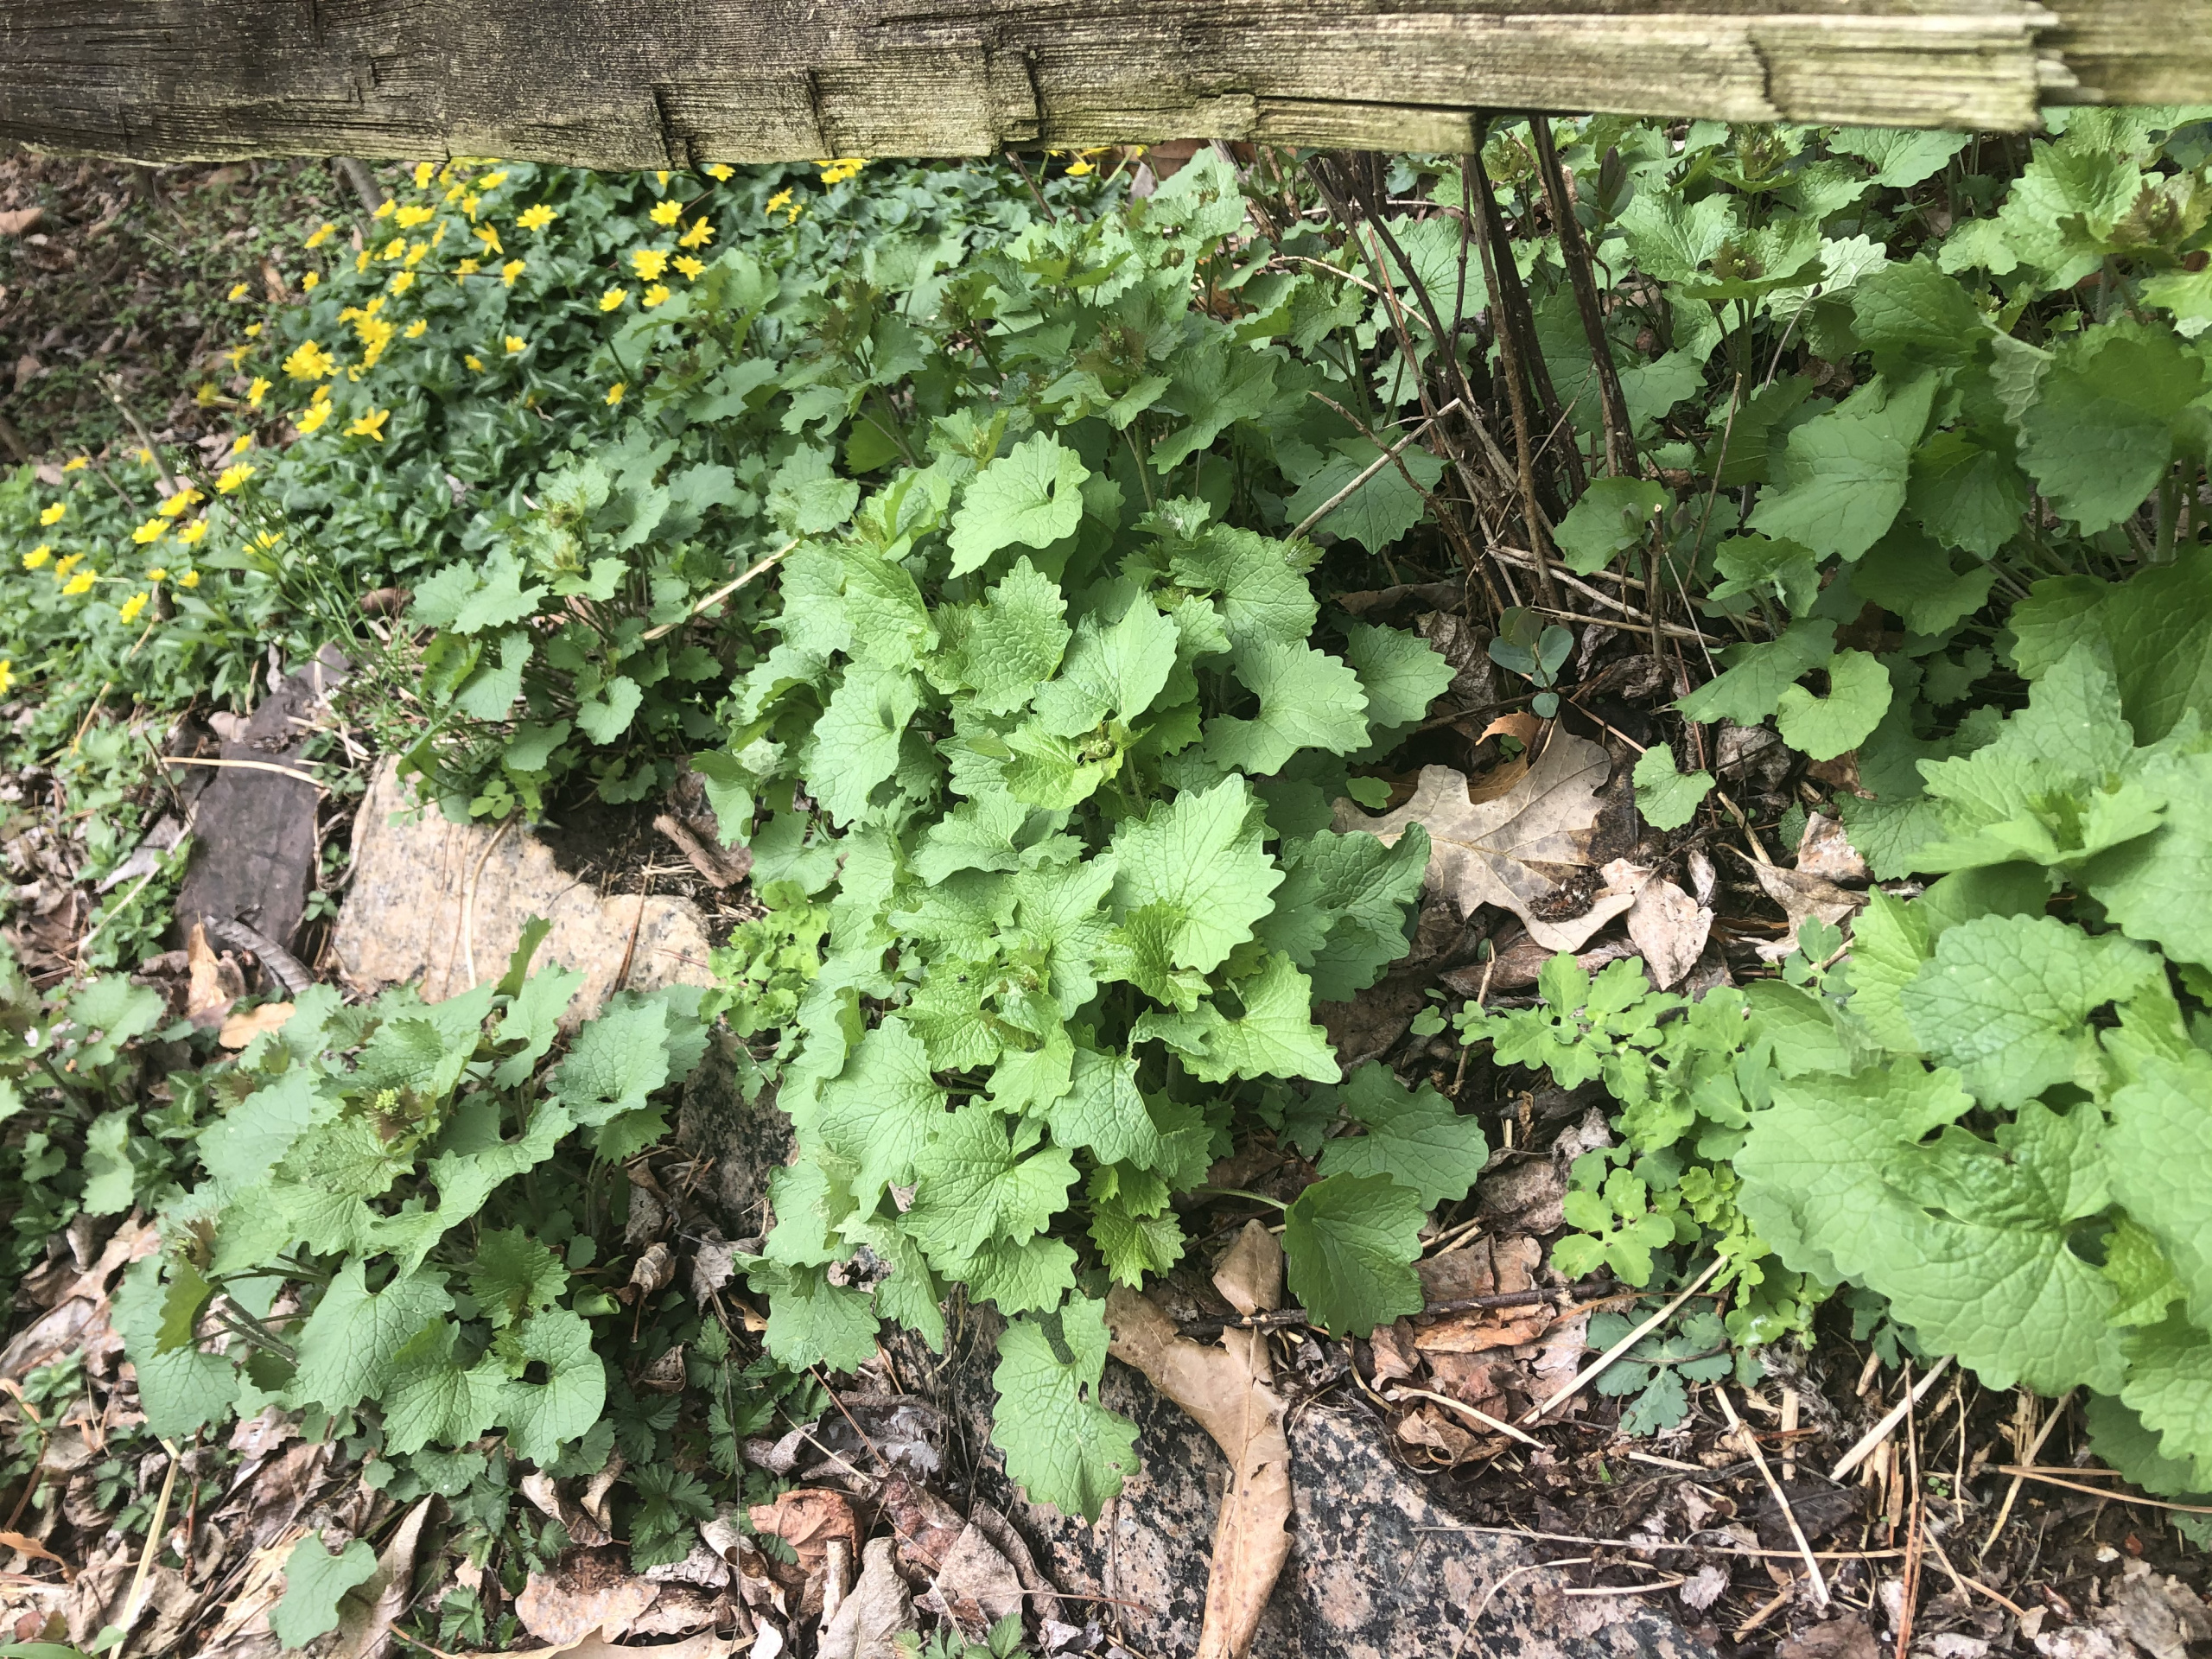
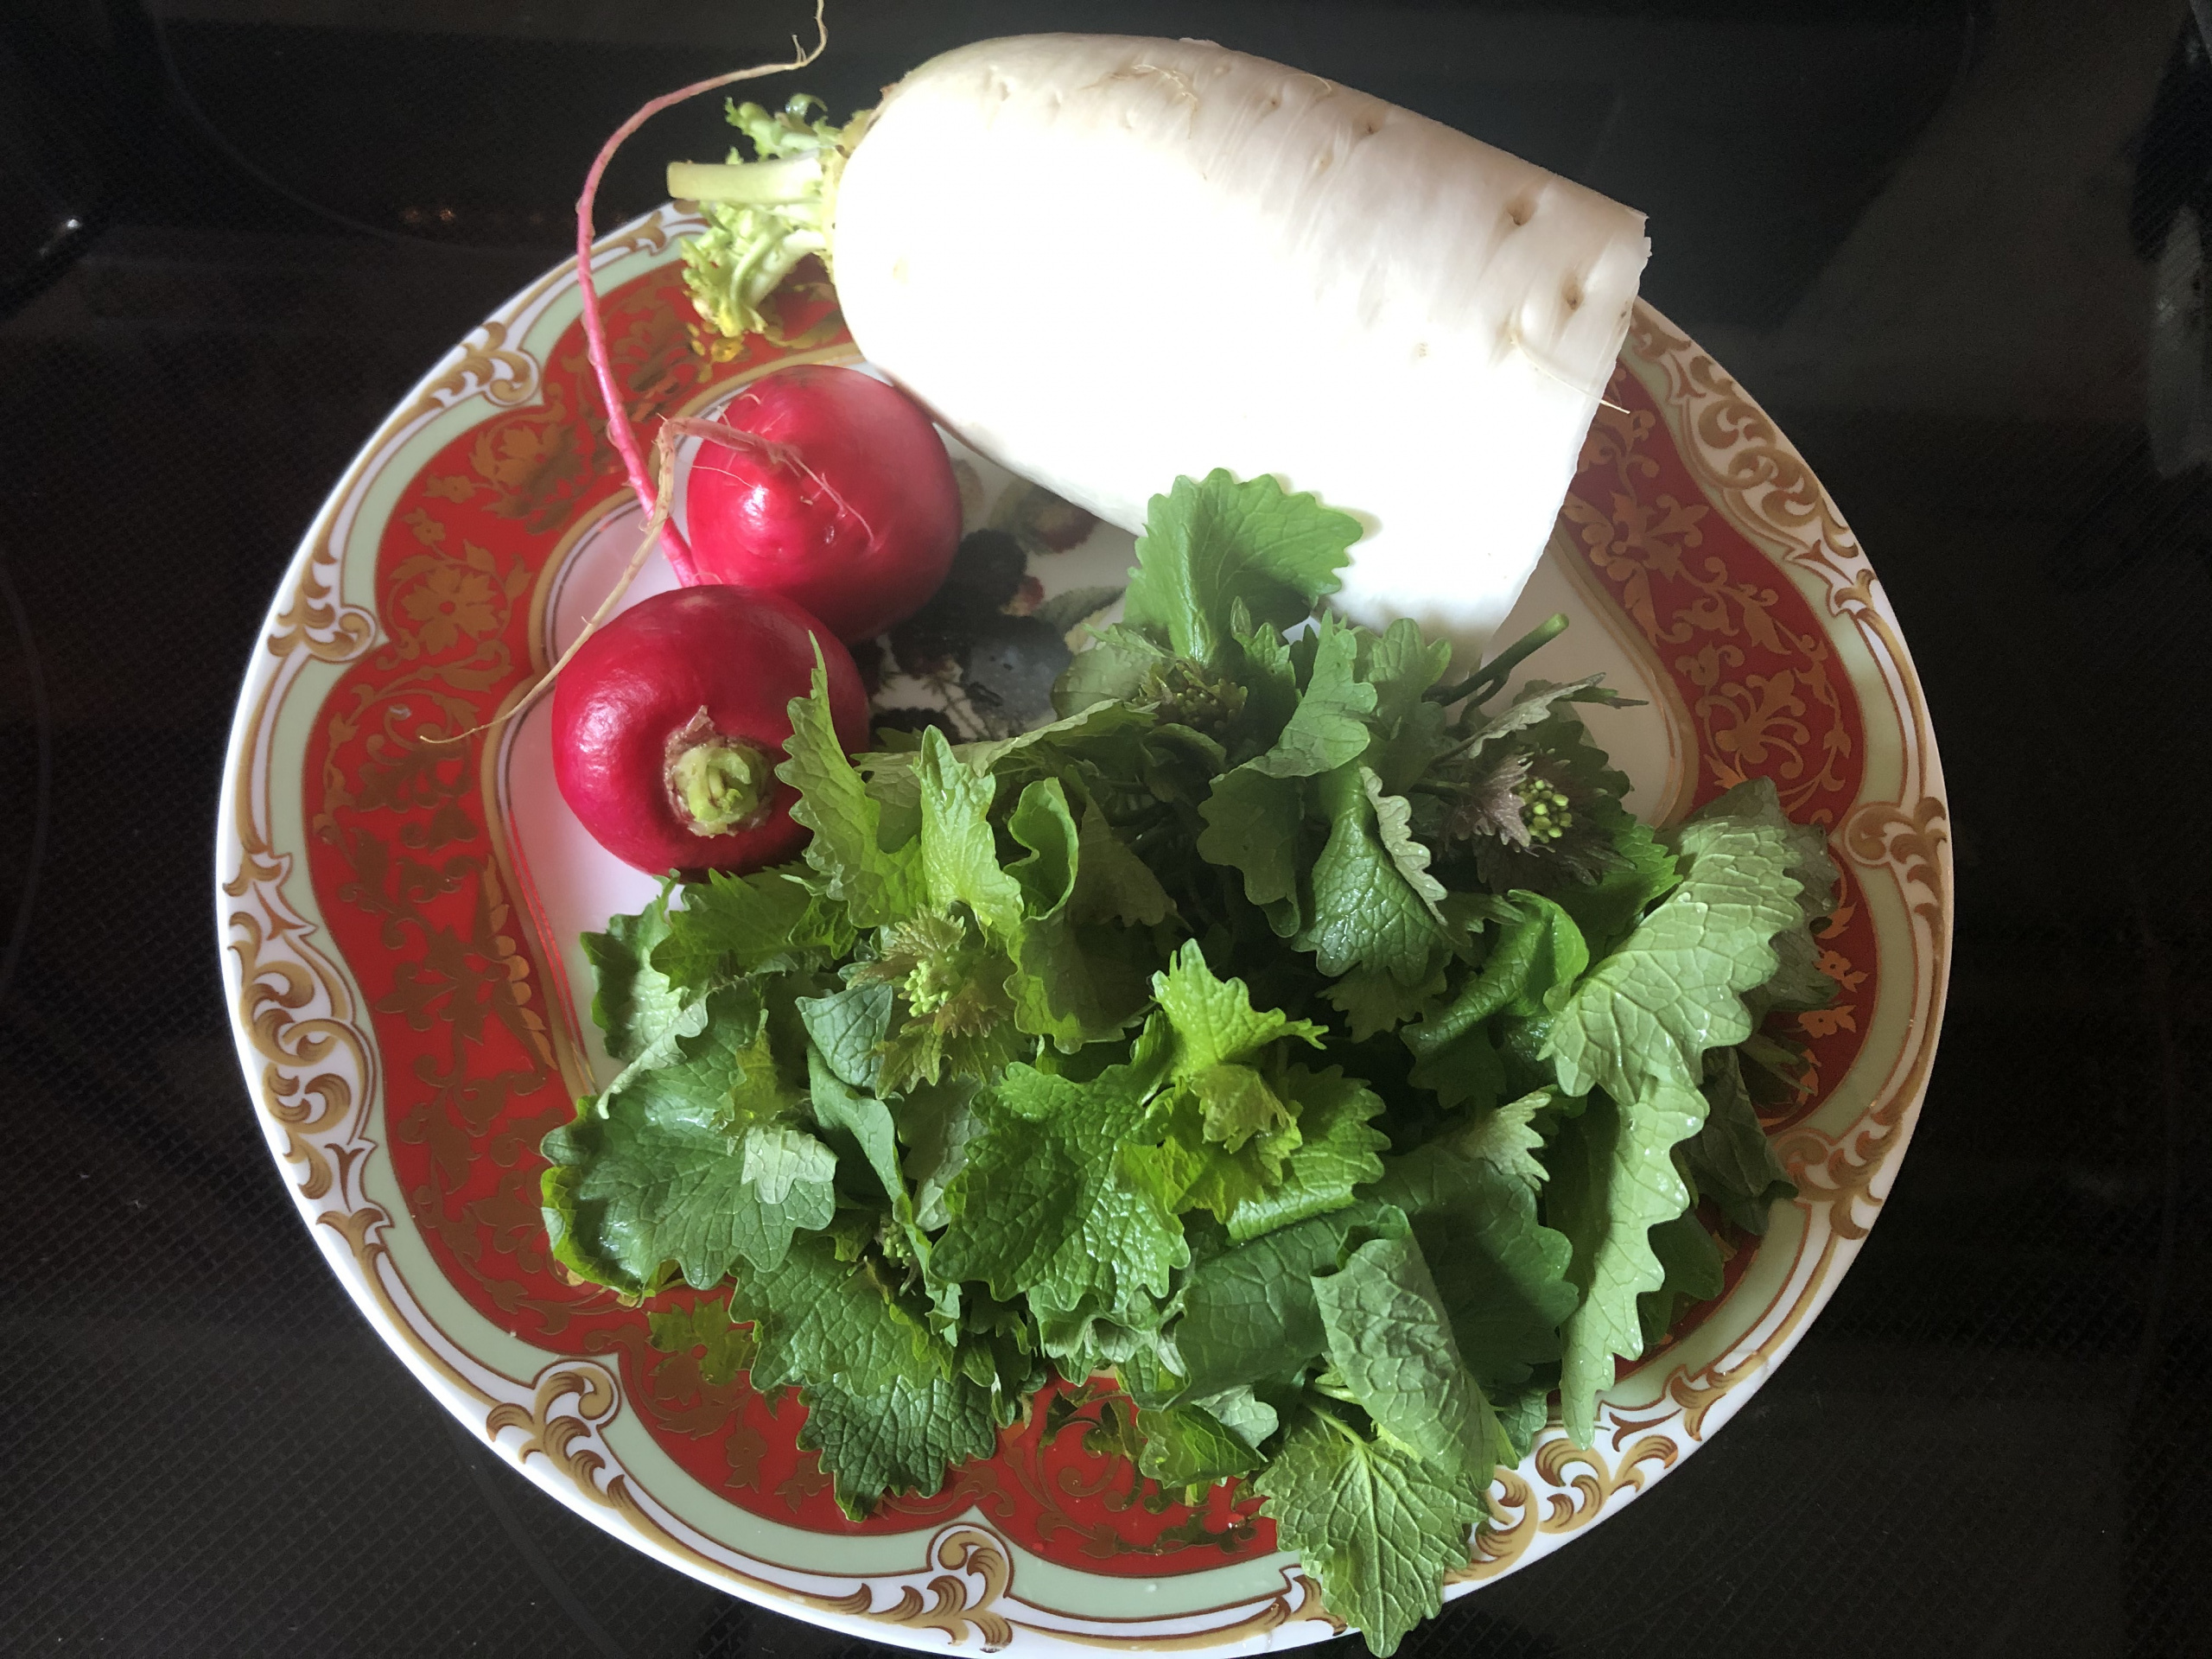
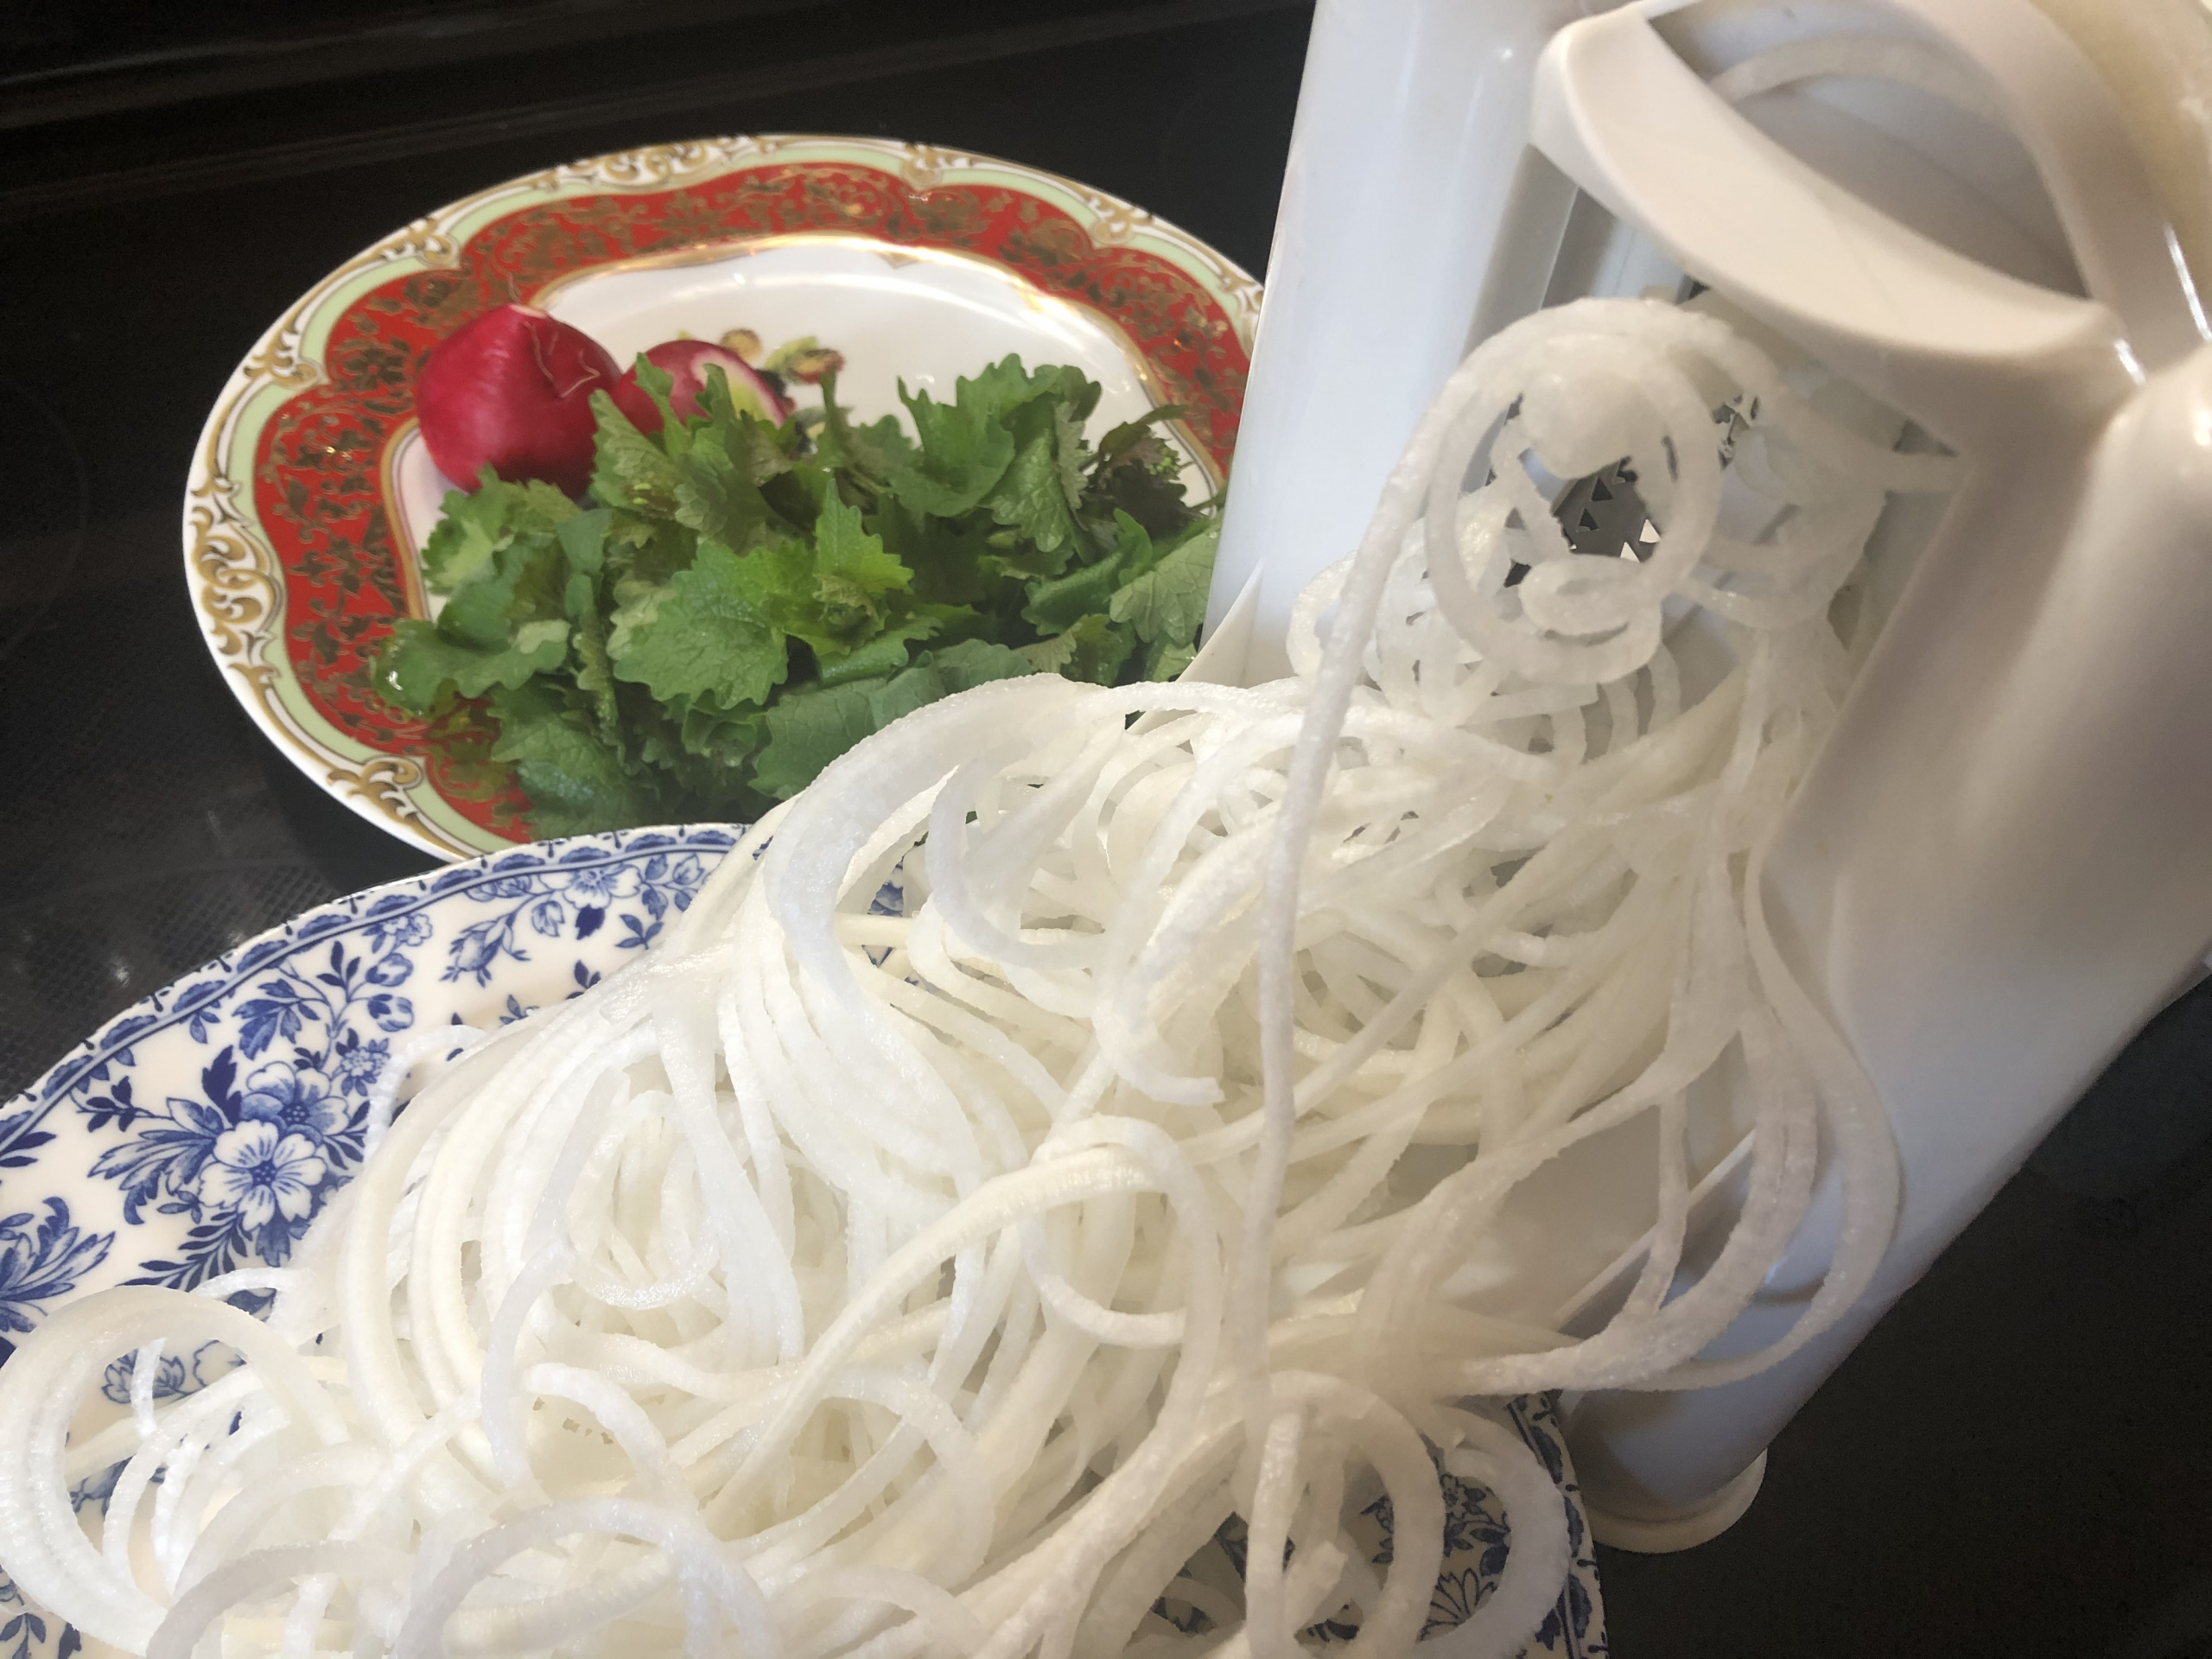
This is another attempt to lure my audience to the great outdoors, even if that is just your own backyard. Garlic Mustard is still young and tender.
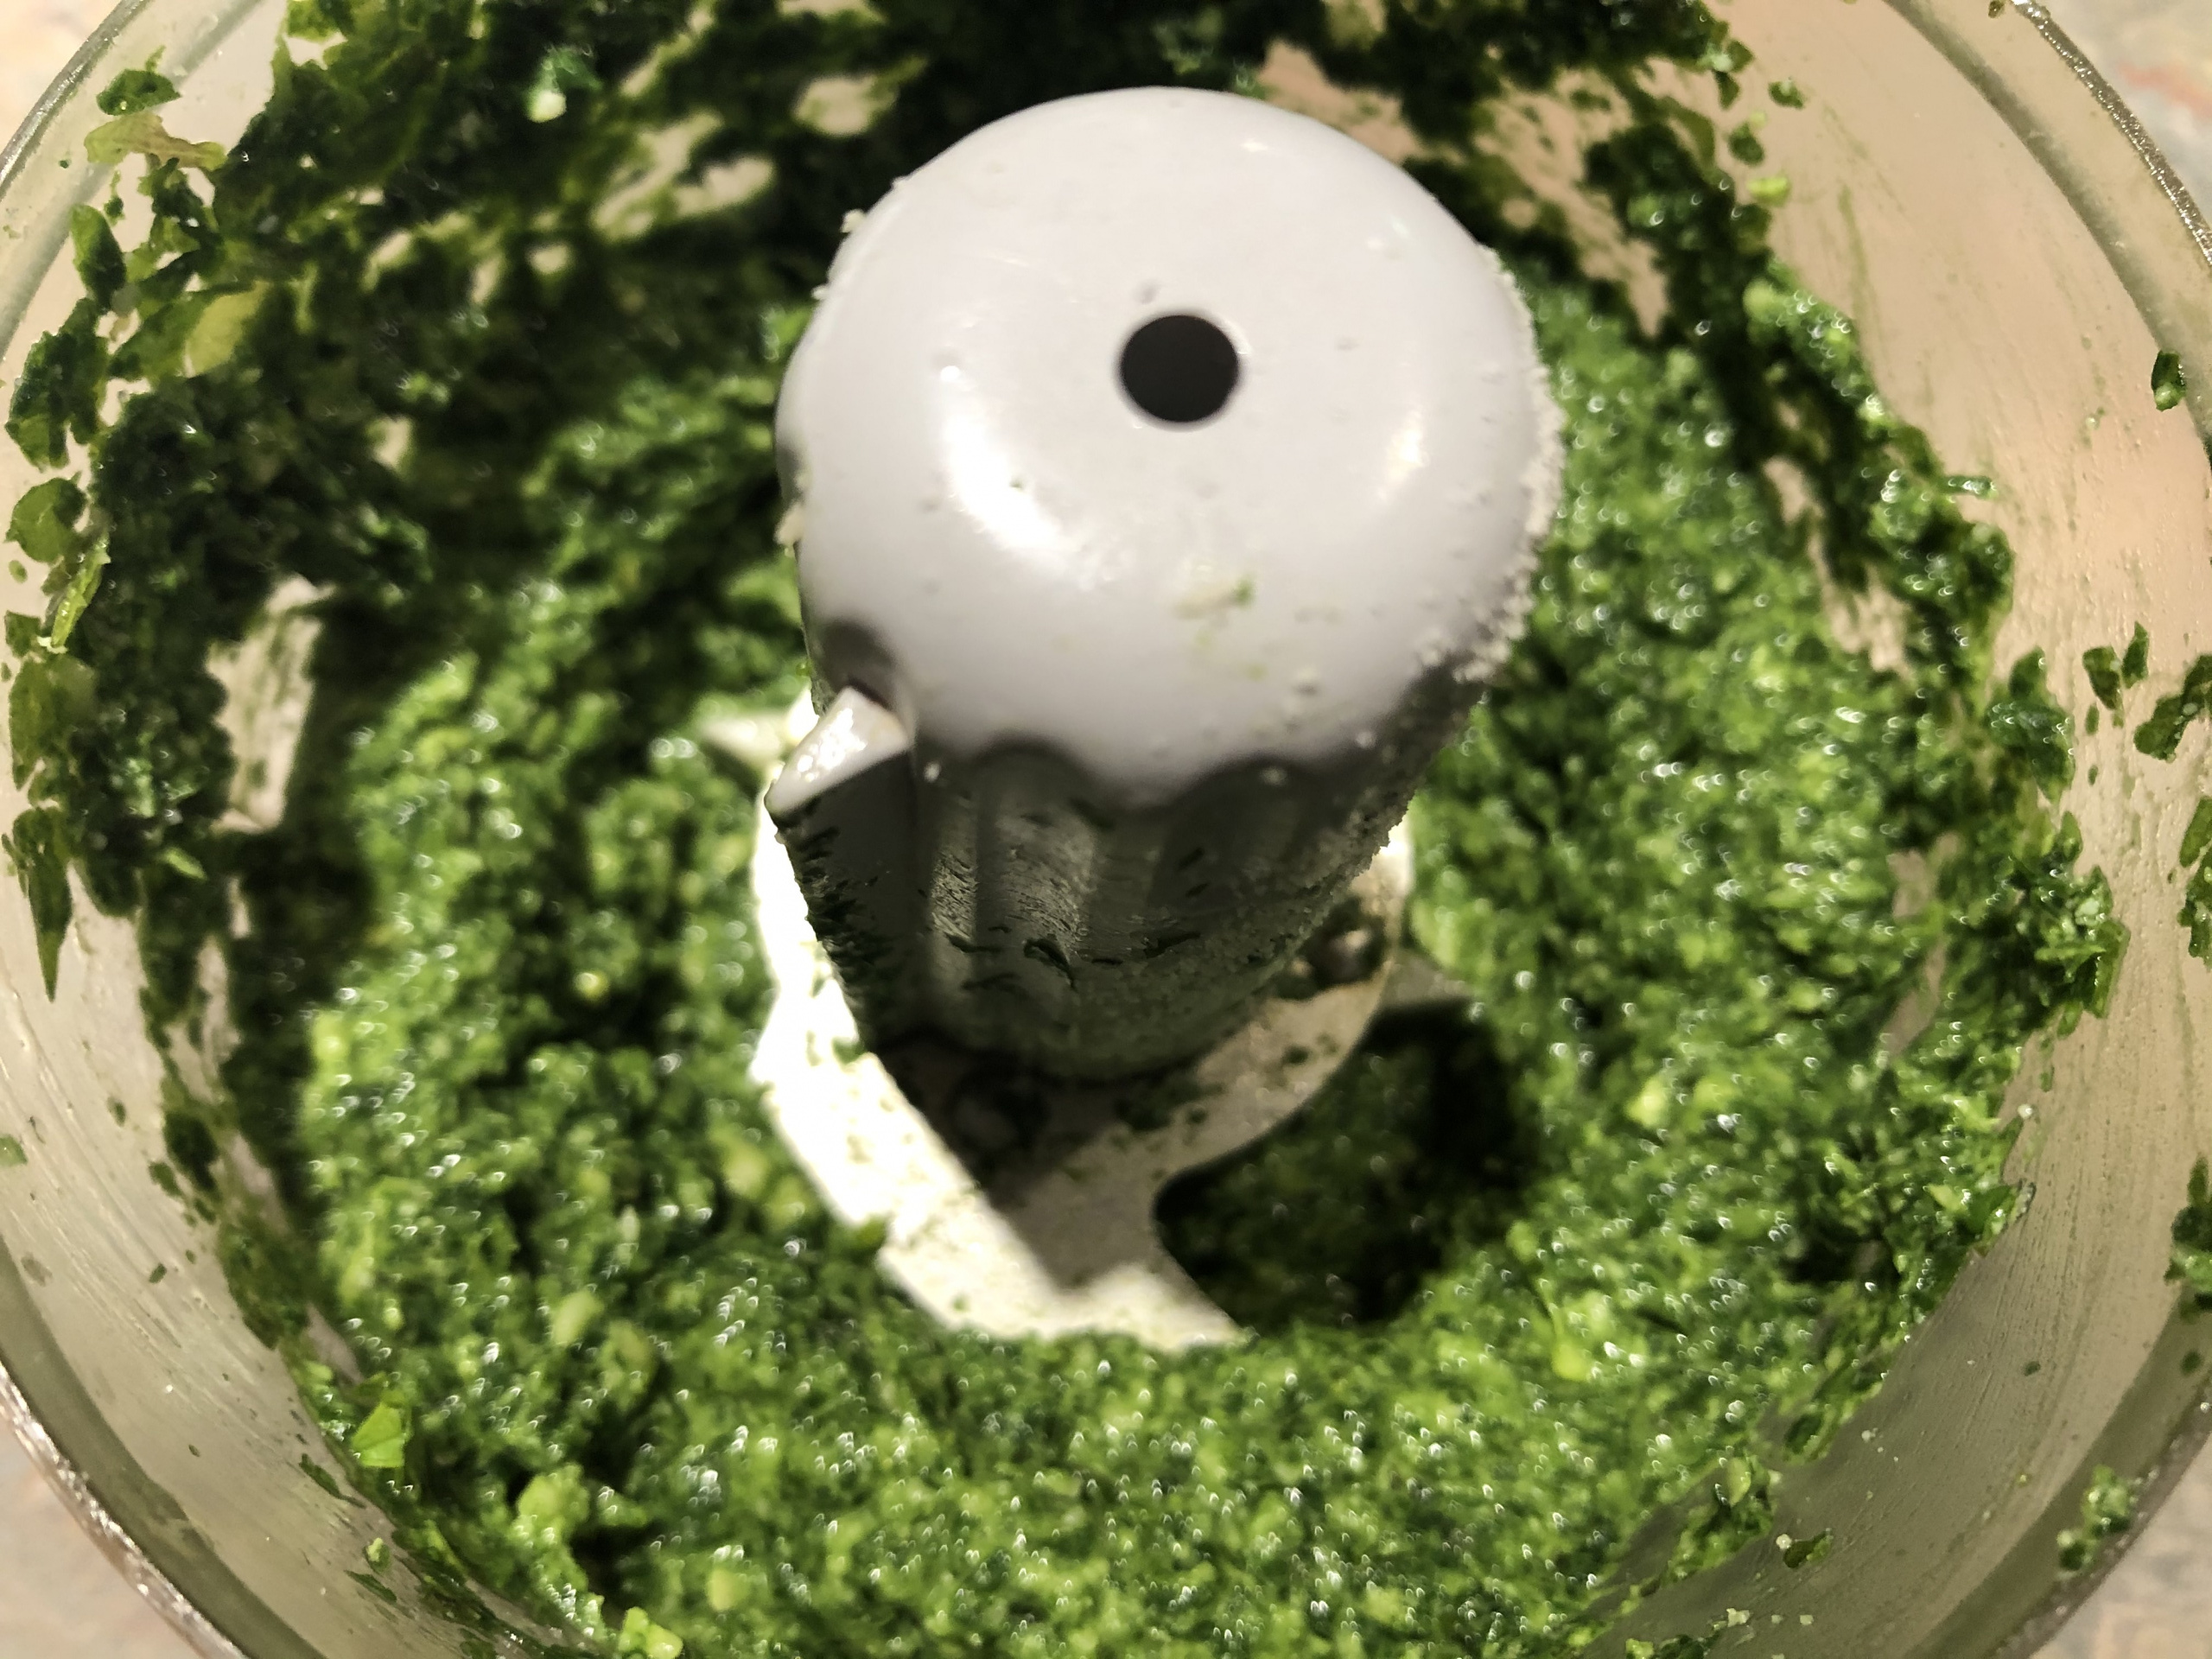
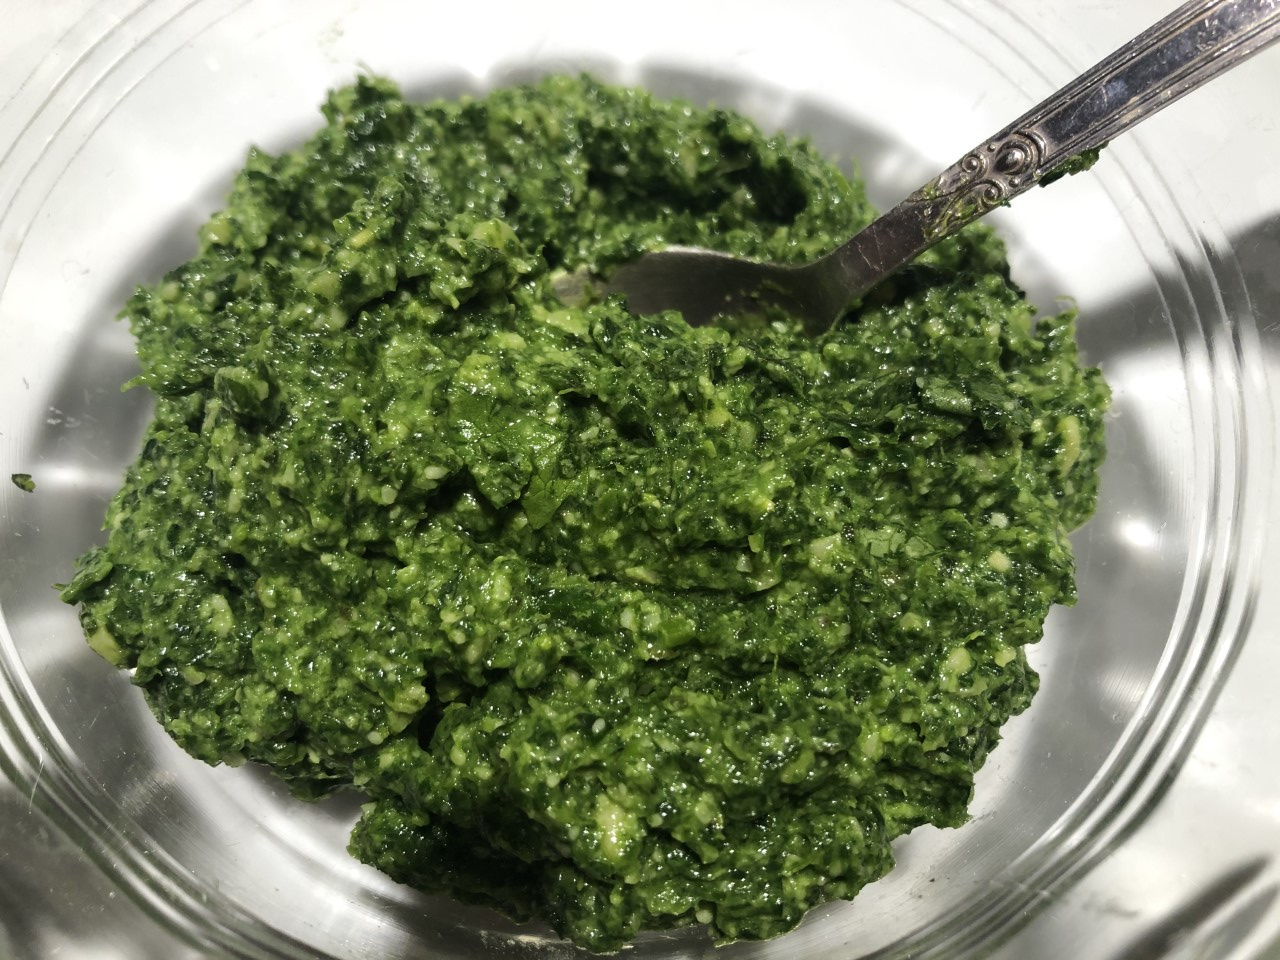
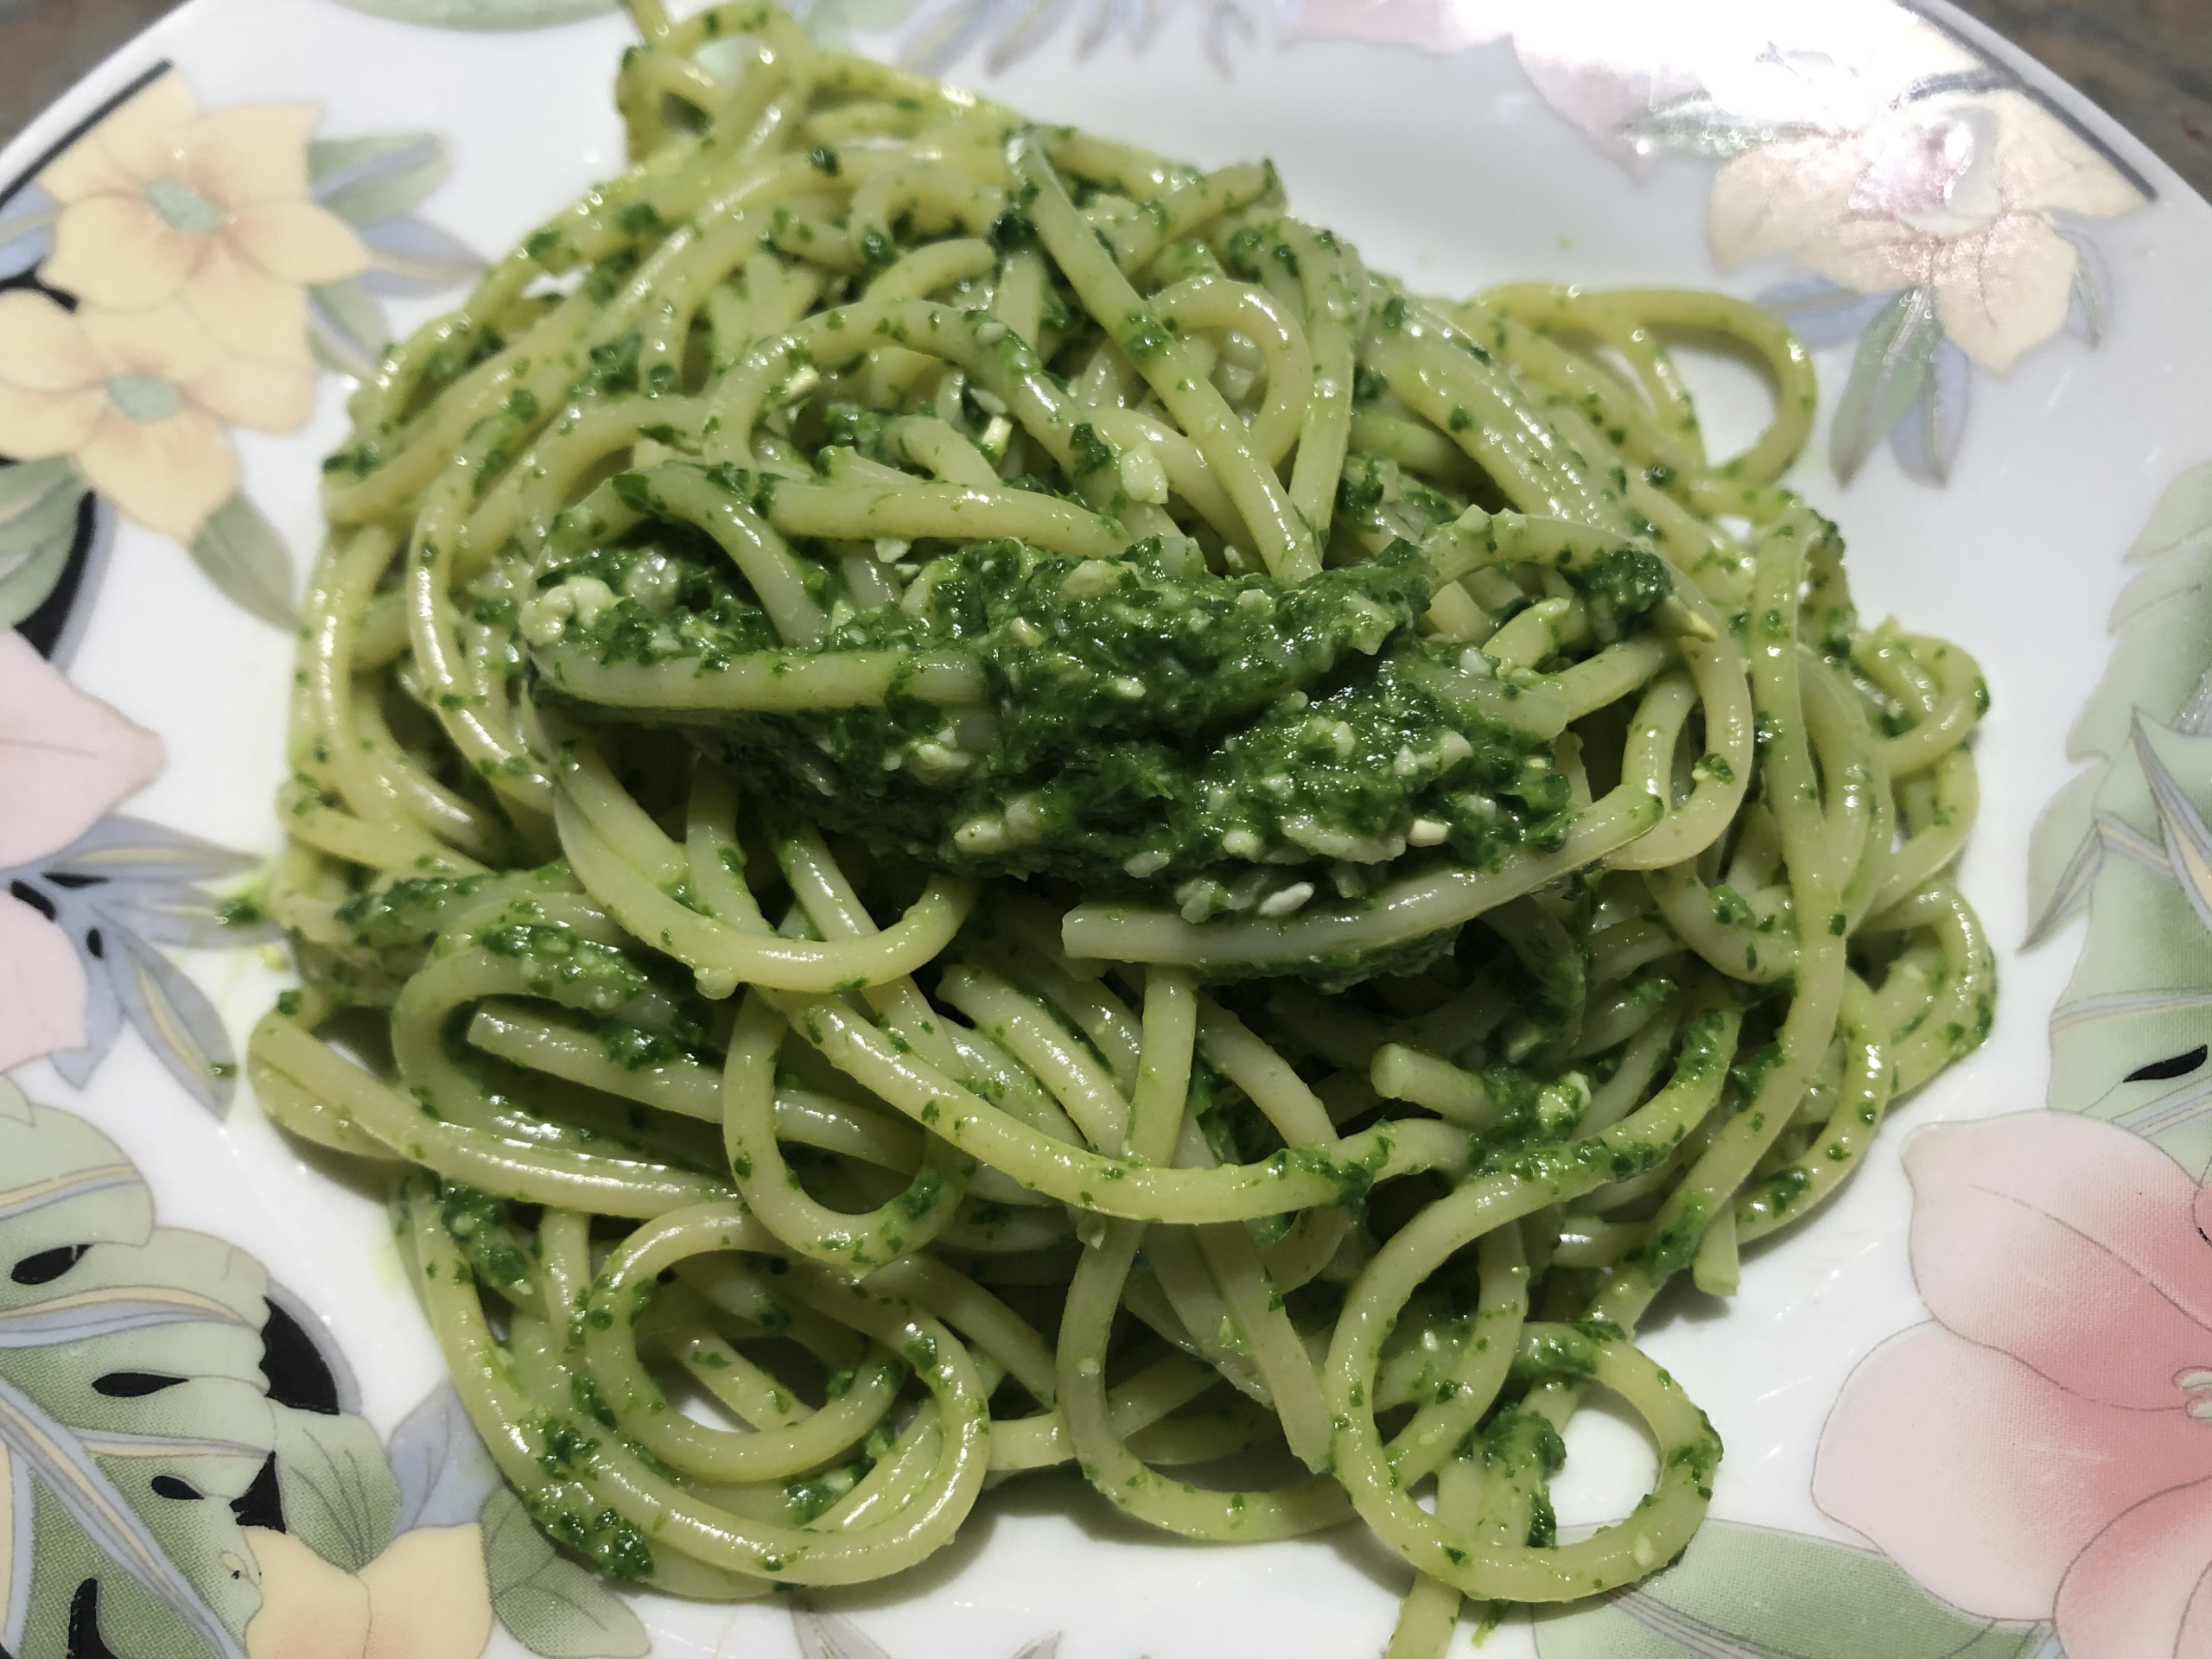
Garlic Mustard pesto is the perfect companion for pasta. I simply eyeballed all the ingredients and processed them in the small processor.
Several weeks from now, this wonderful spring delicacy will not be as tender as today.
Happy foraging!


Spring seems to finally settle in, and it is time to forage some wild plants for the table.
If you like hiking in the woods and are interested in the wild edible plants, or just have a large backyard, you might have this wonderful plant within your reach.

I want to introduce to you one of my favorite edible wild plants. It is called Garlic Mustard (lat. Alliana petiolata) for a reason: it has a mild garlic and mustard flavor and is very beneficial for the digestive tract. You may find volumes of information online if you want to learn more about it. I simply share my inspiration with you.
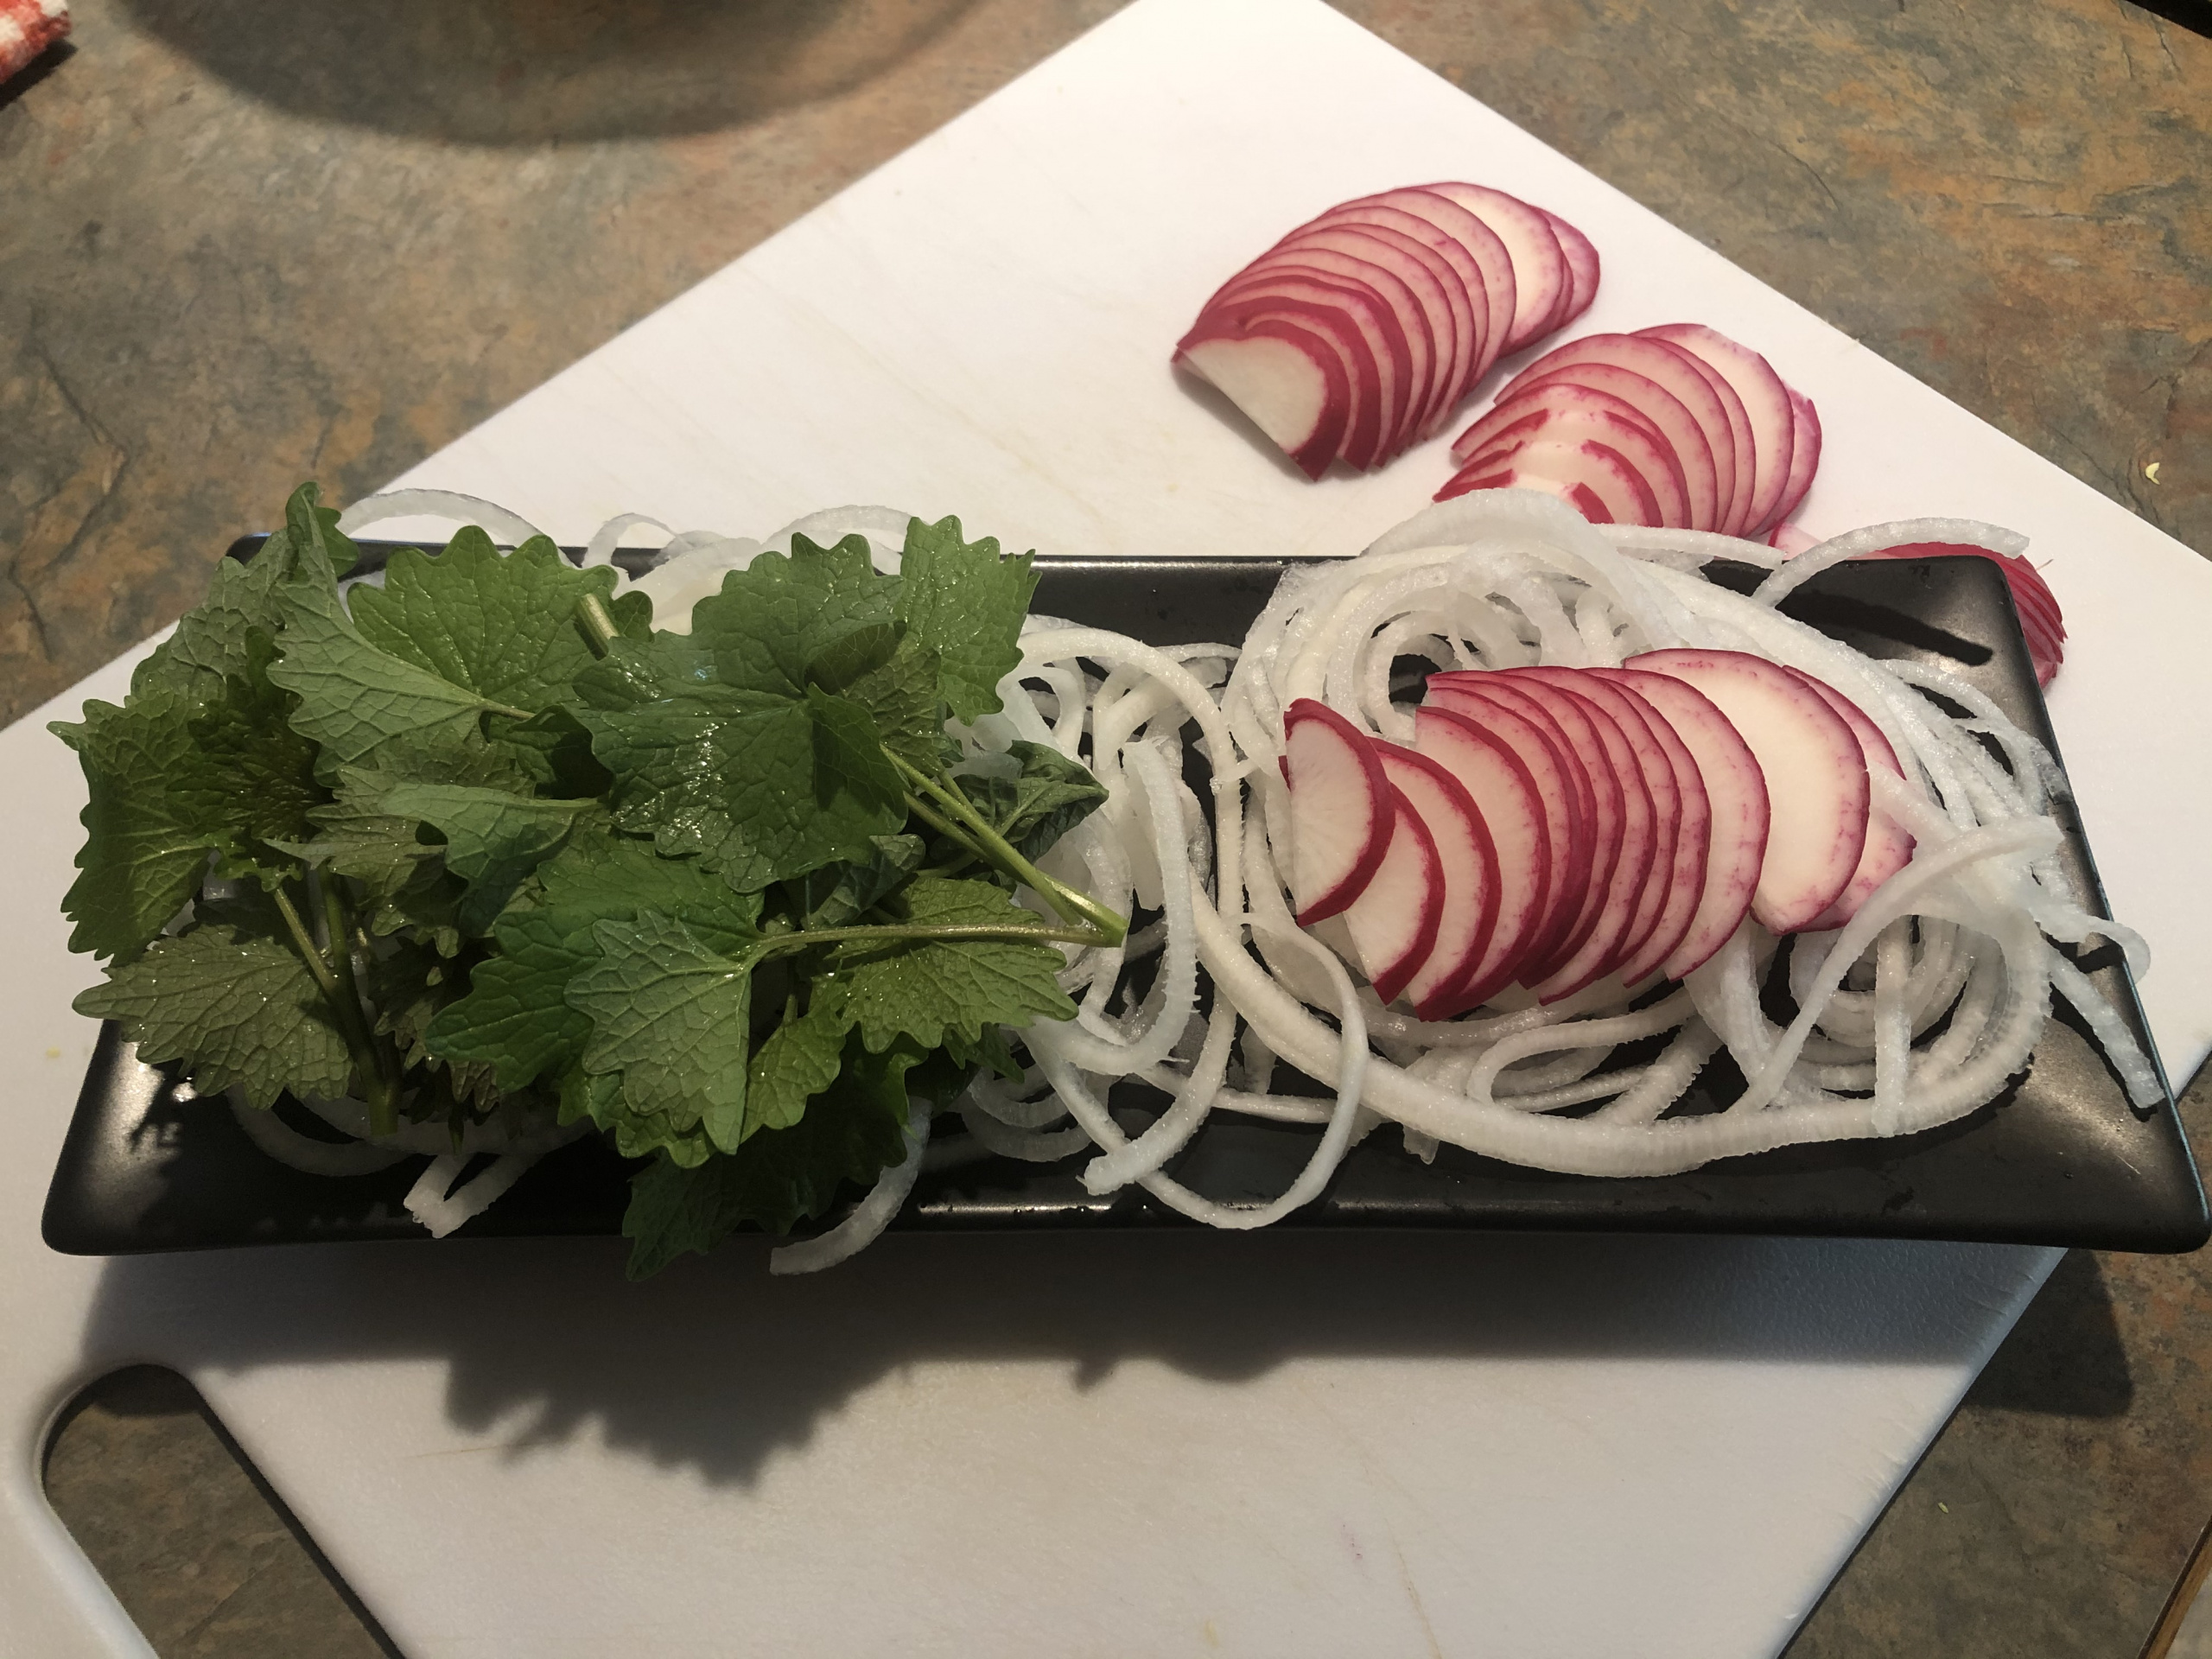
Garlic mustard is an excellent source of vitamins. You may add young tender leaves to salads or use them for sandwiches.


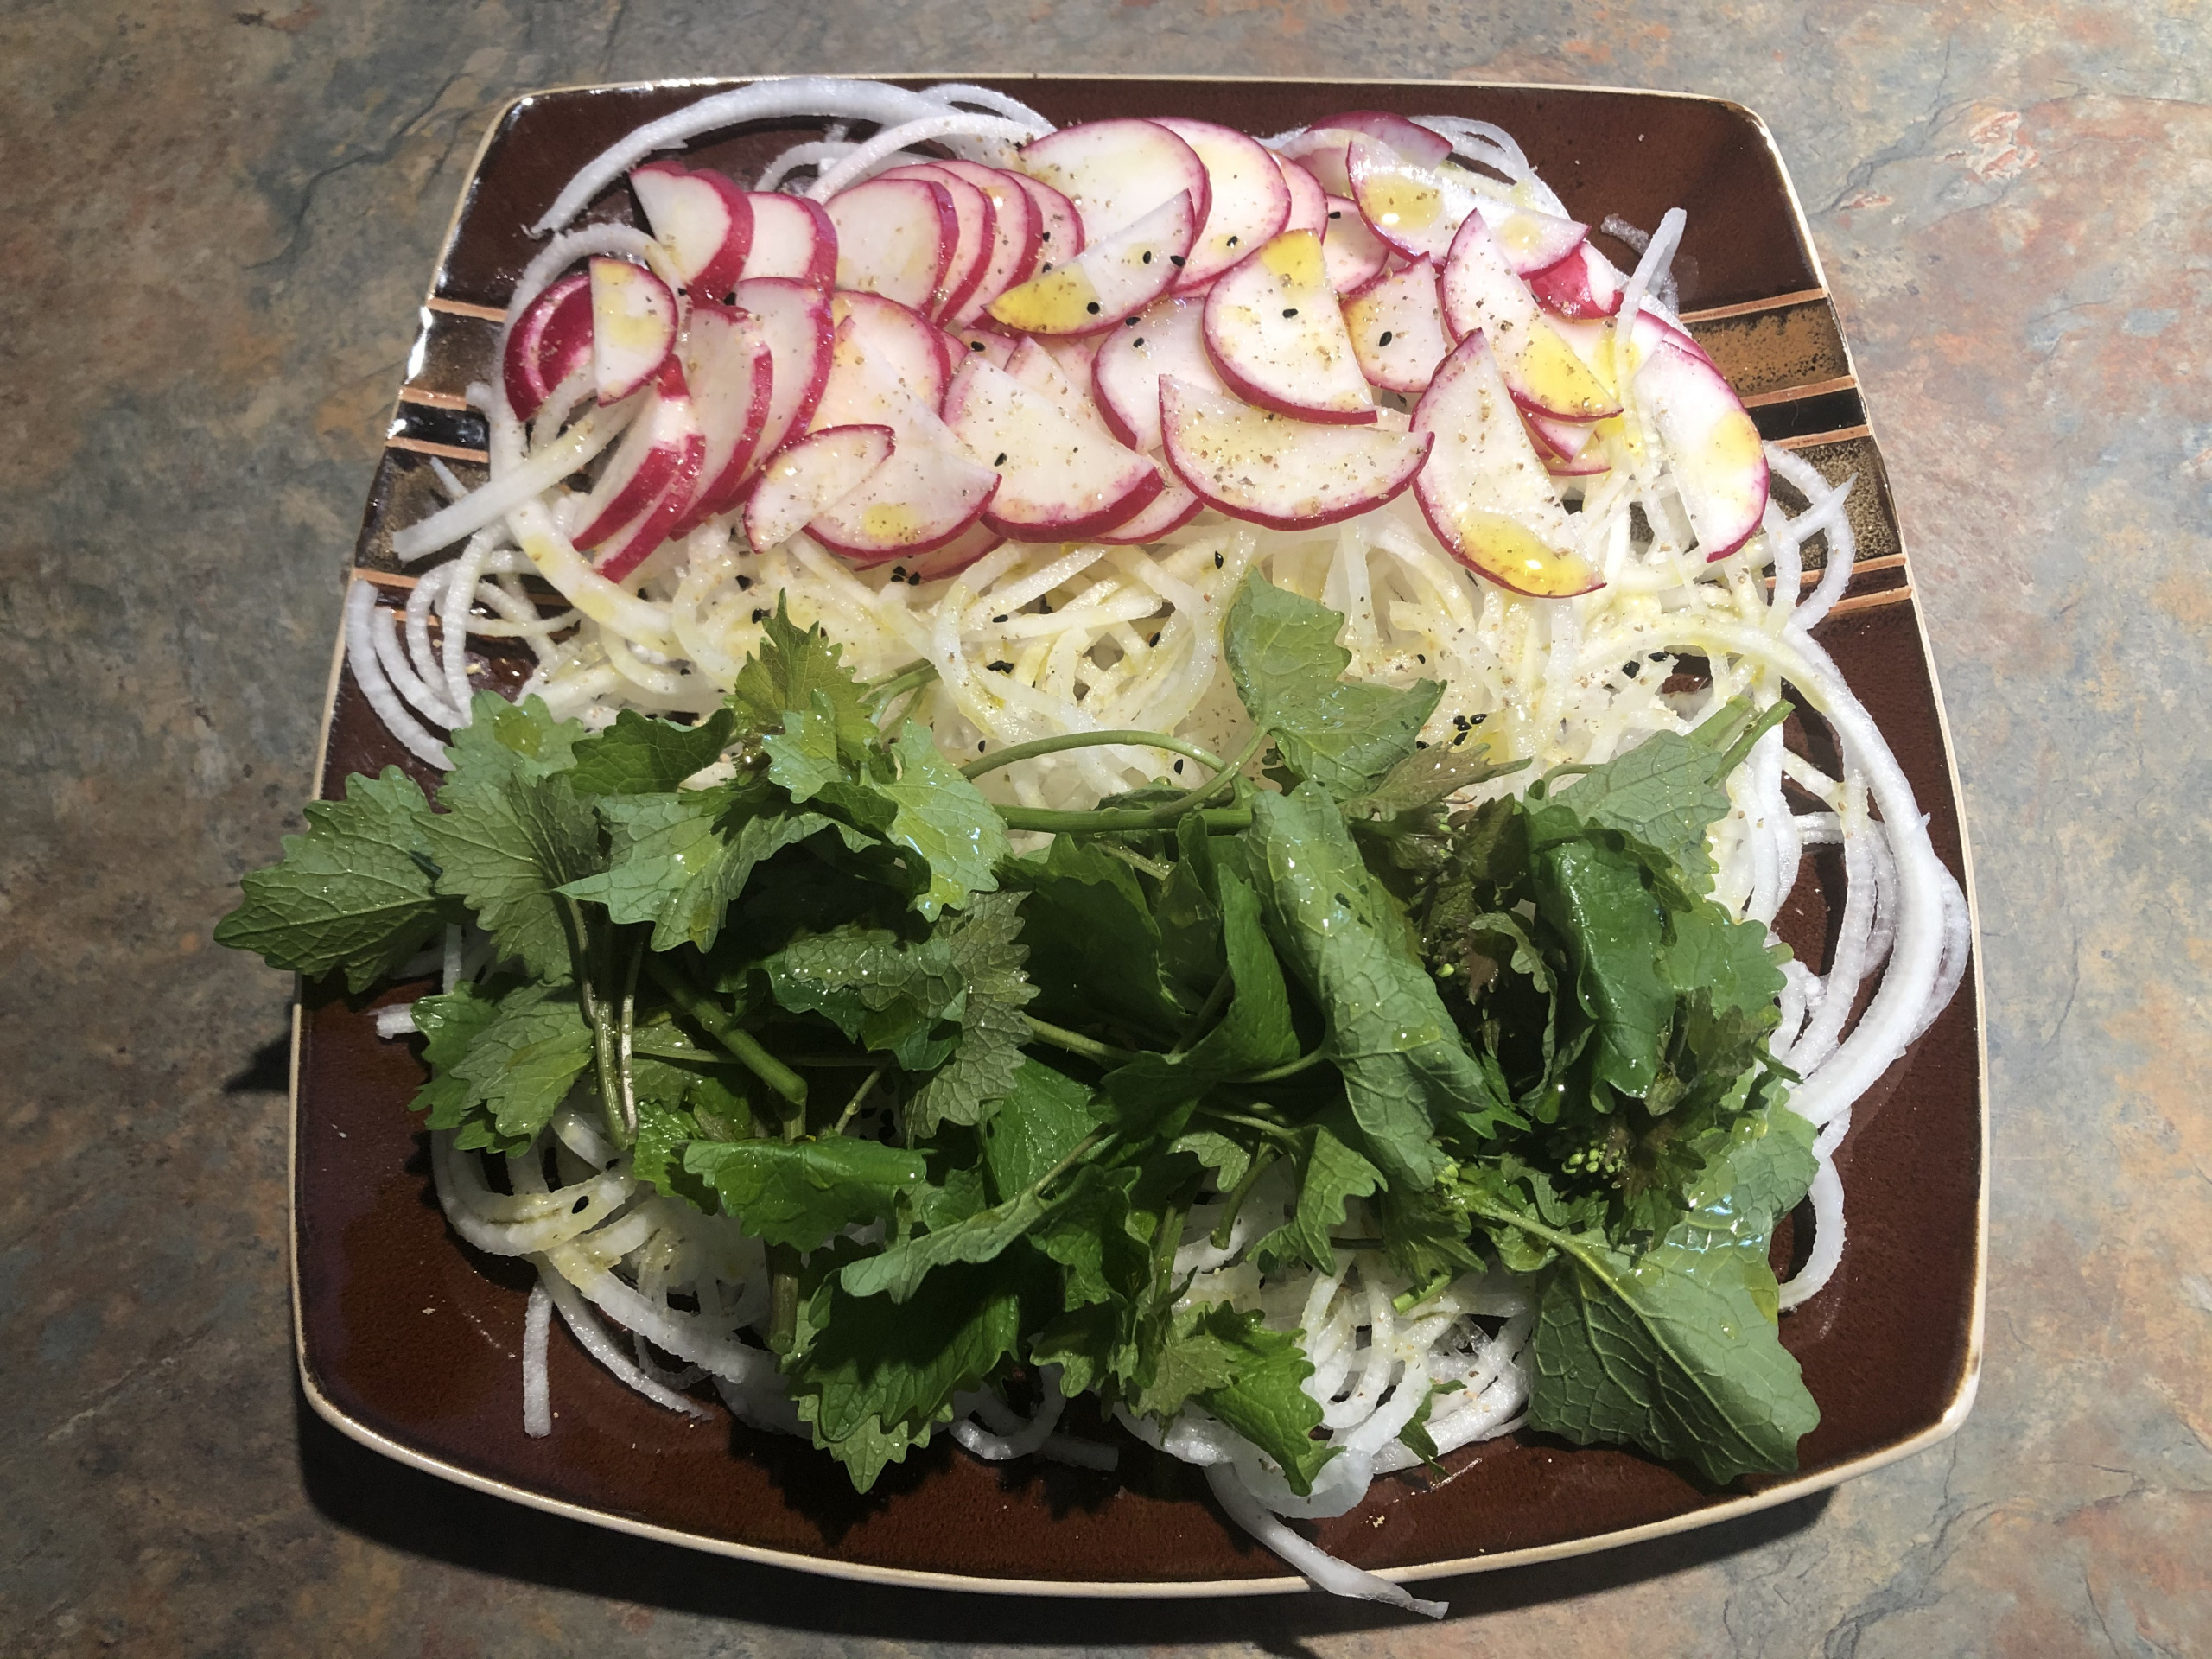

Get to know this wonderful plant and be creative in your cooking.
Good luck and happy foraging!

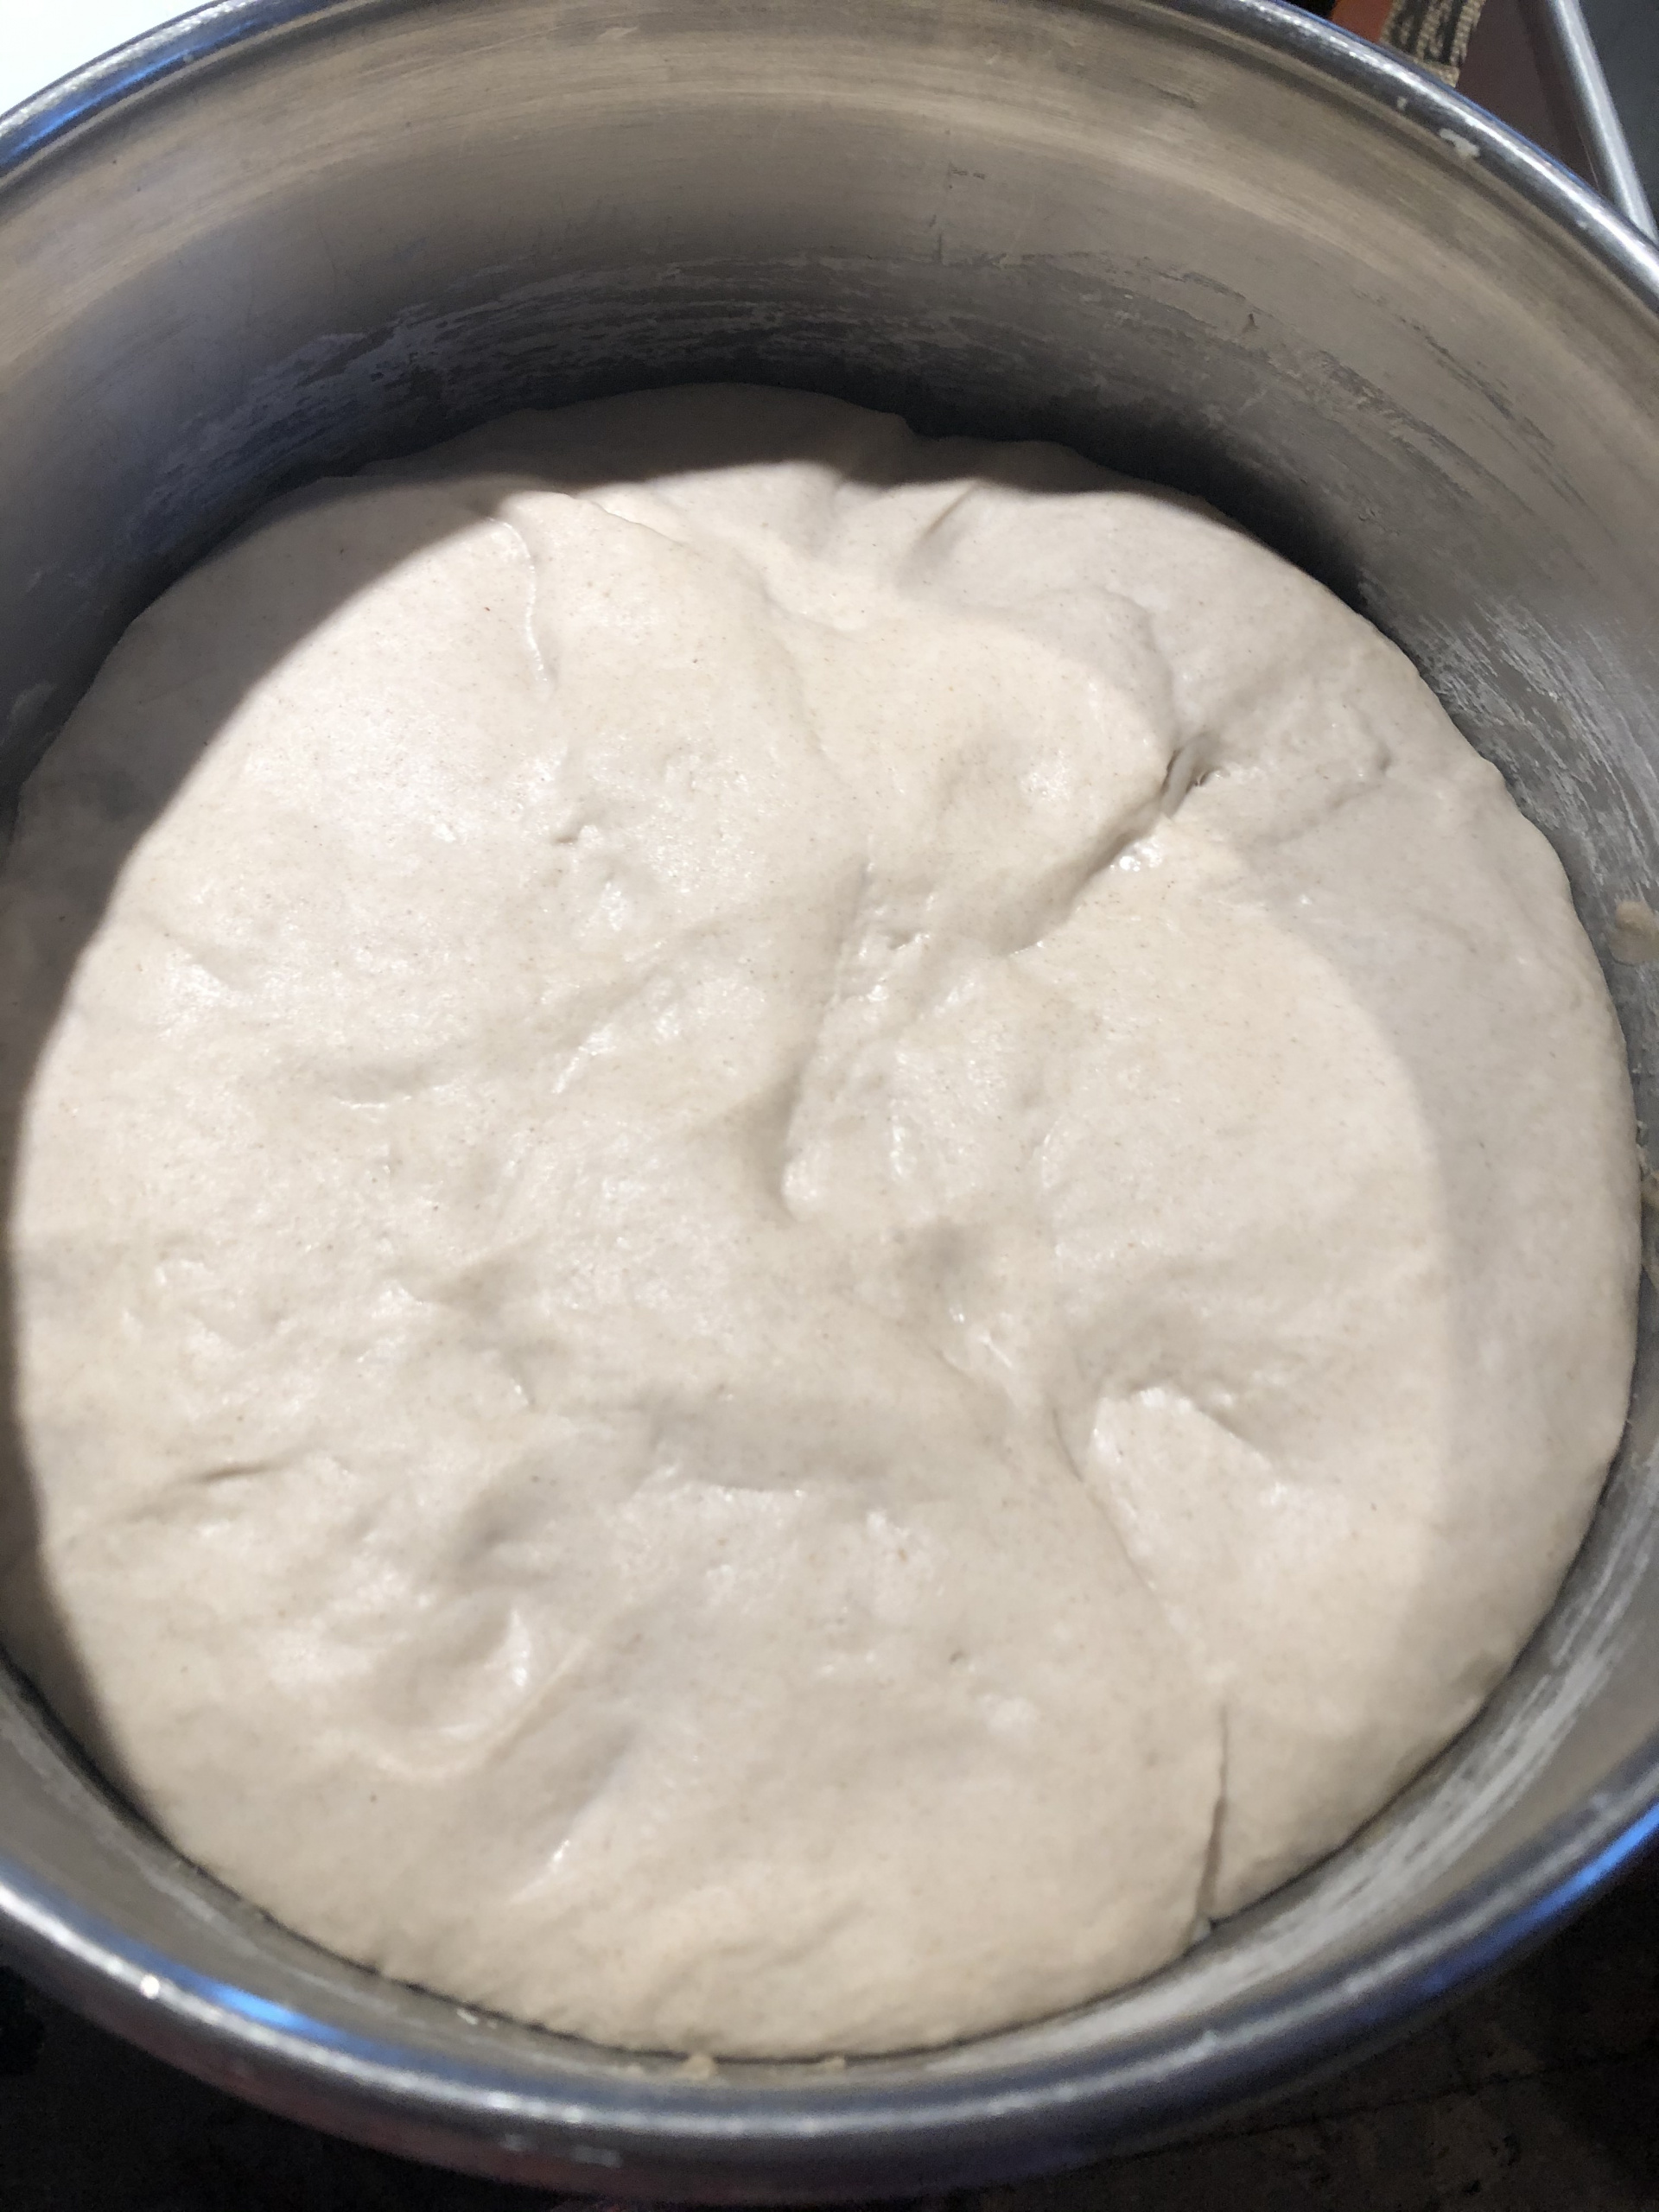
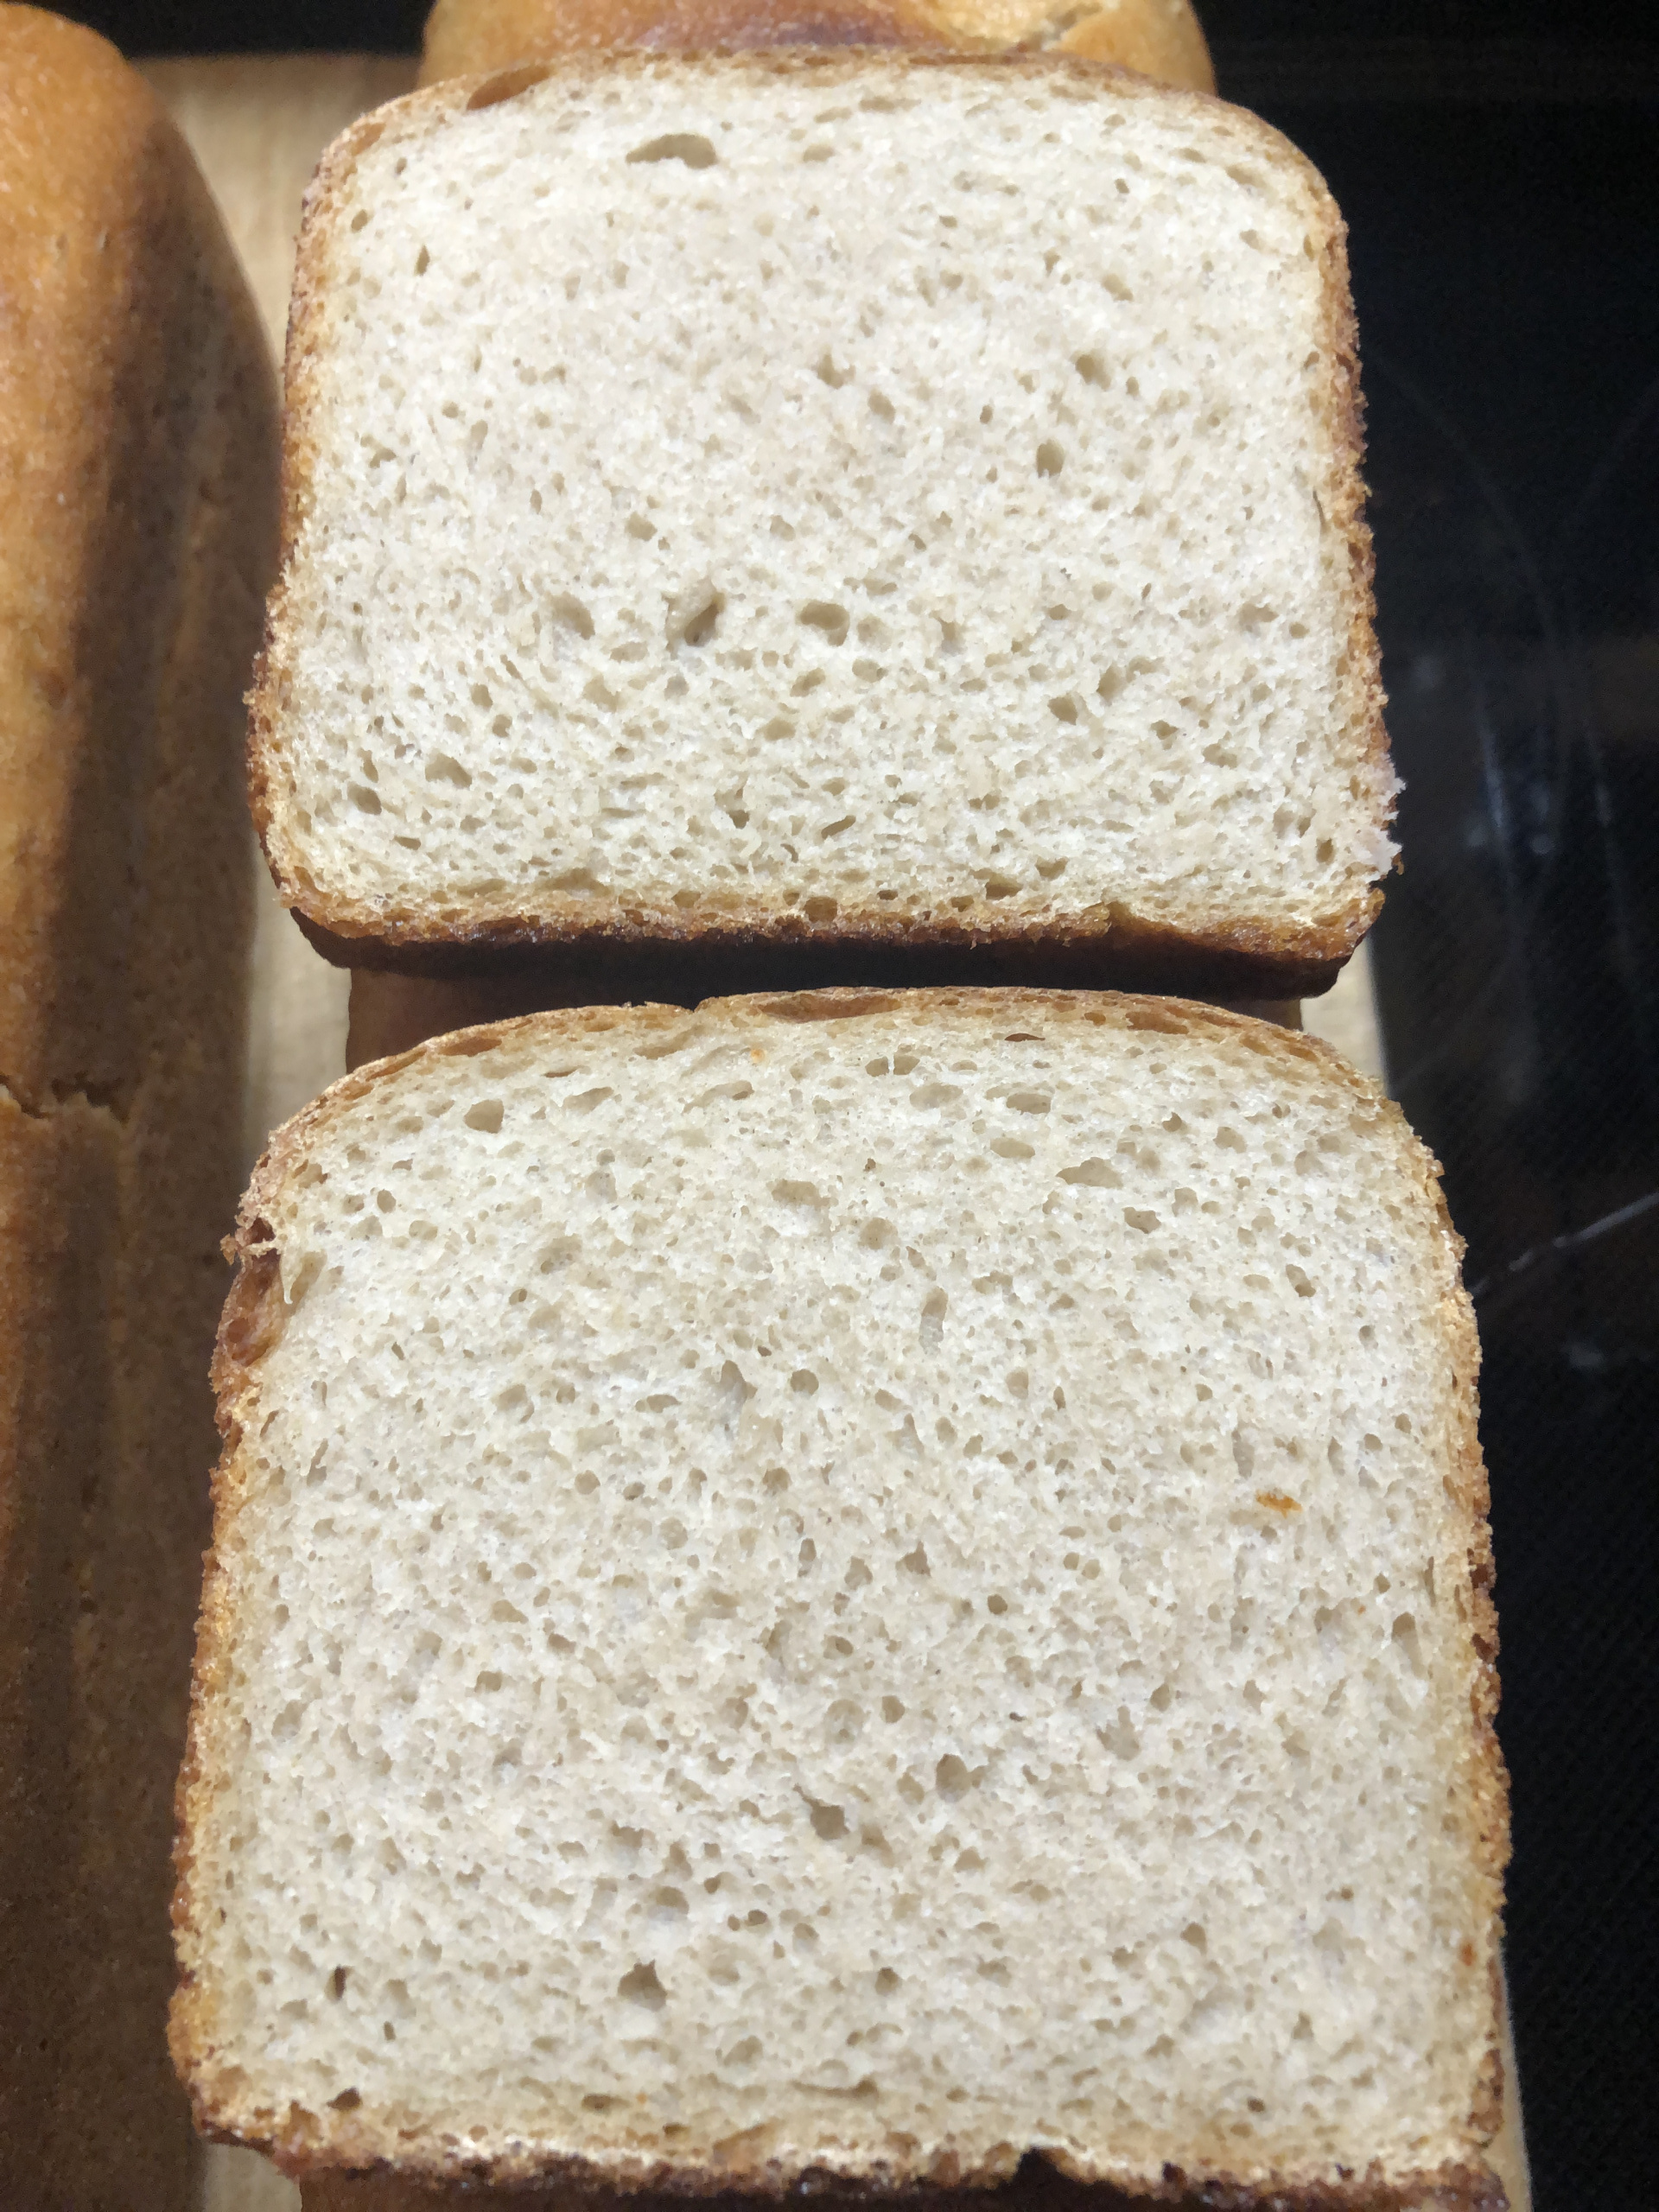
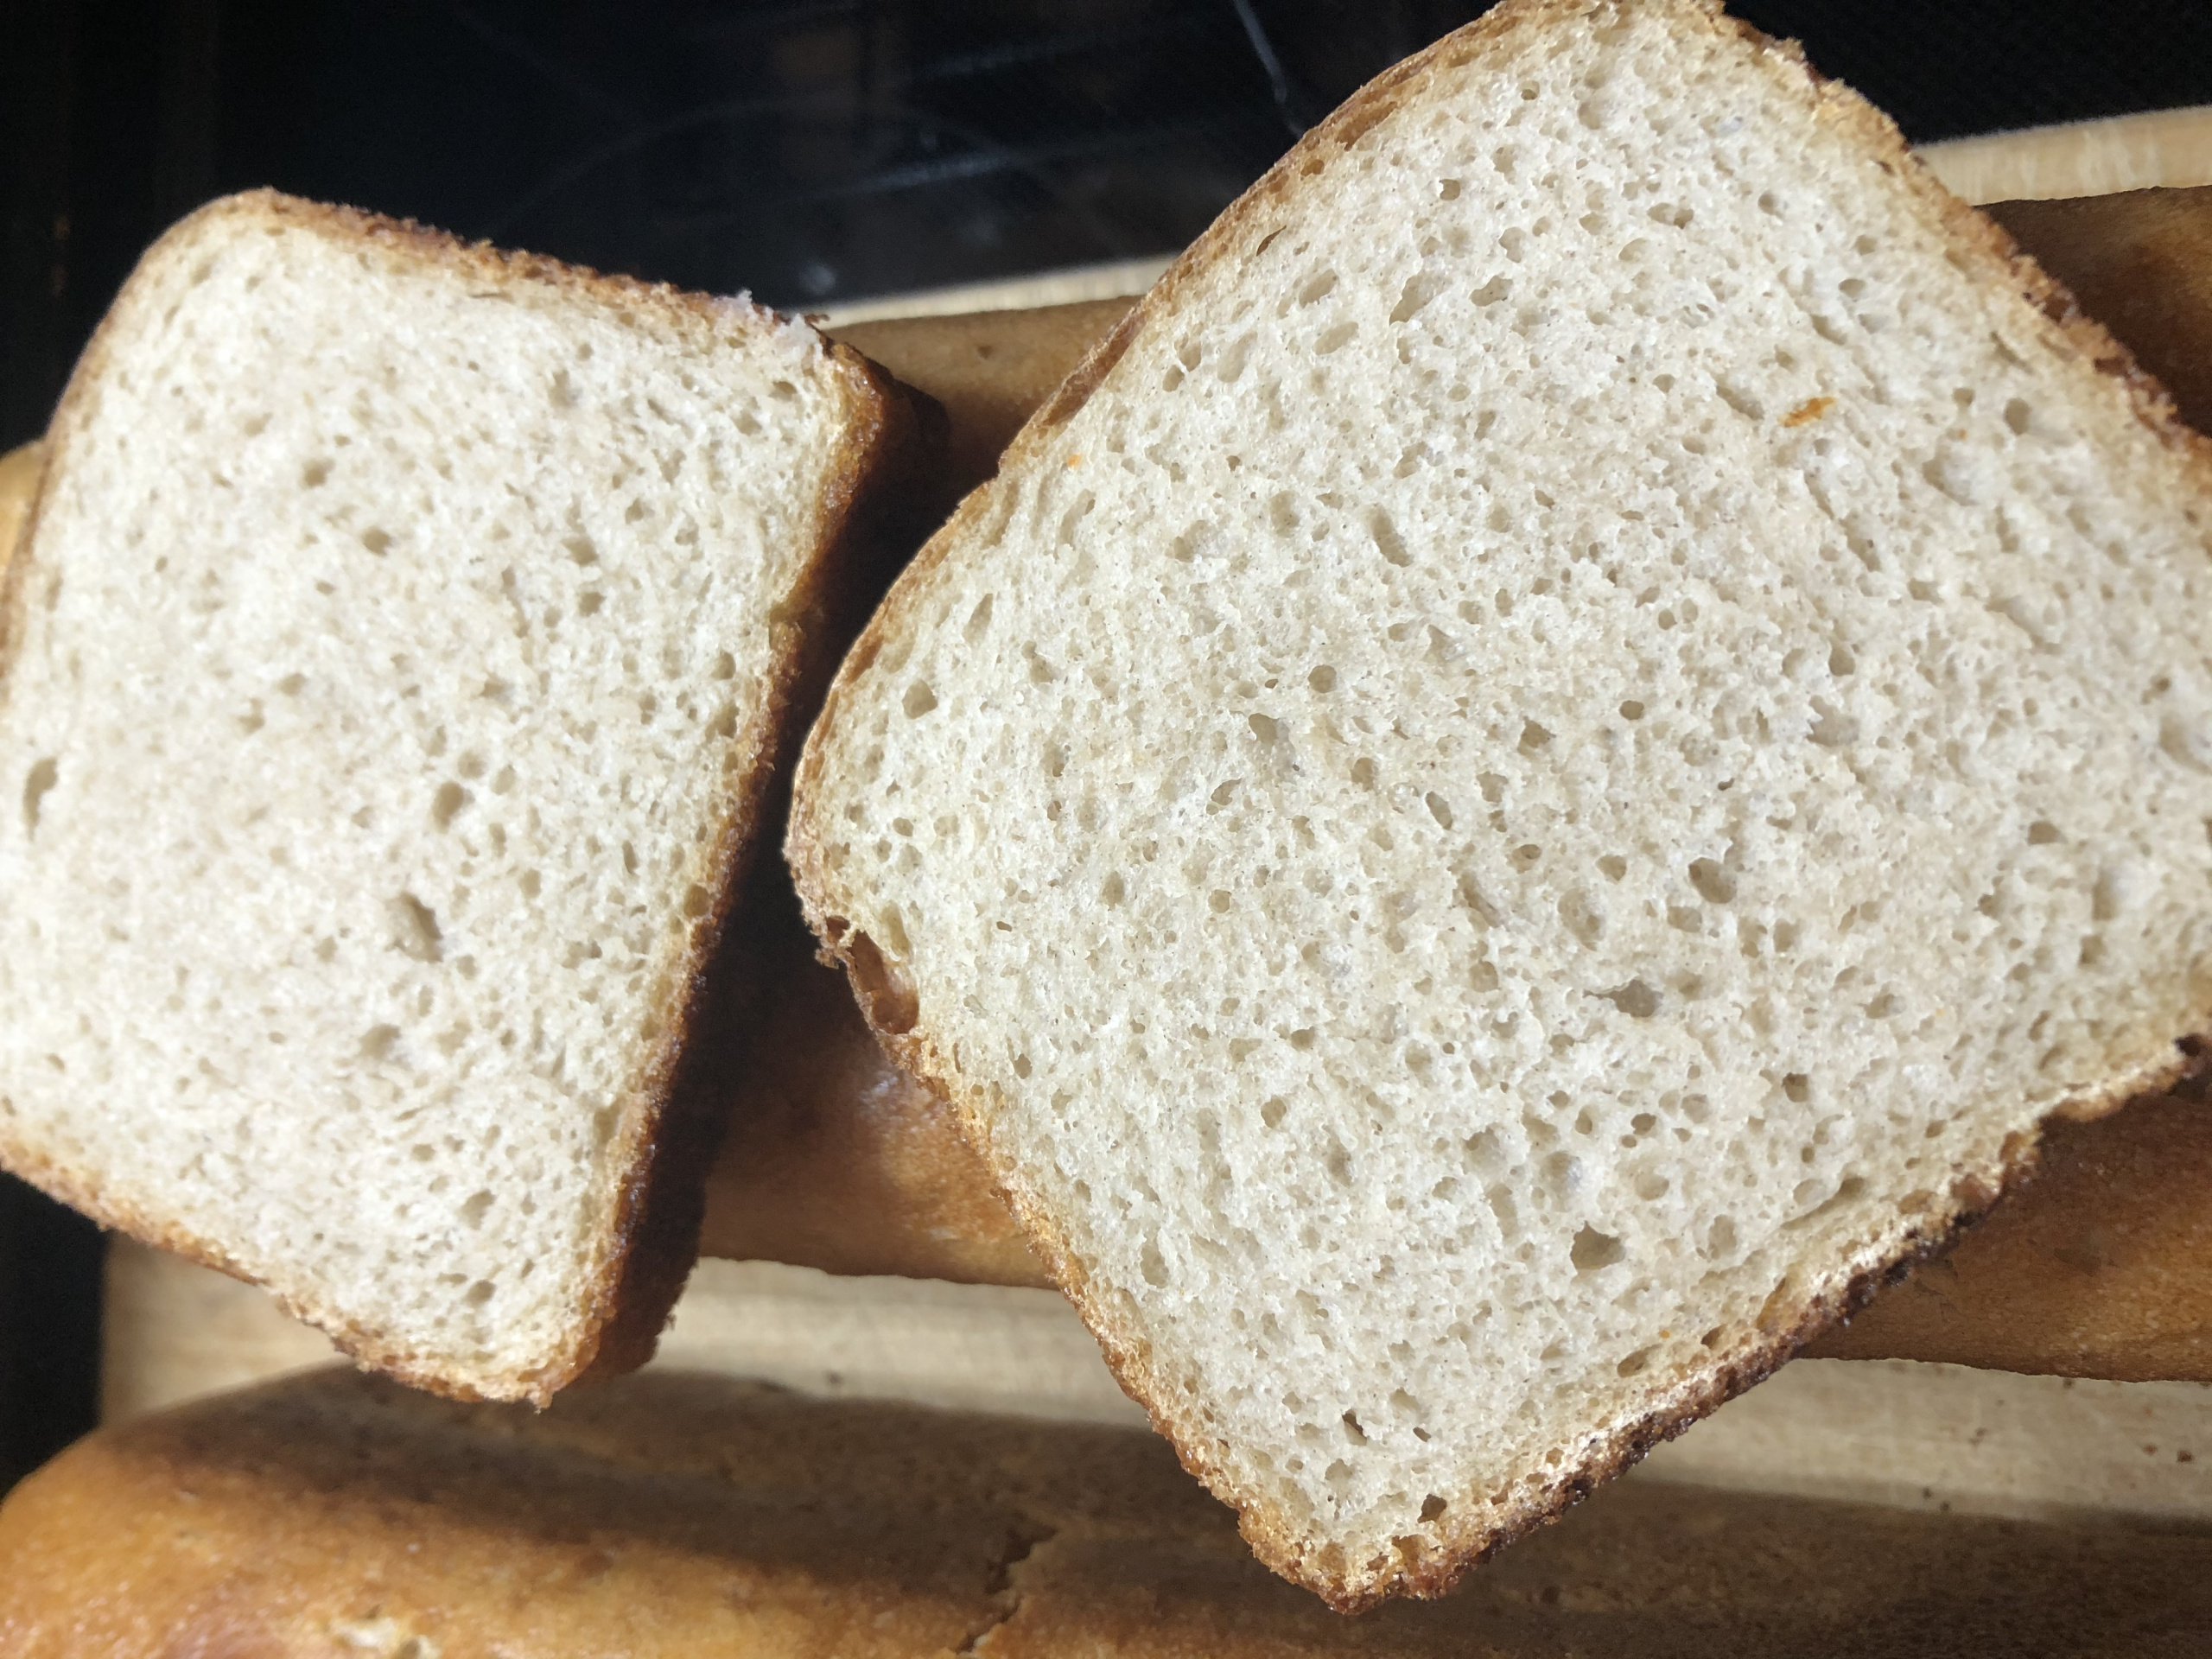
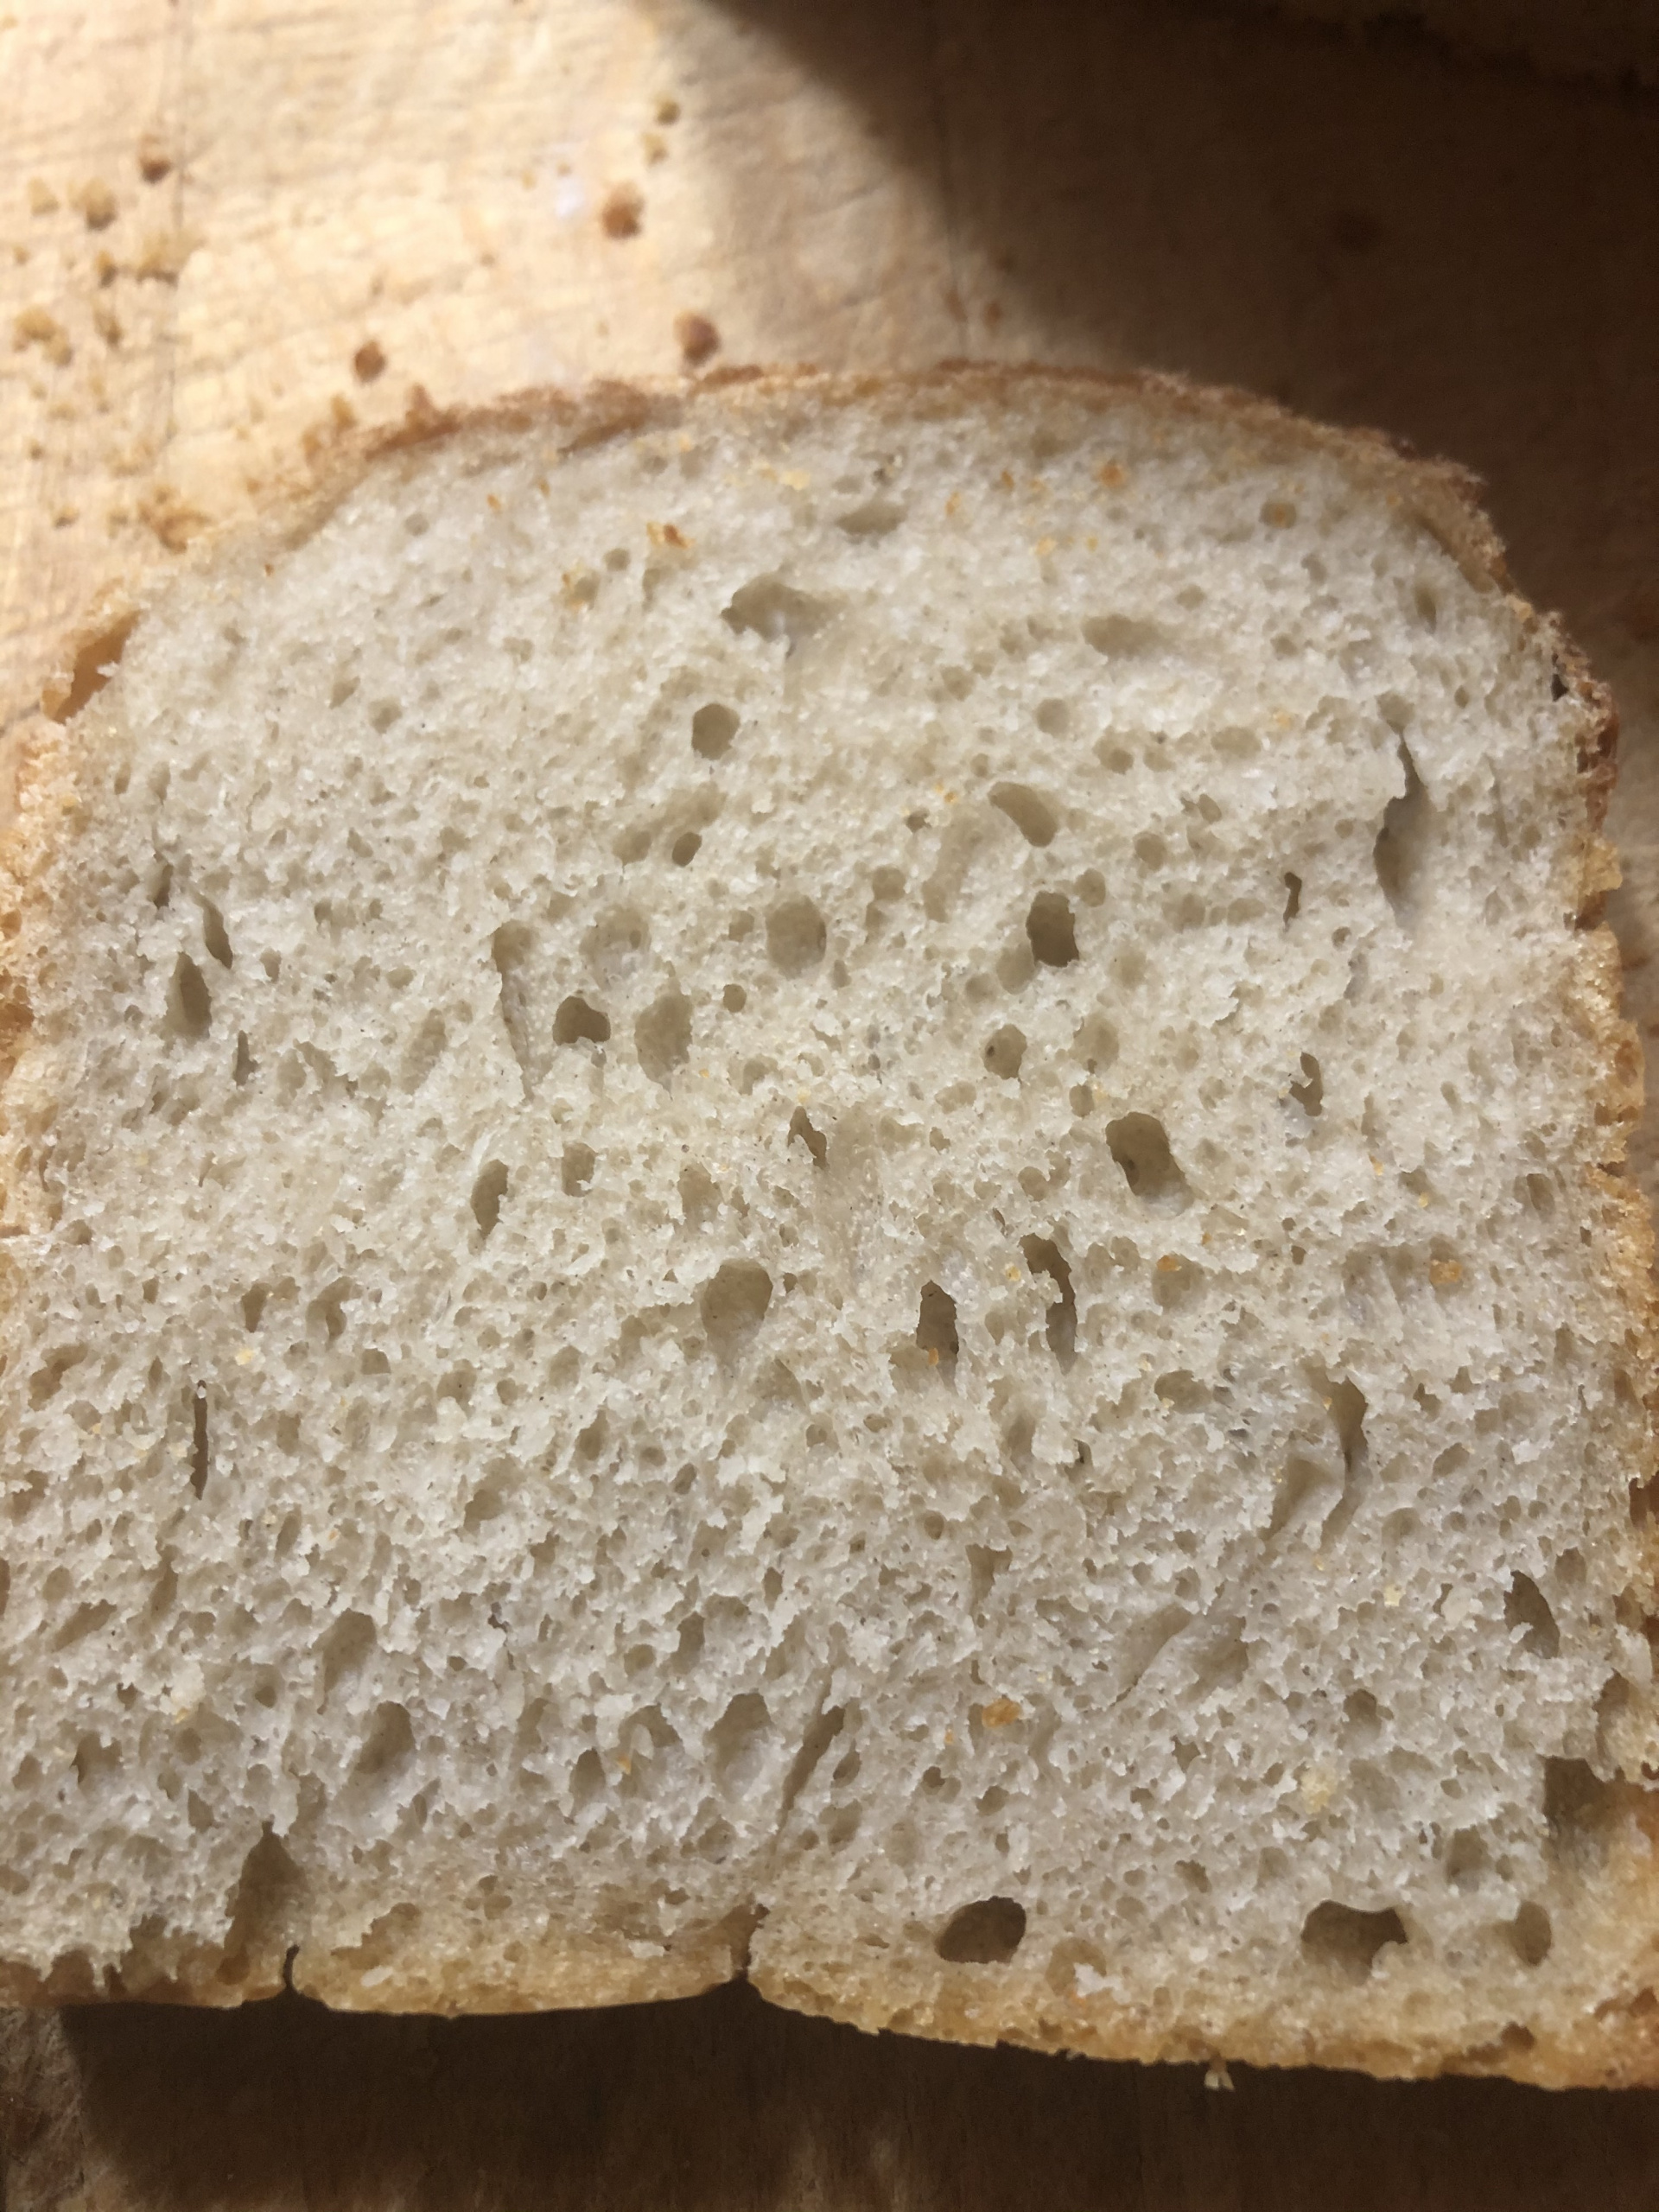
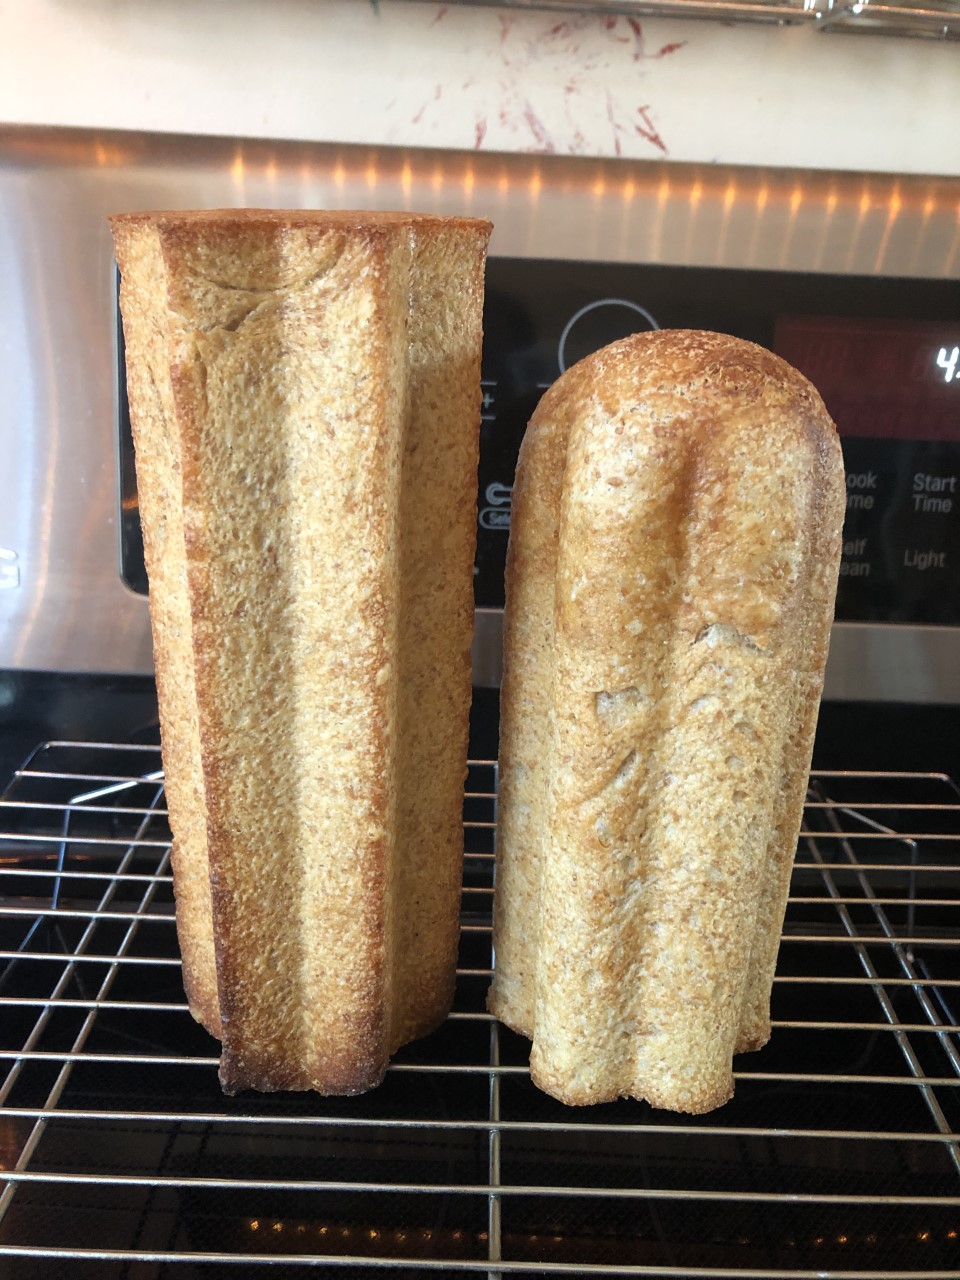
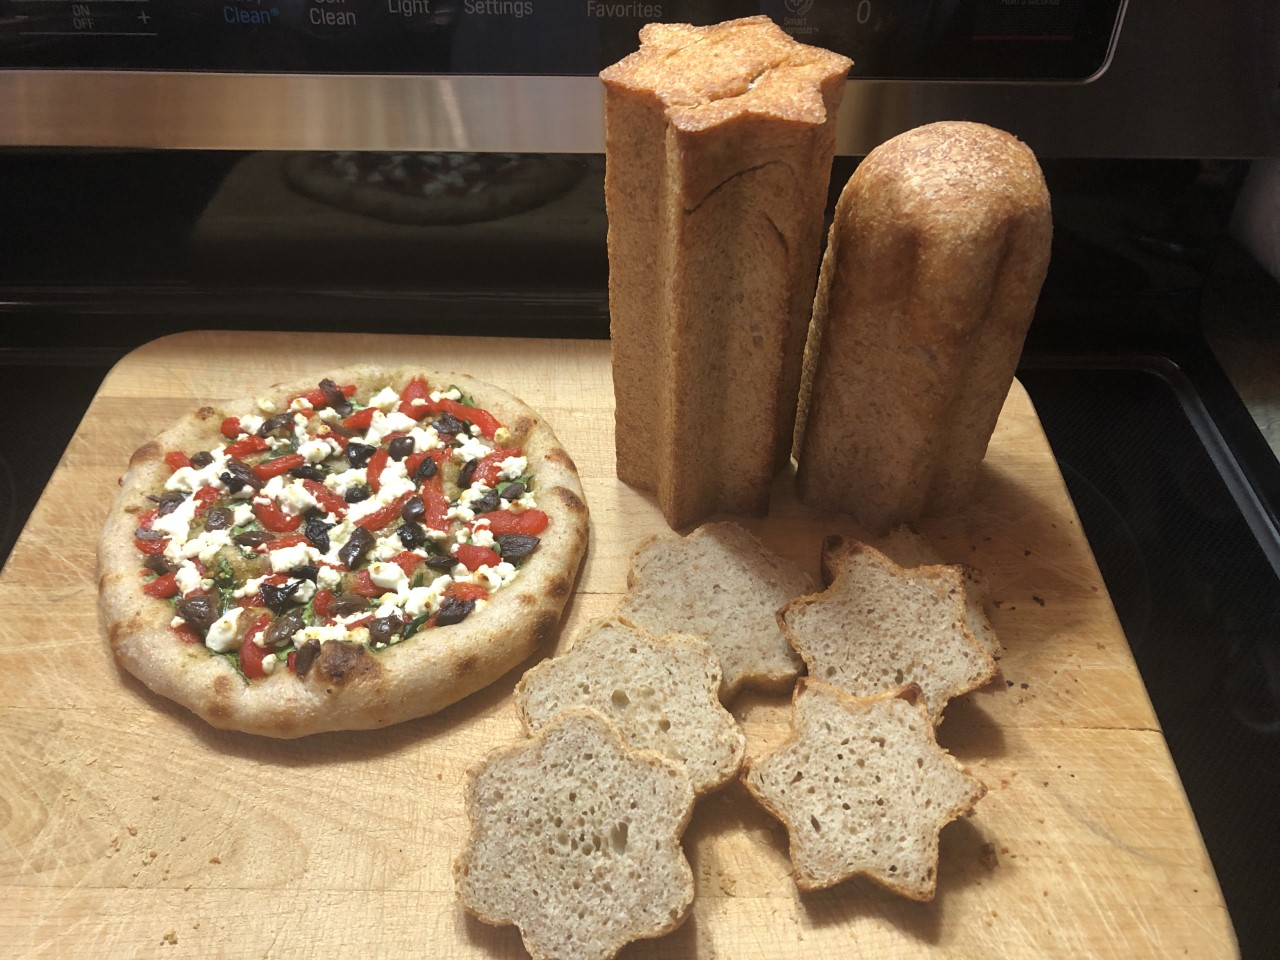
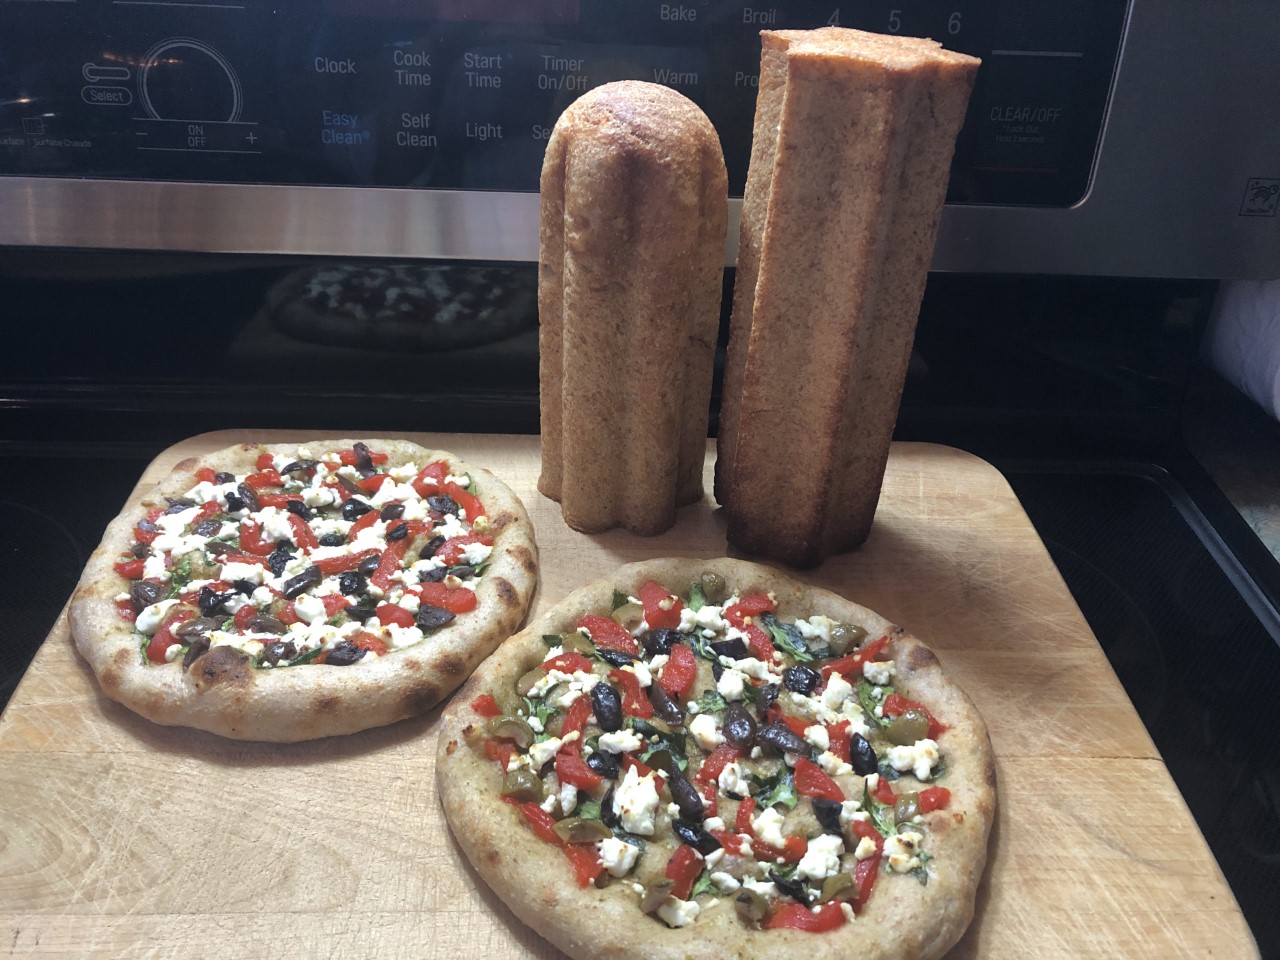
My life has been very hectic lately, but I did not abandon baking and cooking altogether. I wanted to keep it simple and baked 2 sourdough sandwich loaves of bread once a week. For that, I used my old Pullman loaf pans. Each of them measures 13.58 x 5.39 x 4.72 inches. According to the manufacturer, each pan can accommodate 2.2 lbs of dough.
You already know that every dough is different and the volume of the bread largely depends on the type of flour used and the strength of the leavening agent. The 2.2 lb refers to yeasted bread made with white all-purpose or bread flour. For my sandwich bread, I use different proportions of organic all-purpose flour and white rye flour. The following proportions are just for your reference.
A Pullman loaf pan works best, but any loaf pan will do just fine, even without a lid.
Ingredients:
I used a 50/50 percent combo of organic all-purpose flour and white rye flour respectively, and a 30/70 percent combo. The higher the percentage of rye flour you use, the more pronounced the sour taste you get. It is not very sour in both combinations.
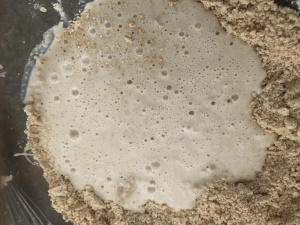
Mixing and the First Fermentation:
I mixed the dough at medium speed for 5 minutes, stretched and folded the dough onto itself 3 times at 20-minute intervals, and let it rest for 4 hours.
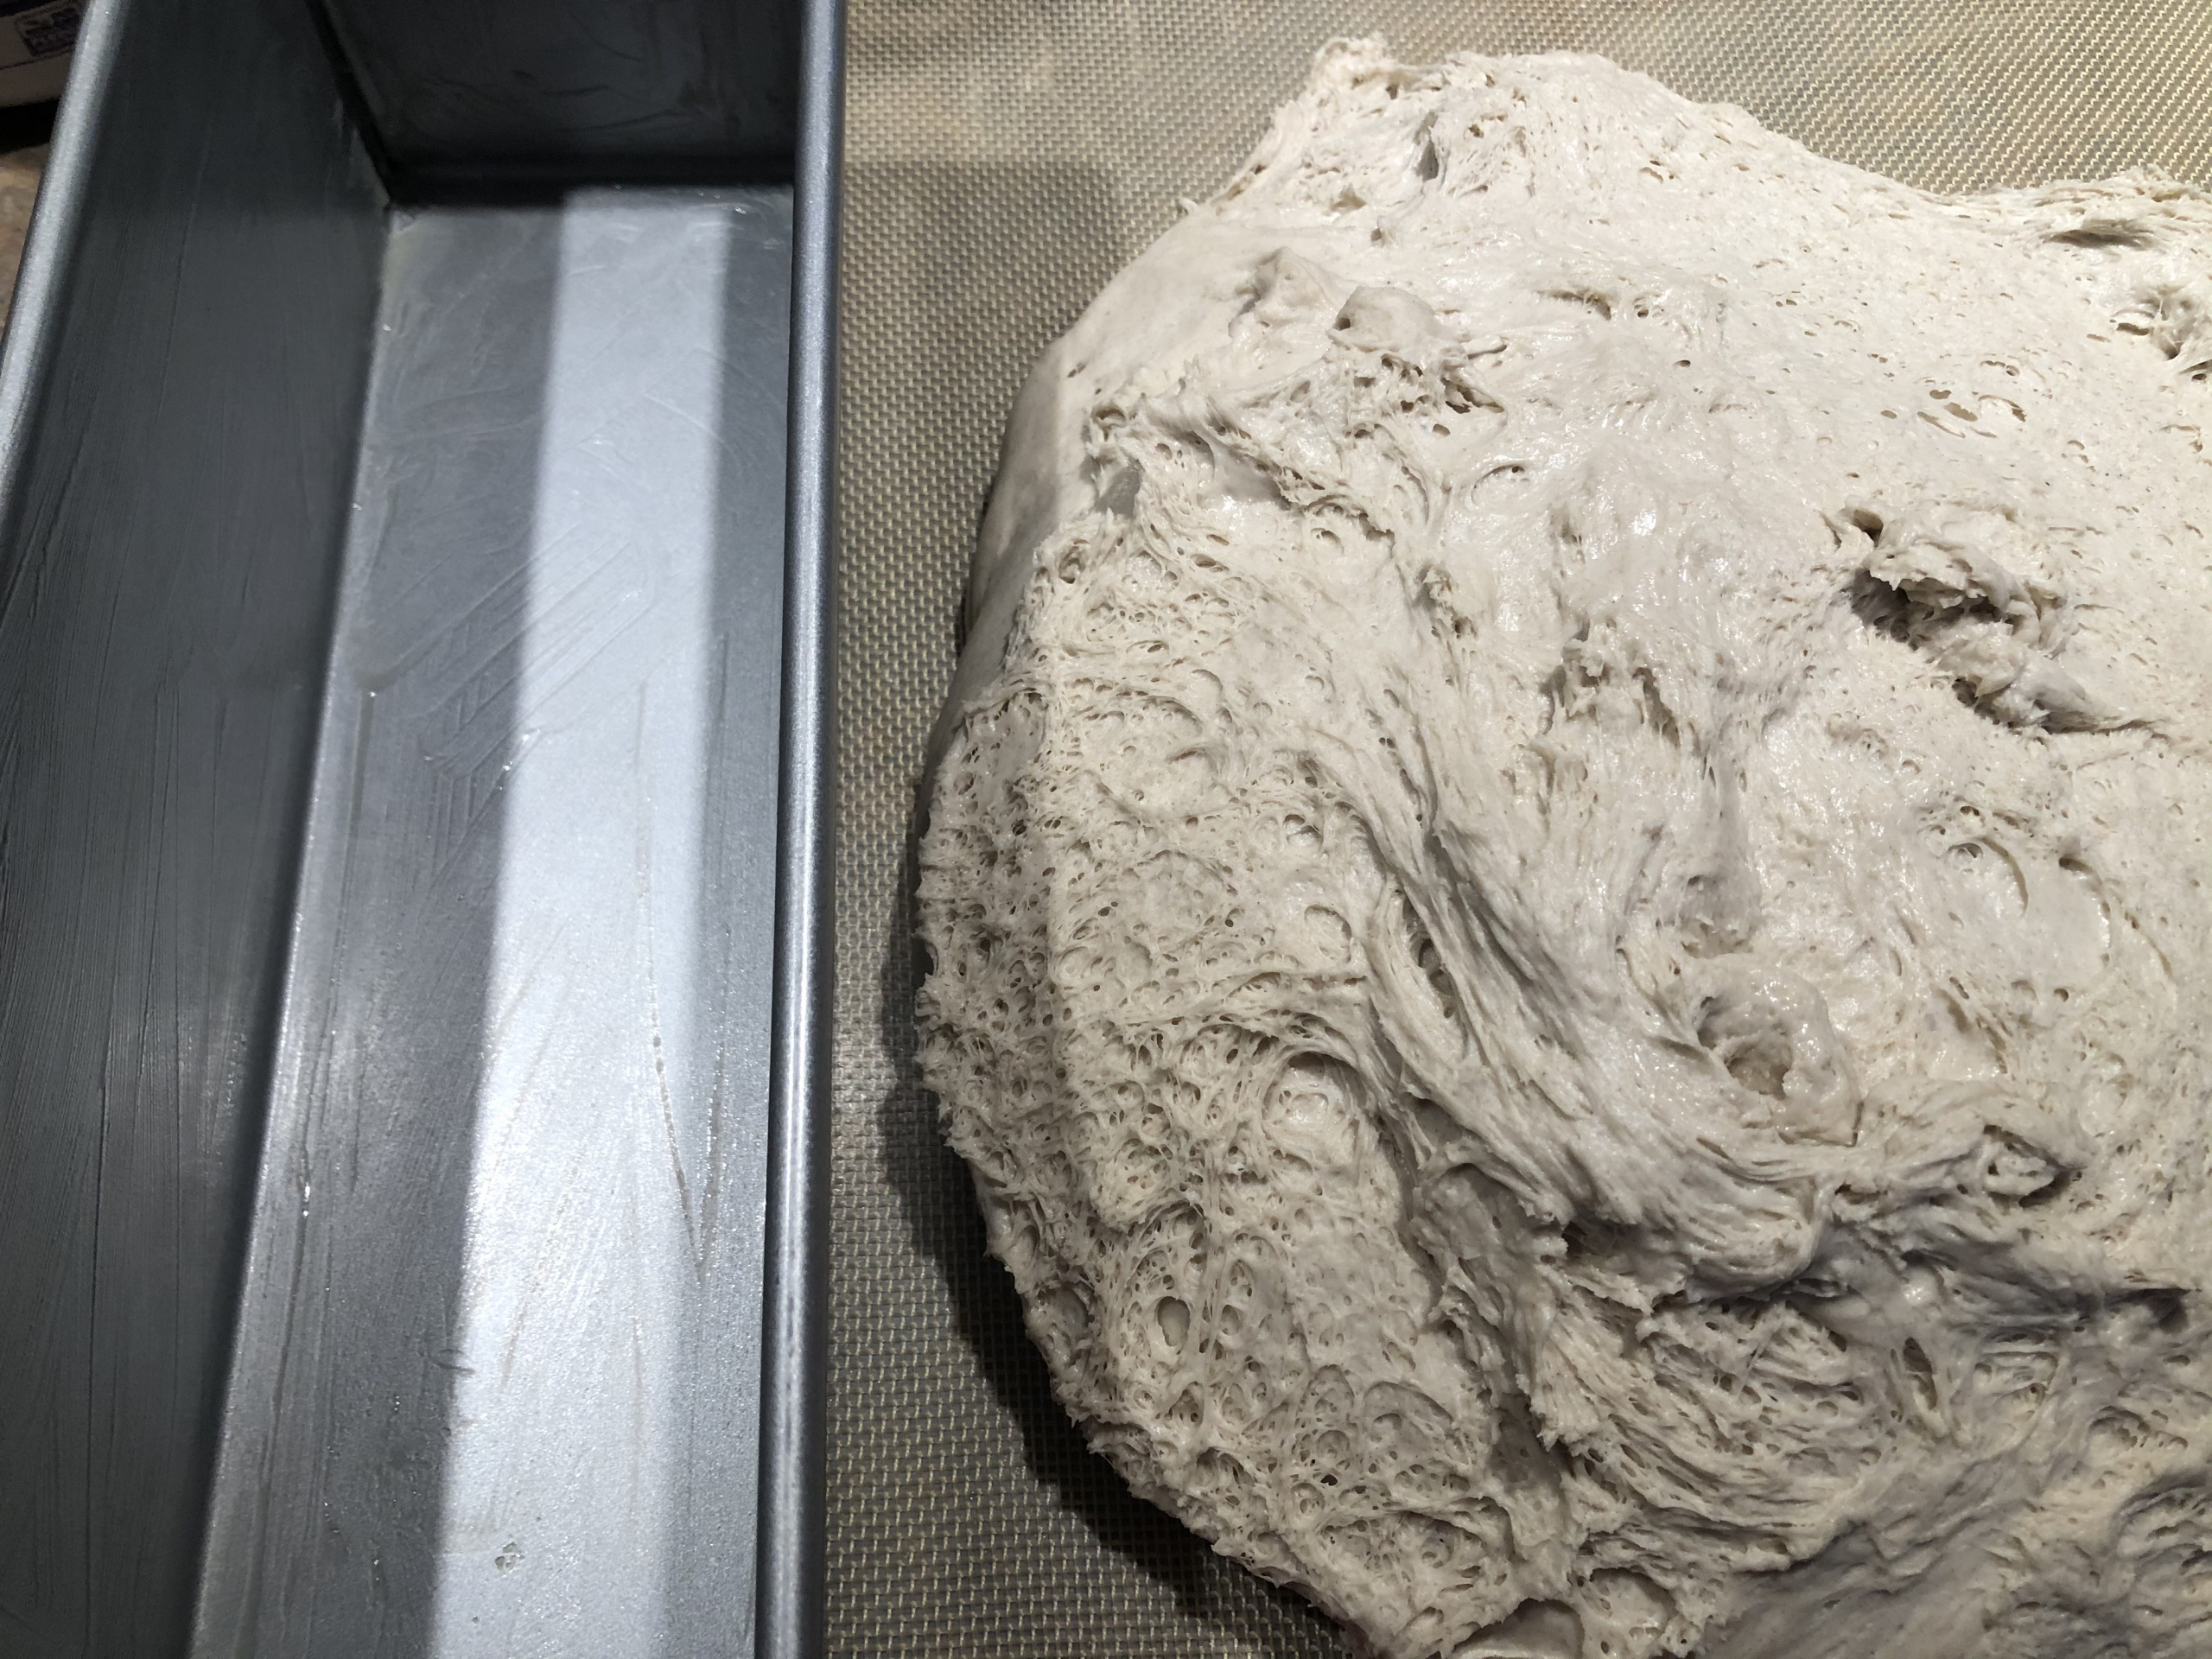
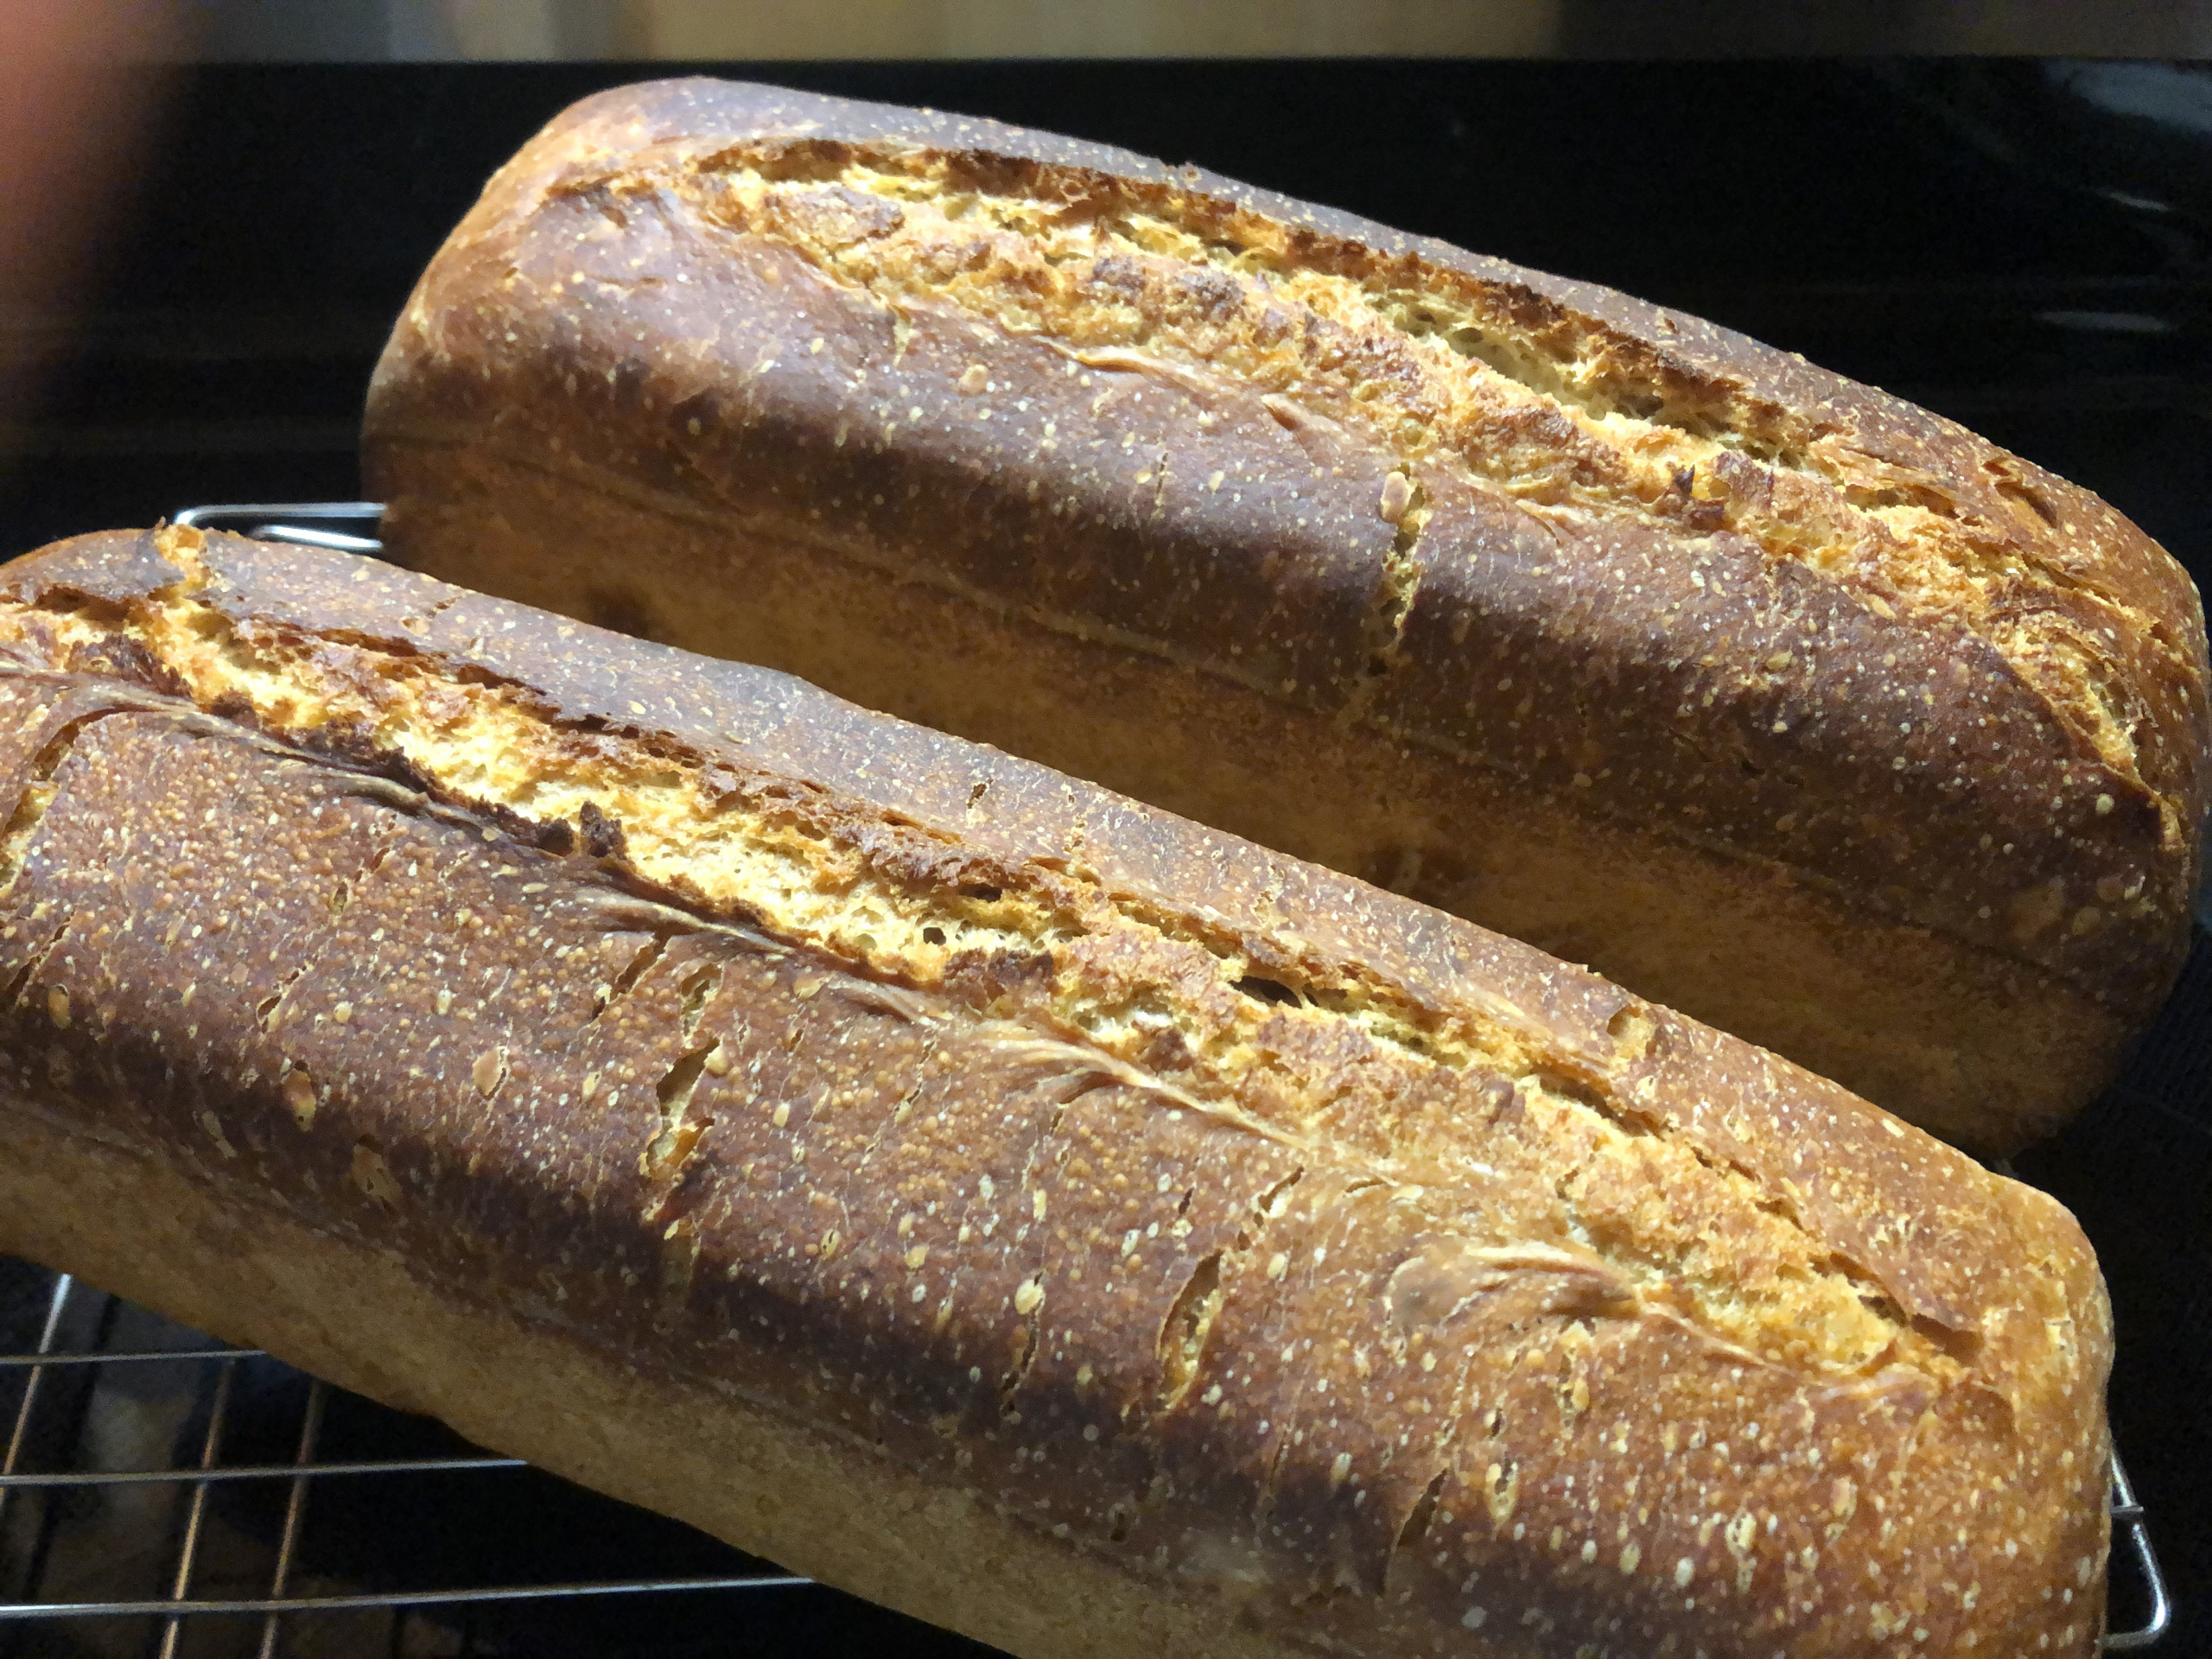
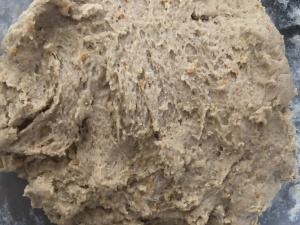
Then, I divided the dough into 2 parts and shaped each half into a long cylinder.
I used Ghee (clarified butter) to grease my Pullman pans. You may use butter or olive oil.
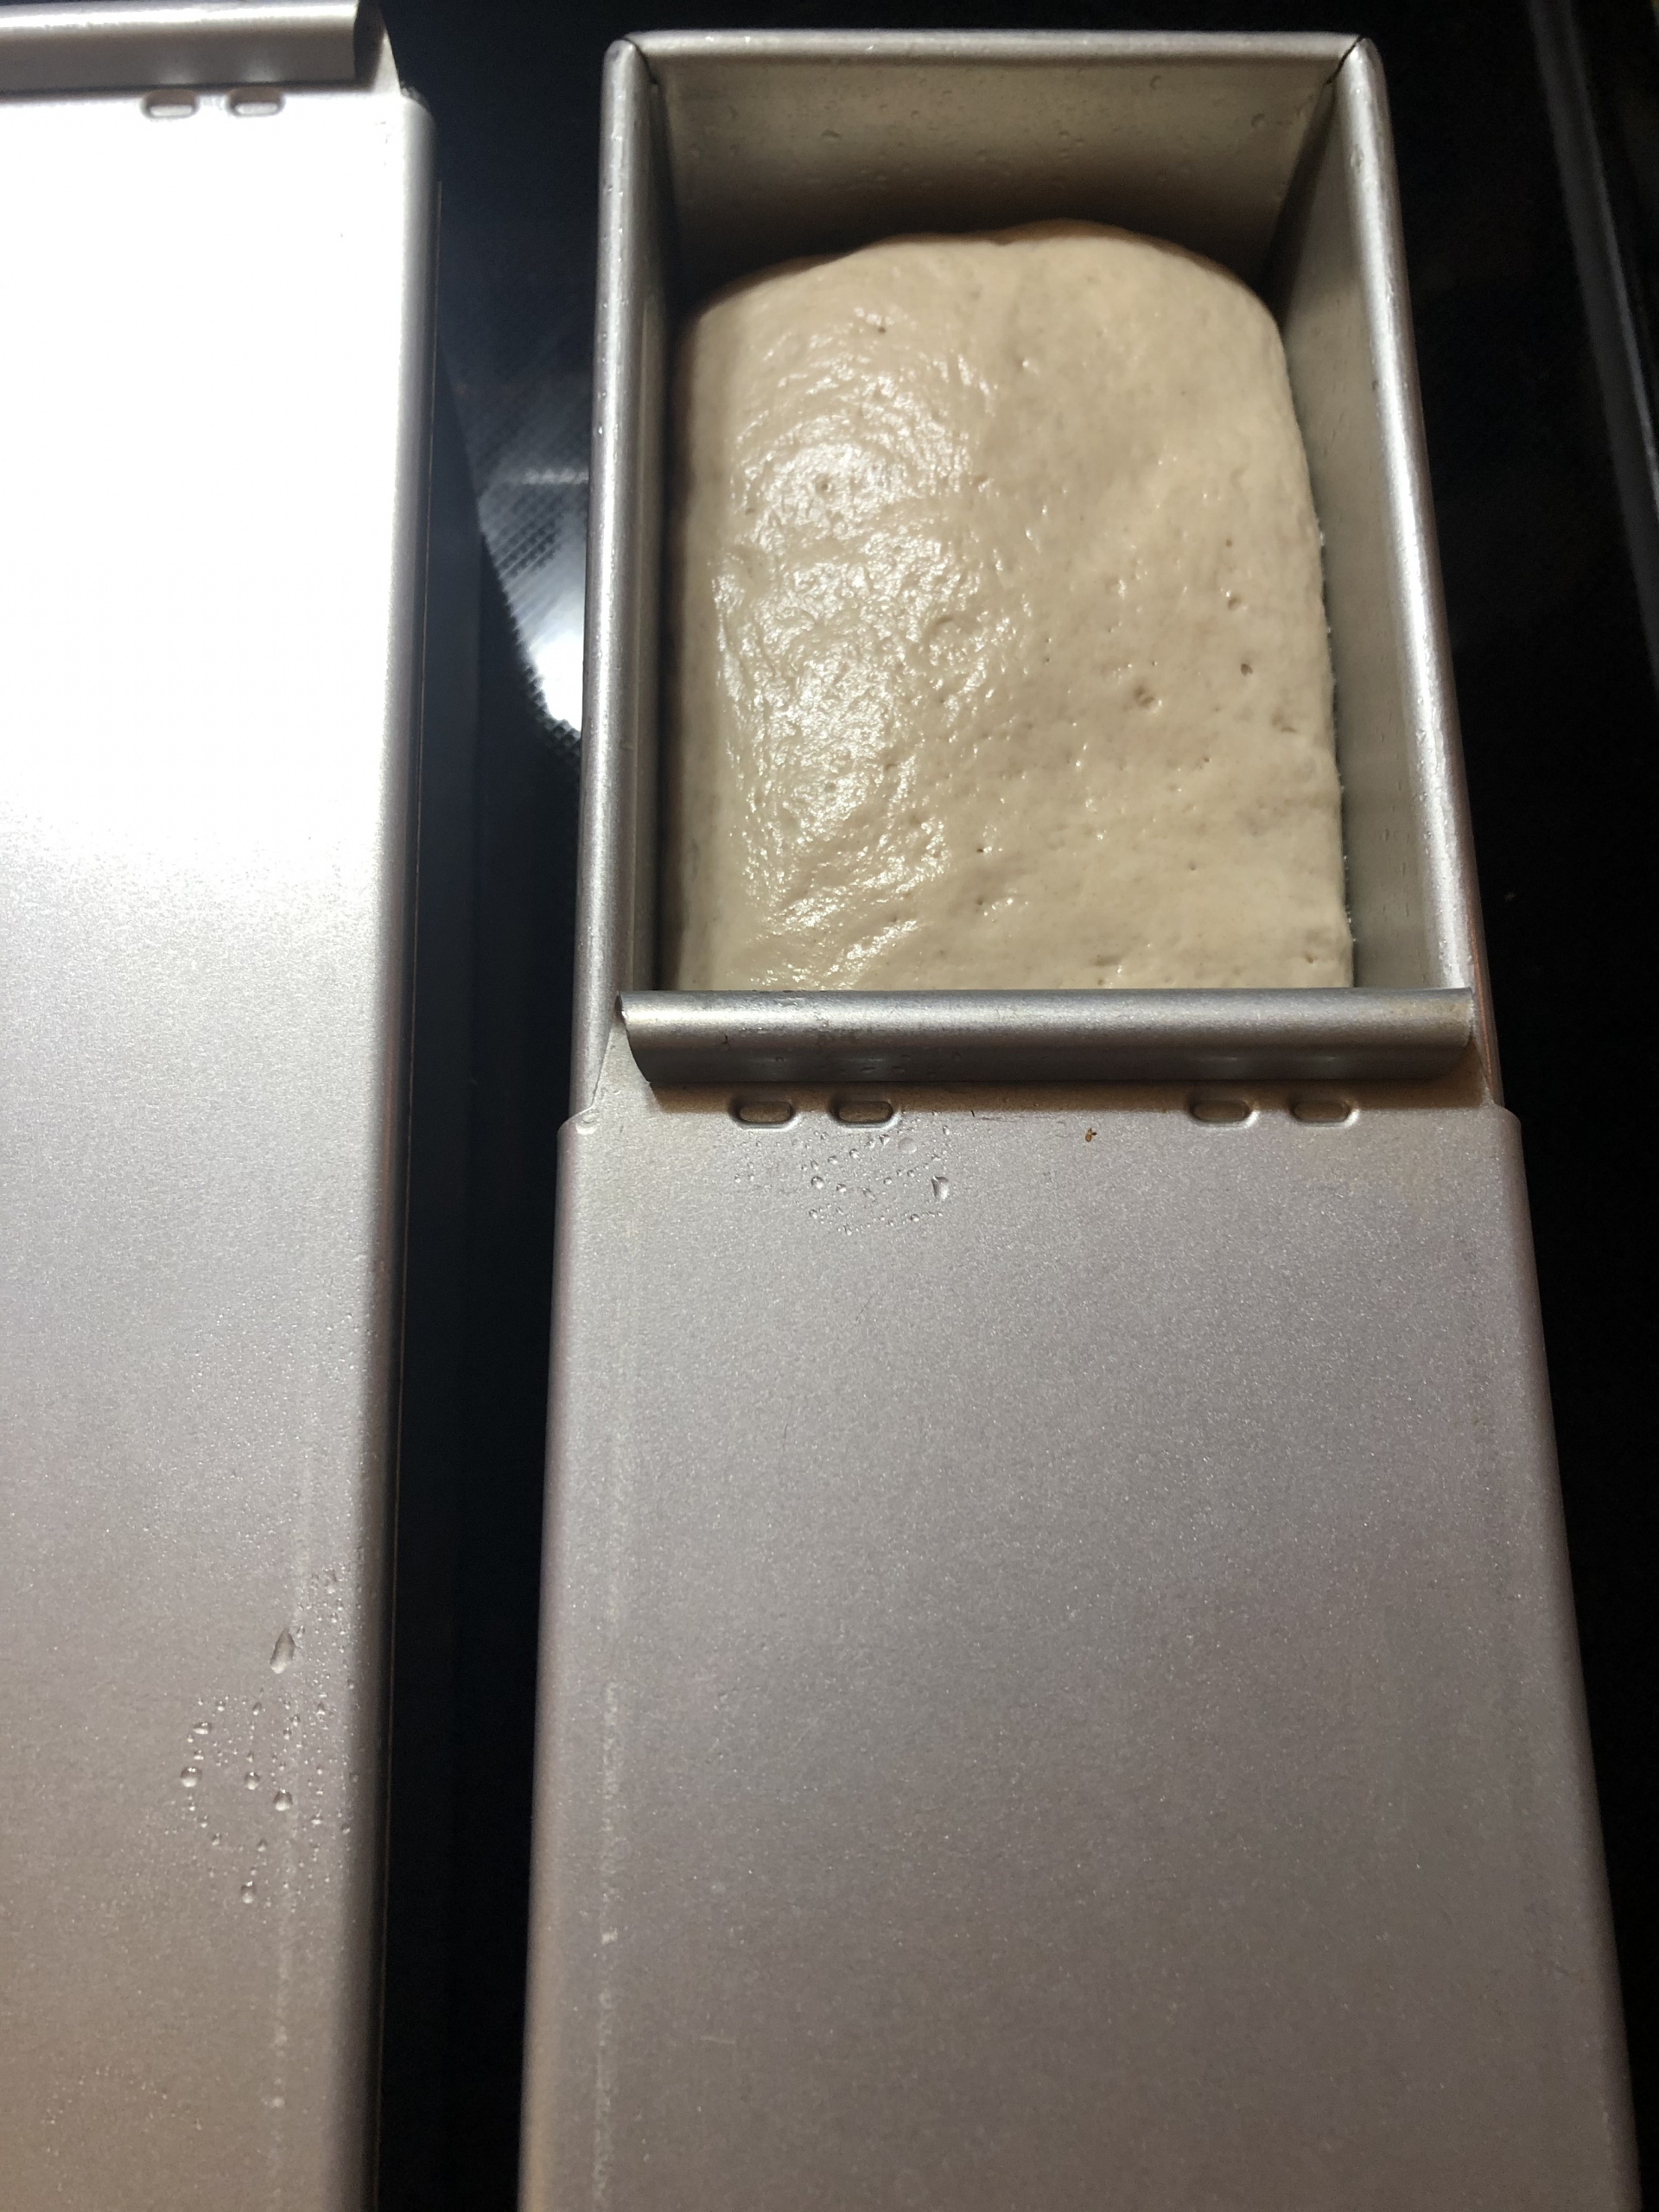
I put my cylinders of dough into the prepared Pullman pans, covered them with greased lids, and placed them in a warm spot for 1 hour.
Baking:
The following photo guide is about the 30/70 formula (30% all-purpose flour and 70% white rye flour).


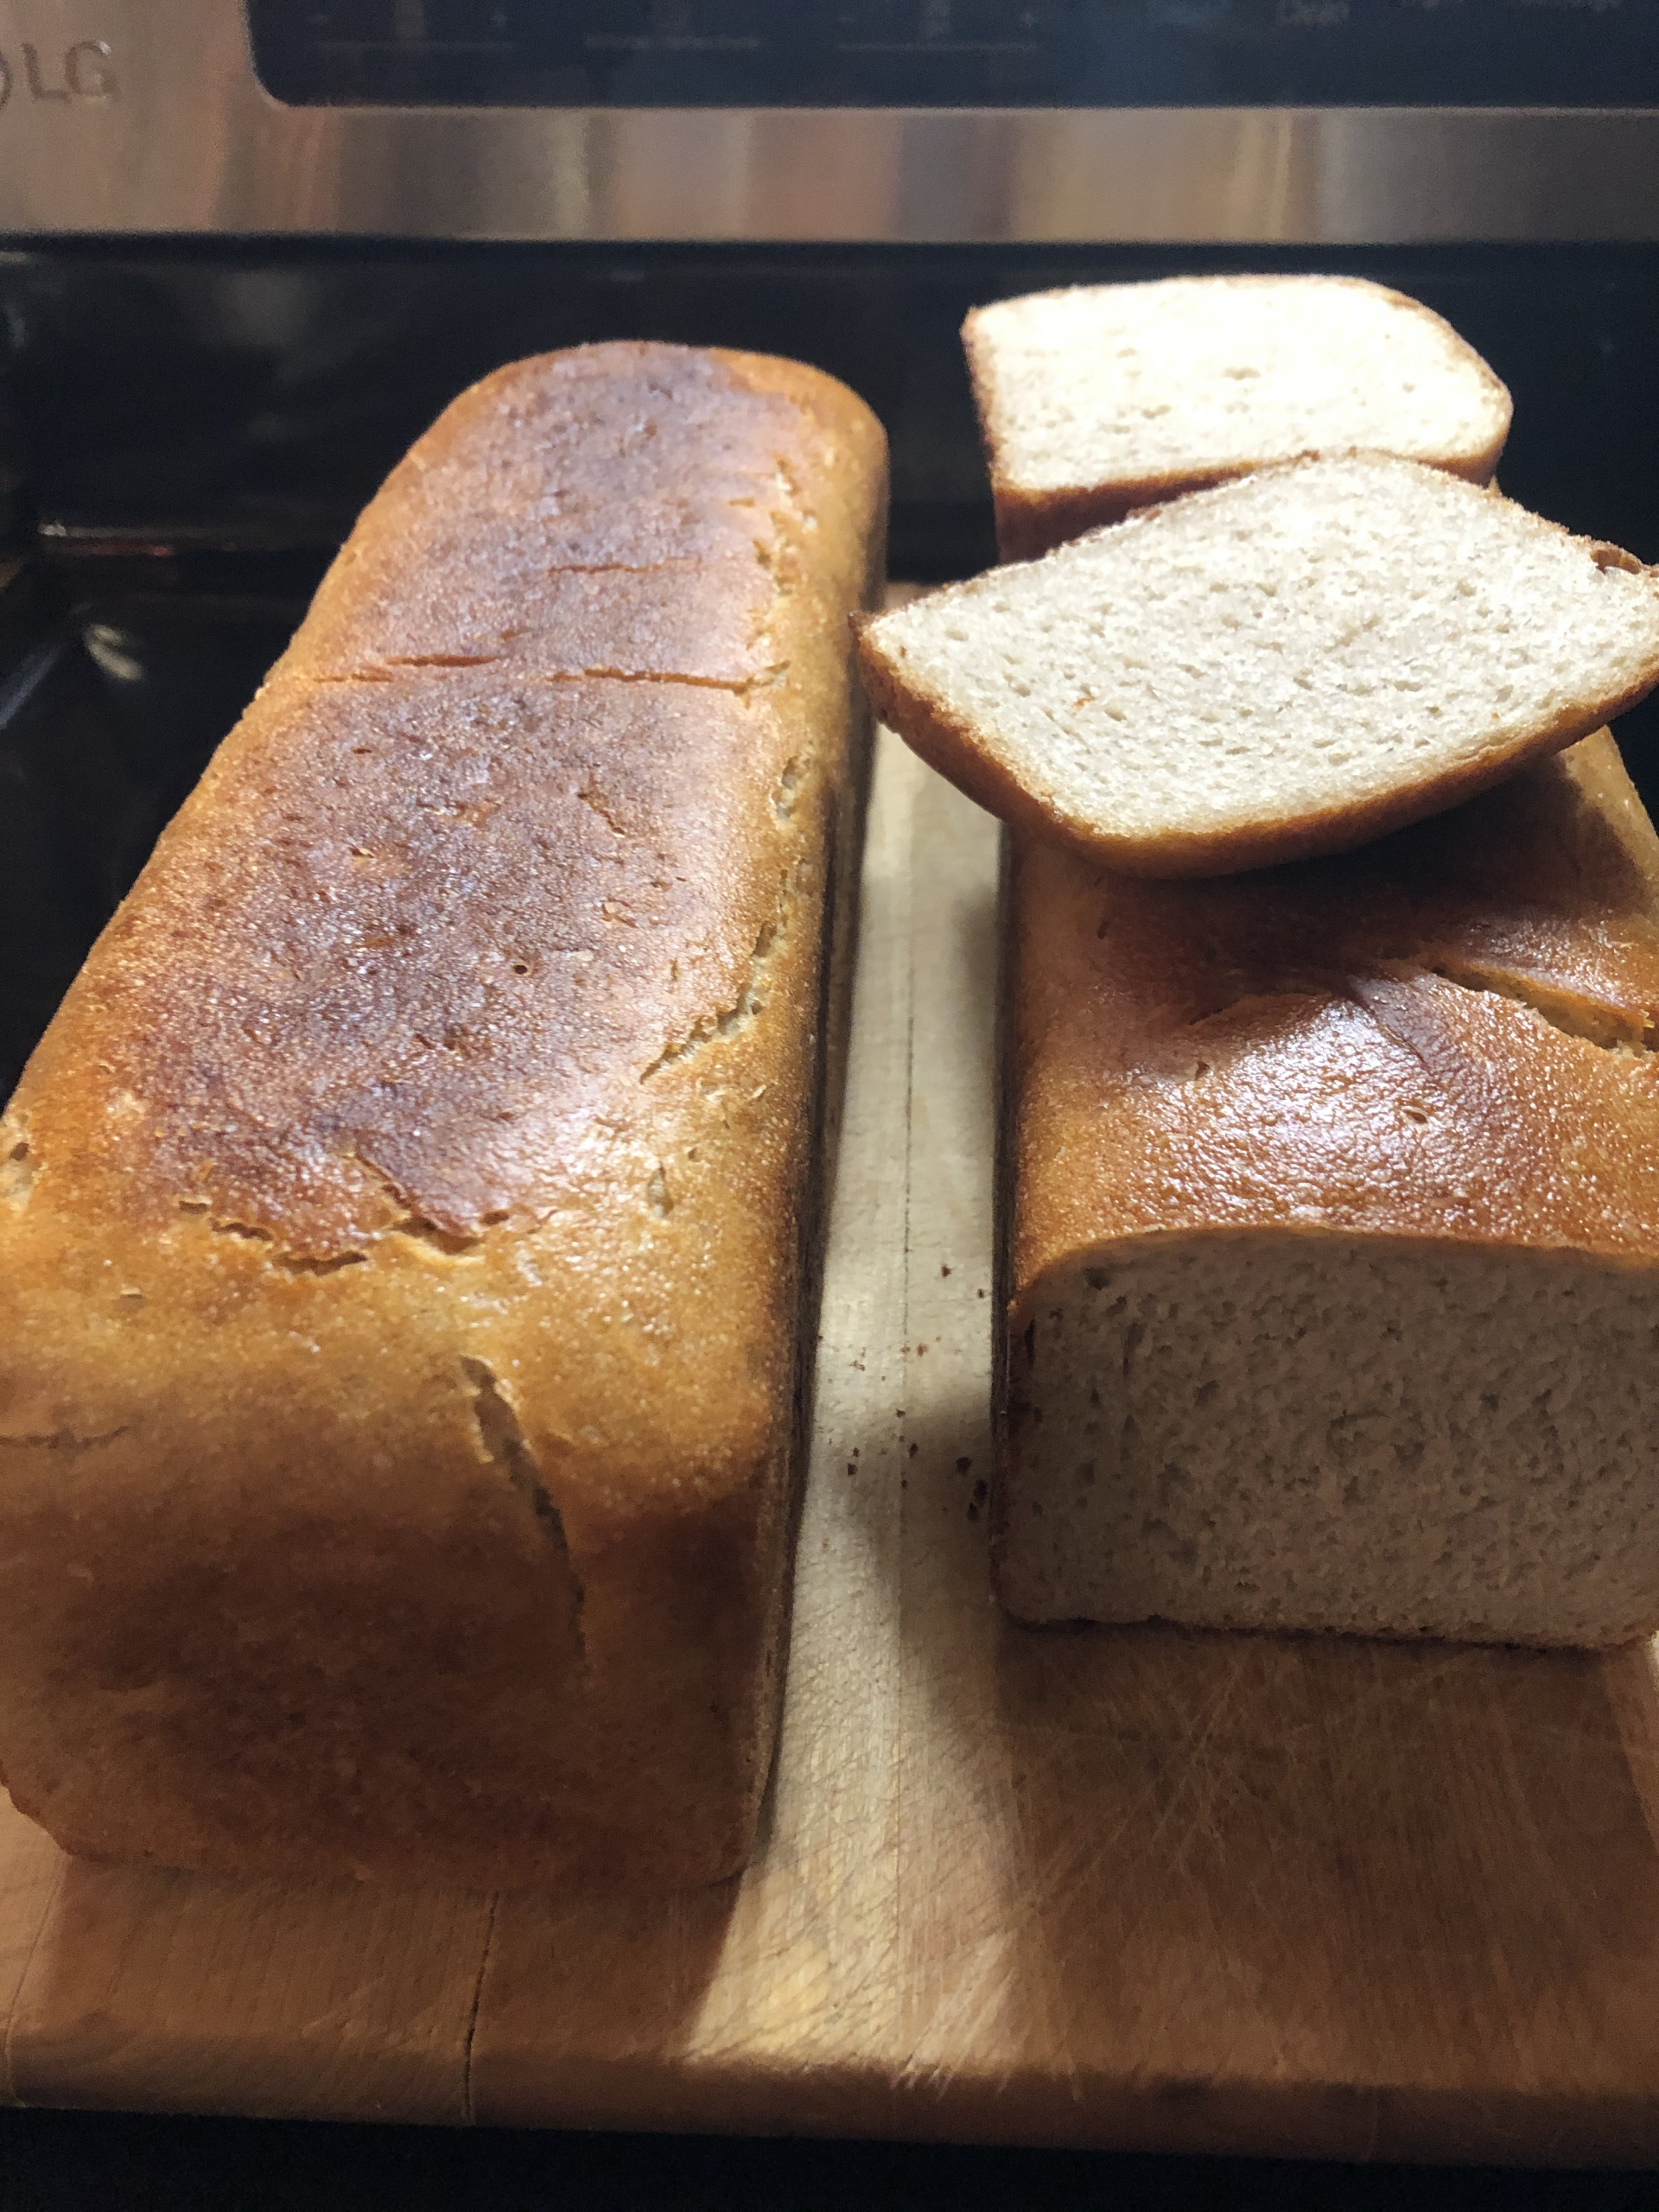

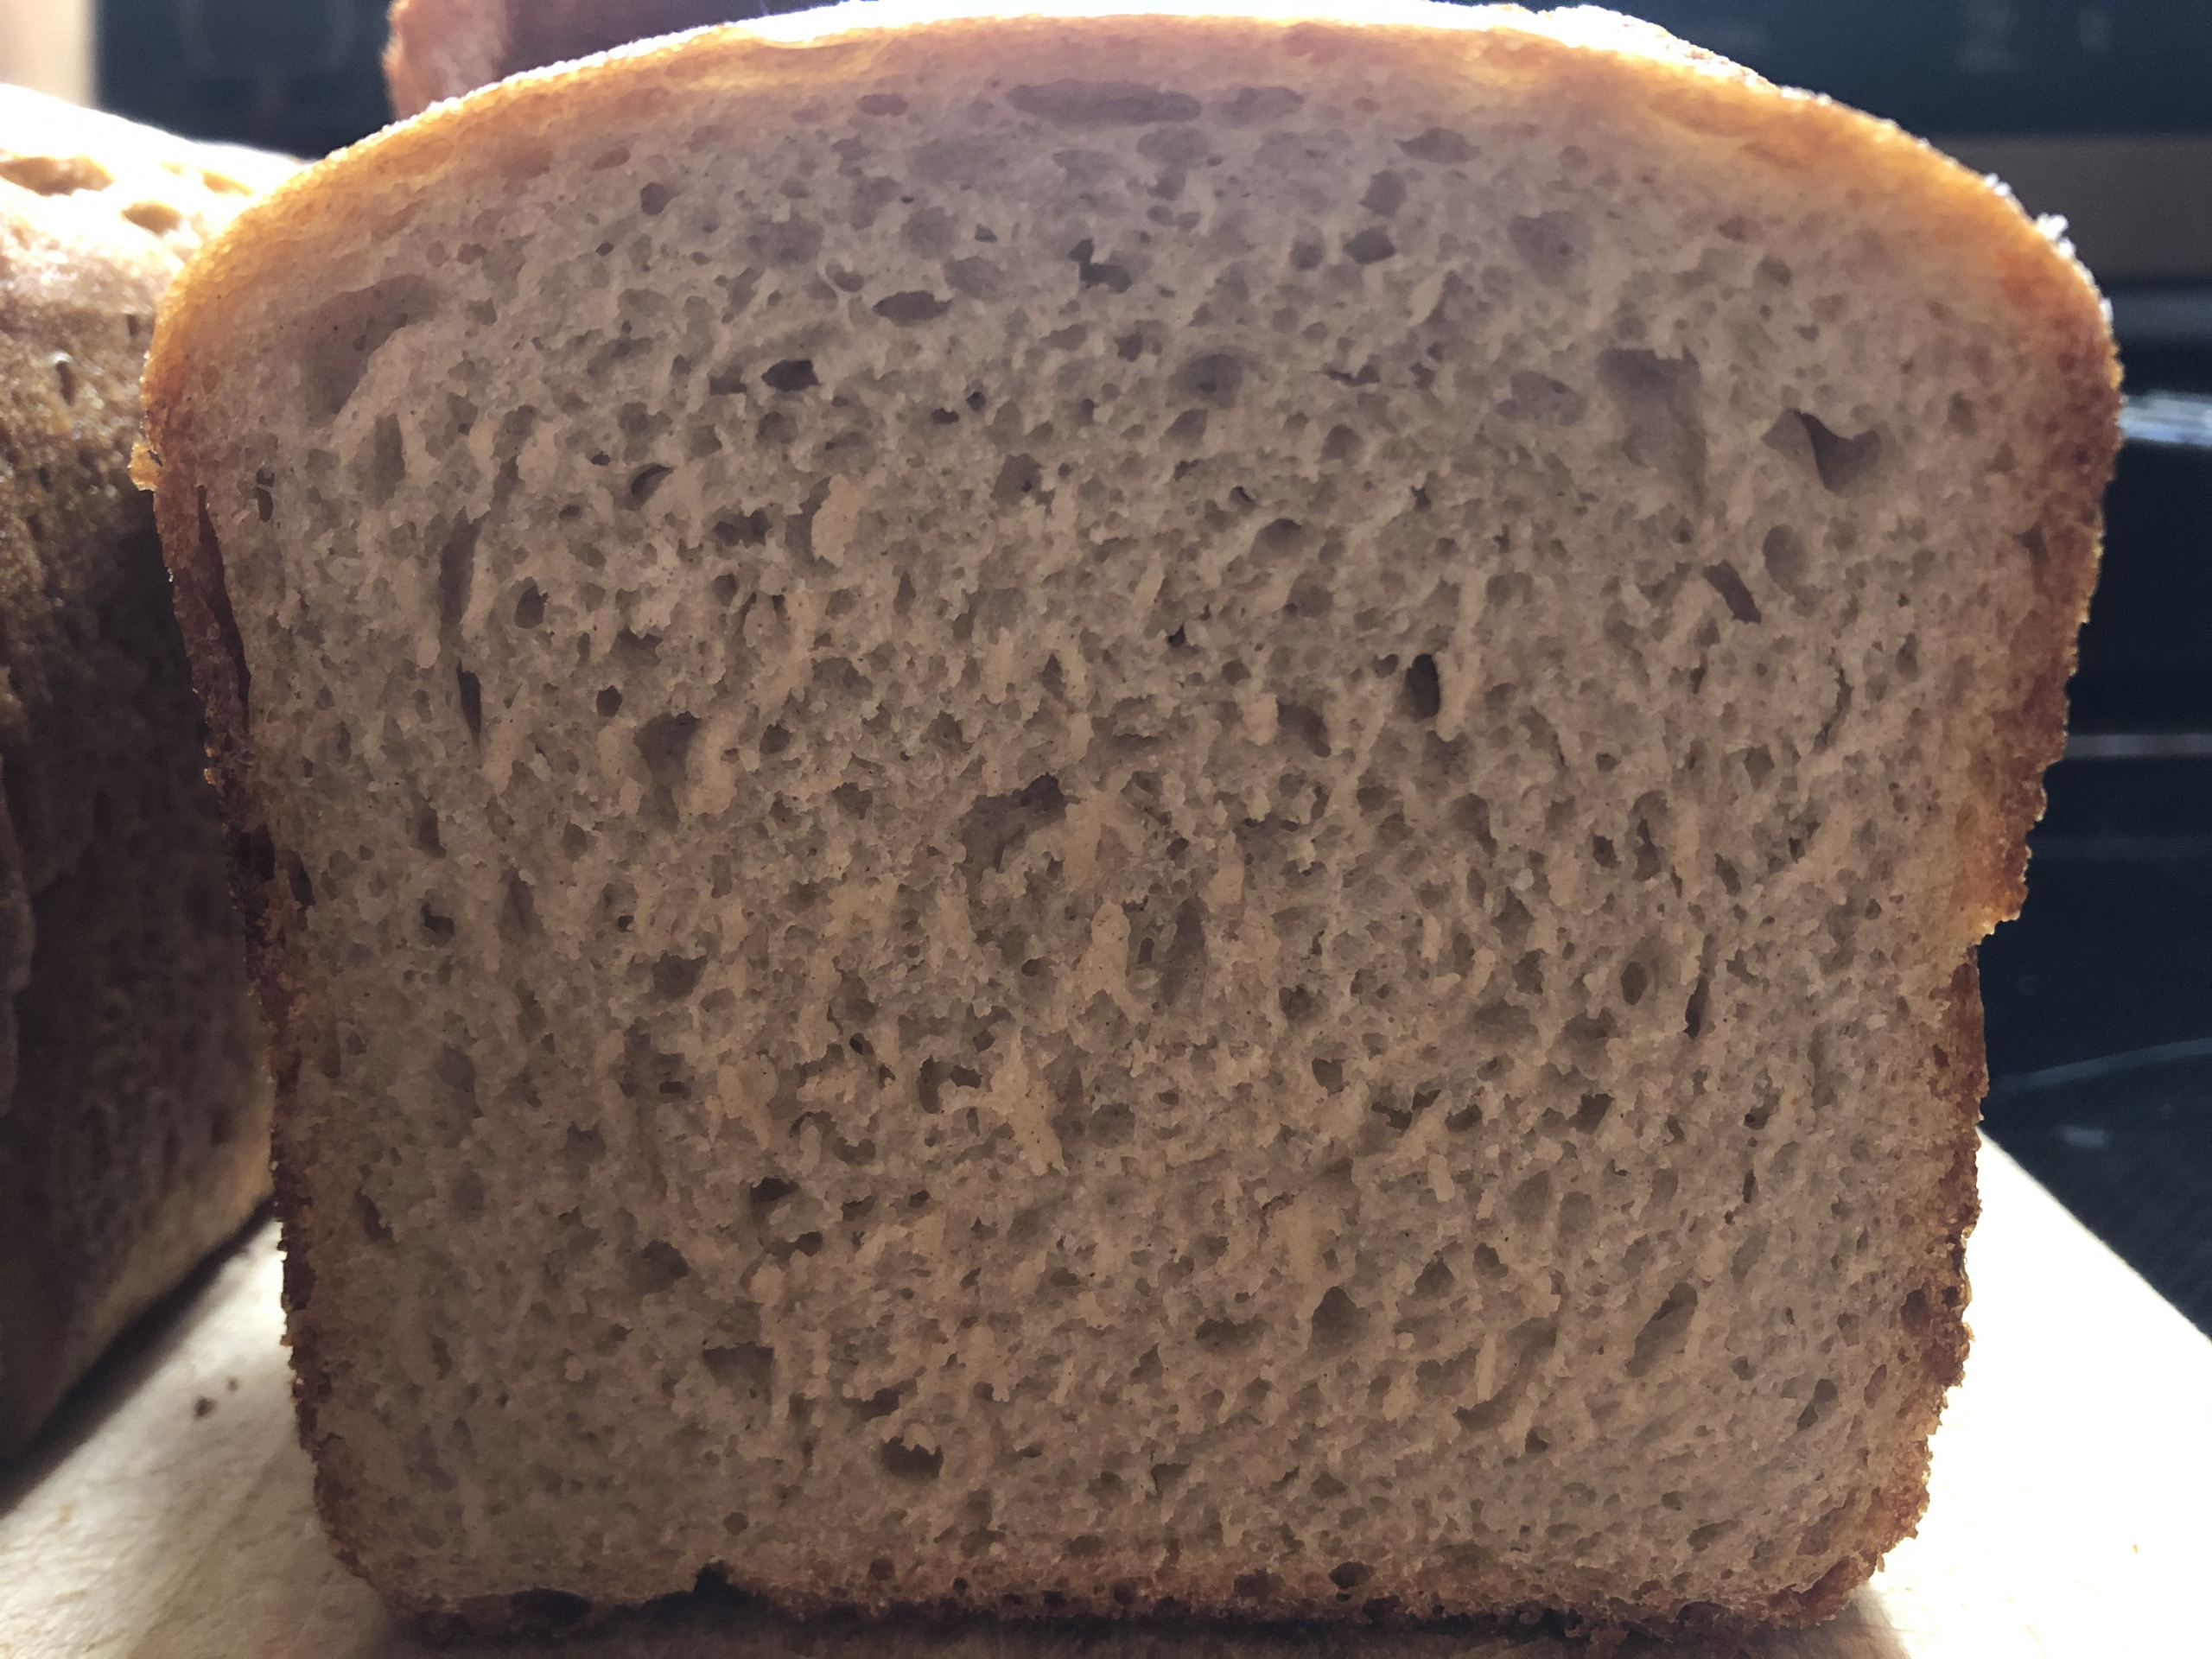
This photo guide depicts the 50/50 formula (50% all-purpose flour and 50% white rye flour).


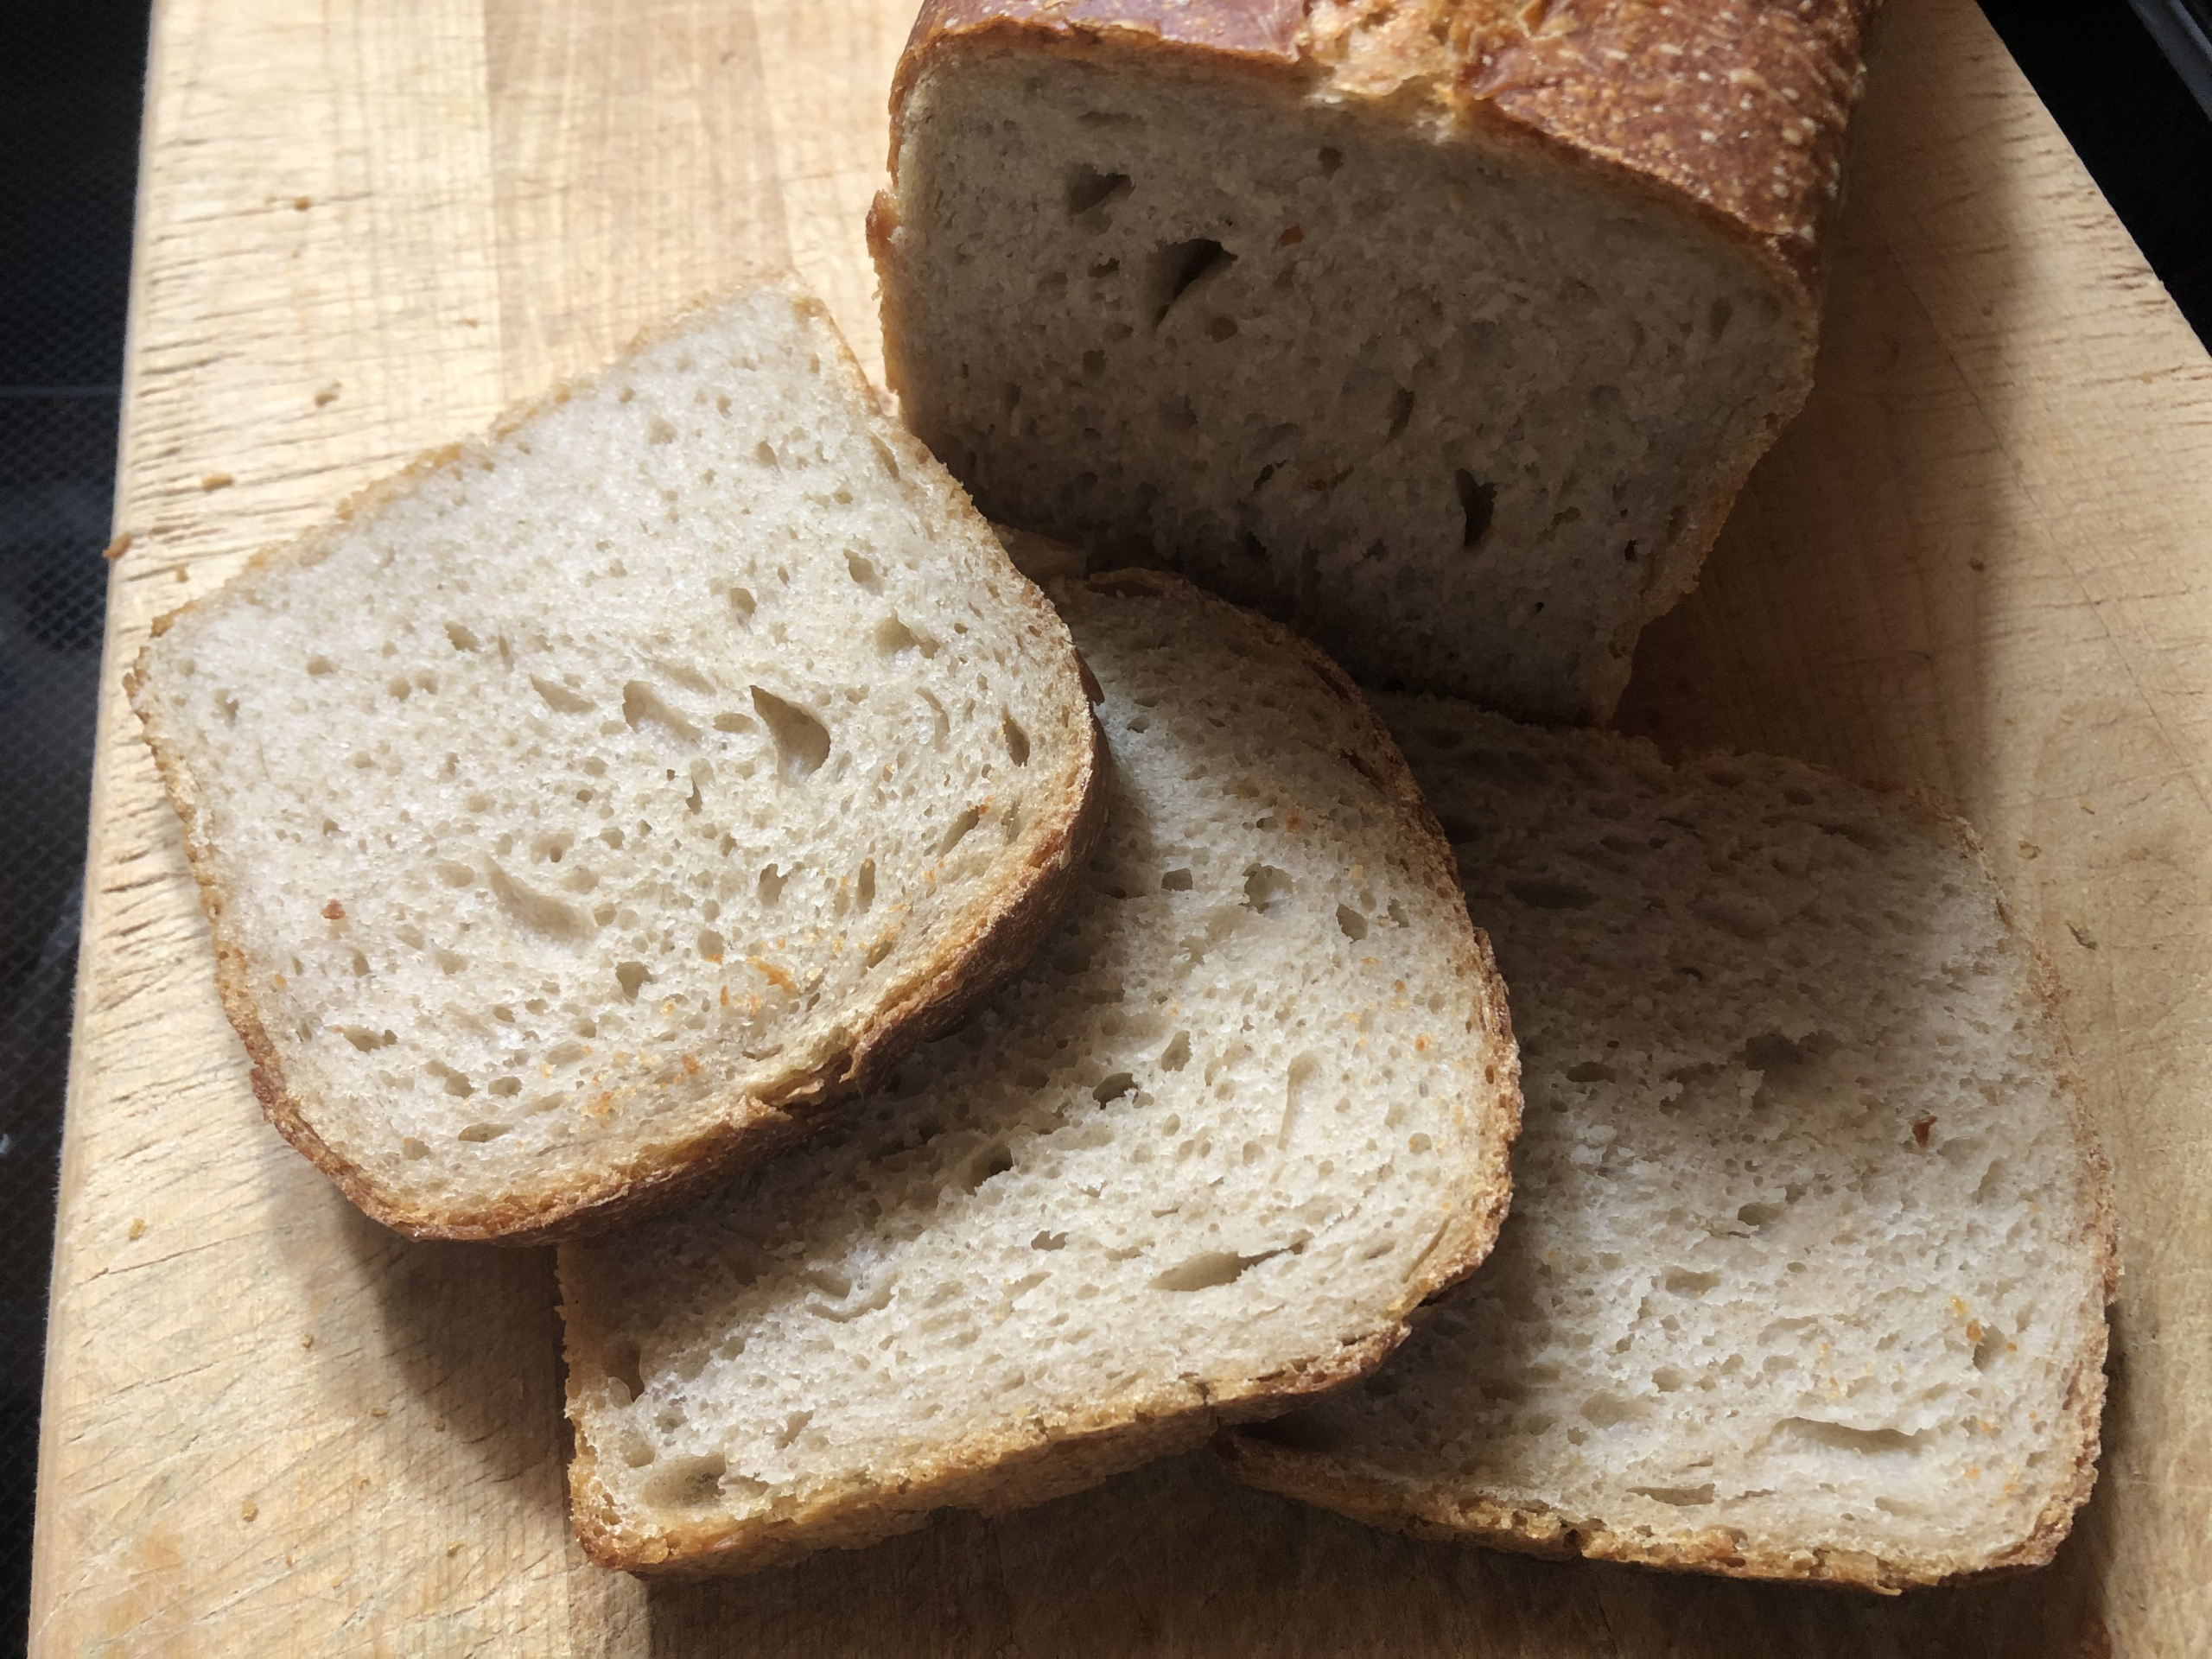
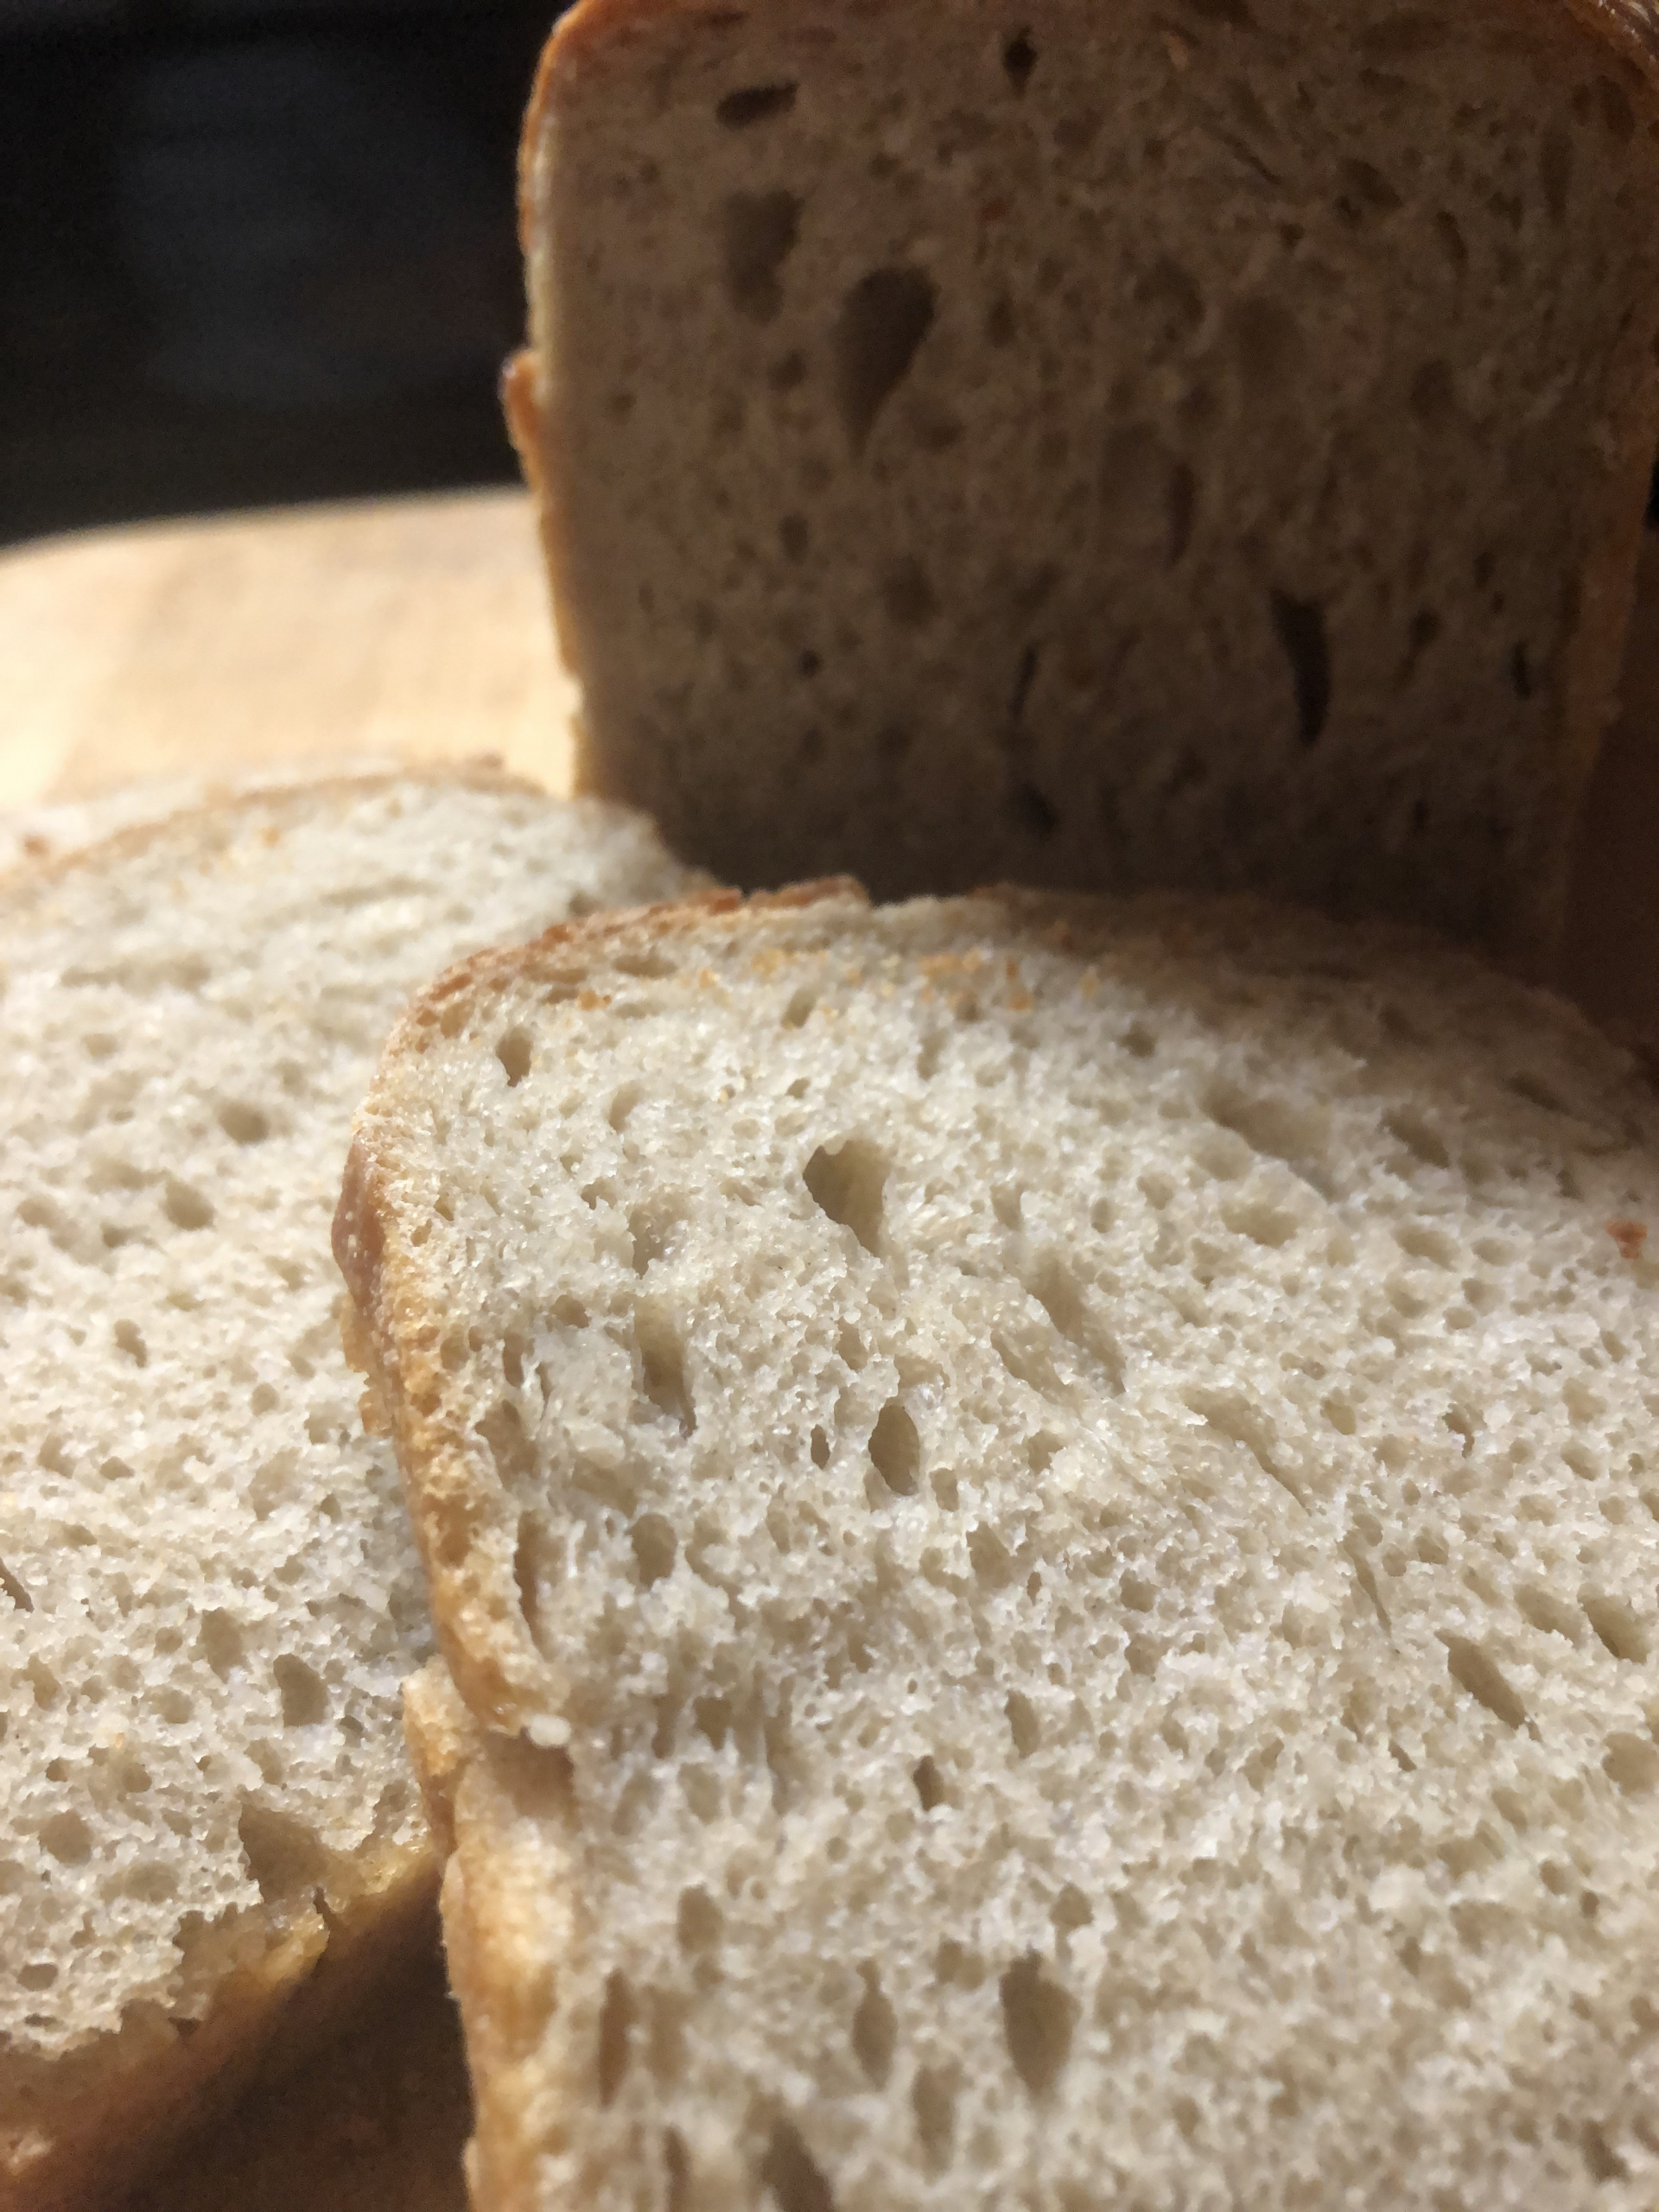

I prefer the 50/50 formula. Because of its mild taste, it would be an agreeable accompaniment to any type of sandwich. The 30/70 formula is more demanding.
I usually freeze the second loaf (it keeps well in the freezer for several weeks) until I defrost it overnight (while it remains wrapped) on the kitchen counter. It works well for a busy lifestyle.
Happy Baking to you!
How easy it is to make a healthier dessert? Not really difficult if you put your mind and creativity into it. All you have to do is analyze the ingredients in your homemade dessert and figure out what ingredients you can replace with their healthier counterparts. Basically, you will replace empty calories with nourishing calories.
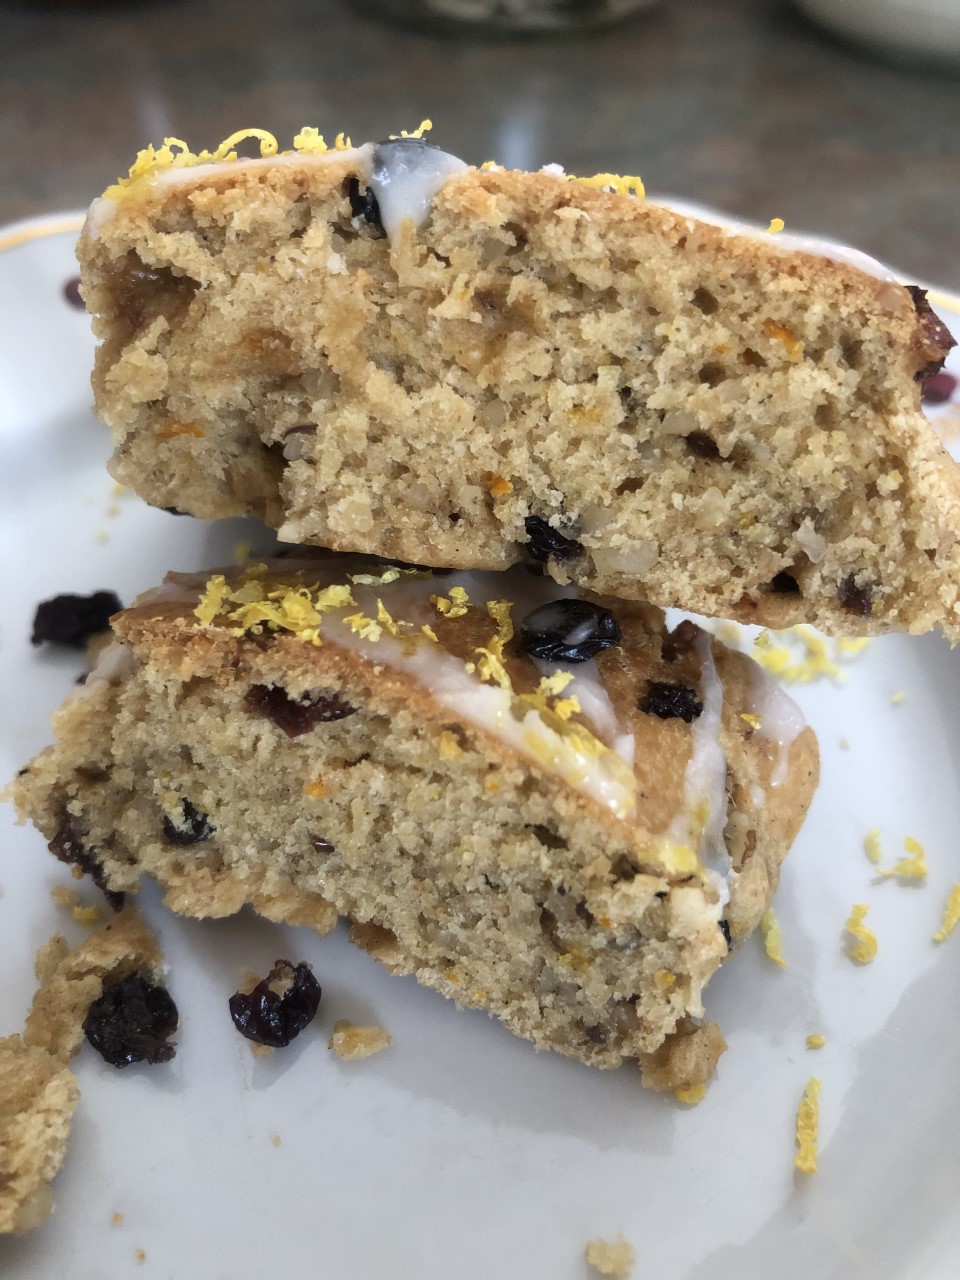


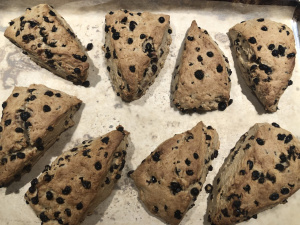
This is definitely a keeper in my recipe collection. I love the texture of the crumb. Almond flour and finely chopped walnuts were major contributors to the flavor. Two thumbs up from my family!
Have a wonderful baking day!
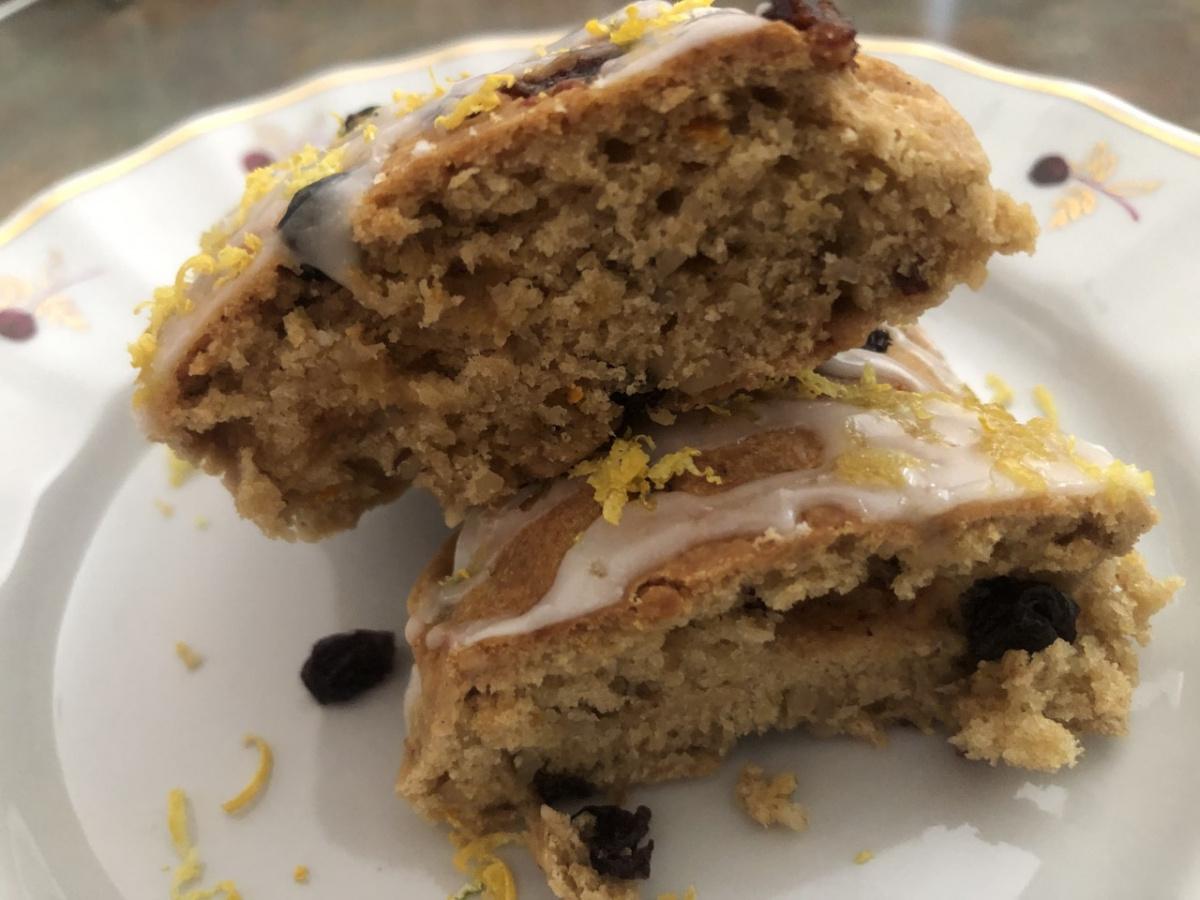
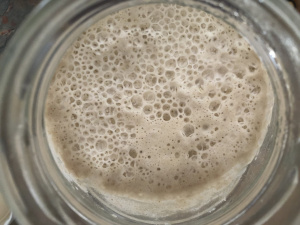
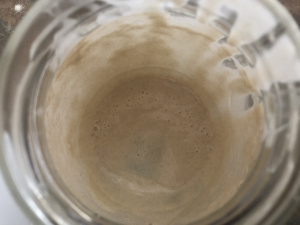
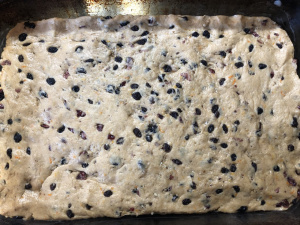
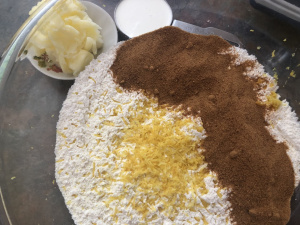
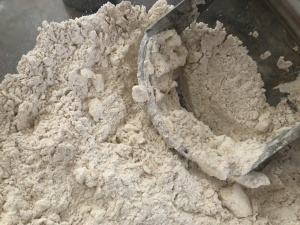
The key to any good baked dessert is using the best ingredients available to you. When I use the sourdough discard, I actually use the surplus sourdough. The term “sourdough discard” is widely used within the baking community, although most bakers regard this as a surplus sourdough. This is normally the same active sourdough you use for making bread.
This is the picture of the sourdough surplus (discard) that I used for these scones.
I refresh my sourdough regularly and do not let it become dormant for a long time. That is why I need to use it many times throughout the week not just for bread baking.
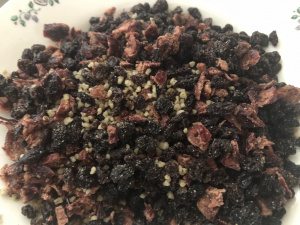
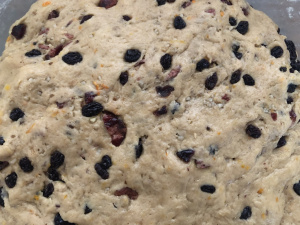
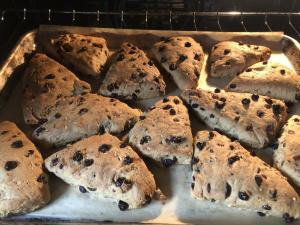
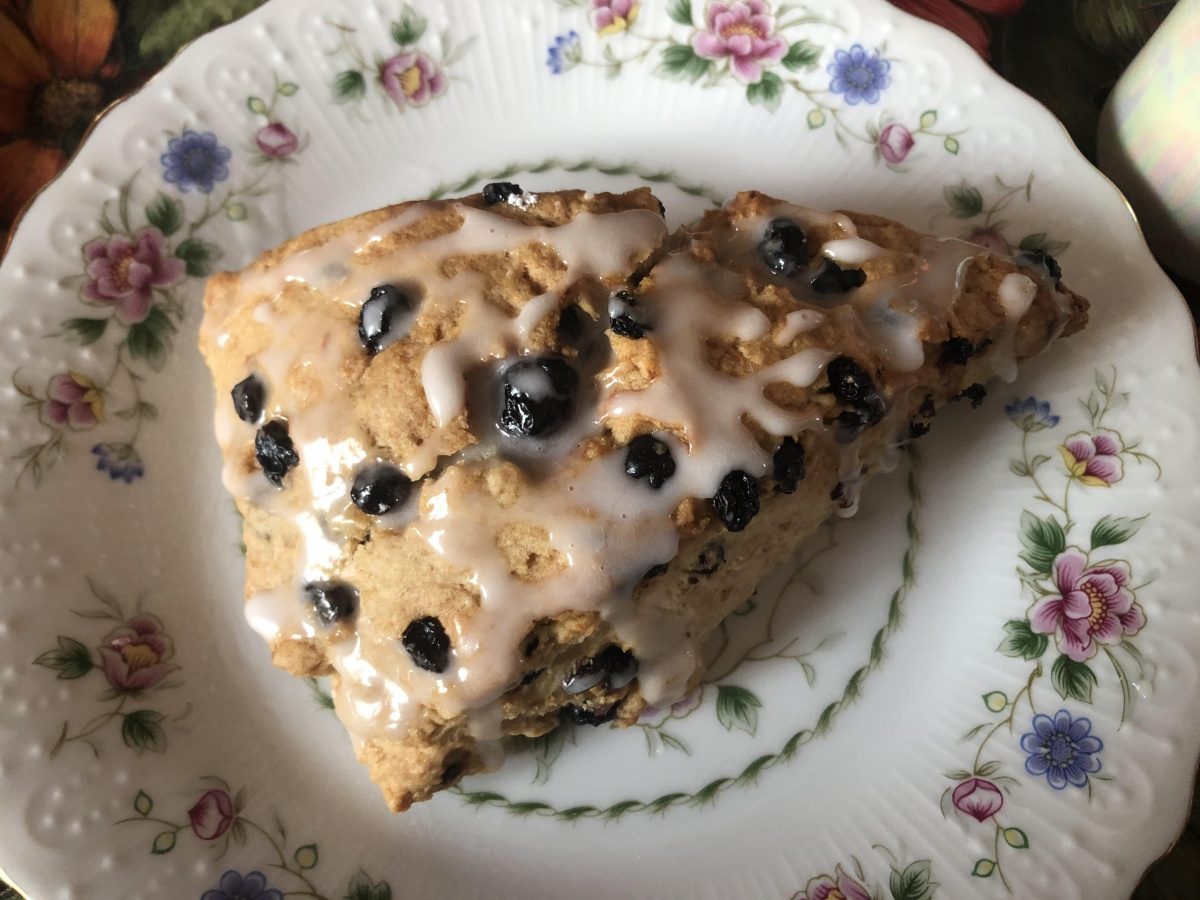
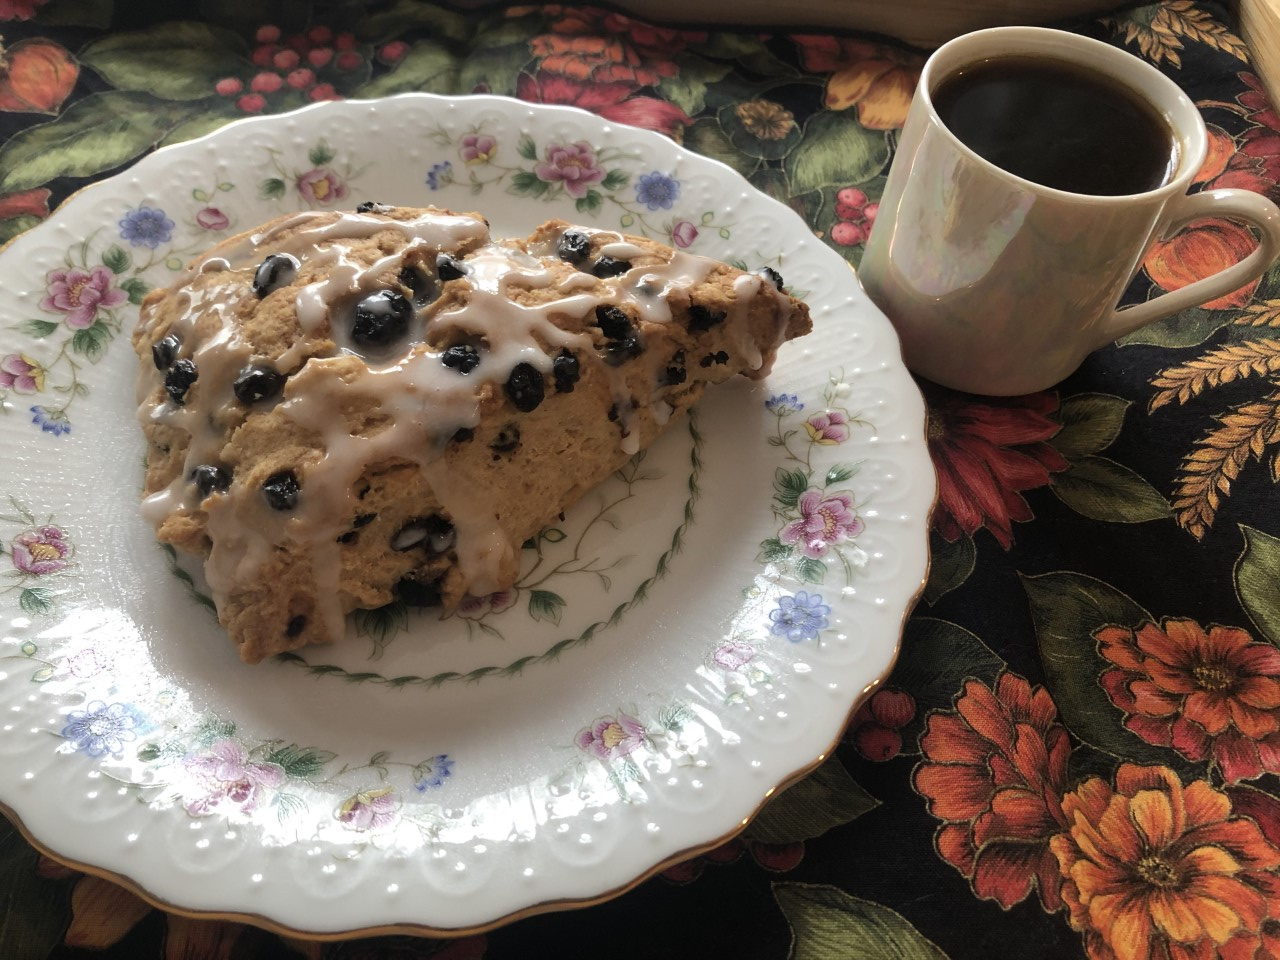
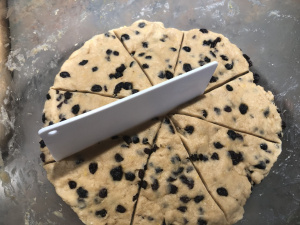
There many recipes for sourdough deserts and sourdough scones are among my family favorites. Sourdough scones with dried currants and refreshing lemon glaze pair wonderfully with a cup of espresso to cheer you up on a cold winter morning.


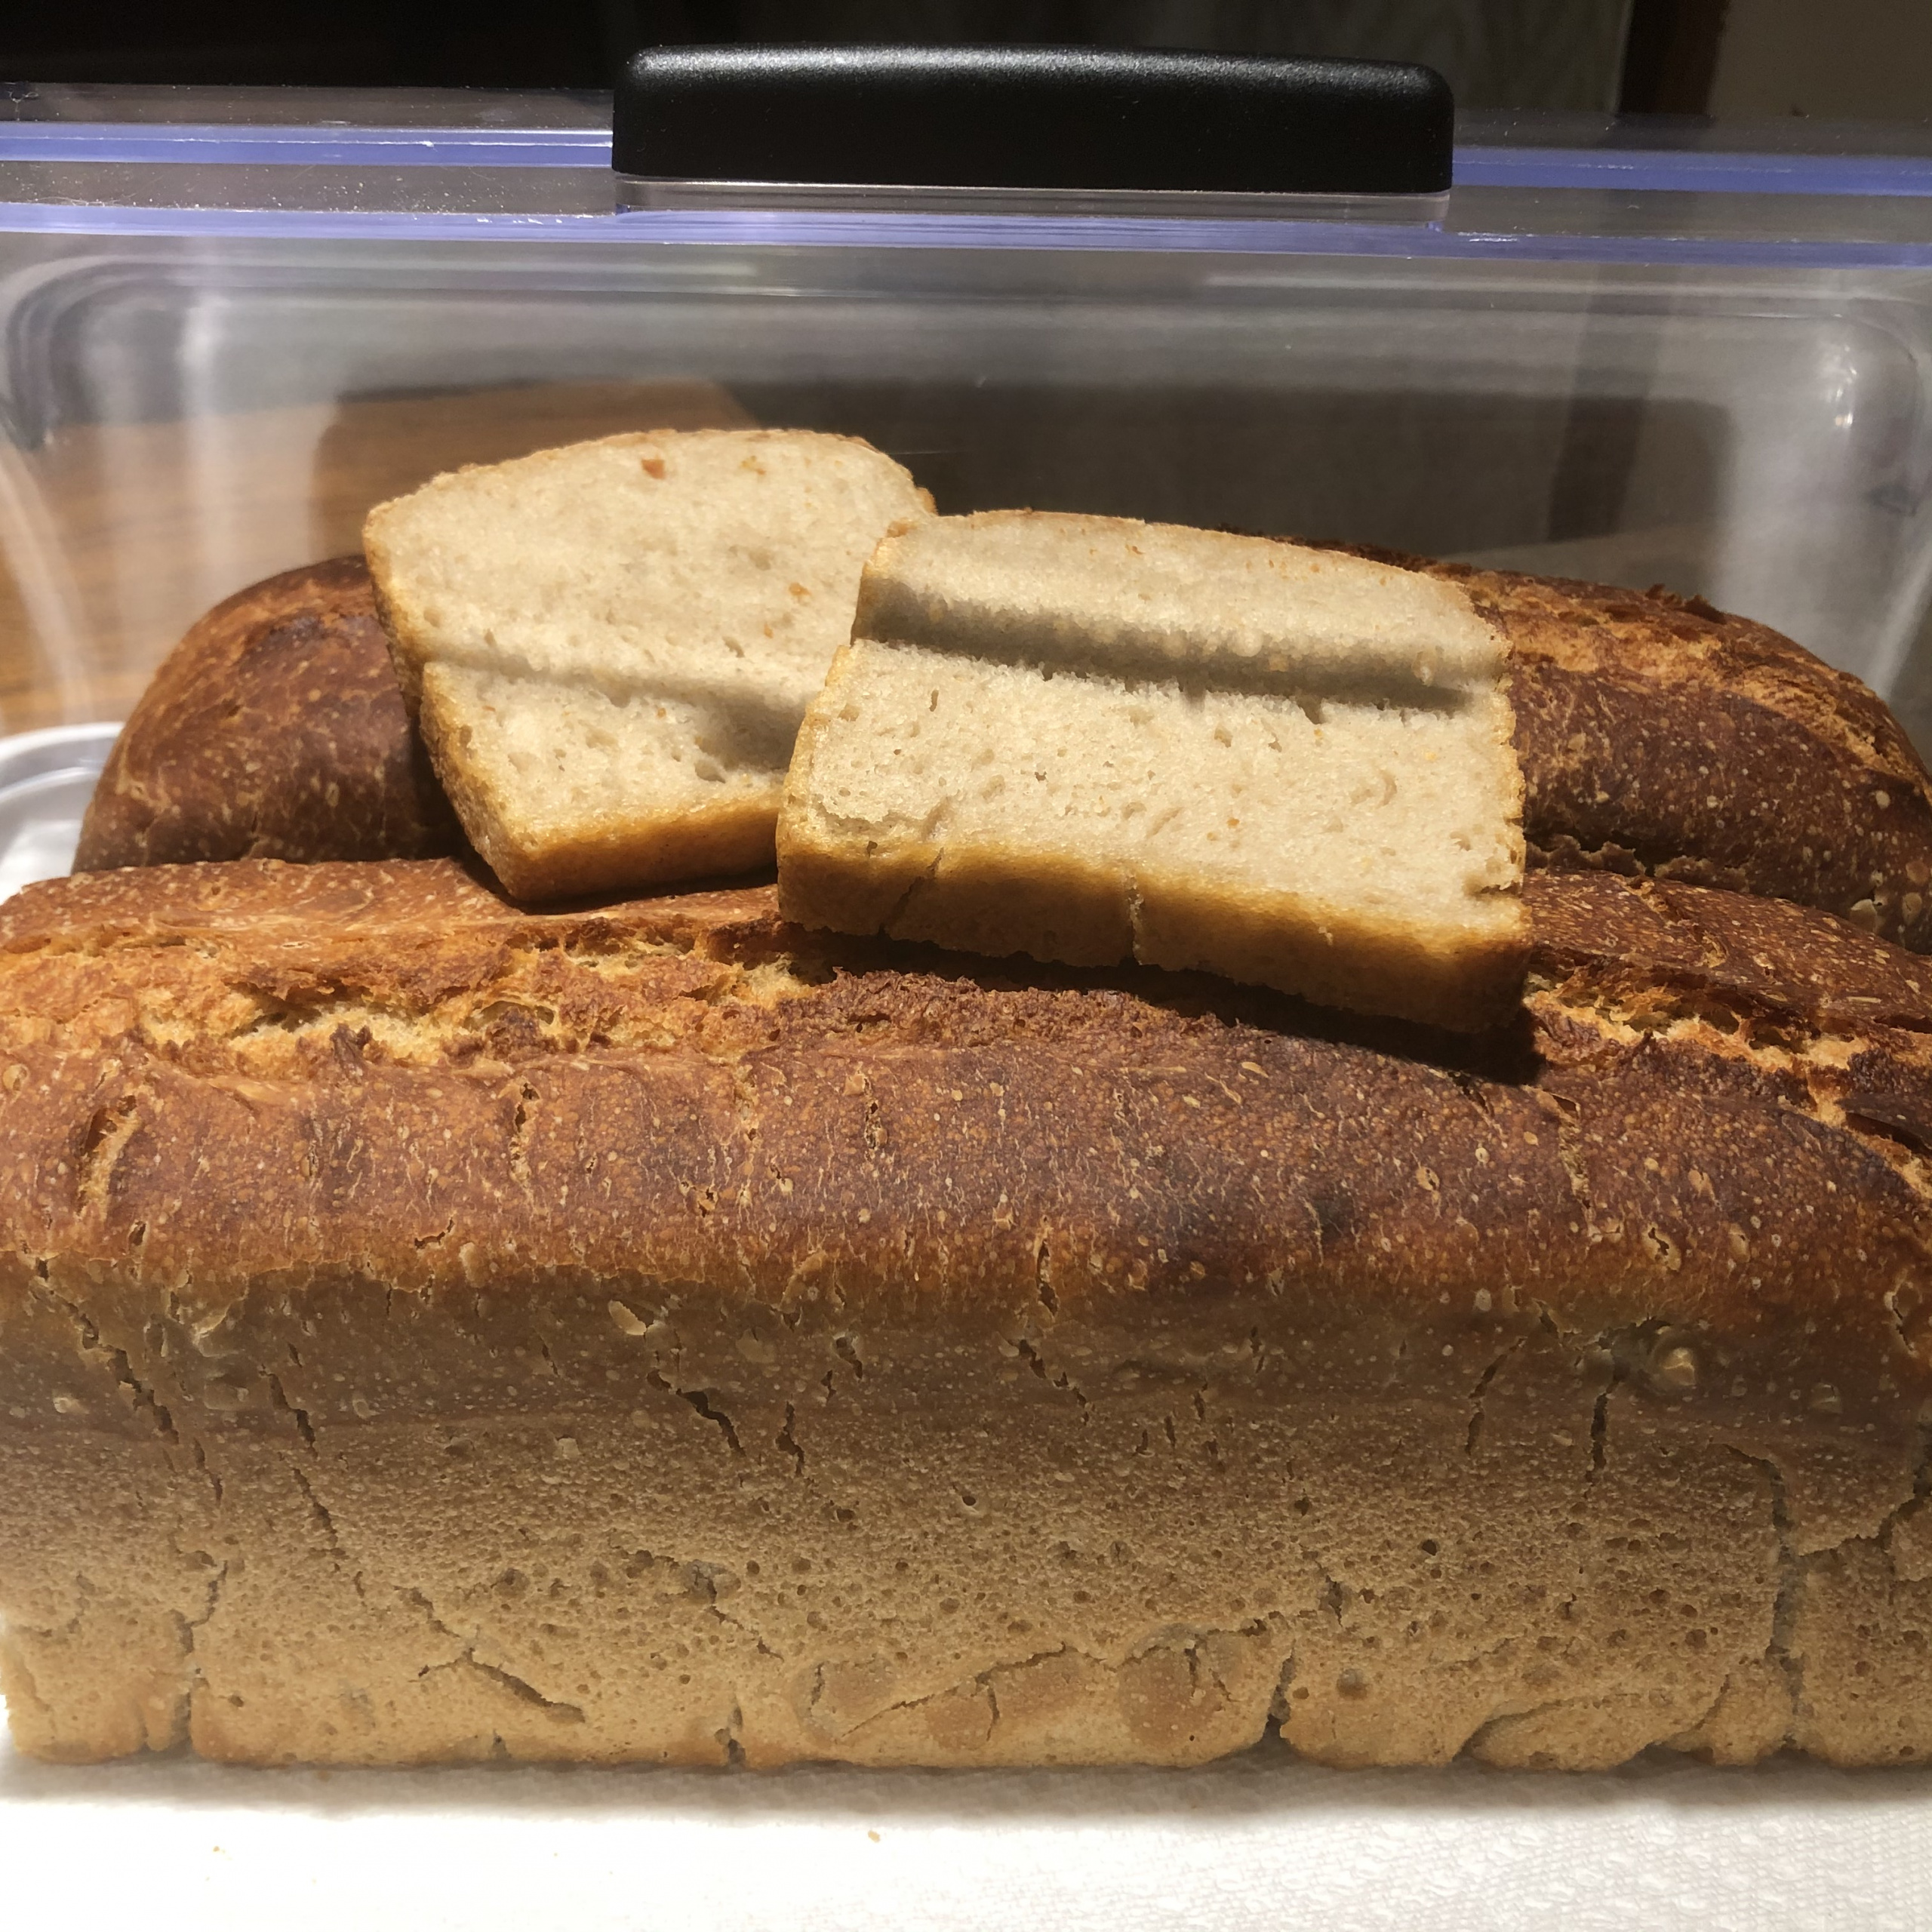
When I started baking from the refrigerator, I did some research on how long can one keep the shaped bread in the refrigerator without compromising the quality of the finished product. A great number of baking books and websites unanimously state that for the best tasting bread you should give your bread 8-12-24 hours of cold fermentation. This is ideal. Many bakers agree you can keep your unbaked bread refrigerated up to 72 hours after shaping.
I followed these guidelines myself and planned to work with the dough twice a week. A few times I baked my bread after 4 days in the refrigerator and the bread turned out well.
Last week I refreshed my sourdough on Saturday, made the dough on Sunday evening, and baked the first loaf of bread (out of two) on Monday evening.


The second loaf of bread stayed in the refrigerator for a week. I baked it on Saturday evening one week later. My experiment with the long fermentation proved to be a success.


The second loaf lost some volume, but other than that the bread looked well and the taste was excellent.
Making weekly baking plans just got easier.
Happy baking!

I do not make all my bread sourdough. In fact, I started my baking adventure with artisan yeasted bread. Sourdough came into my life much later. I do make my everyday bread mostly sourdough, though. I also bake a lot of yeasted bread. I employ different methods, which allow me to work with as little yeast as possible. My goal is to make healthy bread.
Sourdough bread is trickier to handle than yeasted bread. I leave sourdough preparation for the weekend and use yeasted dough when I need some extra bread on weekdays. Yeasted dough is very forgiving and versatile. You can fit it into a very busy daily routine with ease. Stay tuned and I will show you how.
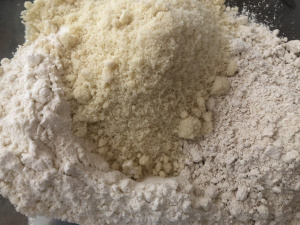
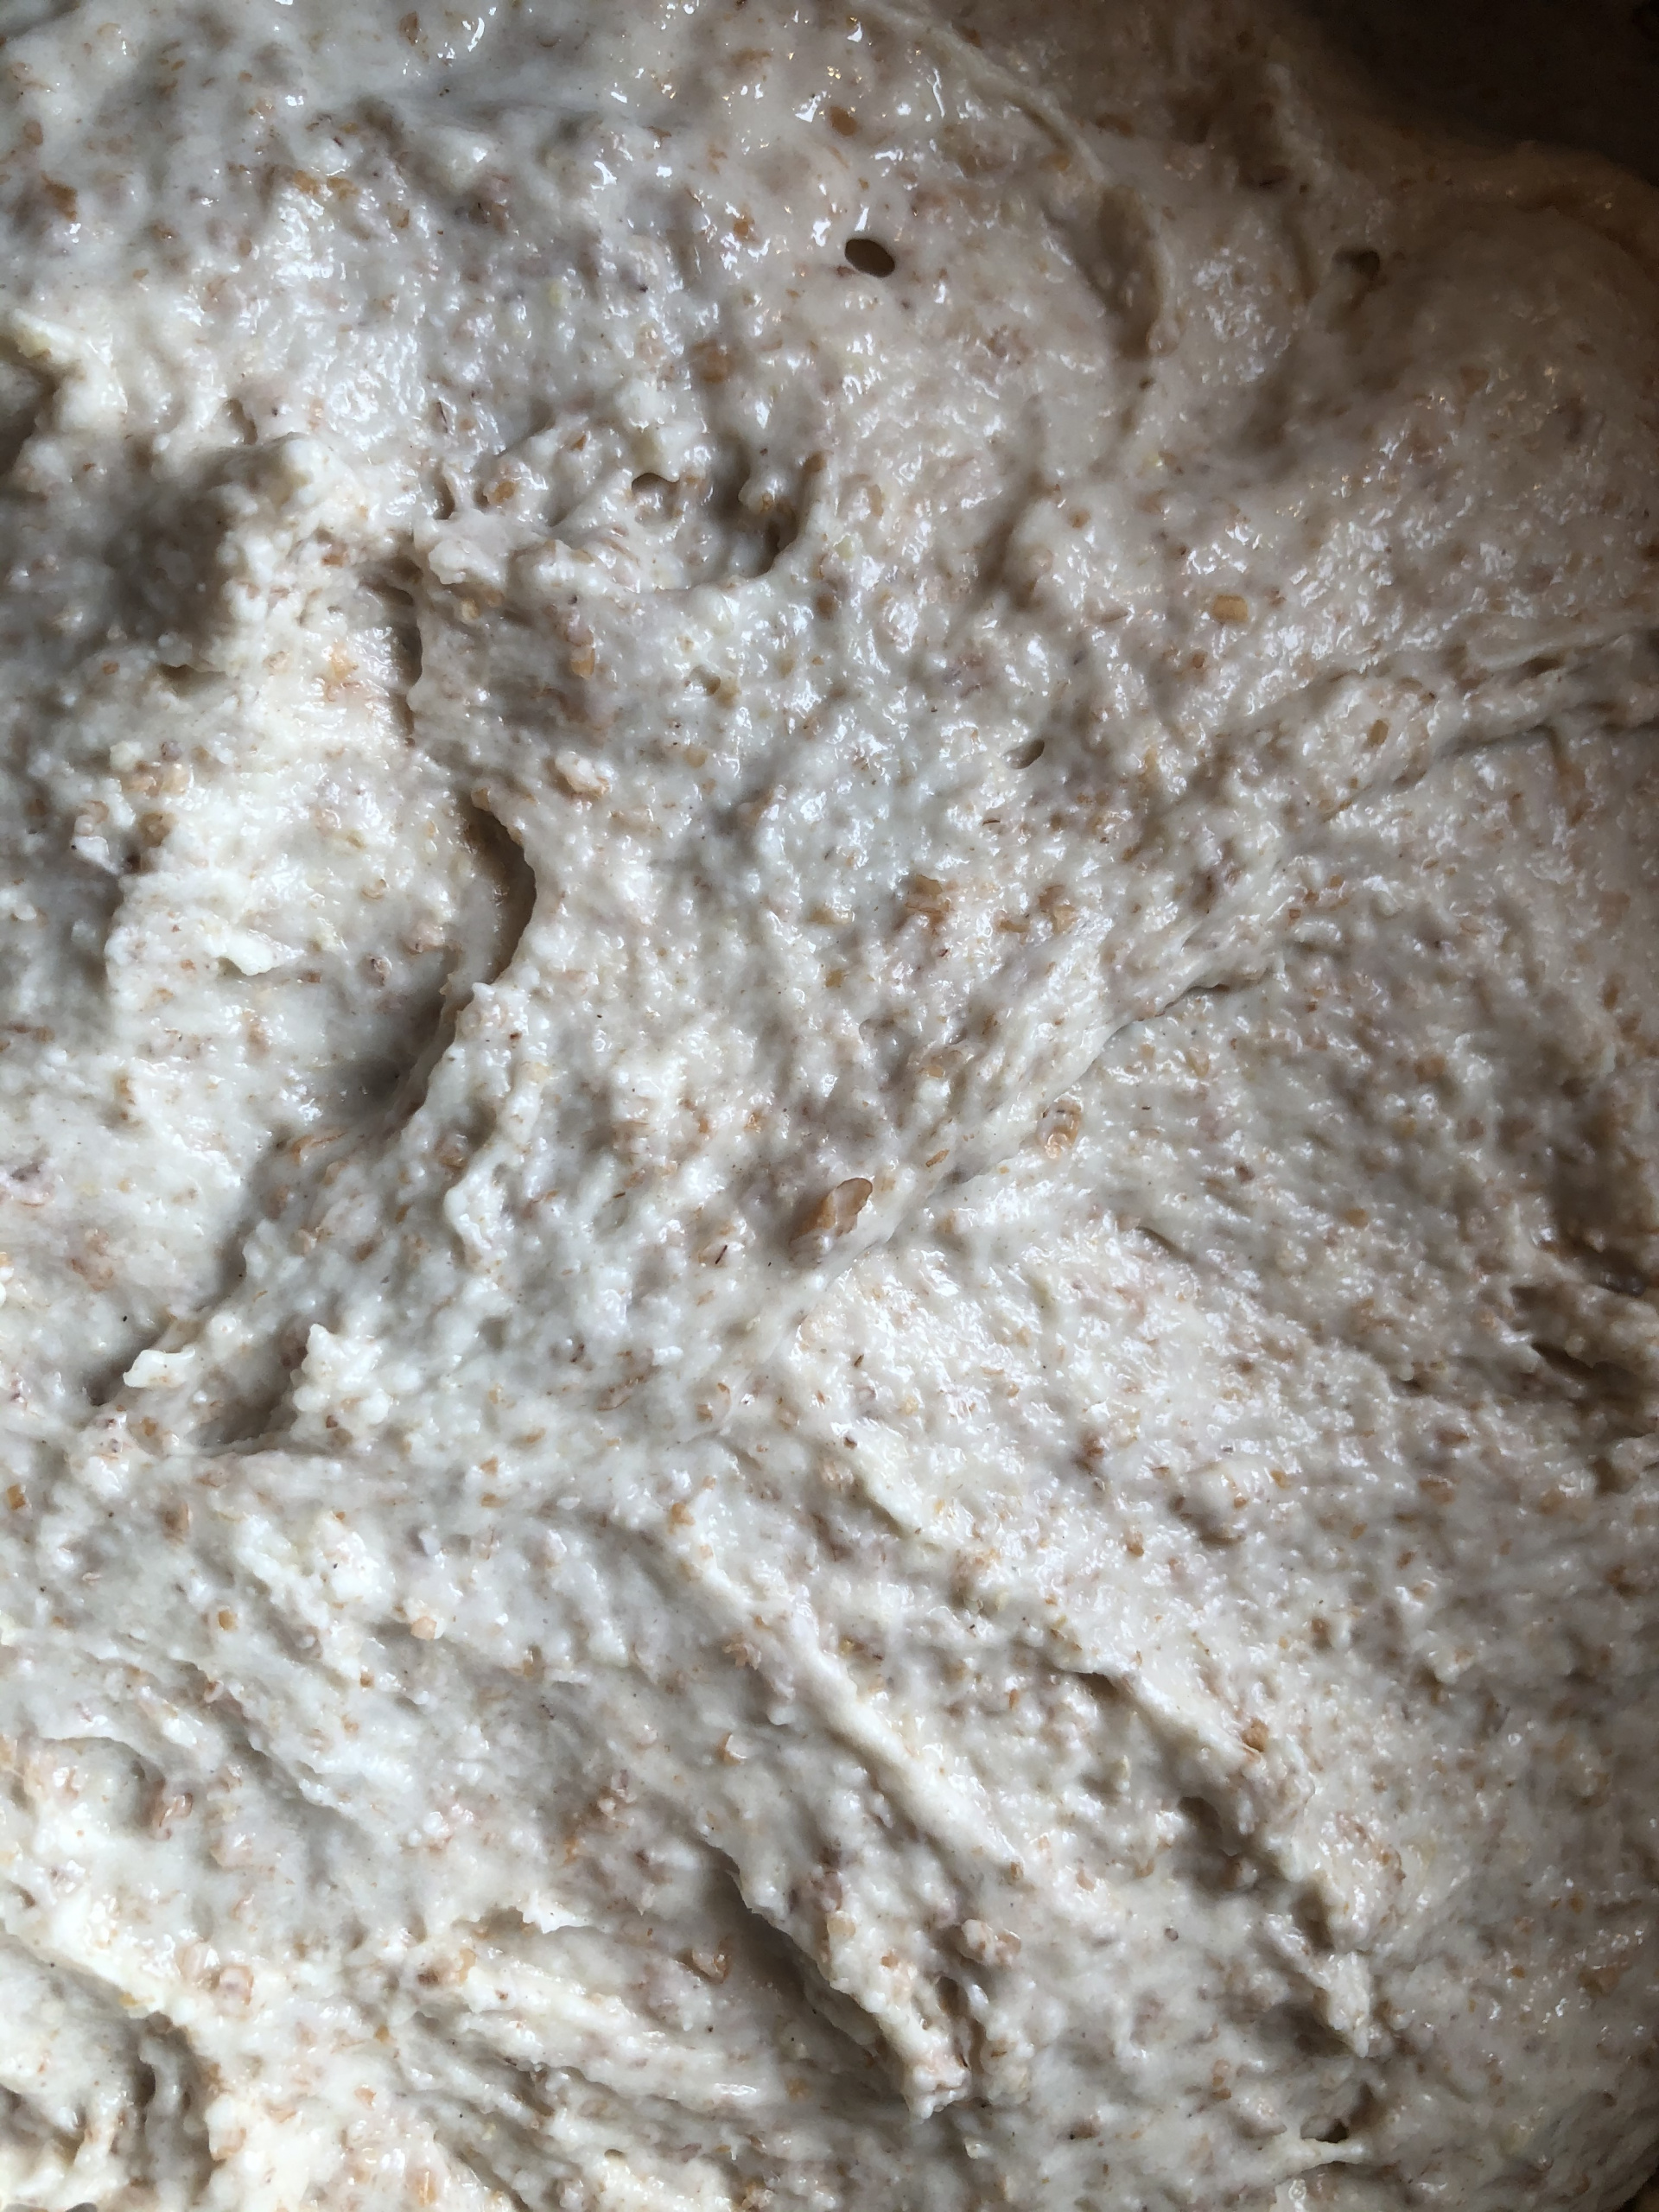
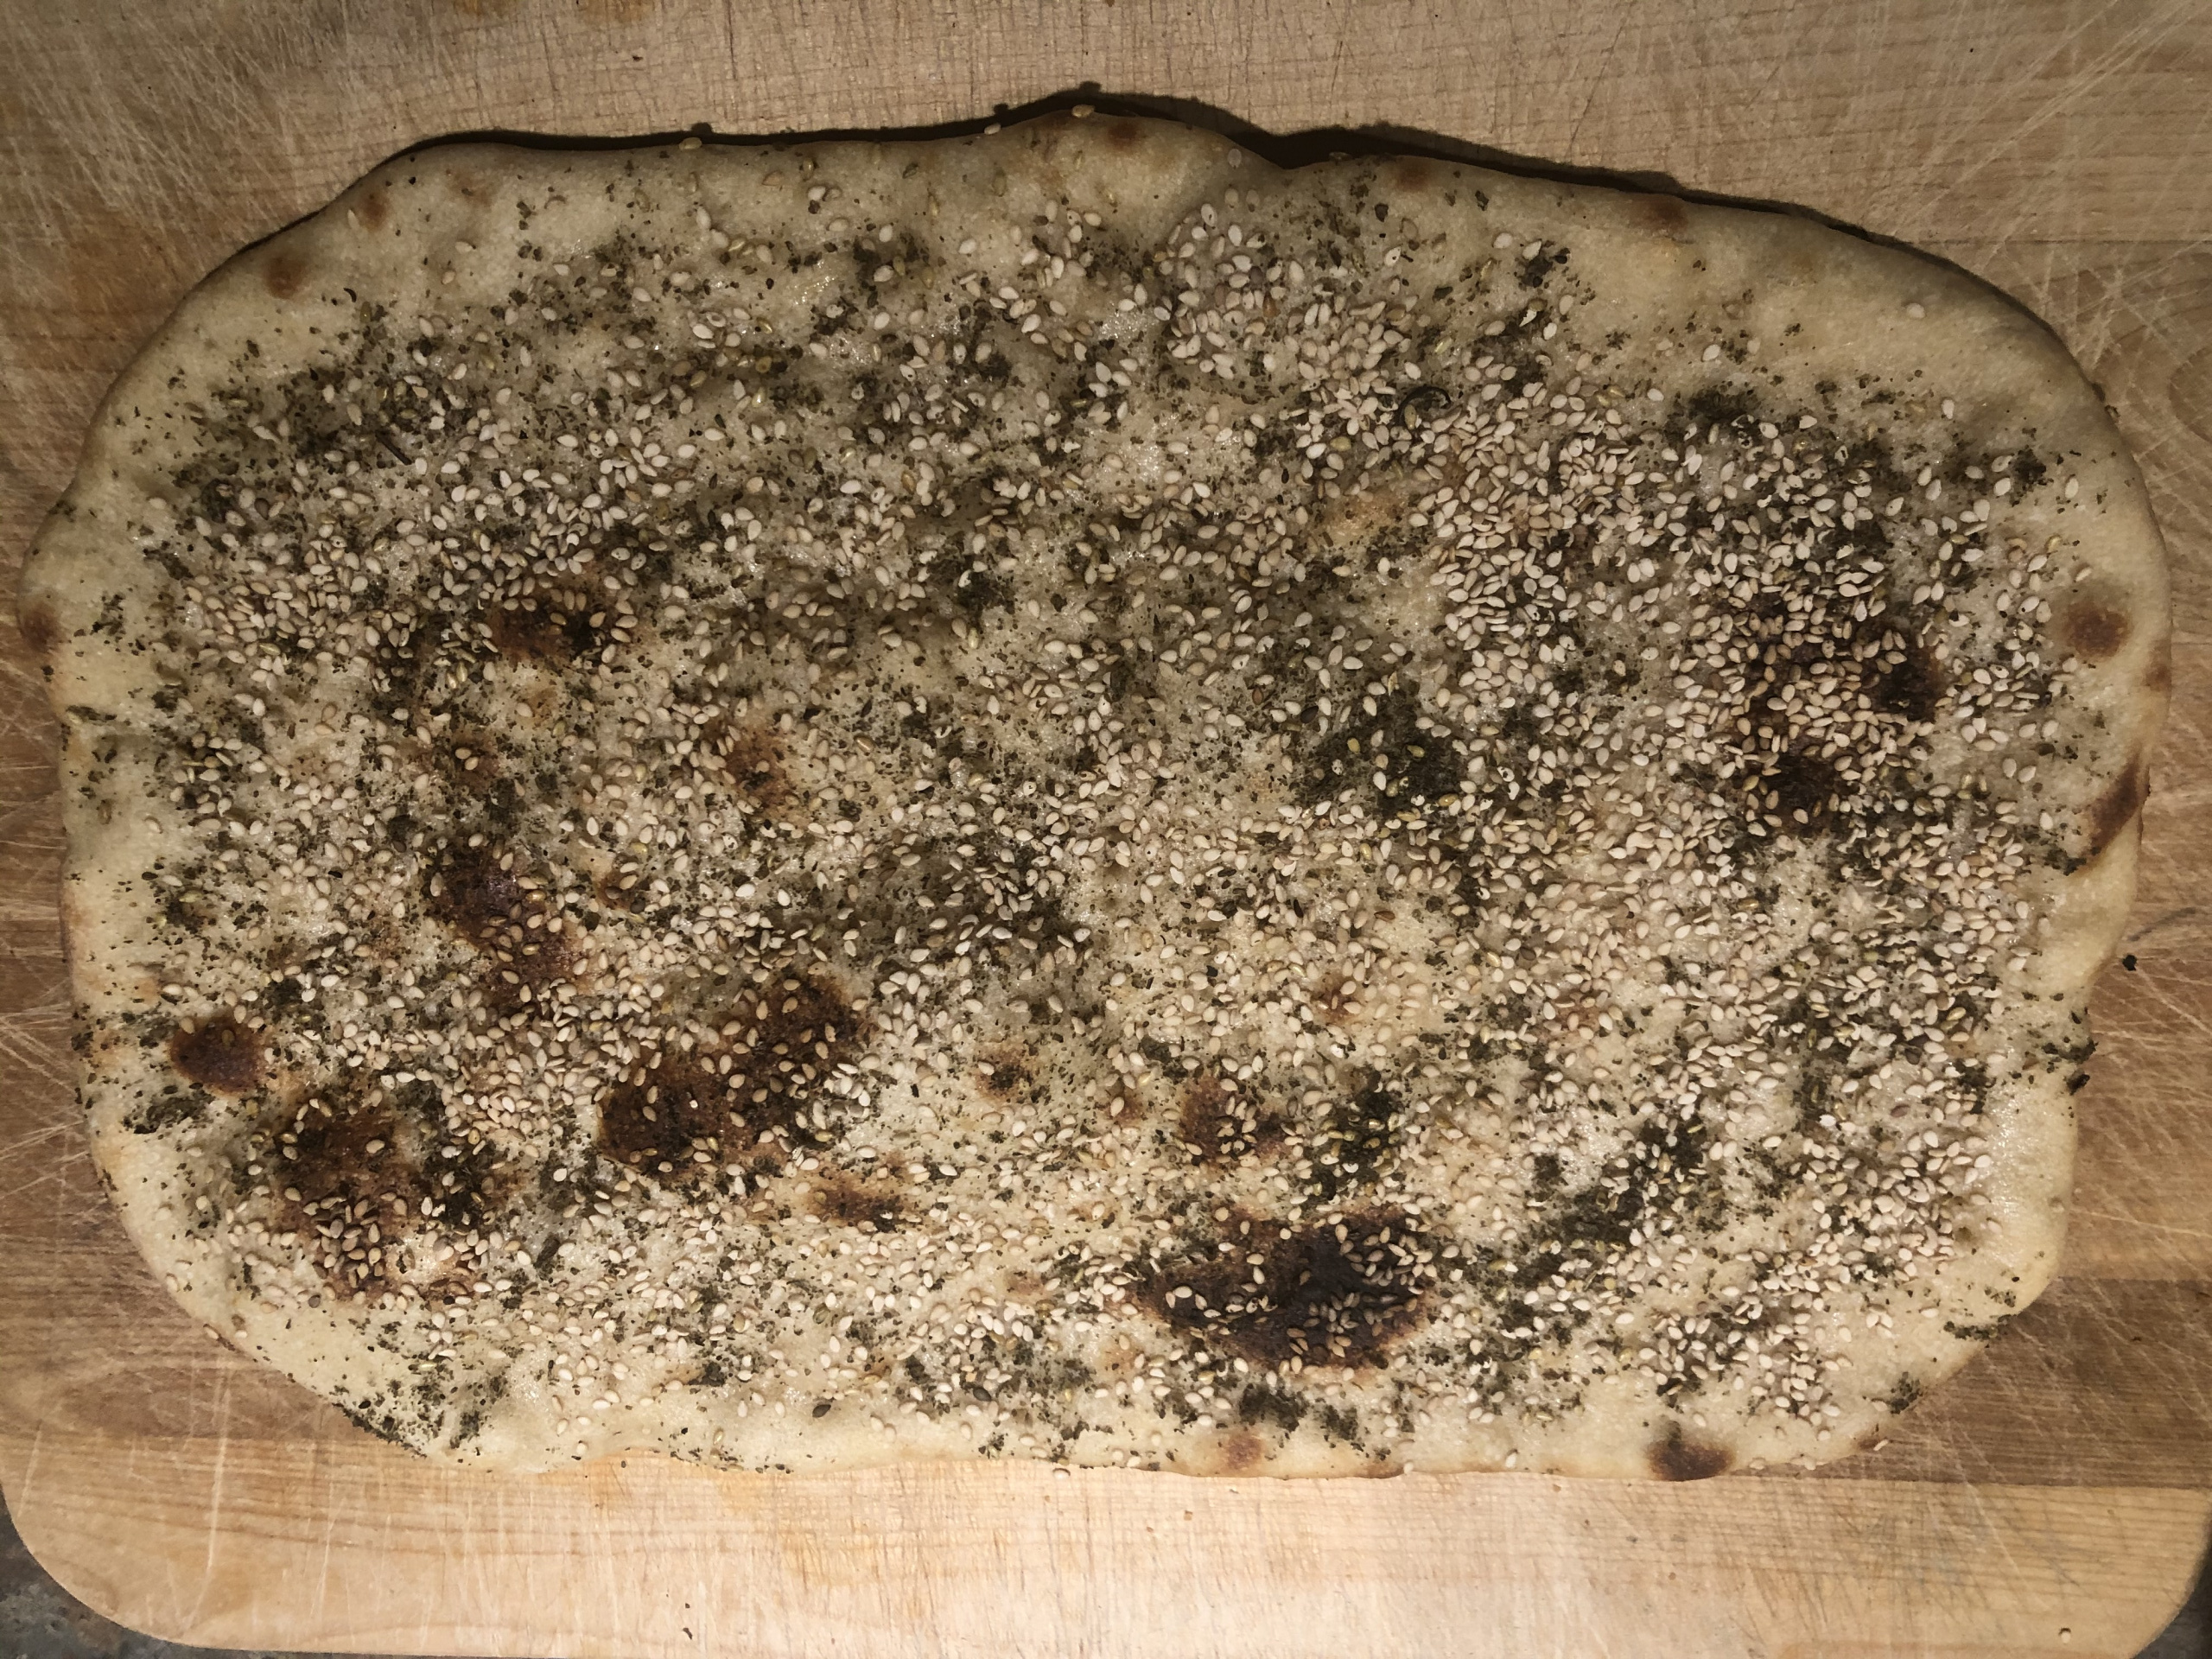
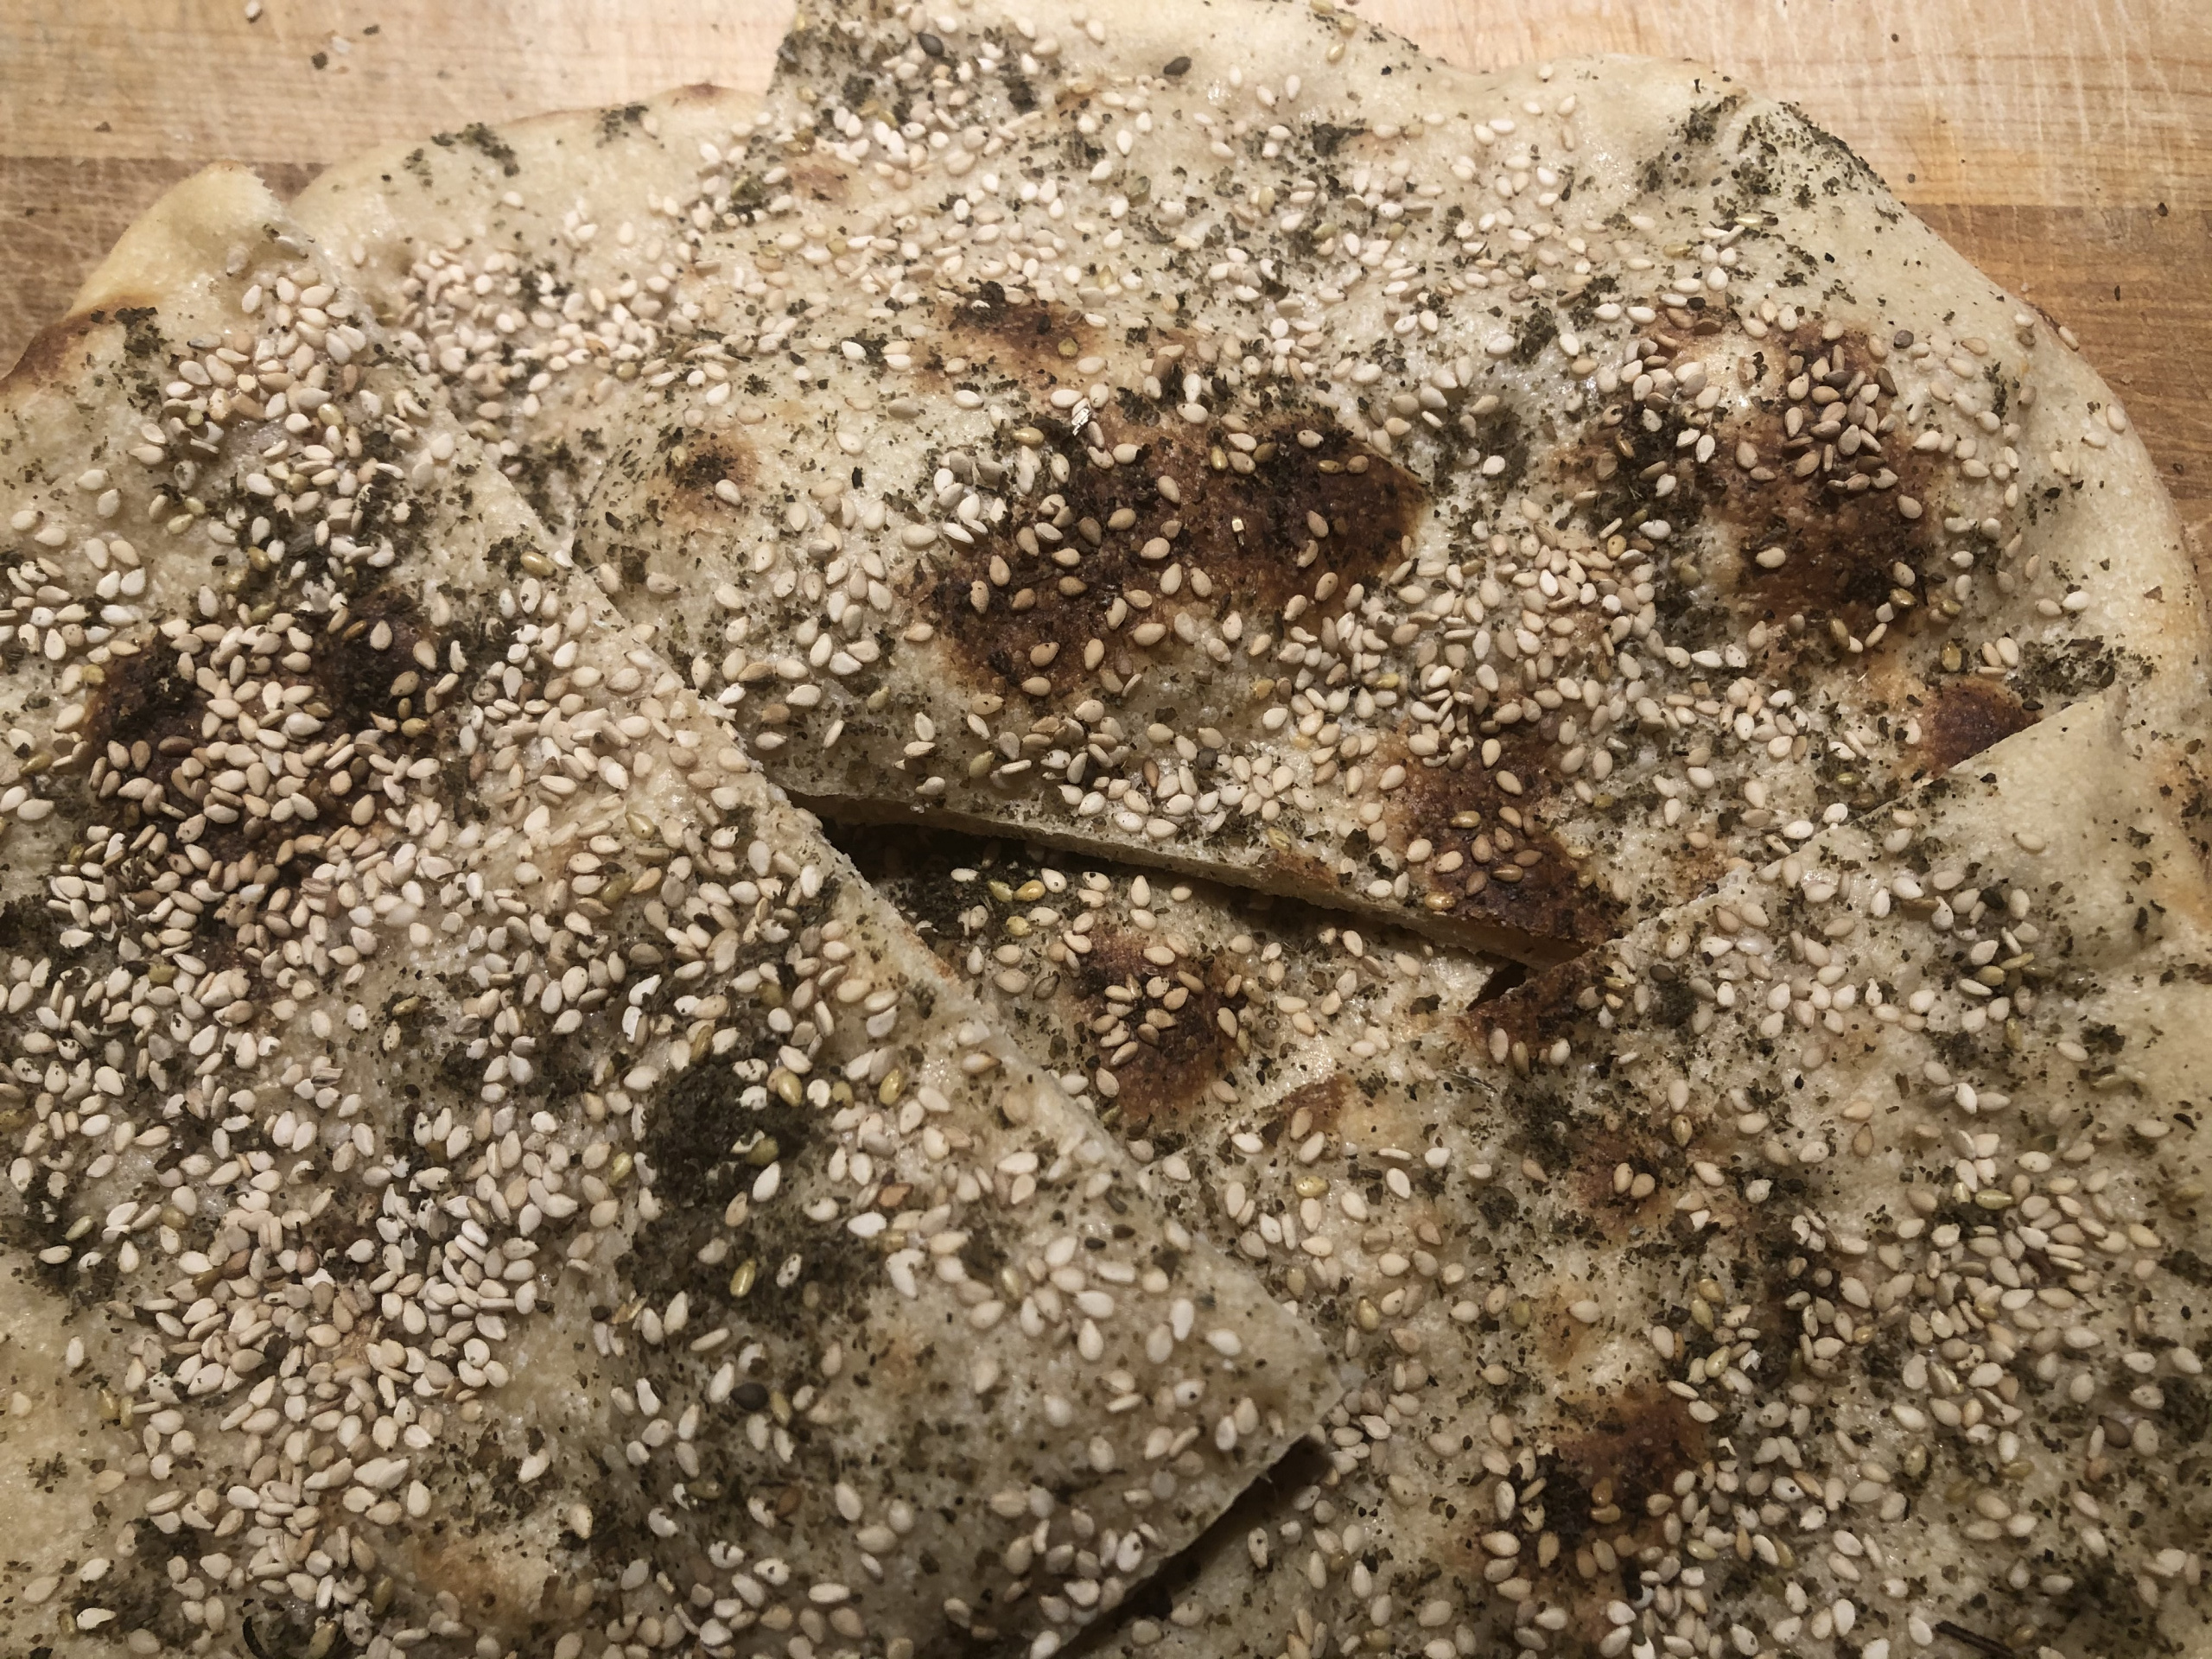
This dough is my new favorite for weekdays, unanimously approved by the family. It has a 40% flour mix with spelt flour, which gives a lot of flavor to the finished product. For the other 60%, I use bread flour. The dough has only 1/4 teaspoon of yeast for 1,770 grams of raw dough. It is suitable for bread and for a pizza or flatbread.
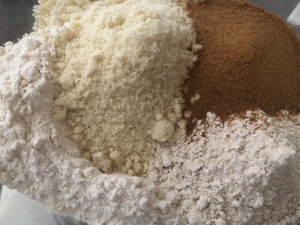
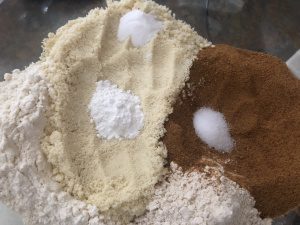
The ingredients:
Filtered or spring water — 725 grams
Bread flour — 600 grams
Spelt flour — 200 grams
Millet flour — 100 grams
Sprouted whole wheat flour — 100 grams
Yeast, active dry or instant — 1/4 teaspoon, leveled
Sea salt — 20 grams
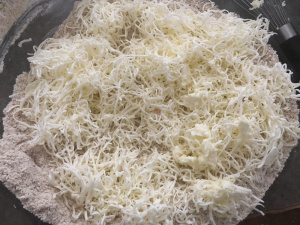
Mixing the dough:
Pour water into the mixer bowl. Sprinkle yeast on top. If you use Active Dry yeast, follow the directions on the package on how to activate the yeast. I use lukewarm water and let the yeast rehydrate for 5-10 minutes. Instant yeast is ready for mixing with no activation.
550°F (288°C) on ceramic tiles for 6-7 minutes for 1 mini pizza or 8-9 minutes for 2 at a time.
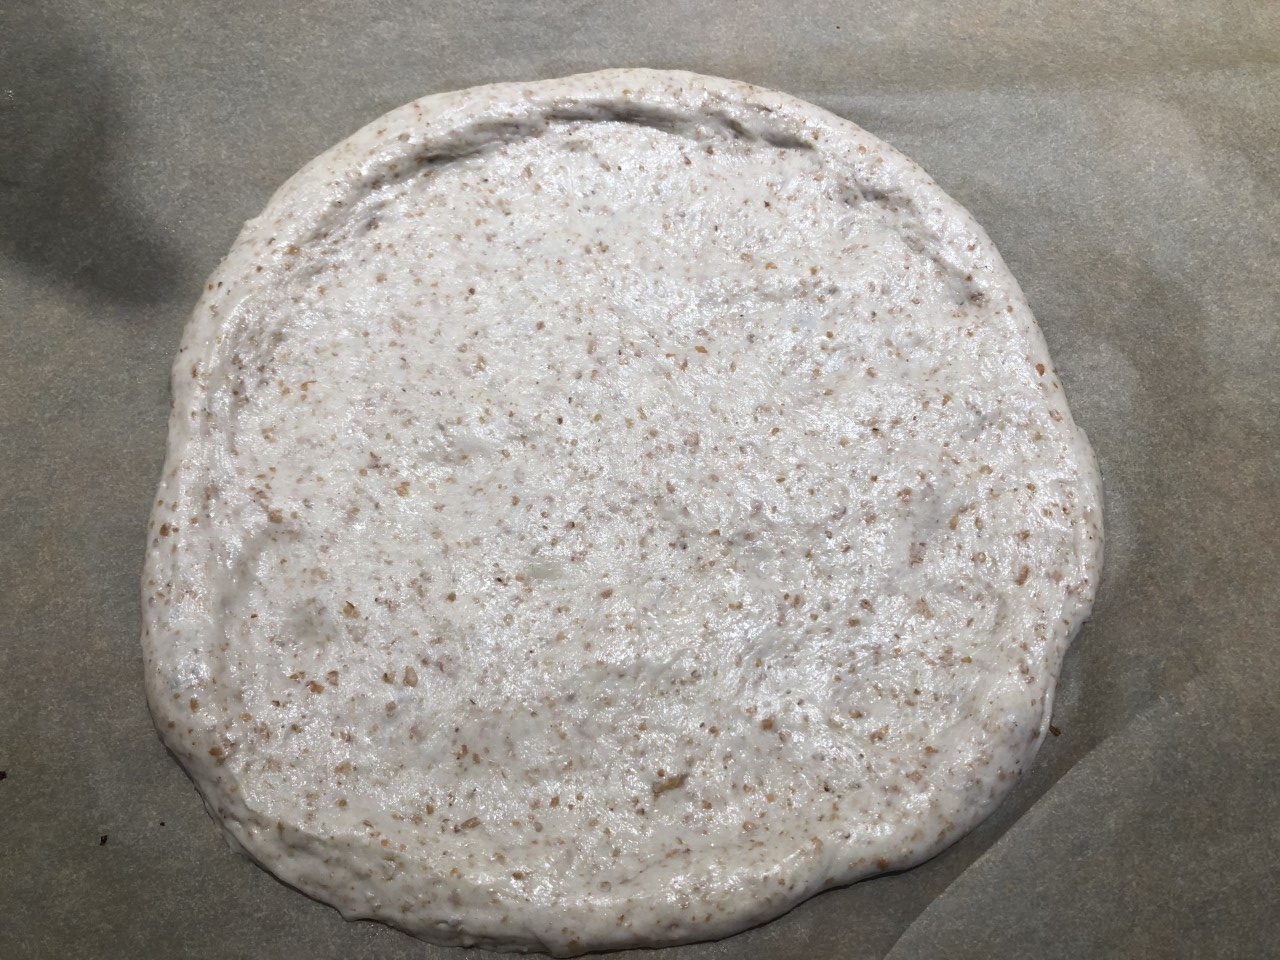
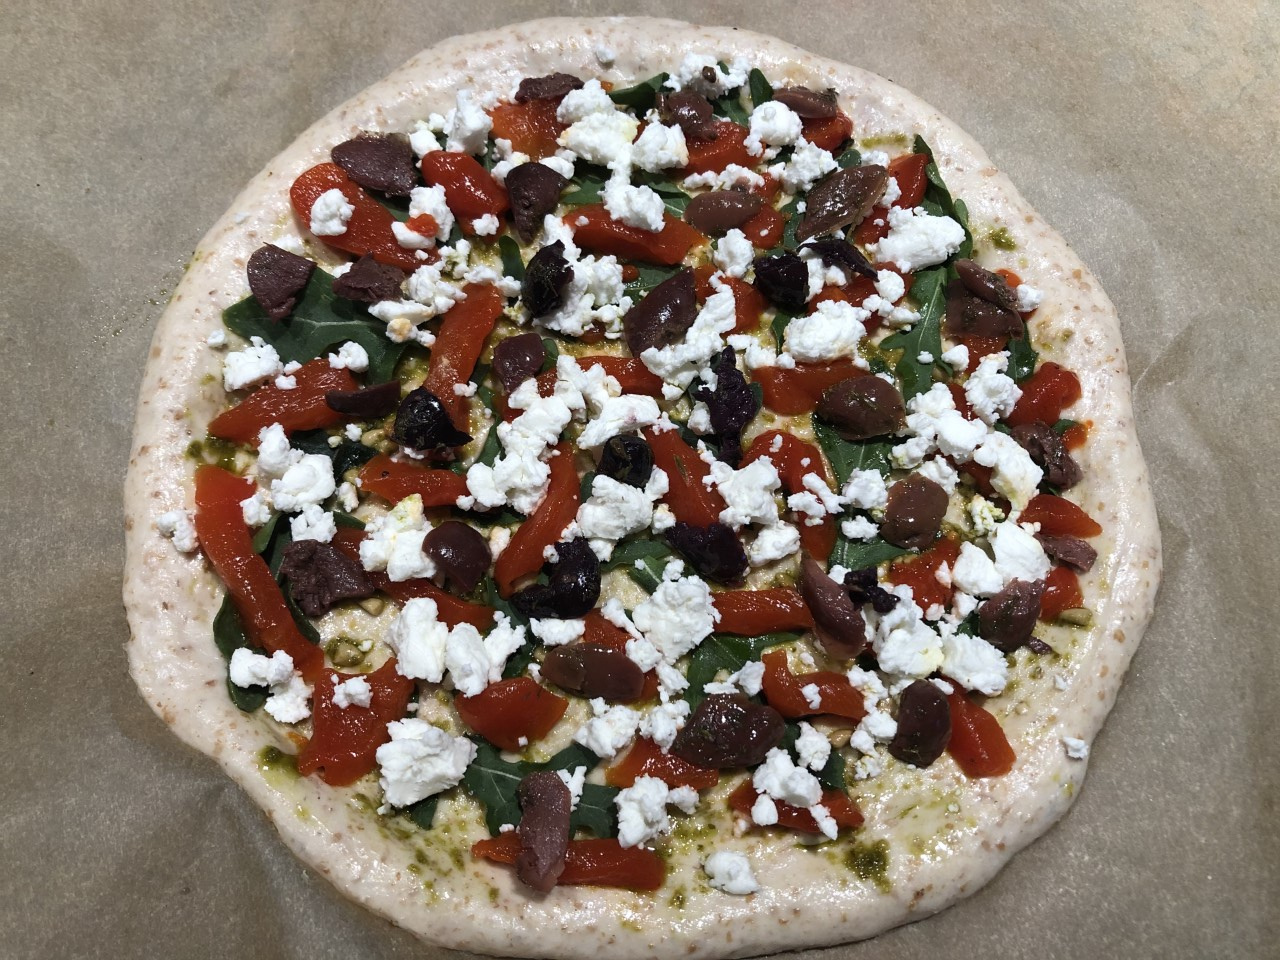
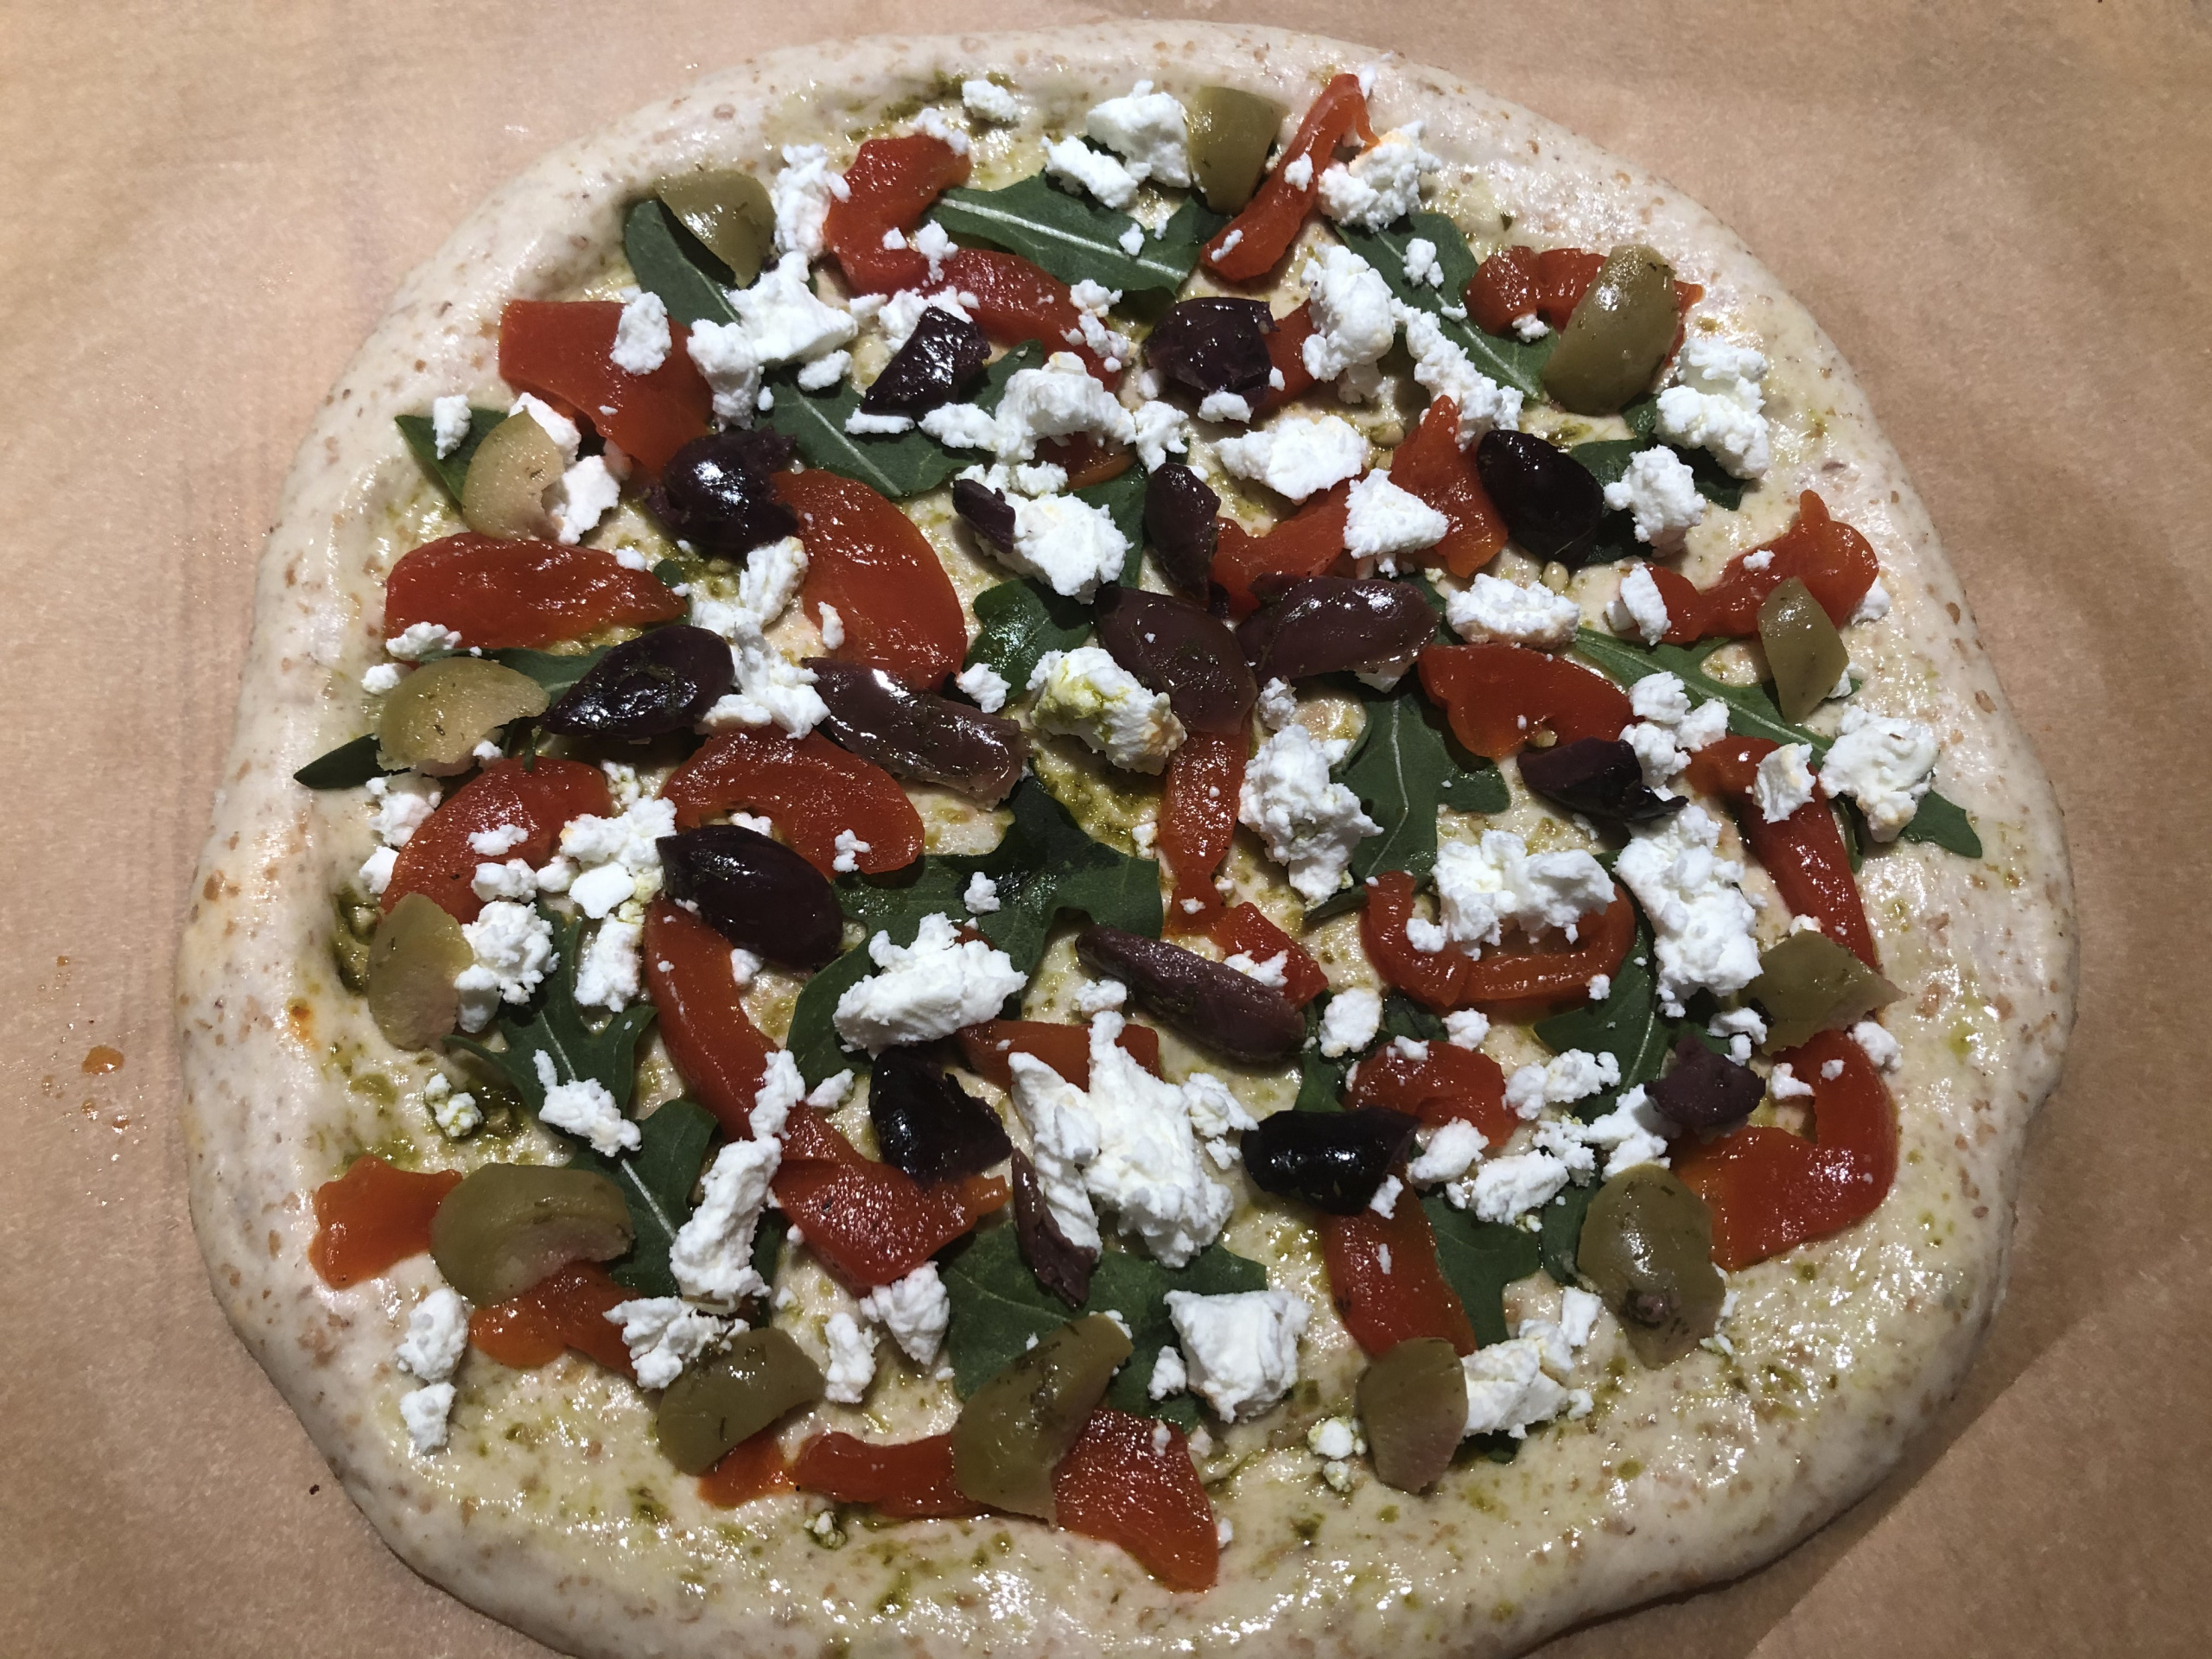


Mini Pizza — 2
I used the refrigerated 150-gram pieces to make two mini pizzas and one flatbread with cinnamon and sugar for the kids. I baked all three of them at the same time.
550°F (288°C) on ceramic tiles for 9-10 minutes for 3 at a time. I do not make my dough rounds very thin. I think that the bread part in these mini pizzas is very significant. A thicker crust creates the perfect harmony between the bread and its toppings.


Happy baking!

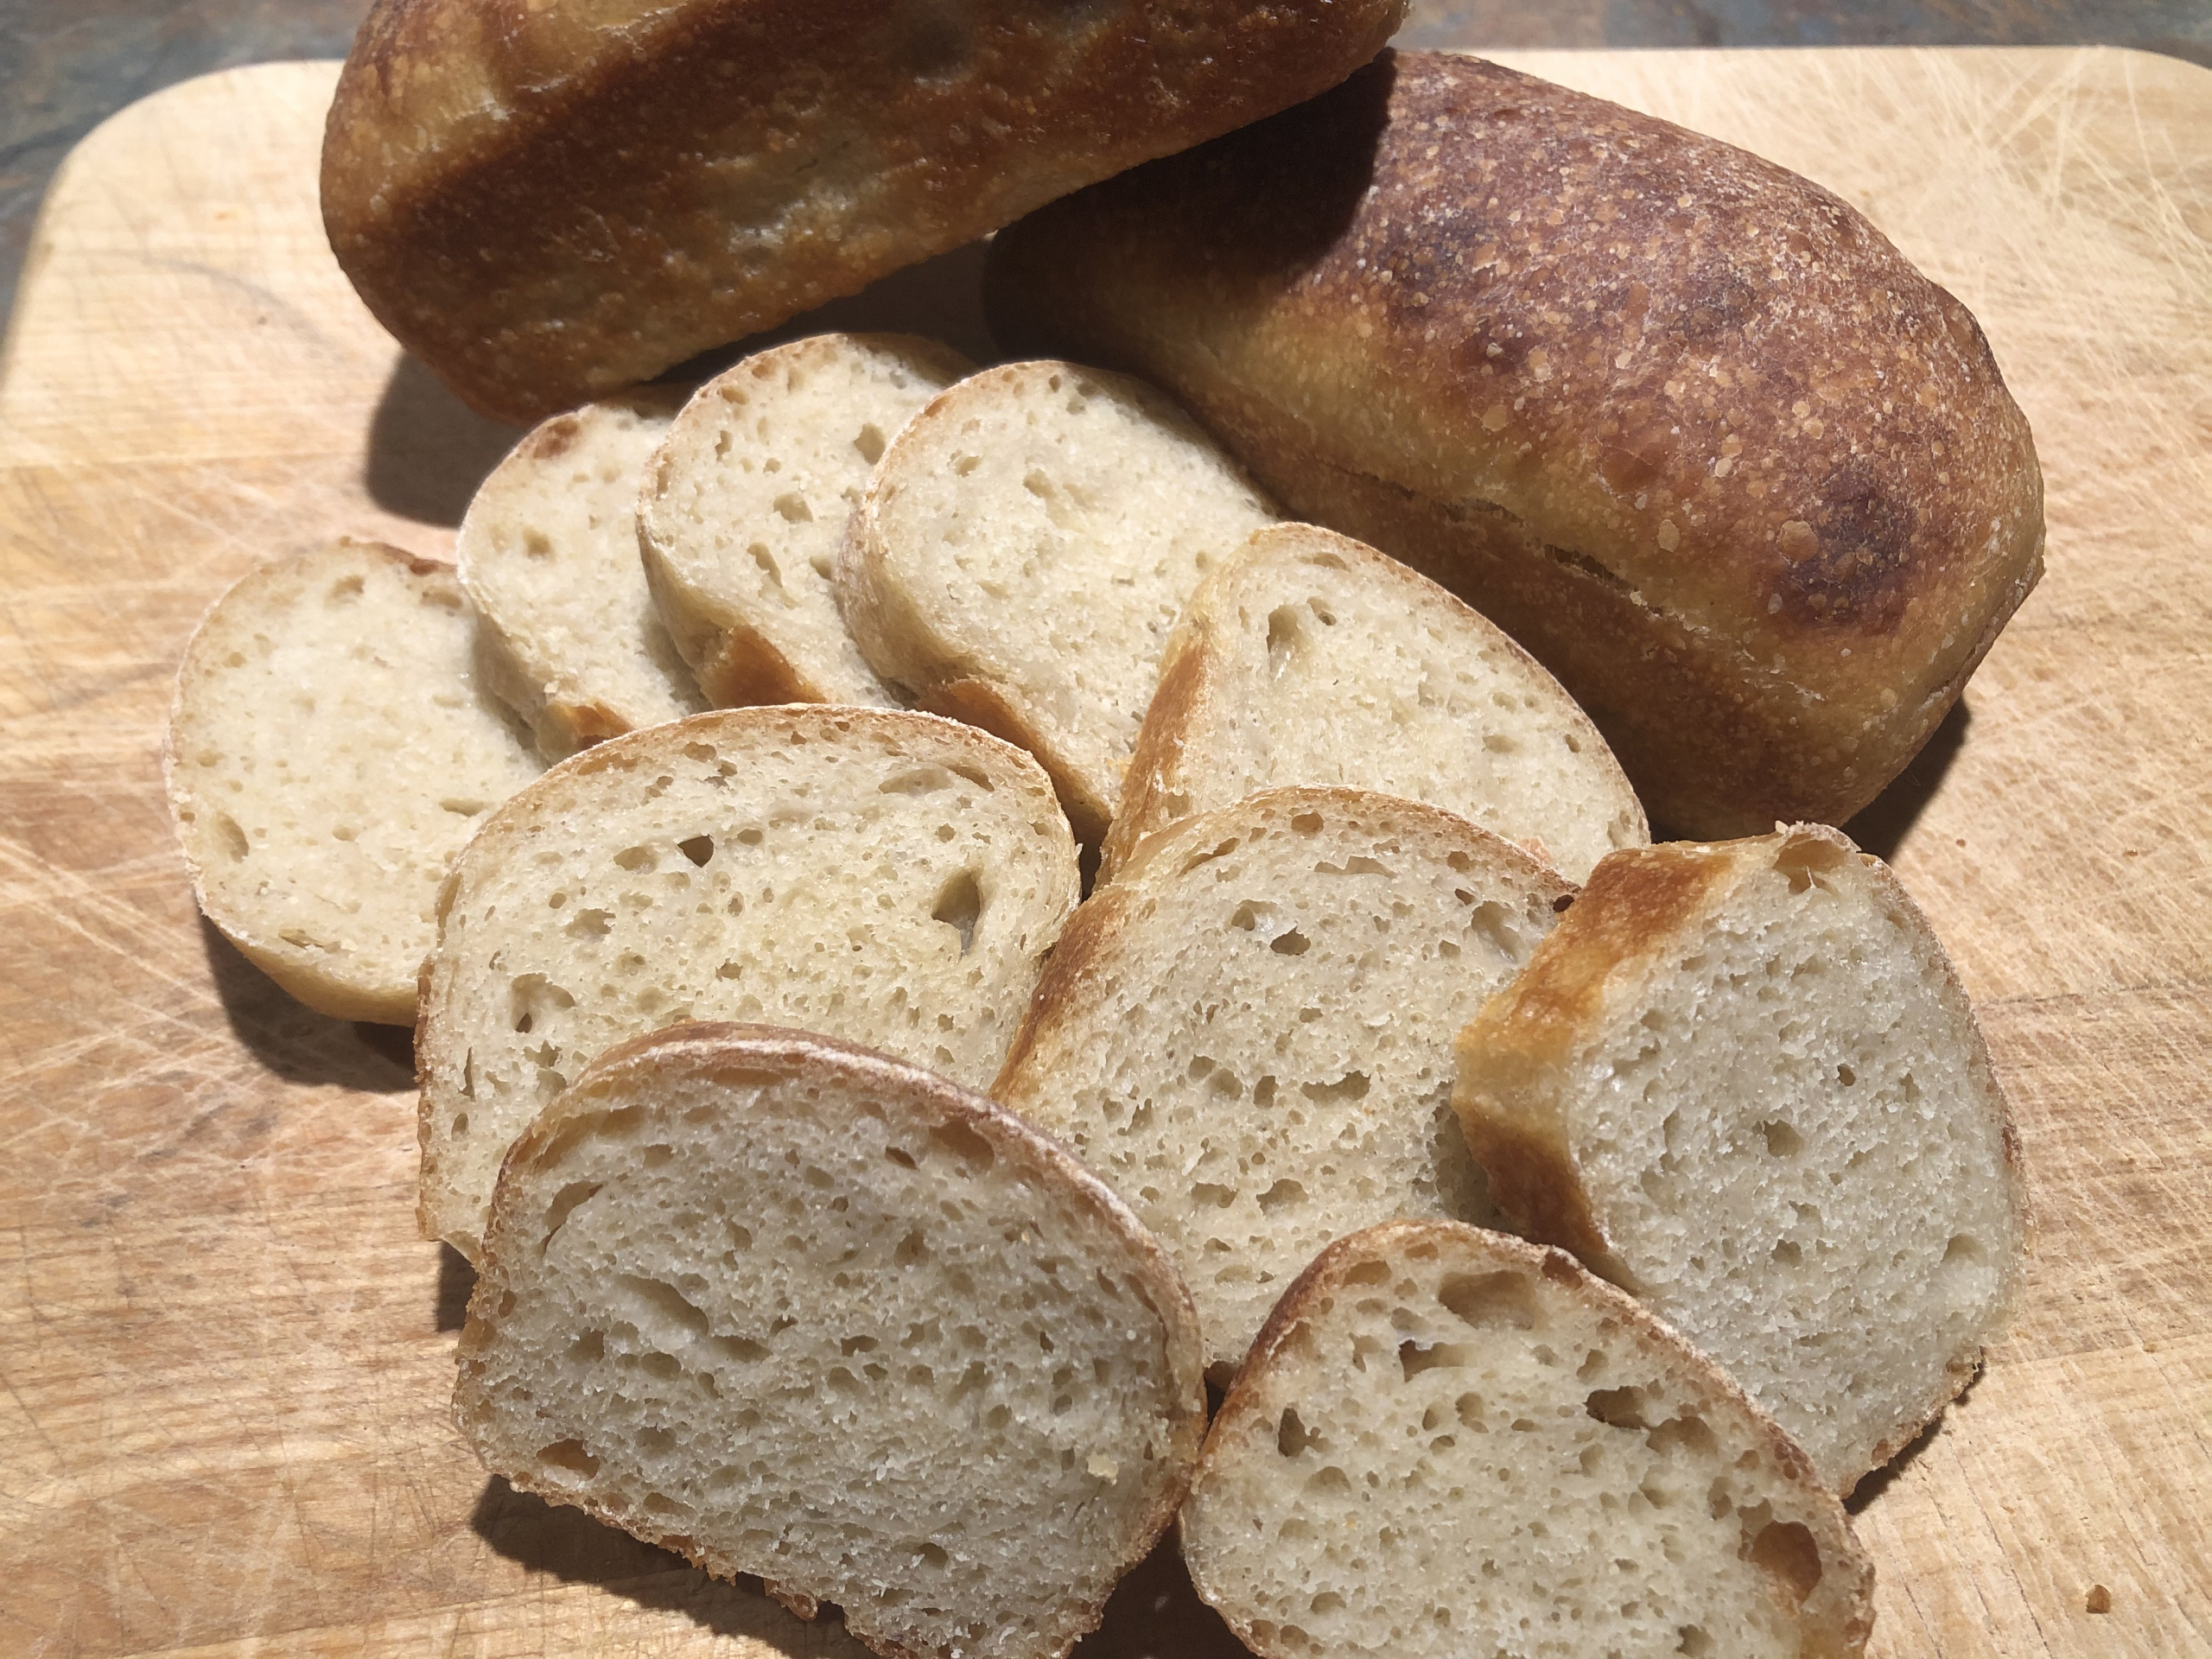
In my bakery, I always had mini bread made from all the dough varieties I used for large loaves. I used some of them to provide samples for my customers and to give to my kids.
One morning I used my sourdough discard to make just one mini bread. I baked some other bread that day, so I did not use the oven just for that little bread. I added a few raisins, a little coconut sugar, and enough organic sprouted wheat flour to make the dough. I let it rise for a few hours and baked it at 400°F (204°C).
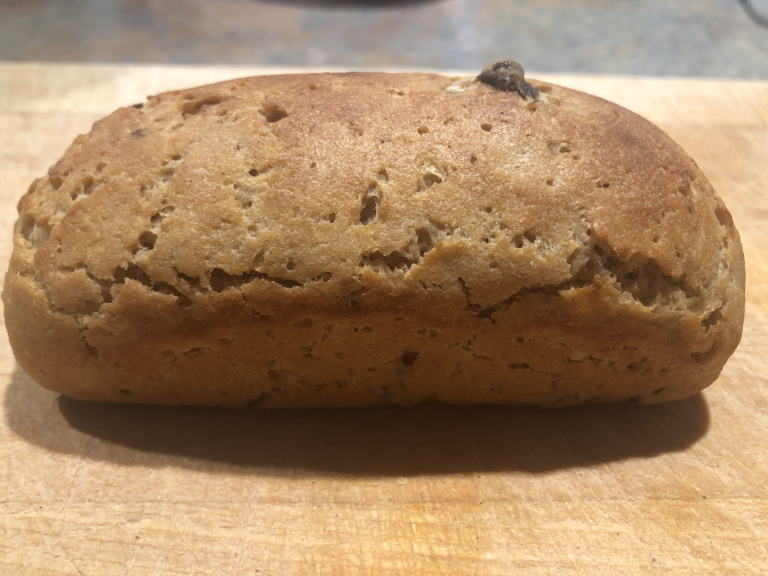
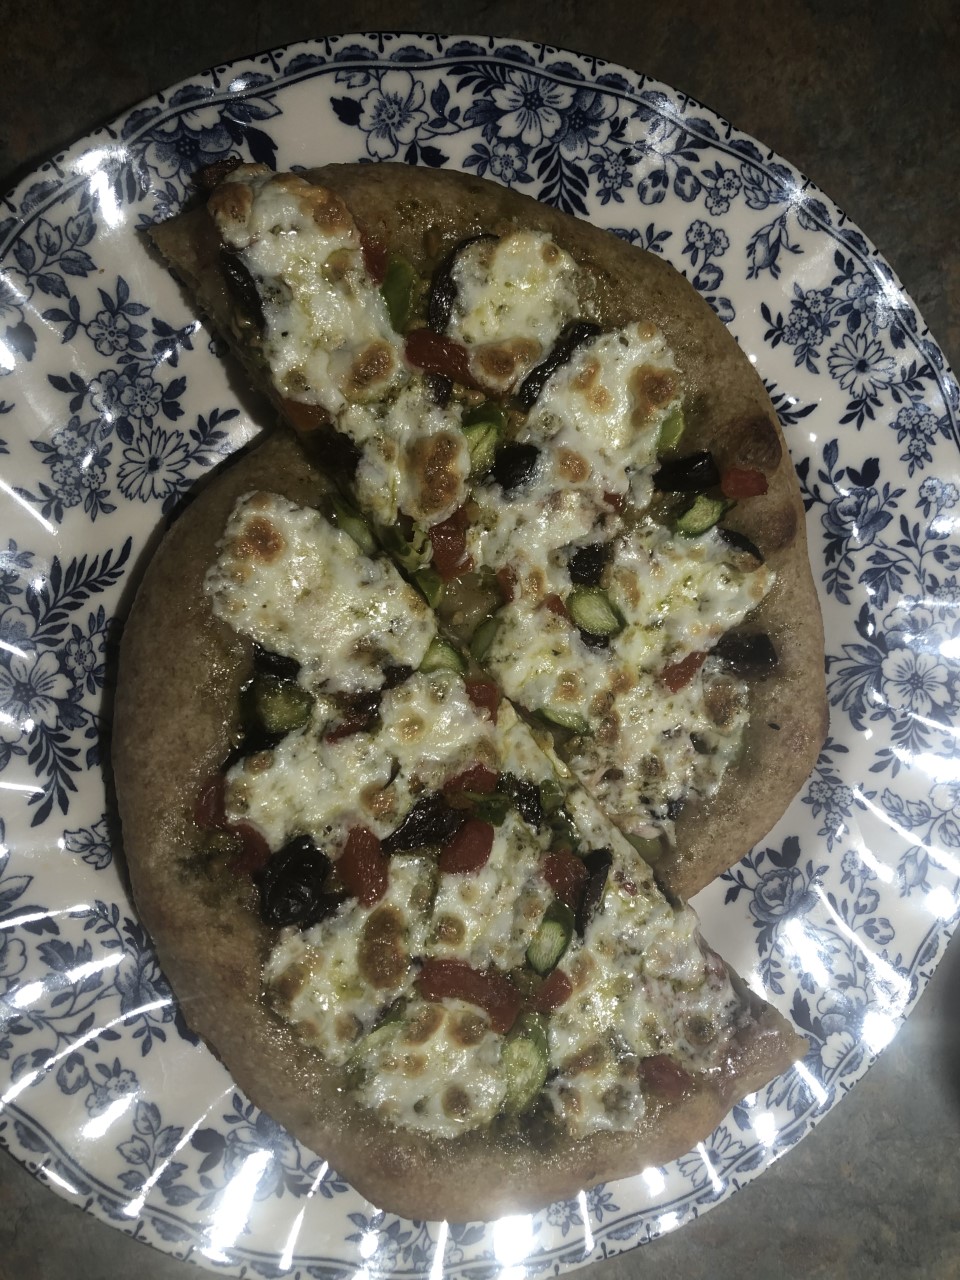
I gave this little bread to my son. He liked it very much and asked me if I was going to bake something similar soon. I thought that next time I should bake several mini loaves to last for a few days. So, to continue my old tradition of making larger bread first and then using some leftover dough for mini bread, I made the dough for pizza and used some dough for several miniature loaves.
This was not my regular pizza dough because I wanted to make it somewhat similar to that sourdough mini bread and yet suitable for a pizza and/or a flatbread. I created a new recipe.
I made enough dough for one pizza, one flatbread, and several mini loaves. It is not sourdough bread, but a yeasted loaf with a very little amount of yeast and a long fermentation time. The dough is very easy to make and handle.
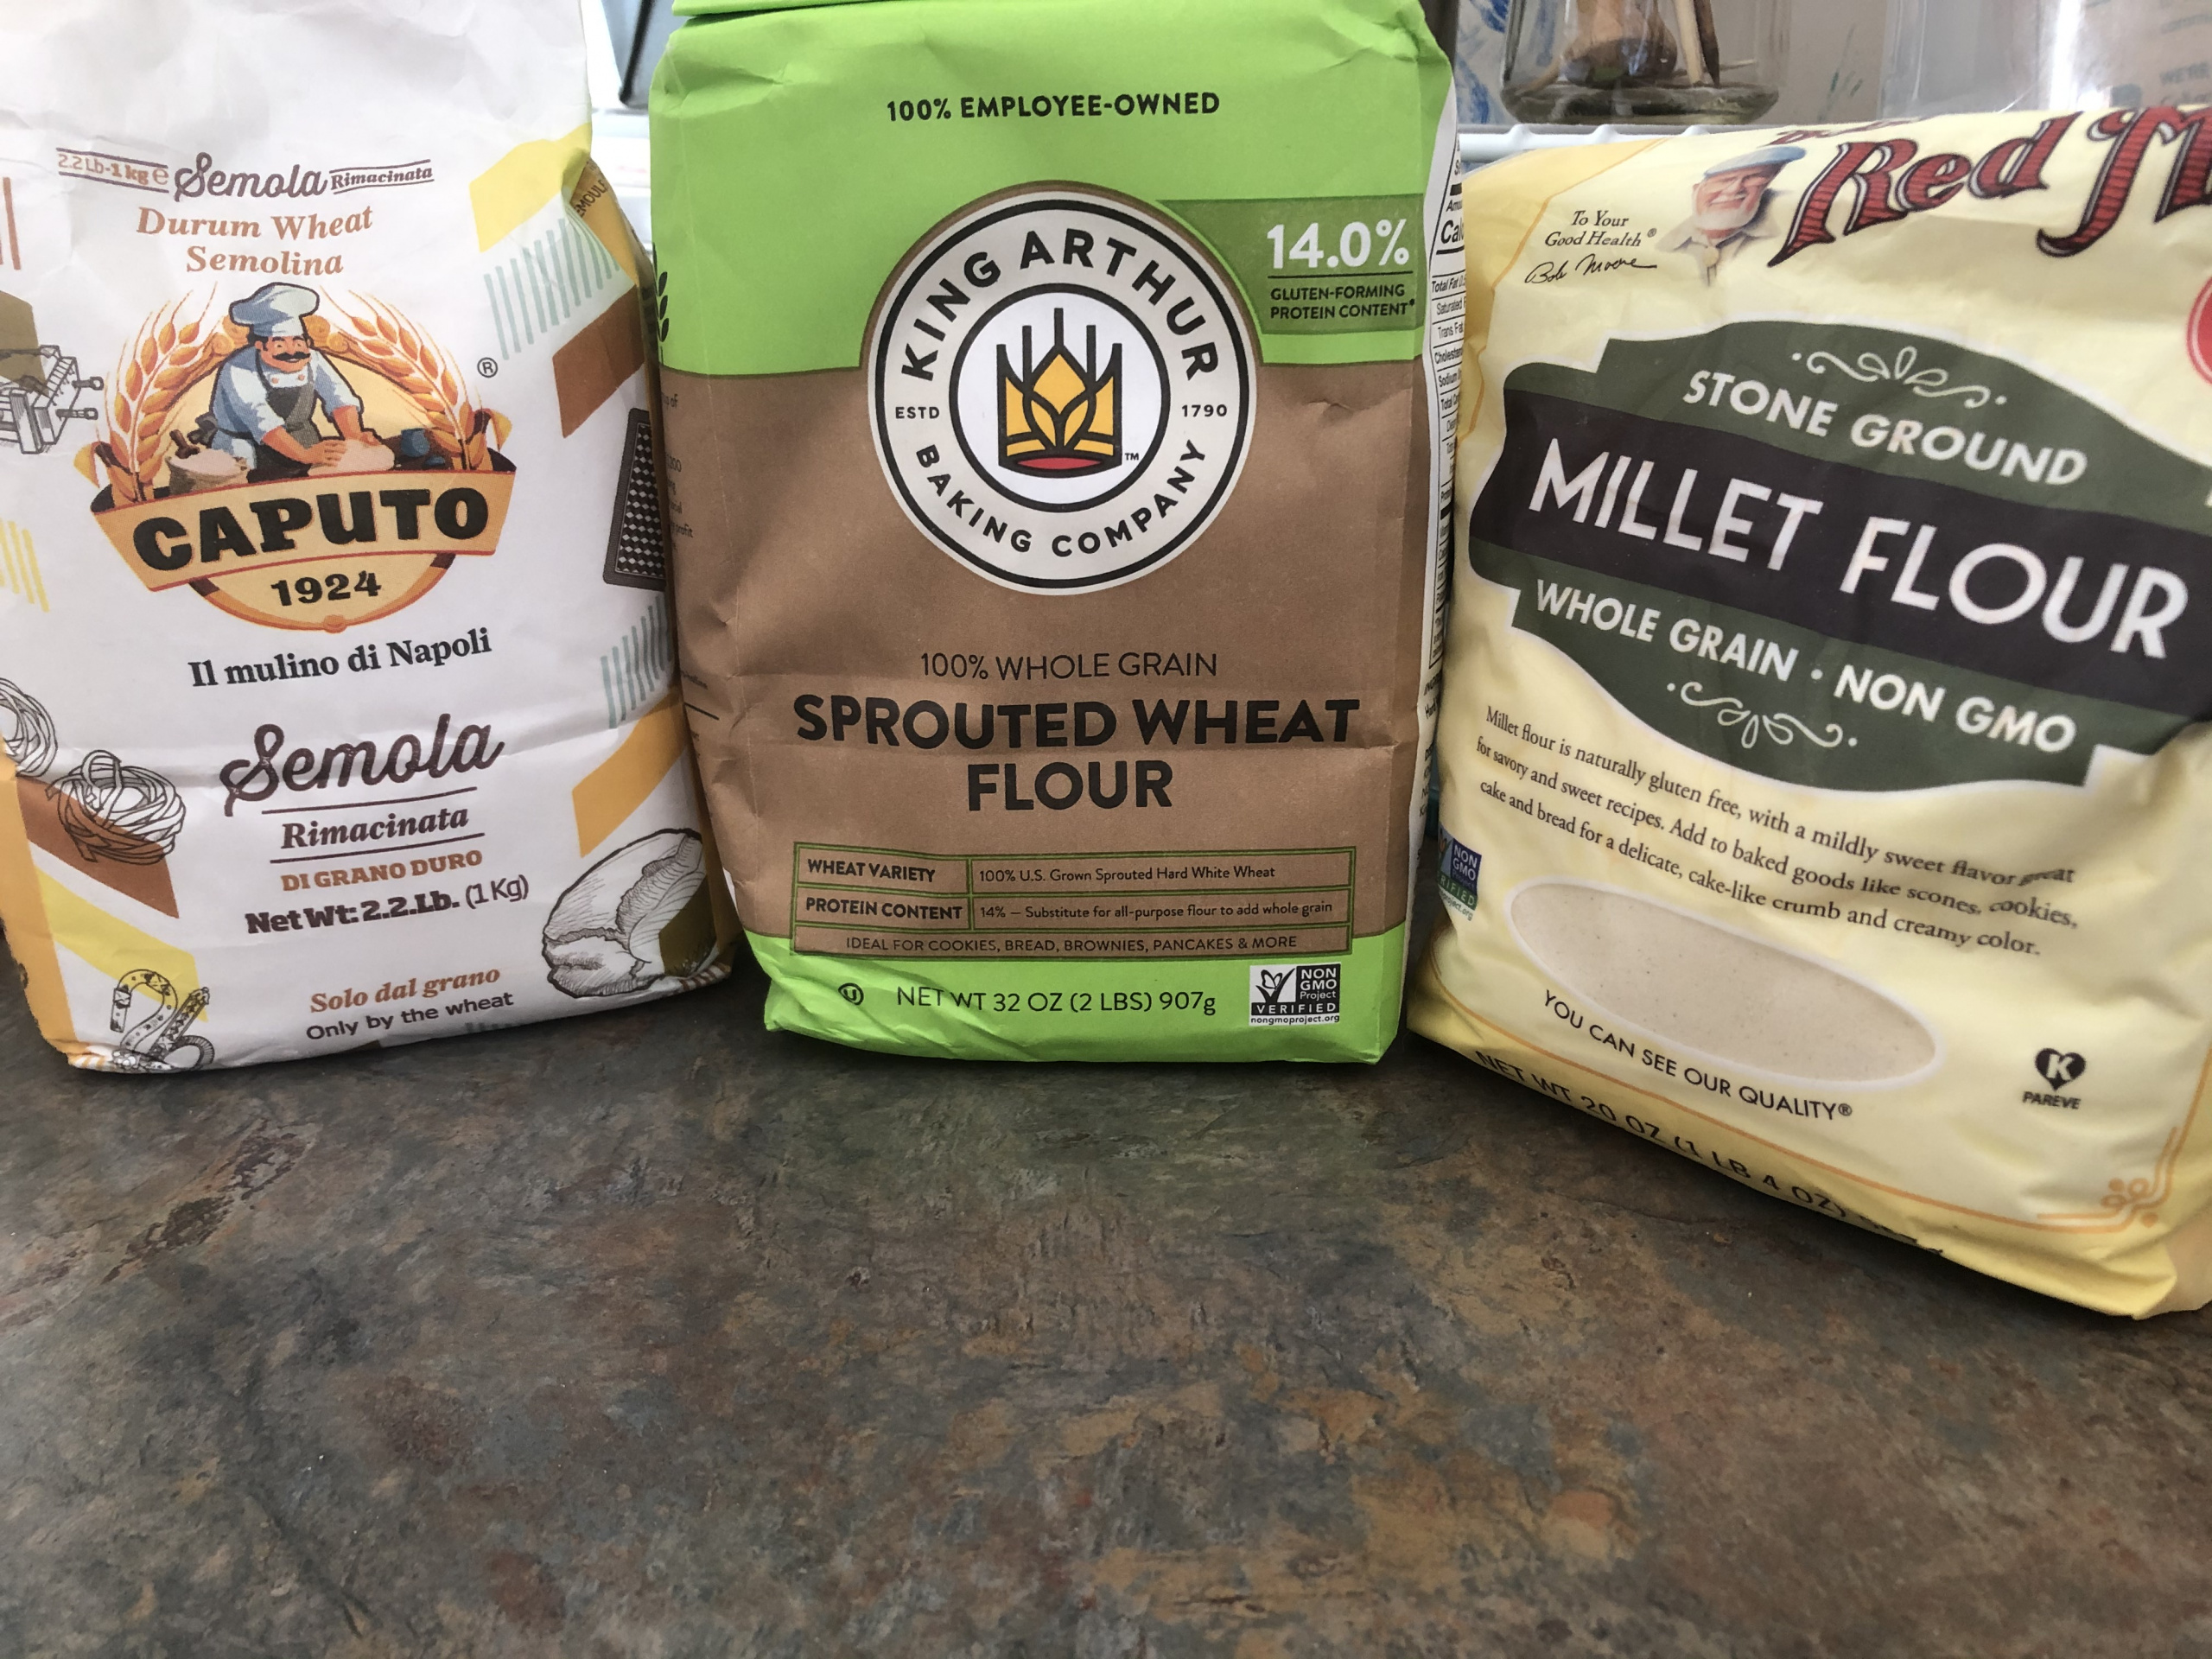
The Ingredients:
Water — 550 grams
Yeast, active dry or instant — 1/8 teaspoon
White wheat flour, unbleached — 350 grams
Semola (or Semolina) flour — 260 grams
Sprouted whole wheat flour — 100 grams
Millet flour — 40 grams
Sea salt — 12 grams
Mixing the dough:
Pour water into the mixer bowl. Sprinkle yeast on top. If you use Active Dry yeast, follow the directions on the package on how to activate the yeast. I use lukewarm water and let the yeast rehydrate for 5-10 minutes. Instant yeast is ready for mixing with no activation.
.")

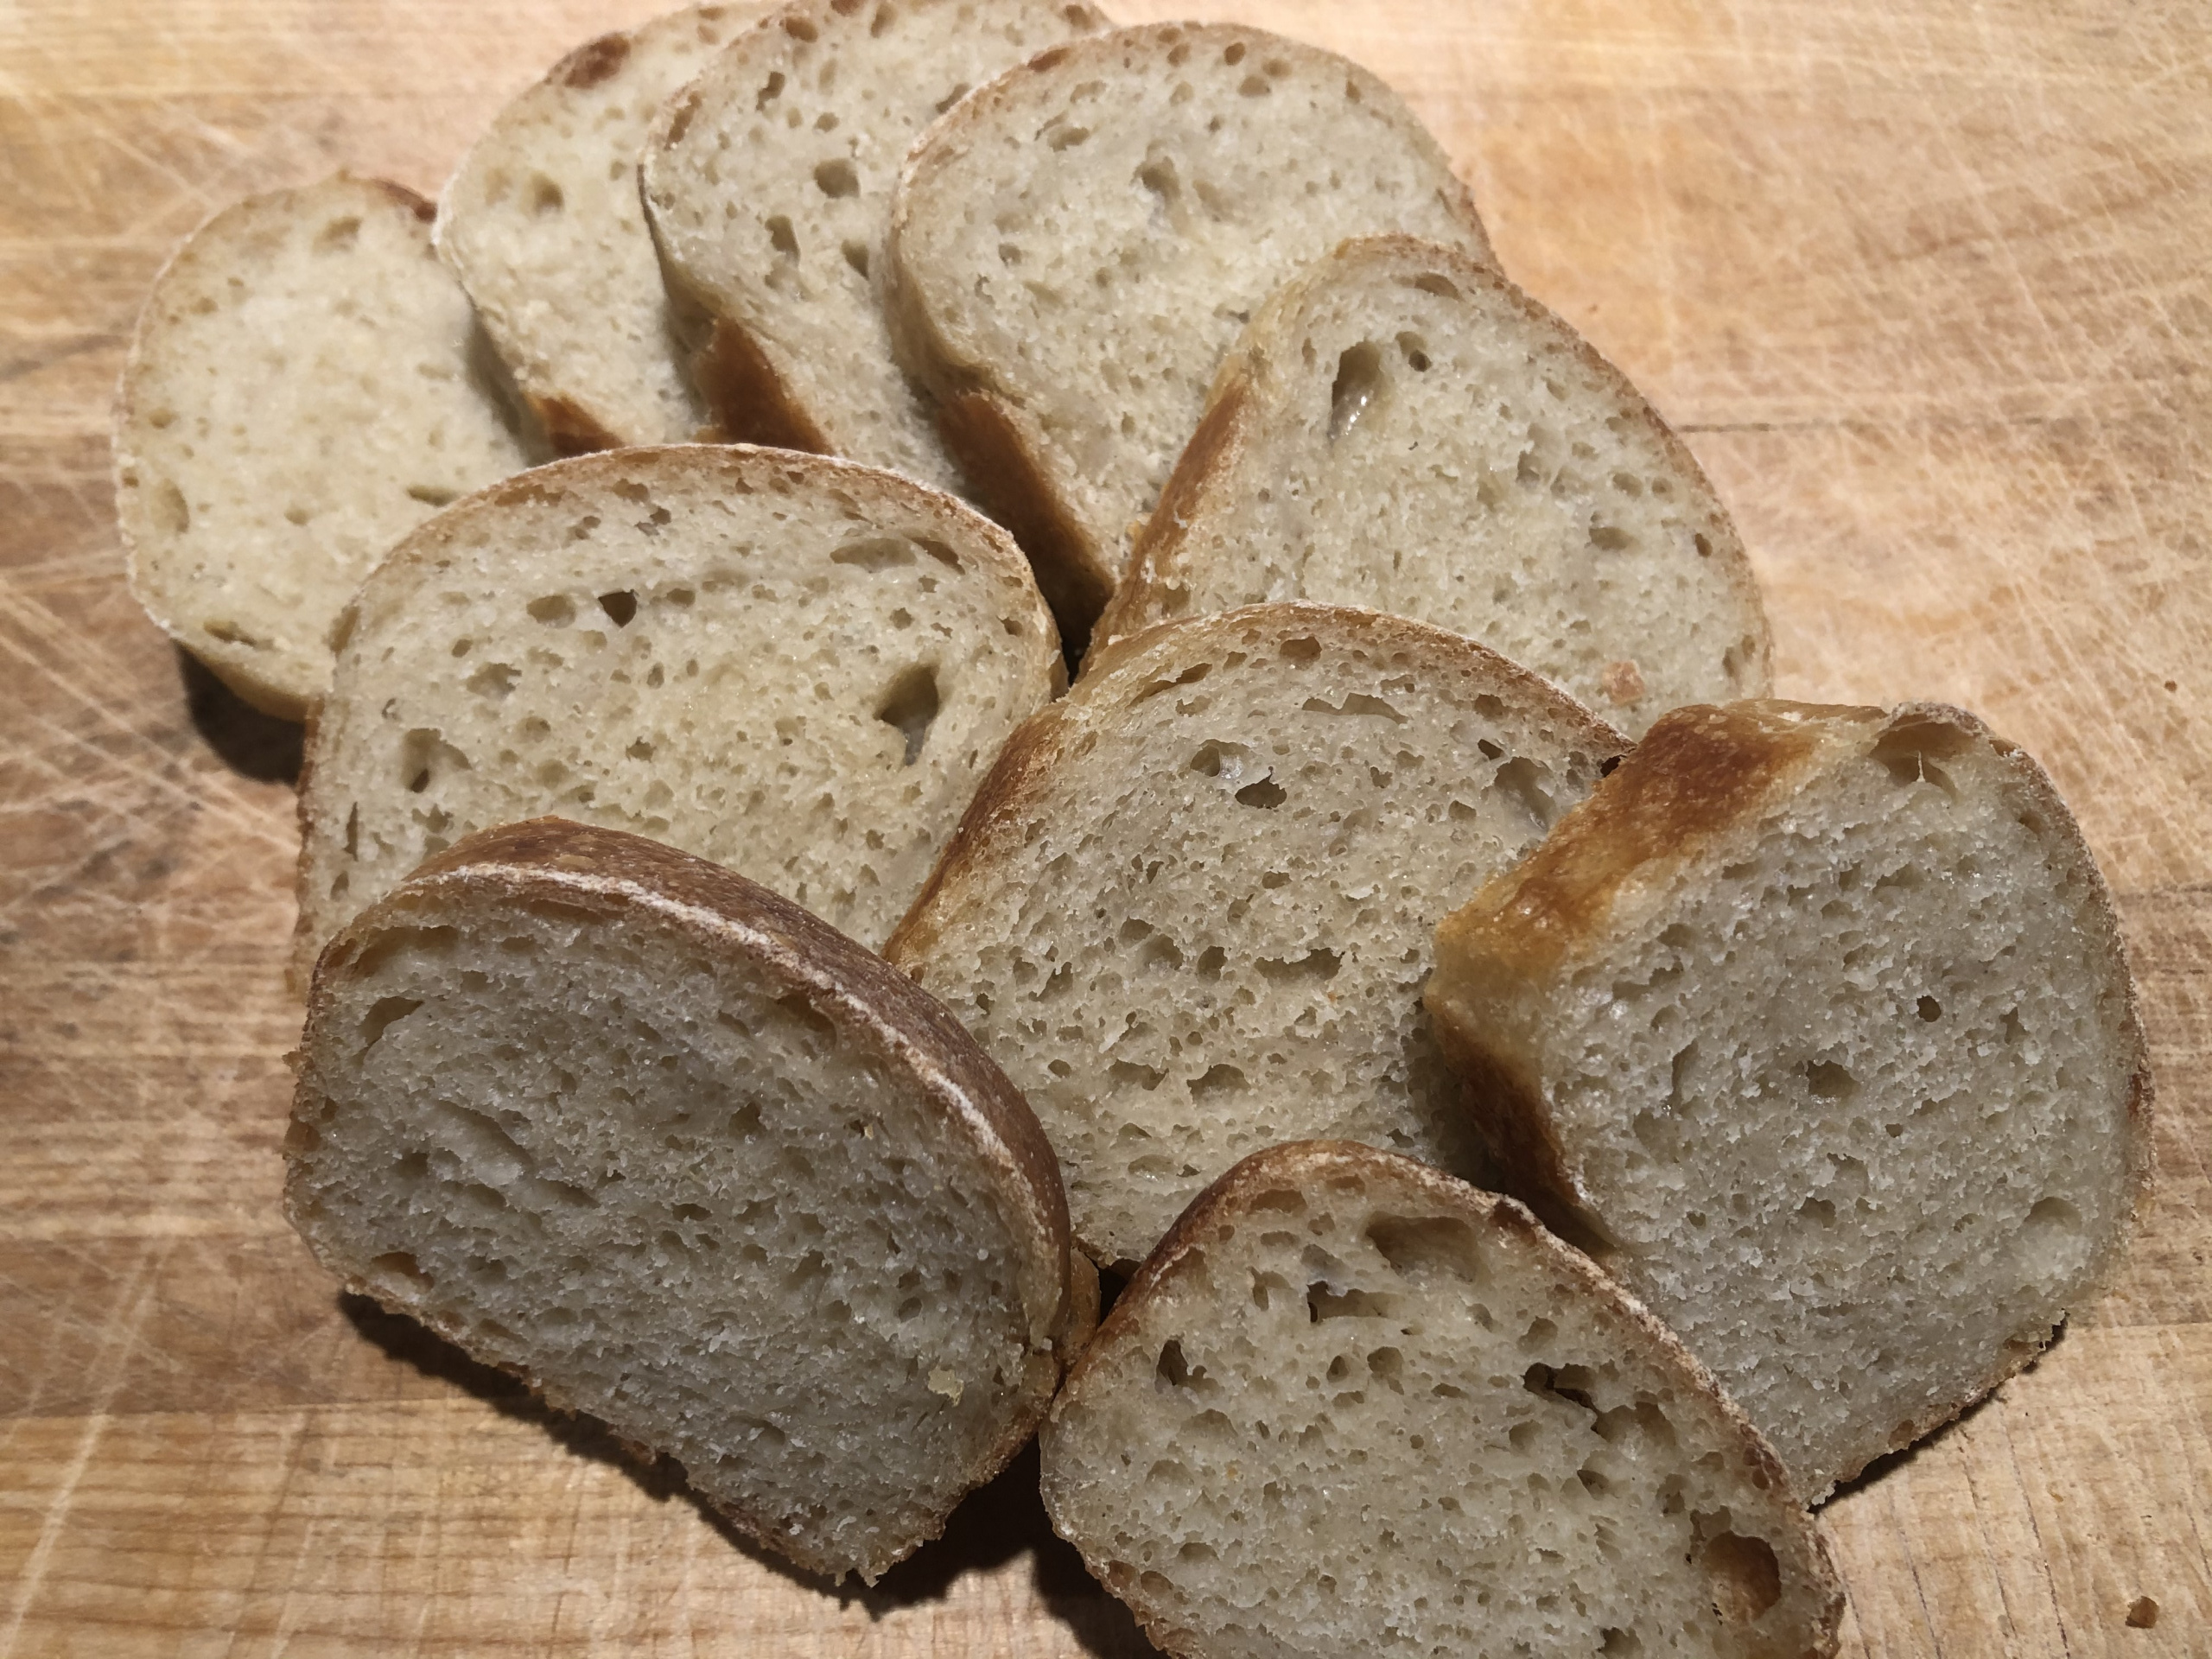
I divided the rest of the dough into 4 parts and shaped them into small loaves. You may find the shaping instructions here.
The dough is not sticky and you may just use some oil on the silicone mat to make it easier to handle the dough on the work surface (silicone mat). You do not dust your mat with flour, but use olive oil to lubricate the surface of the mat. This will prevent your dough from sticking to the mat. All your hand movements will be the same, but you will have to seal the dough folds more meaningfully. Experience is the best teacher here. You will learn to feel your dough.
I let my mini loaves rise for a few hours and baked them at 400°F (204°C). Baking time depends on the actual size of your mini loaves. I baked my bread for 15 minutes.


Happy baking!