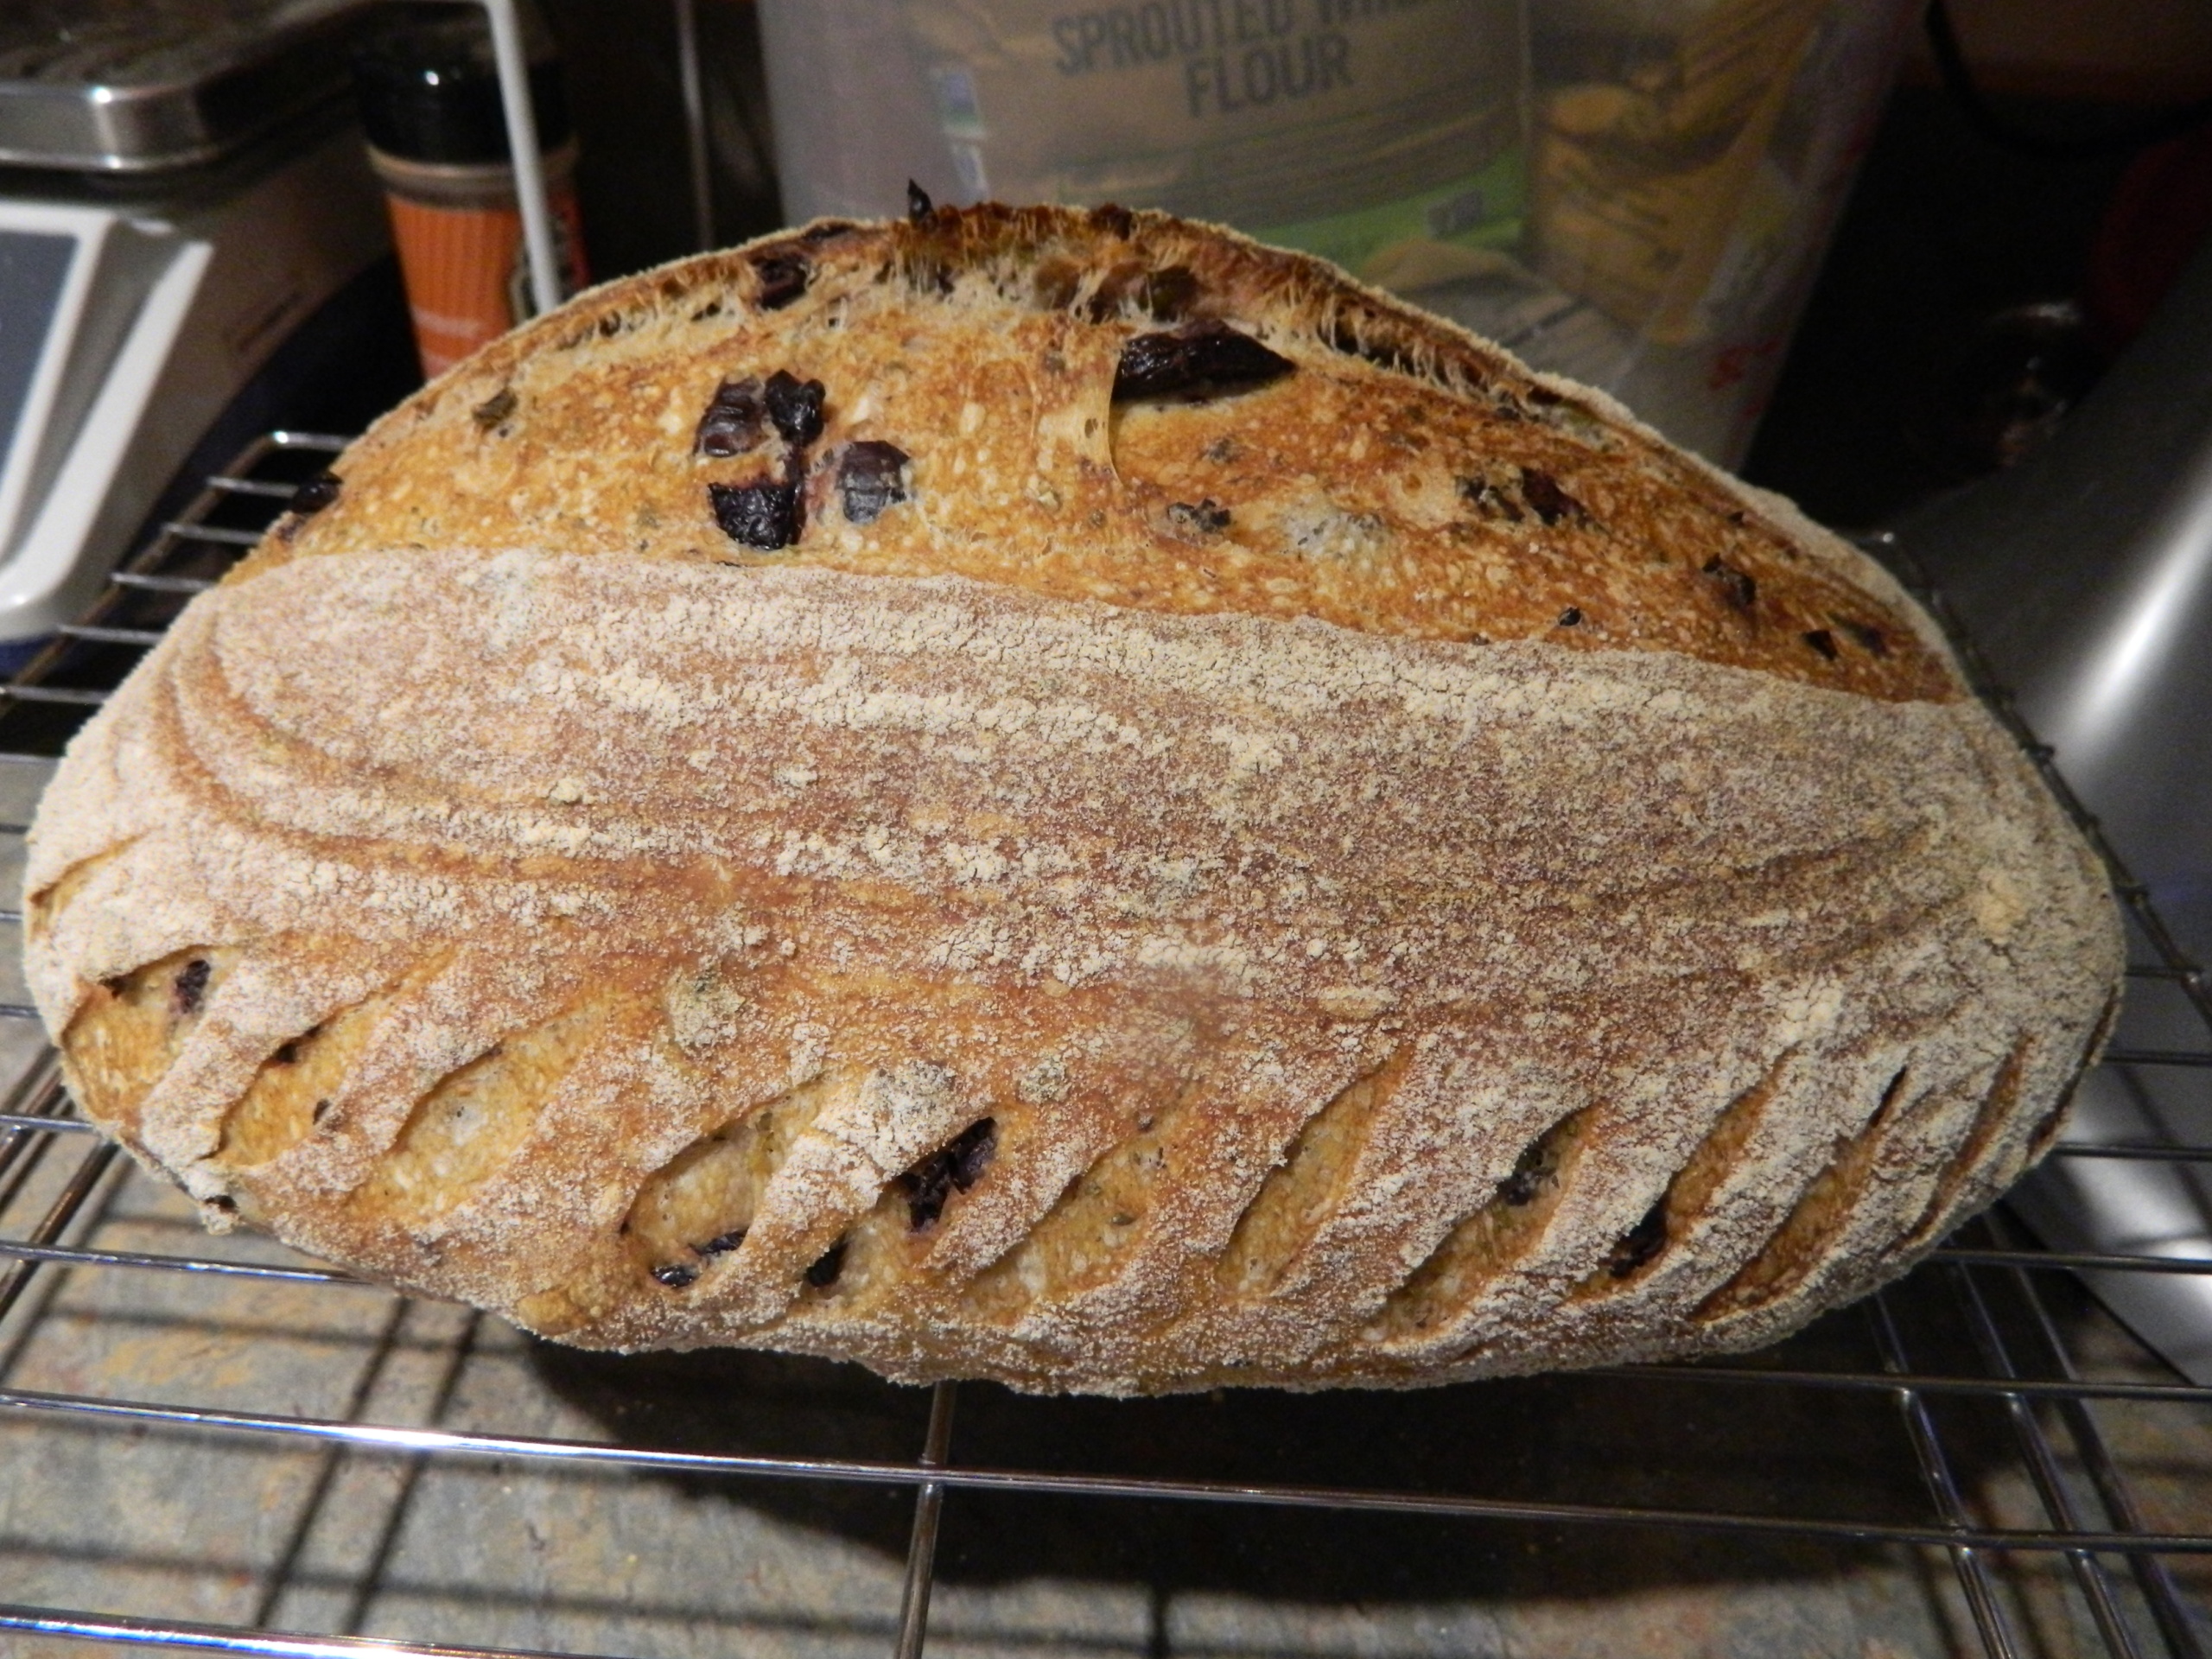
This recipe is a variation of my basic sourdough recipe with some extra ingredients. It is also quite distinctive in appearance and taste. While I was getting ready to write this post, I baked this type of bread twice using different olives.
Ingredients
Active sourdough starter (refreshed the night before mixing the dough) — 200 grams
Bottled water — 750 grams
Bread flour — 1000 grams
Rye meal — 100 grams
Salt – 20 grams
Olives and fresh rosemary to your liking.
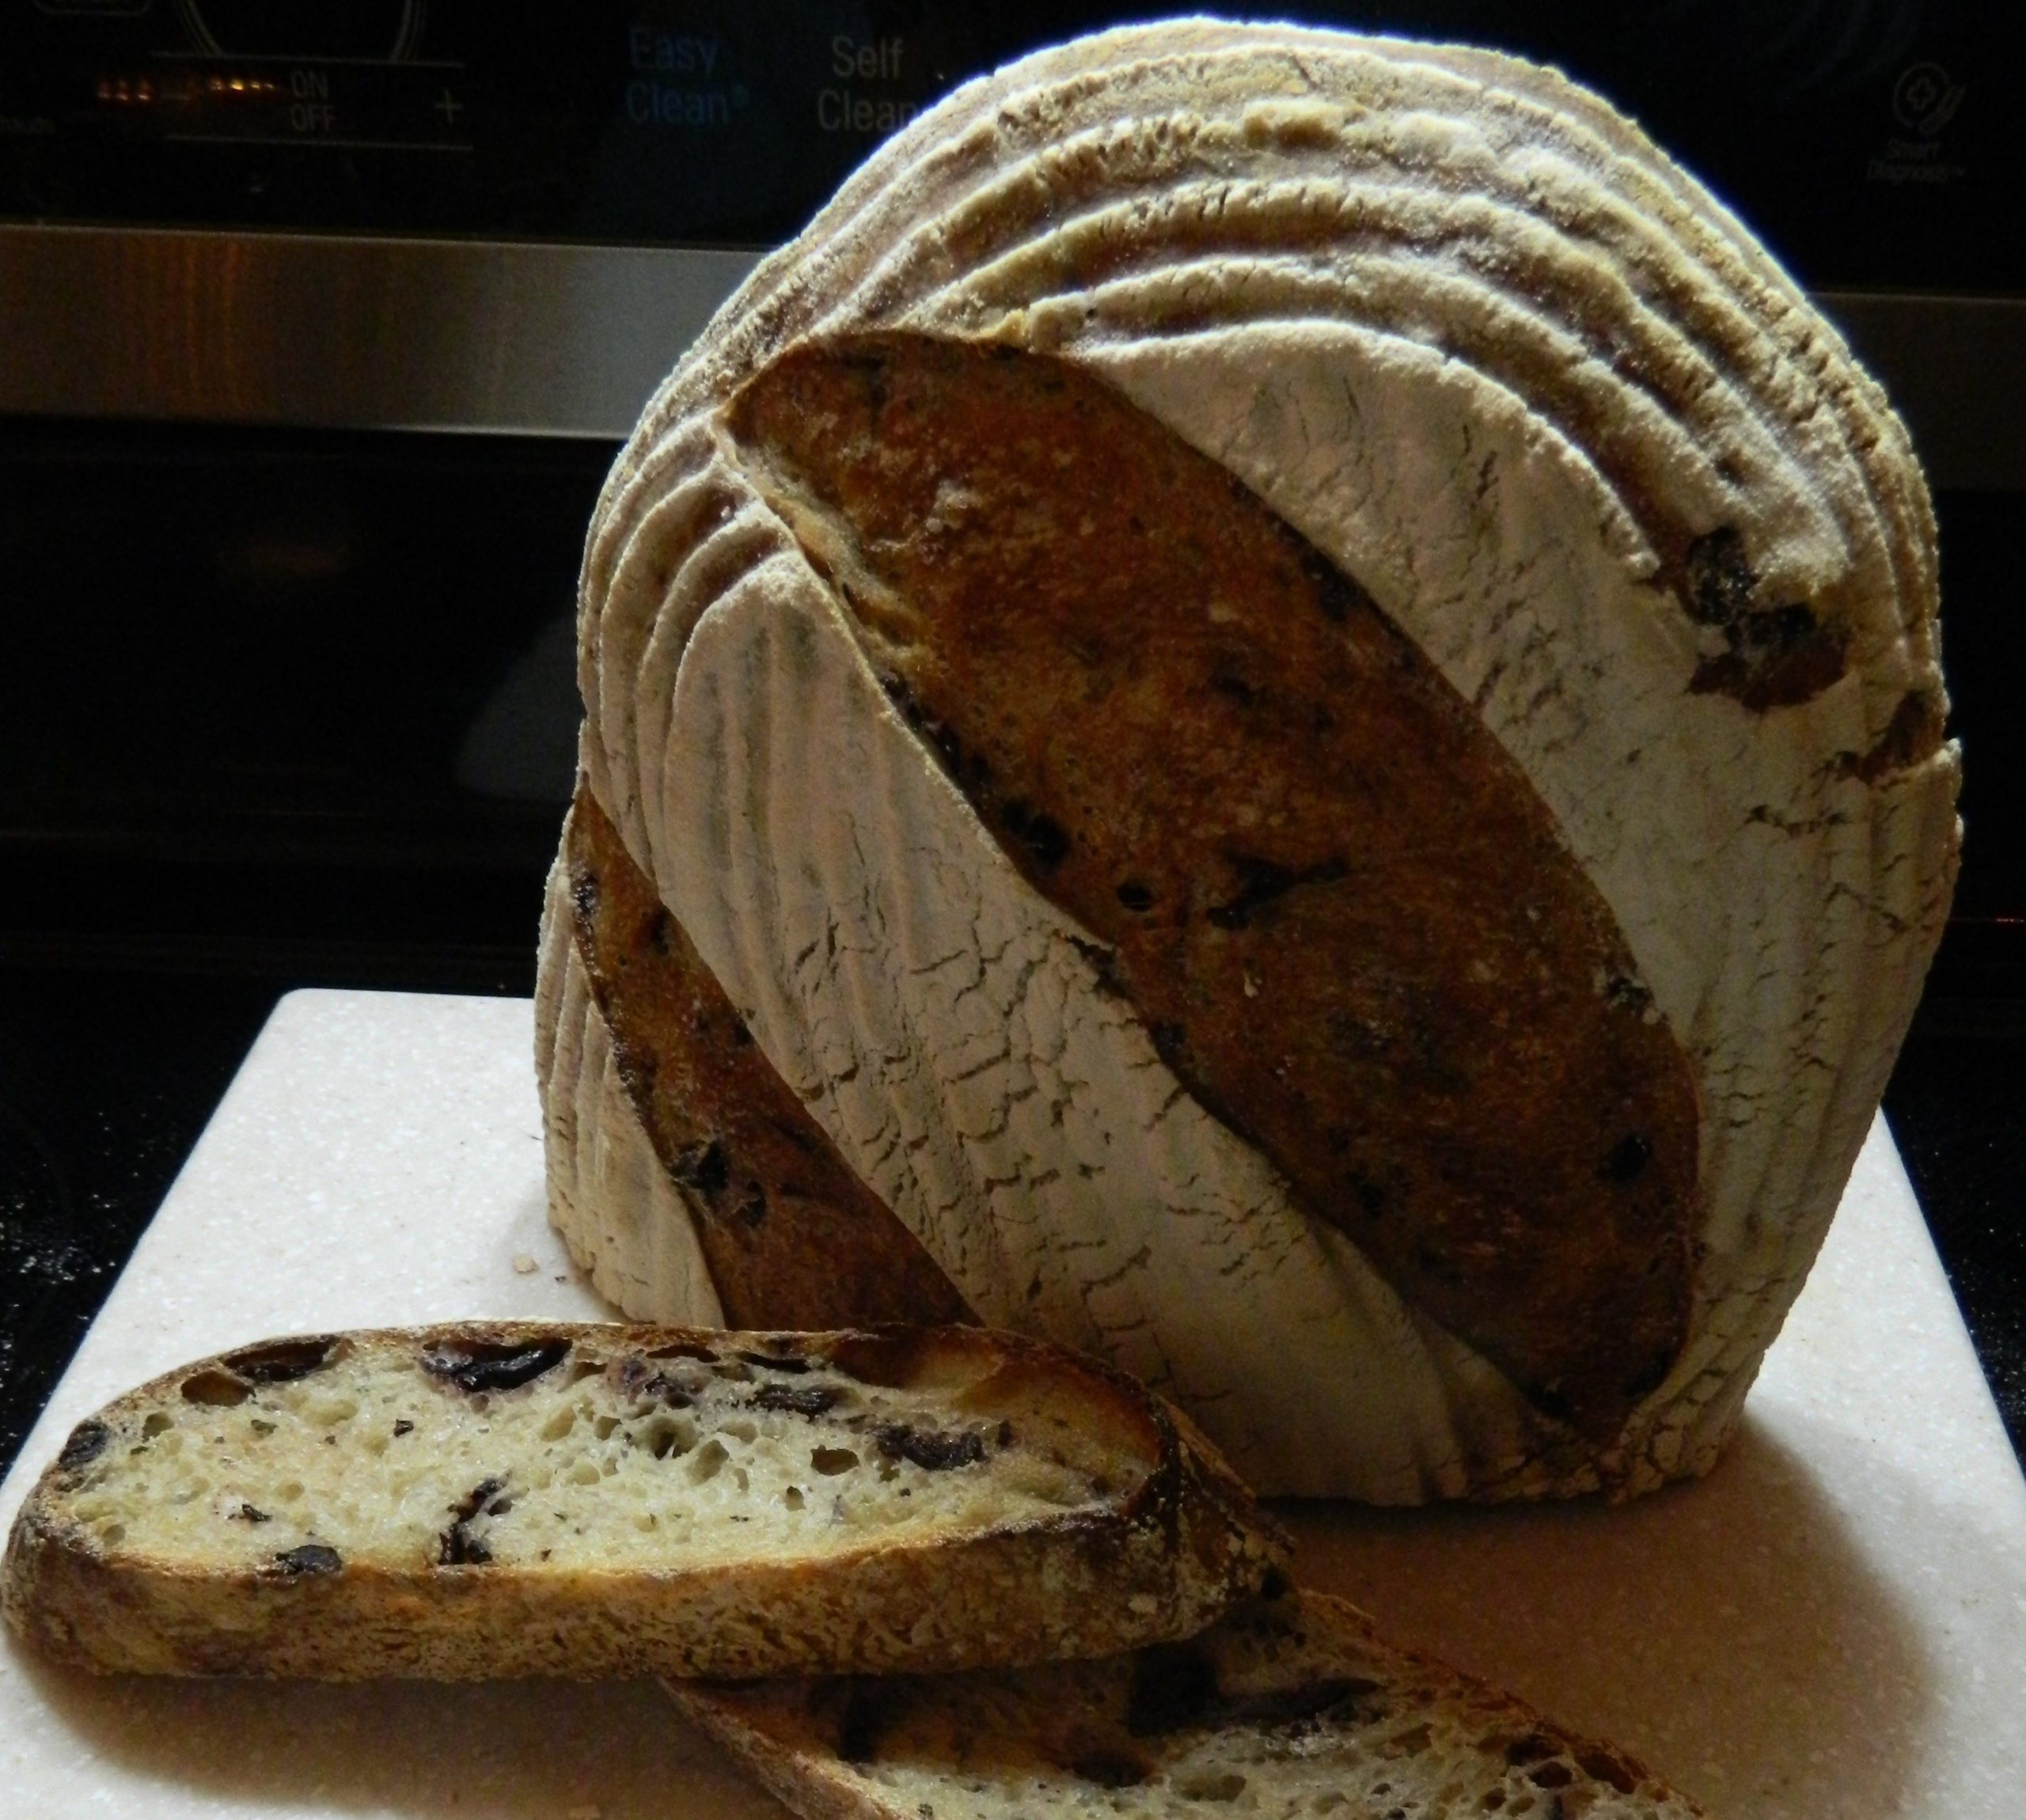
I used cured black olives for the first bread and a mixture of different olives marinated with herbs for the second bread. All olives had pits in them. In my experience, non-pitted olives taste better. So, I had to remove all the pits before cutting them into pieces. Rosemary comes from my garden. I also winterize at least one plant inside the house.
Preparation
Pour 750 ml of lukewarm water into the bowl of a stand mixer fitted with the dough hook attachment.
Add 200 g of ripe sourdough and start mixing on a low speed. The water will look like milk.
Gradually add flour, starting with the whole grain rye flour, just until incorporated.
Do not add any salt at this stage. Cover the mixing bowl with a clean kitchen towel and let the dough rest for 10 minutes.
Add salt and continue mixing the dough on medium speed for about 5 minutes.
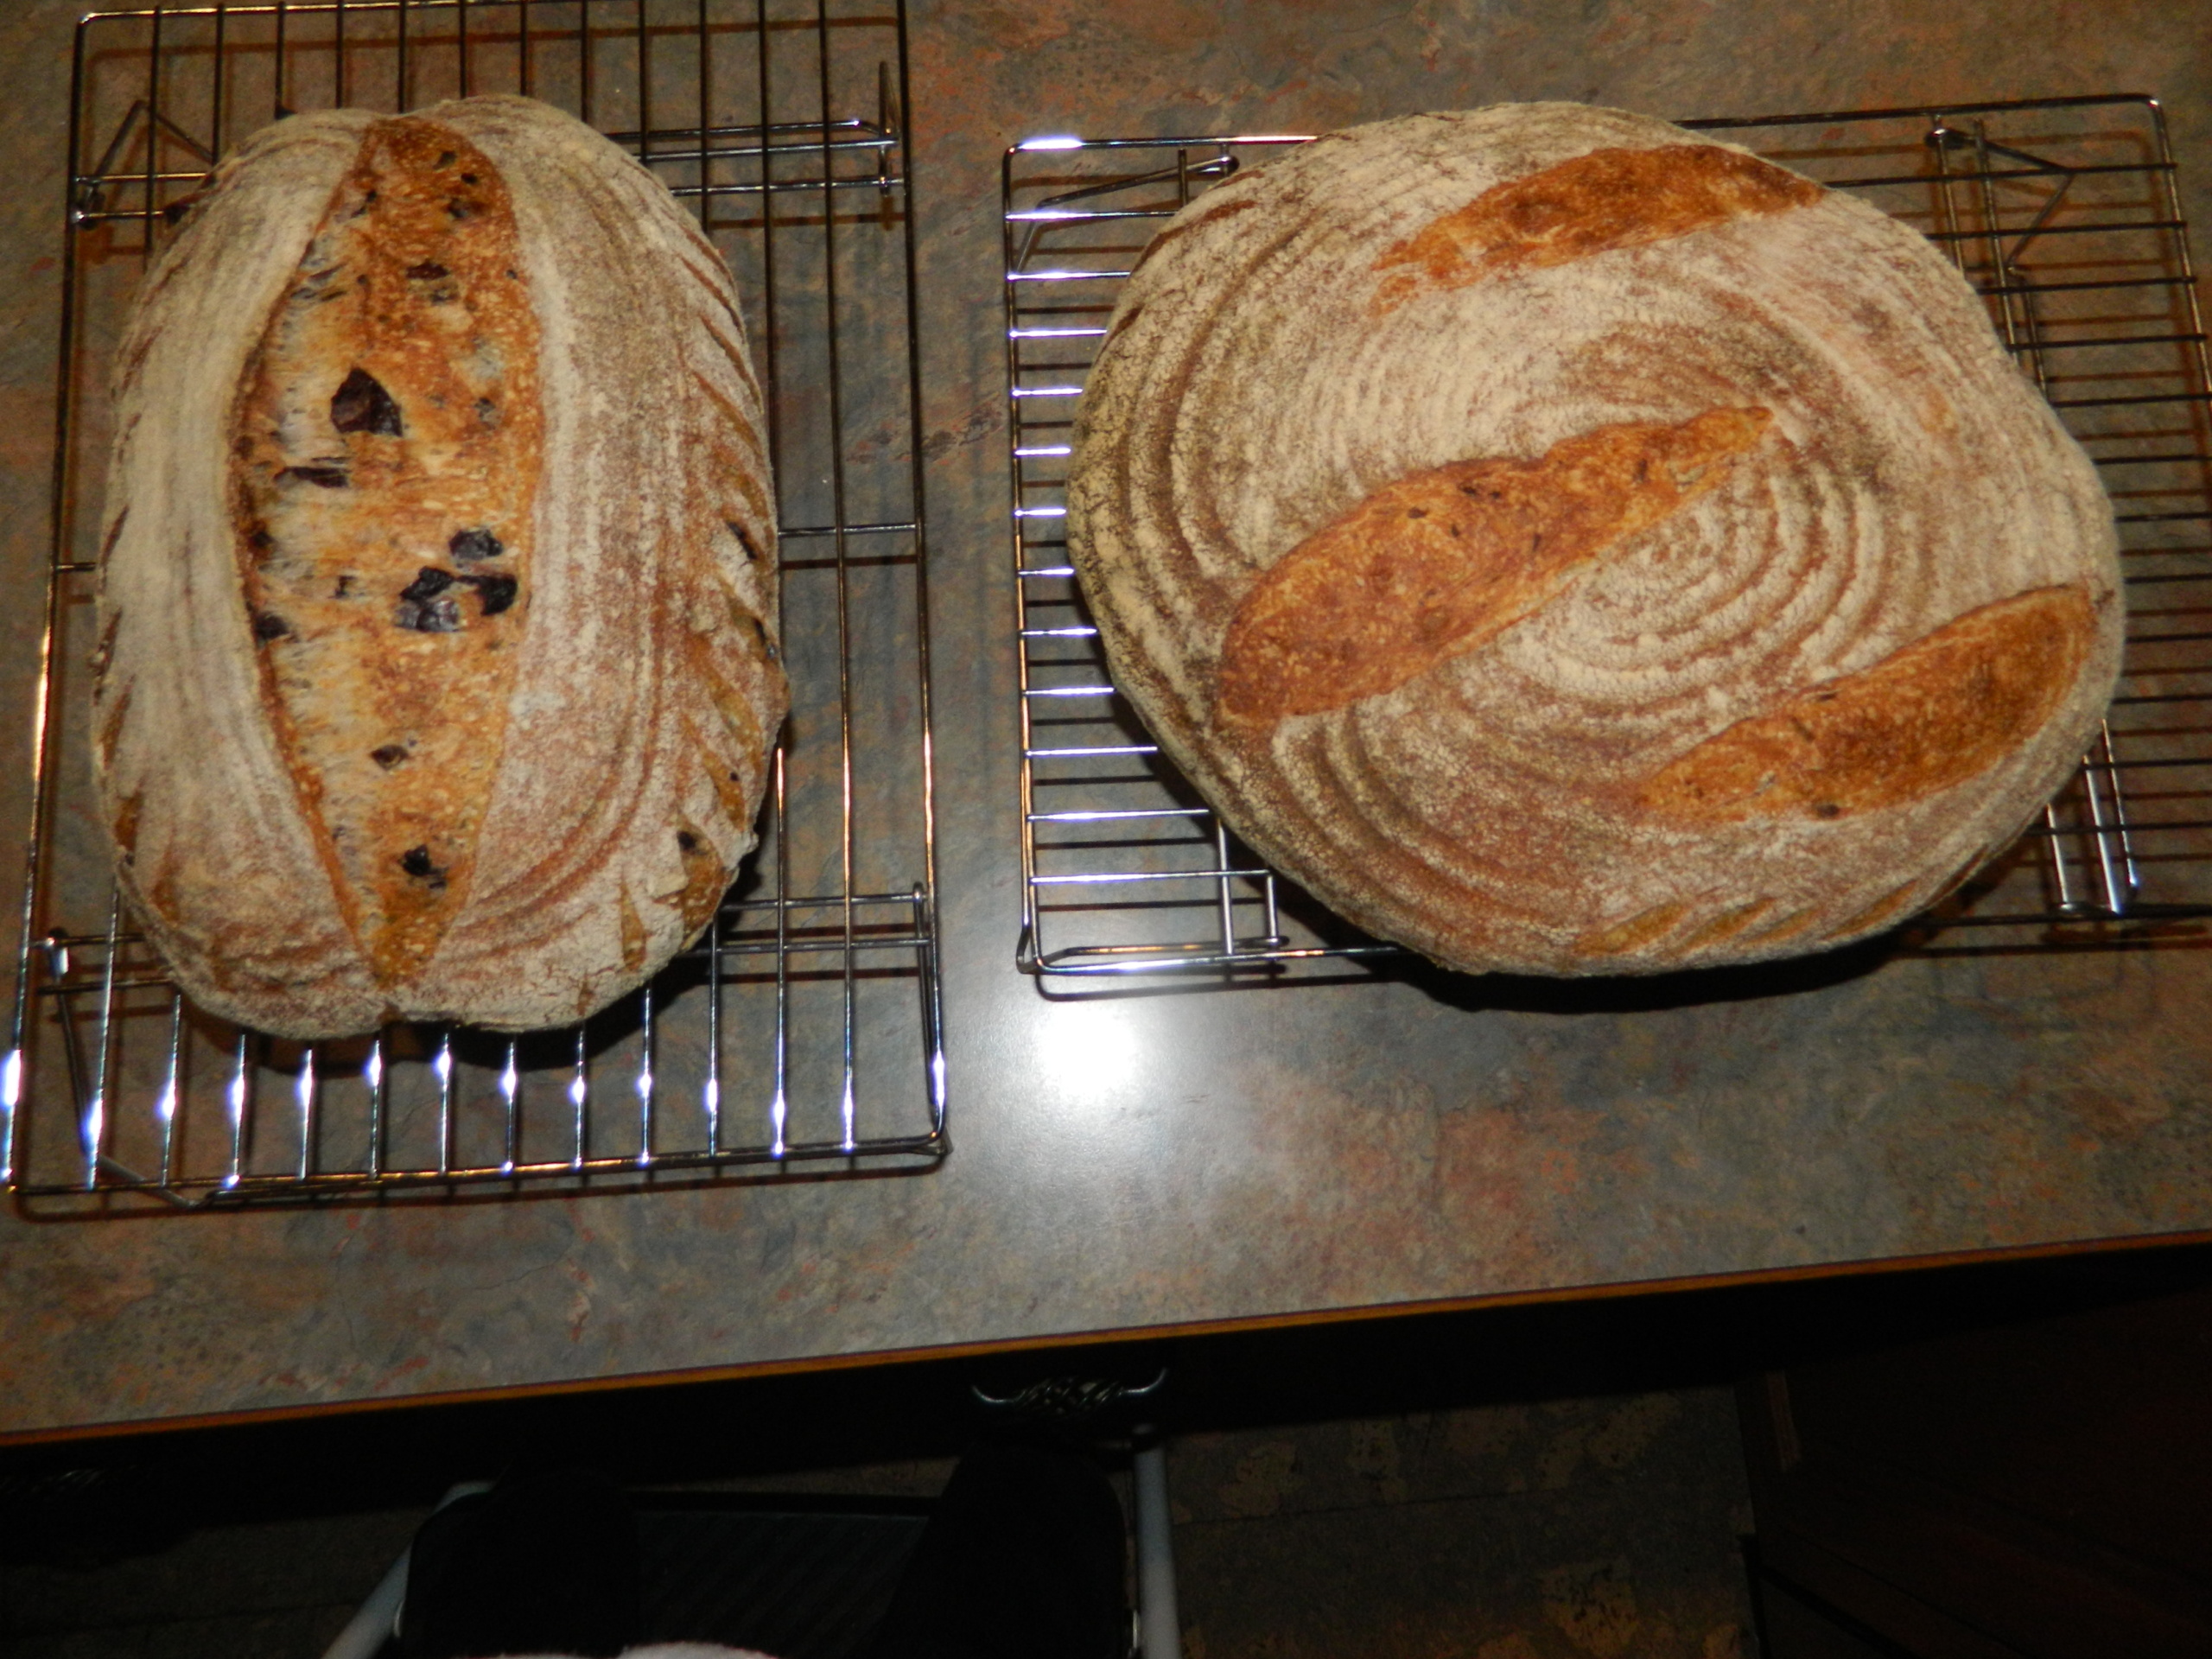
You have the dough for 2 loaves of bread. You can divide the dough right after mixing and make one loaf of bread with no additives, and another loaf of bread with olives and rosemary.
After you divide your dough, you handle each part the same way up to the point when you finished 2 stretches and folds. You make 2 more stretches and folds (4 total) for the basic loaf and follow the basic bread tutorial for that bread.
Don’t forget to let your dough rest for 20 minutes before you proceed to the next step – stretch and fold the dough with your hands right in the bowl.
After you finished 2 stretches and folds in the bowl for your future rosemary olive loaf, you put your dough on the oiled work surface and stretch it gently into a flat rectangle.
Spread some of your chopped rosemary and olives all over the surface of the dough.
Fold the dough onto itself like an envelope. Then spread some chopped olives and rosemary all over the white part of the dough.
Keep folding the dough and spreading your chopped mixture after every fold. That way, you incorporate everything well and do not overwork the dough.
It is time for the first fermentation. Gather your dough into a ball and put it back into the oiled bowl. Cover the bowl with plastic wrap and let it stand undisturbed for several hours.
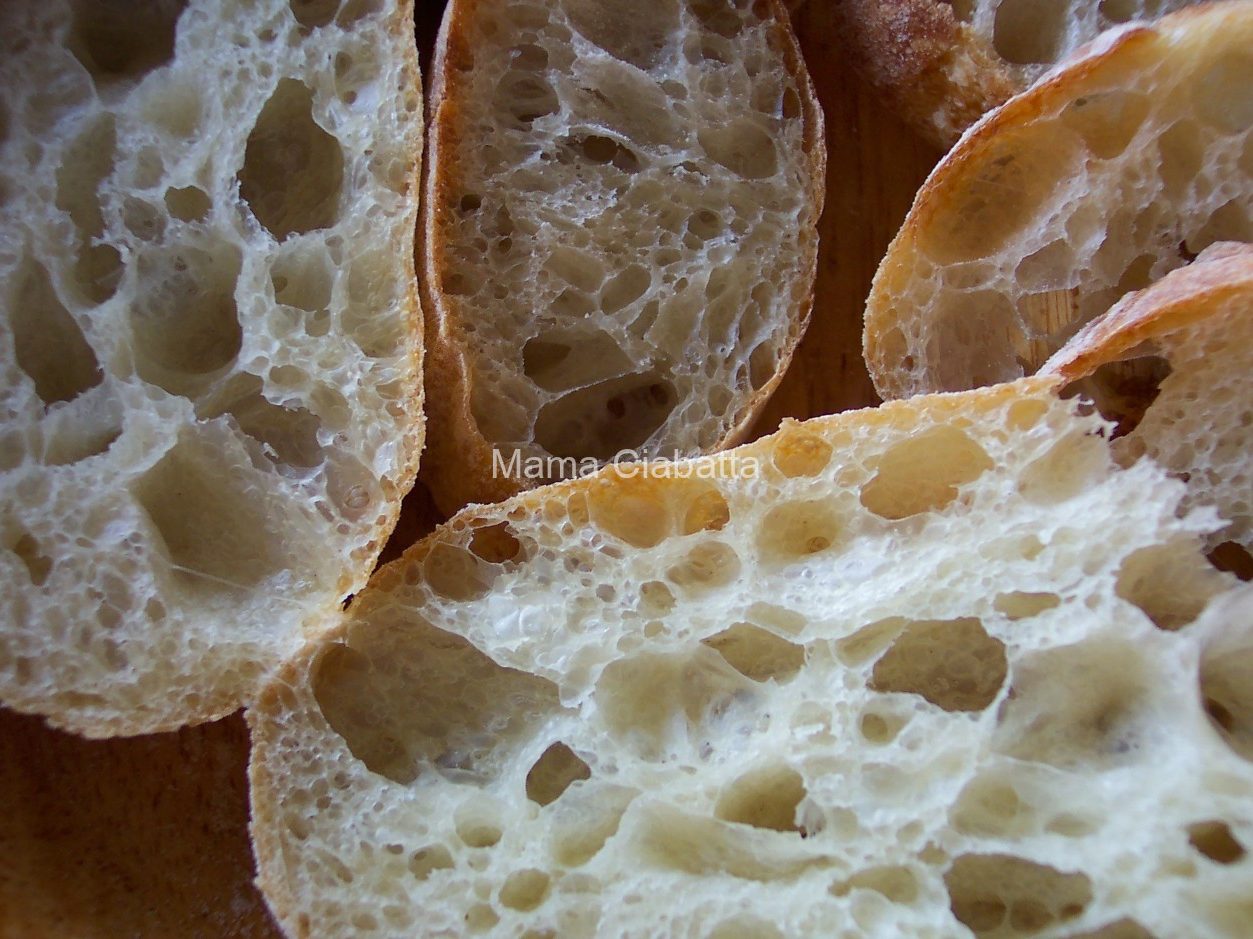
The dough will not double in bulk, but it will be smooth and airy. You can see a few bubbles in the picture.
Take your dough out of the bowl and put it on your work surface, dusted with flour.
Stretch and fold each piece of the dough like an envelope. Do not force your dough. This is the pre-shaping stage.
Give your dough envelope another 20 minutes of rest. Cover the dough with a large transparent plastic box, as I do, or a clean kitchen towel dusted with flour.
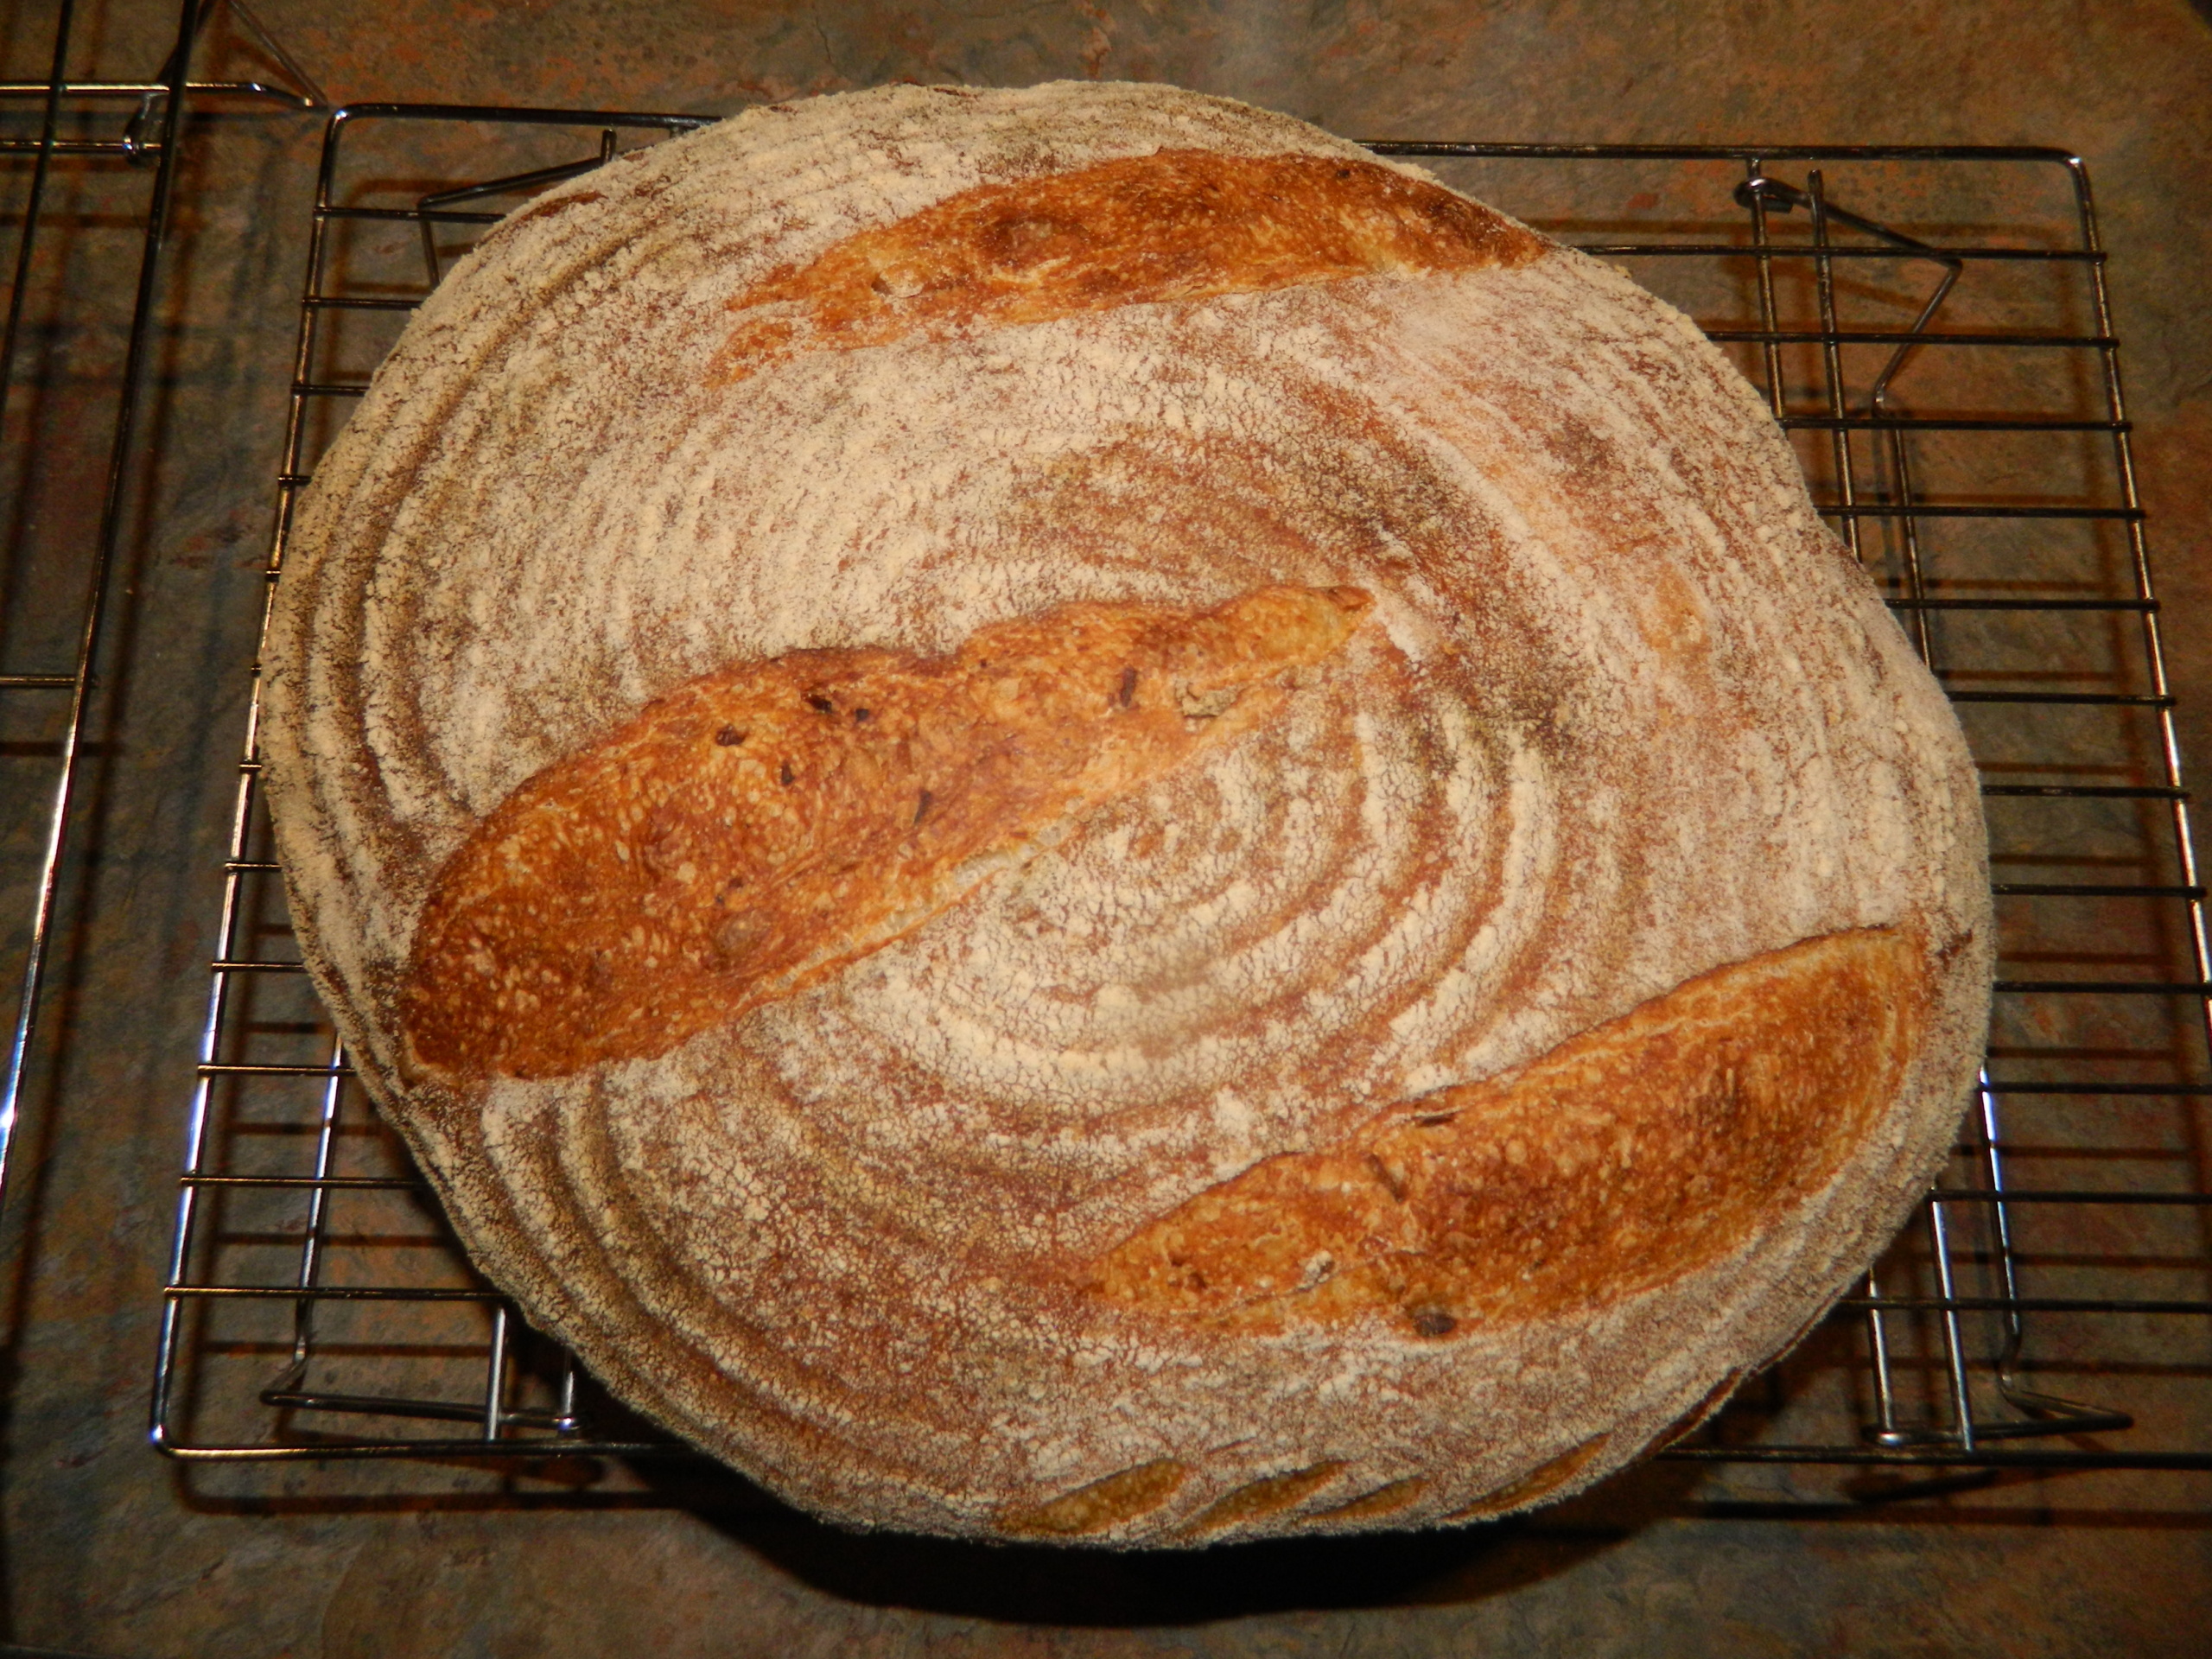
Meanwhile, prepare your proofing baskets. I prefer using oblong bannetons (proofing baskets) for overnight proofing in the refrigerator. Two oblong bannetons can sit nicely on my refrigerator shelf. I make round bread as well. Round bannetons are more suitable for same-day baking. I like the visual appeal of bread art and certain cuts look better on round bread.
Dust the basket with a mixture of white wheat flour and rice flour. If you do not have any rice flour, then use white flour. Here, use more white flour to prevent your bread from sticking to the basket.
Shaping and Baking
To start the actual shaping process, you need a pre-shaped and well-rested piece of dough. The dough needs enough time to relax before shaping. Otherwise, it will resist your shaping manipulations and might even tear.
Shaping the boule (round)
The simplest way to shape the boule is based on the envelope fold technique, which I explained above. You start by folding your envelope of dough into a new, tighter envelope.
If your dough still feels too relaxed, you gather the corners towards the center to add more strength. This creates some tension on the surface of your dough, which is exactly what you are aiming for. You may need to perform 1-4 rounds of gathering corners towards the center technique. It all depends on the quality of your dough and your experience as a baker. You stop when your dough feels strong enough to hold the shape.
After you finished gathering the corners, you need to seal the seams you created. Flip the dough over. Then drag the dough against your work surface in a circular motion until it feels tight. Thus, you need only a little flour on your work surface to make this movement possible.
This boule, seam side down, goes into the prepared round basket for the final proof.
Shaping the batard (oblong shape or “torpedo”)
You stretch your pre-shaped and relaxed piece of dough to round it out. Do not overstretch.
Fold the right side of the dough towards the left a little past the middle.
Fold the left side of the dough the same way. You overlap the previously folded side.
Start rolling your piece of dough from the bottom up, stretching and tightening up the surface as you go.
When you reach the end, seal the seam with your fingers.
Put your batard into the basket seam side down.
I put the baskets in plastic containers and refrigerate my bread overnight before baking. You may bake your bread from the refrigerator with no warming up before going into the hot oven. You can keep bread in the refrigerator for up to 2-3 days.
From this point on, you may follow the baking directions from my post about basic sourdough bread.
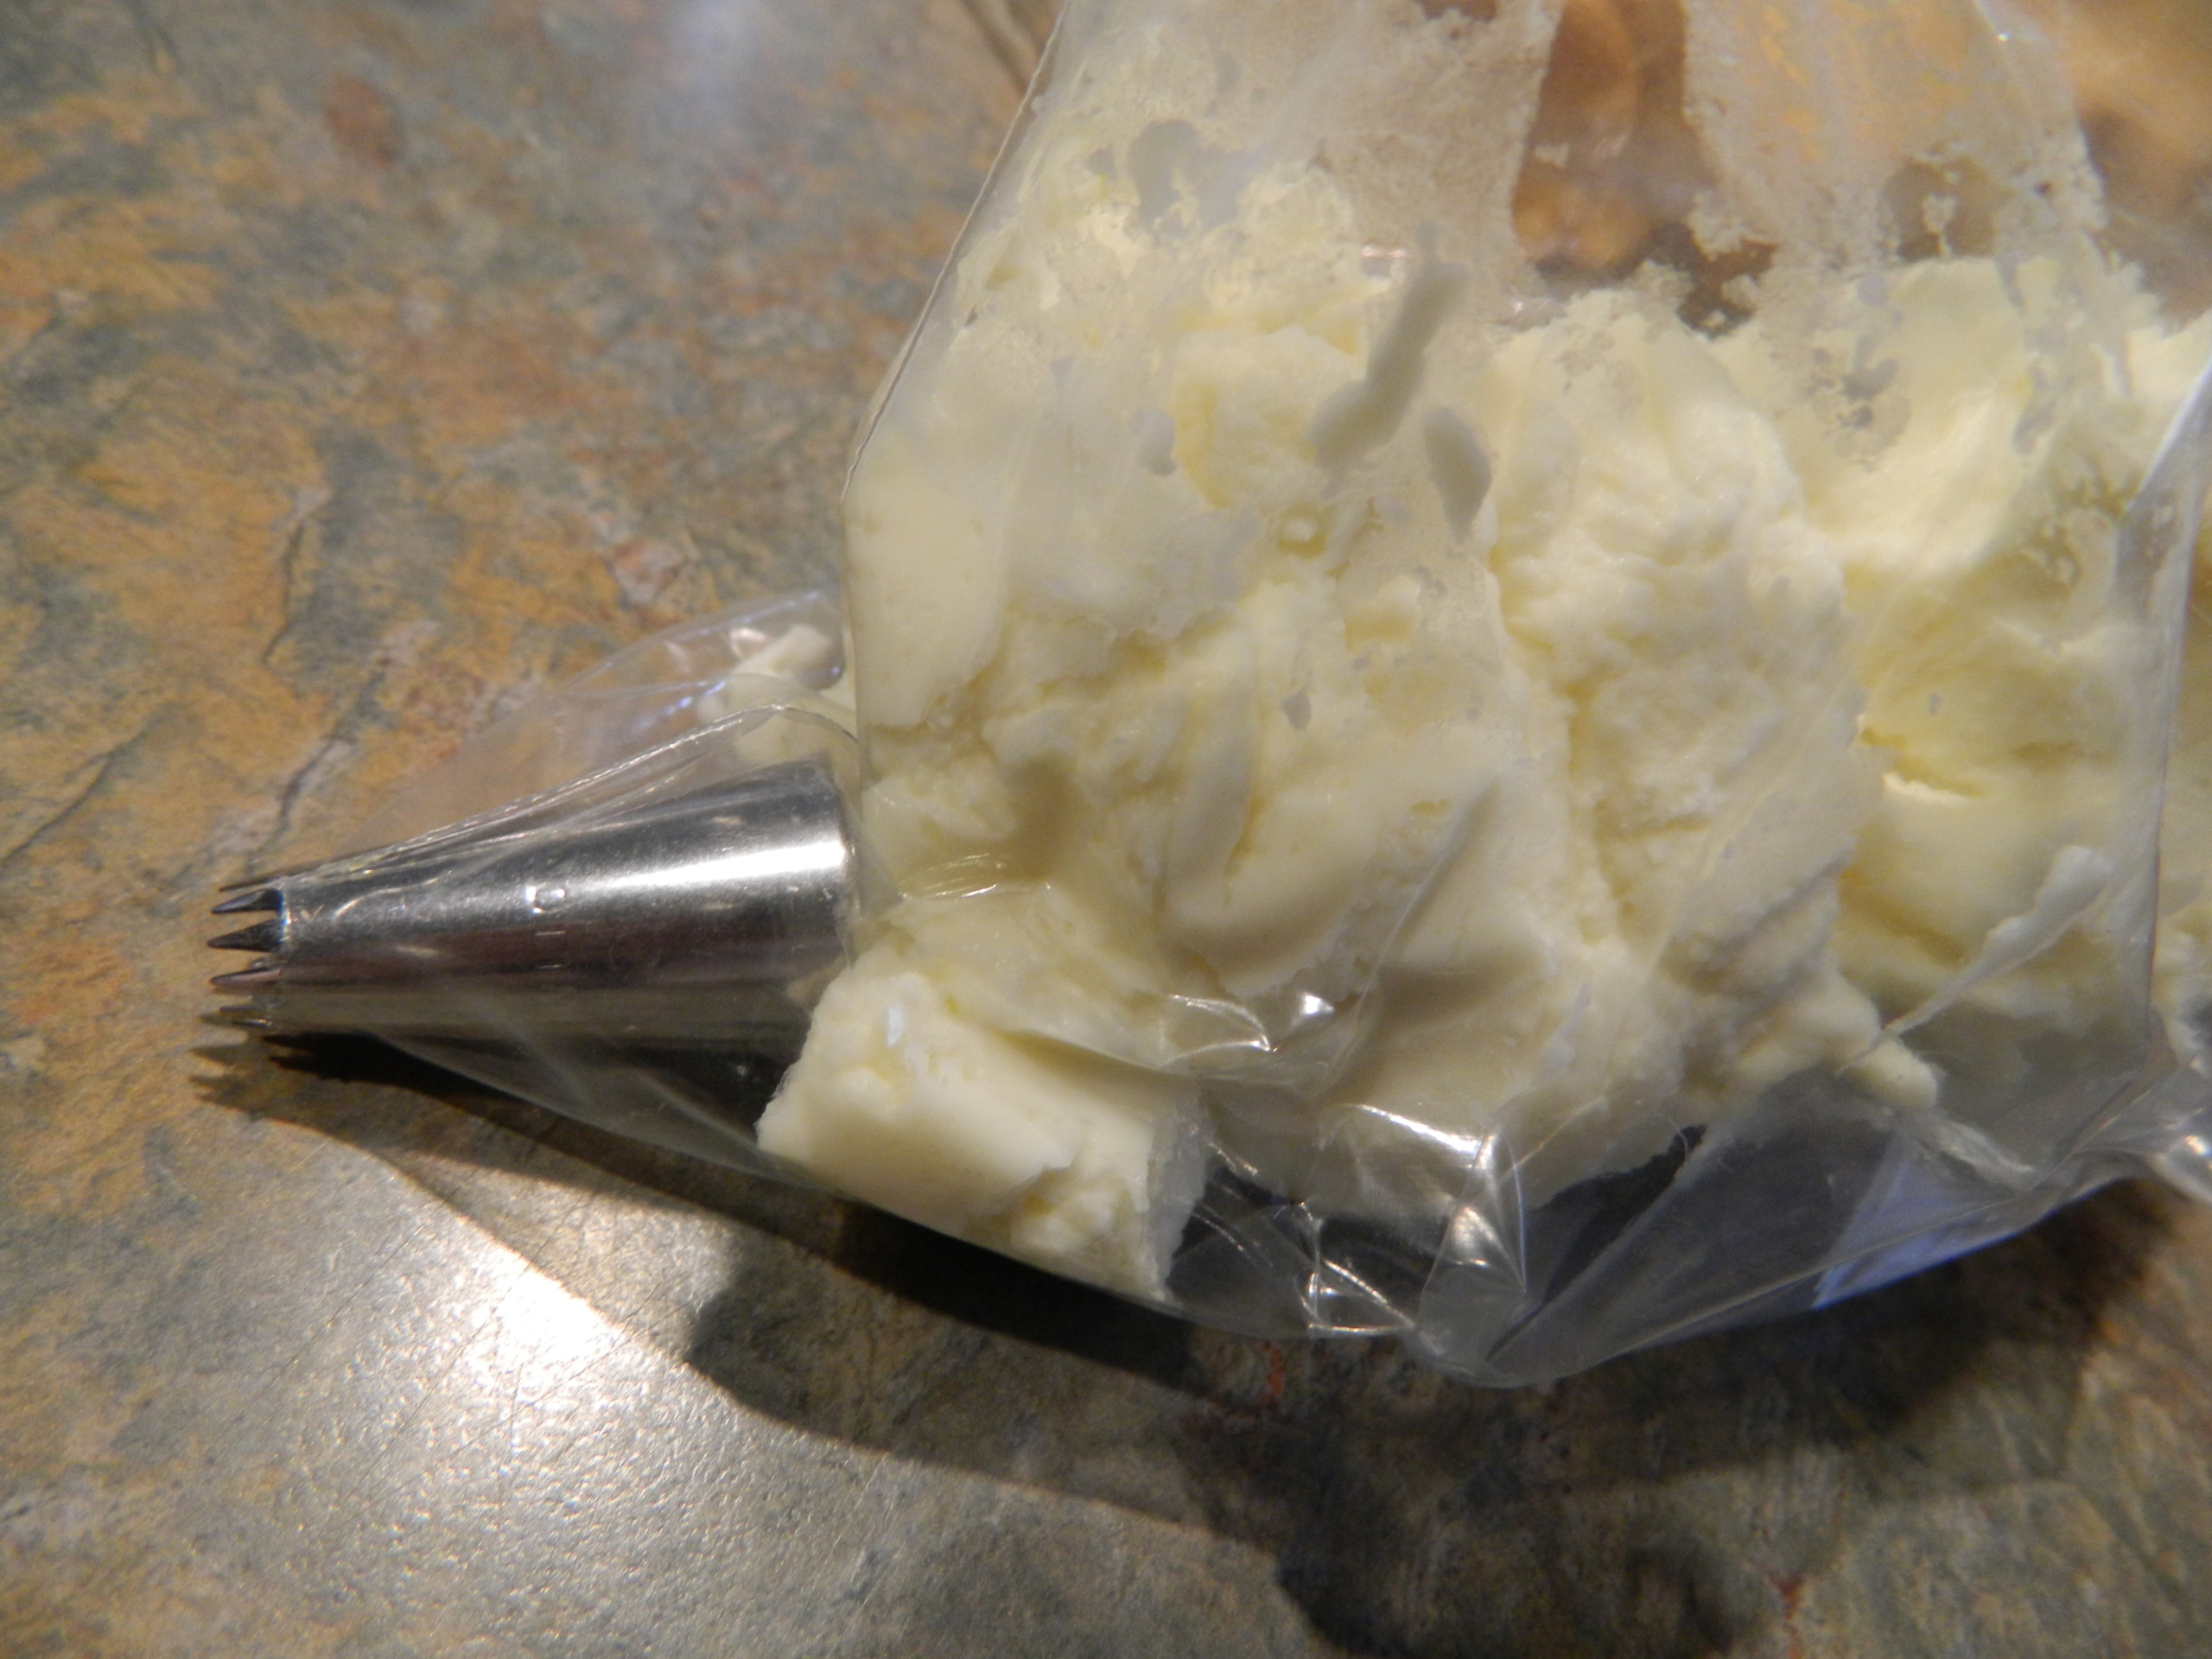
If you, like me, ran out of cannoli shells and still have some leftover cream. I spooned all of it into a pastry bag and put the bag into the refrigerator in a plastic container for future use.
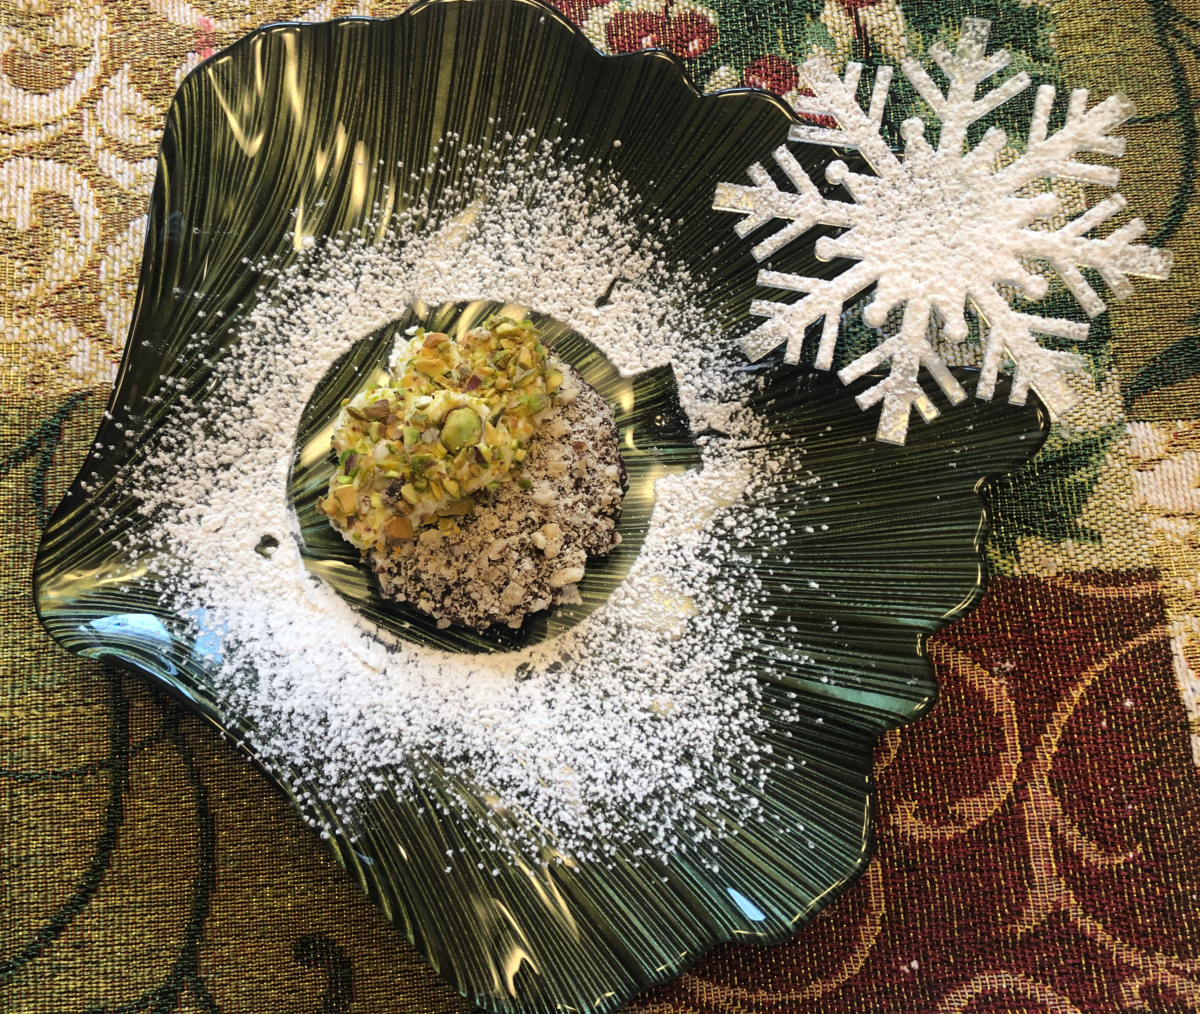
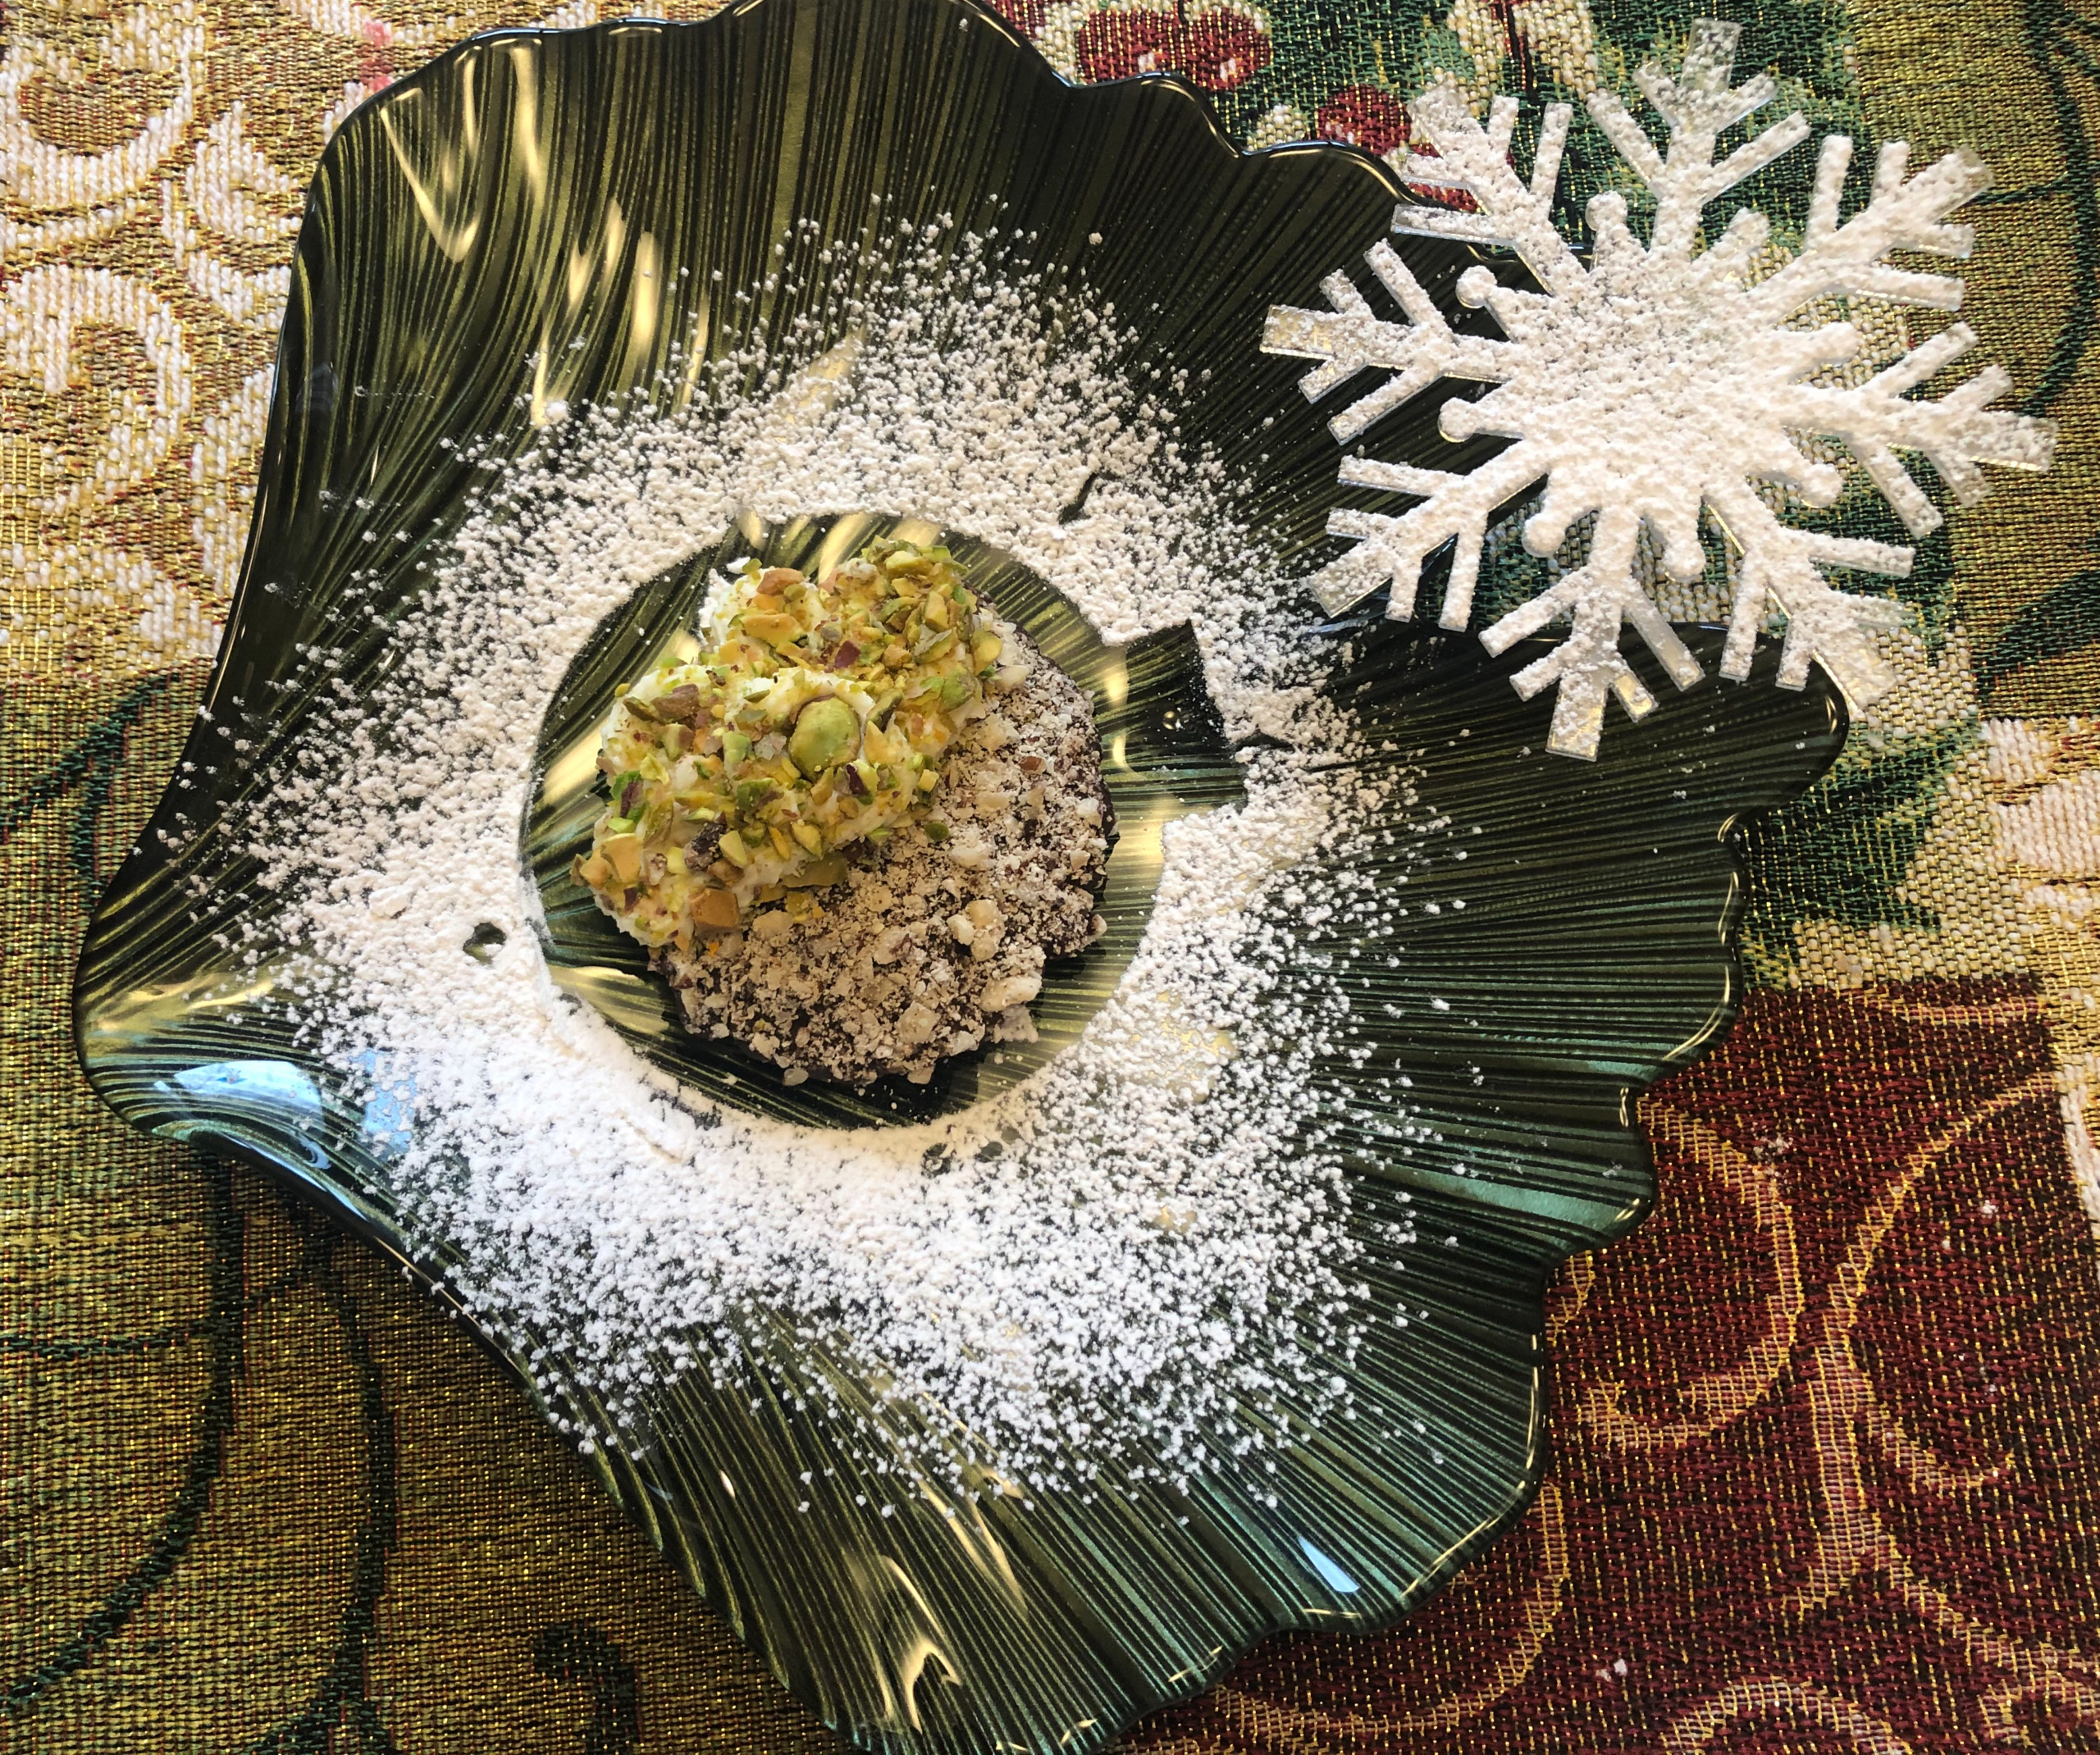
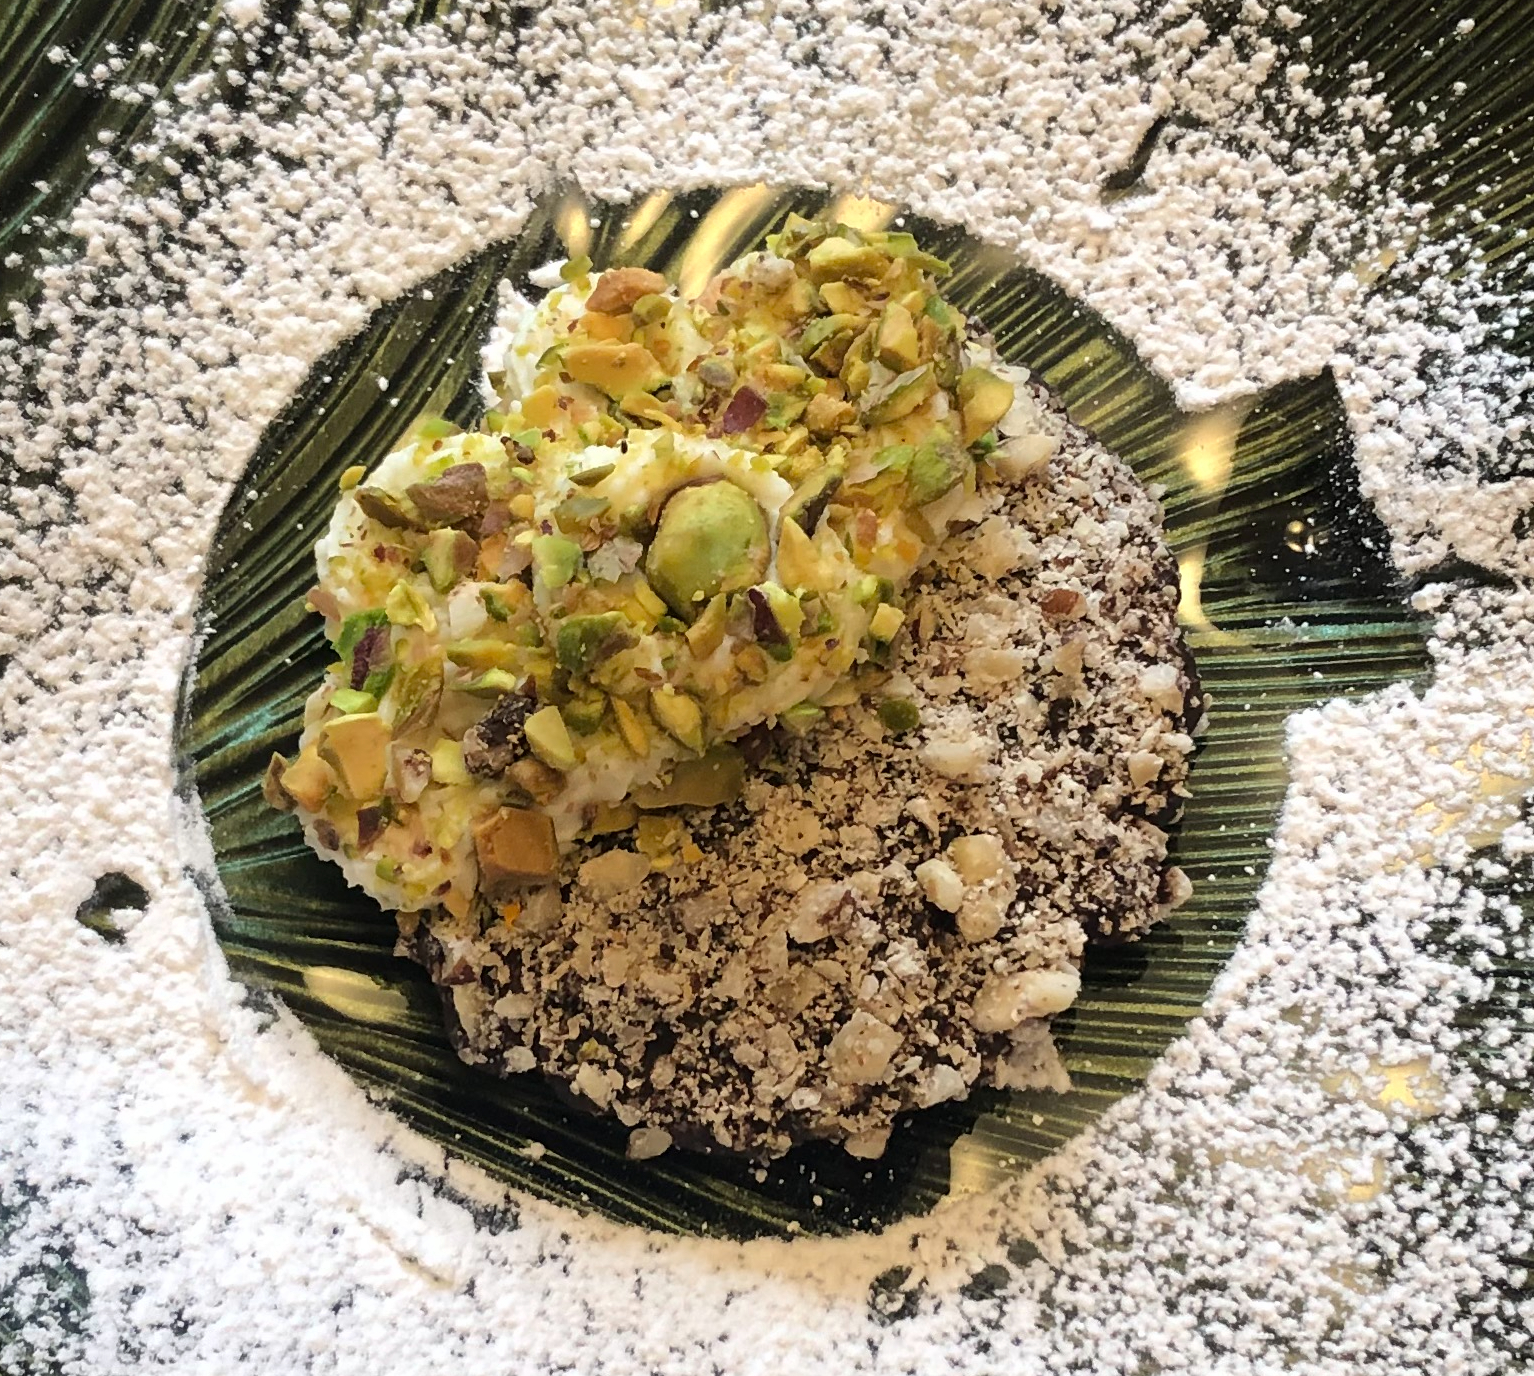
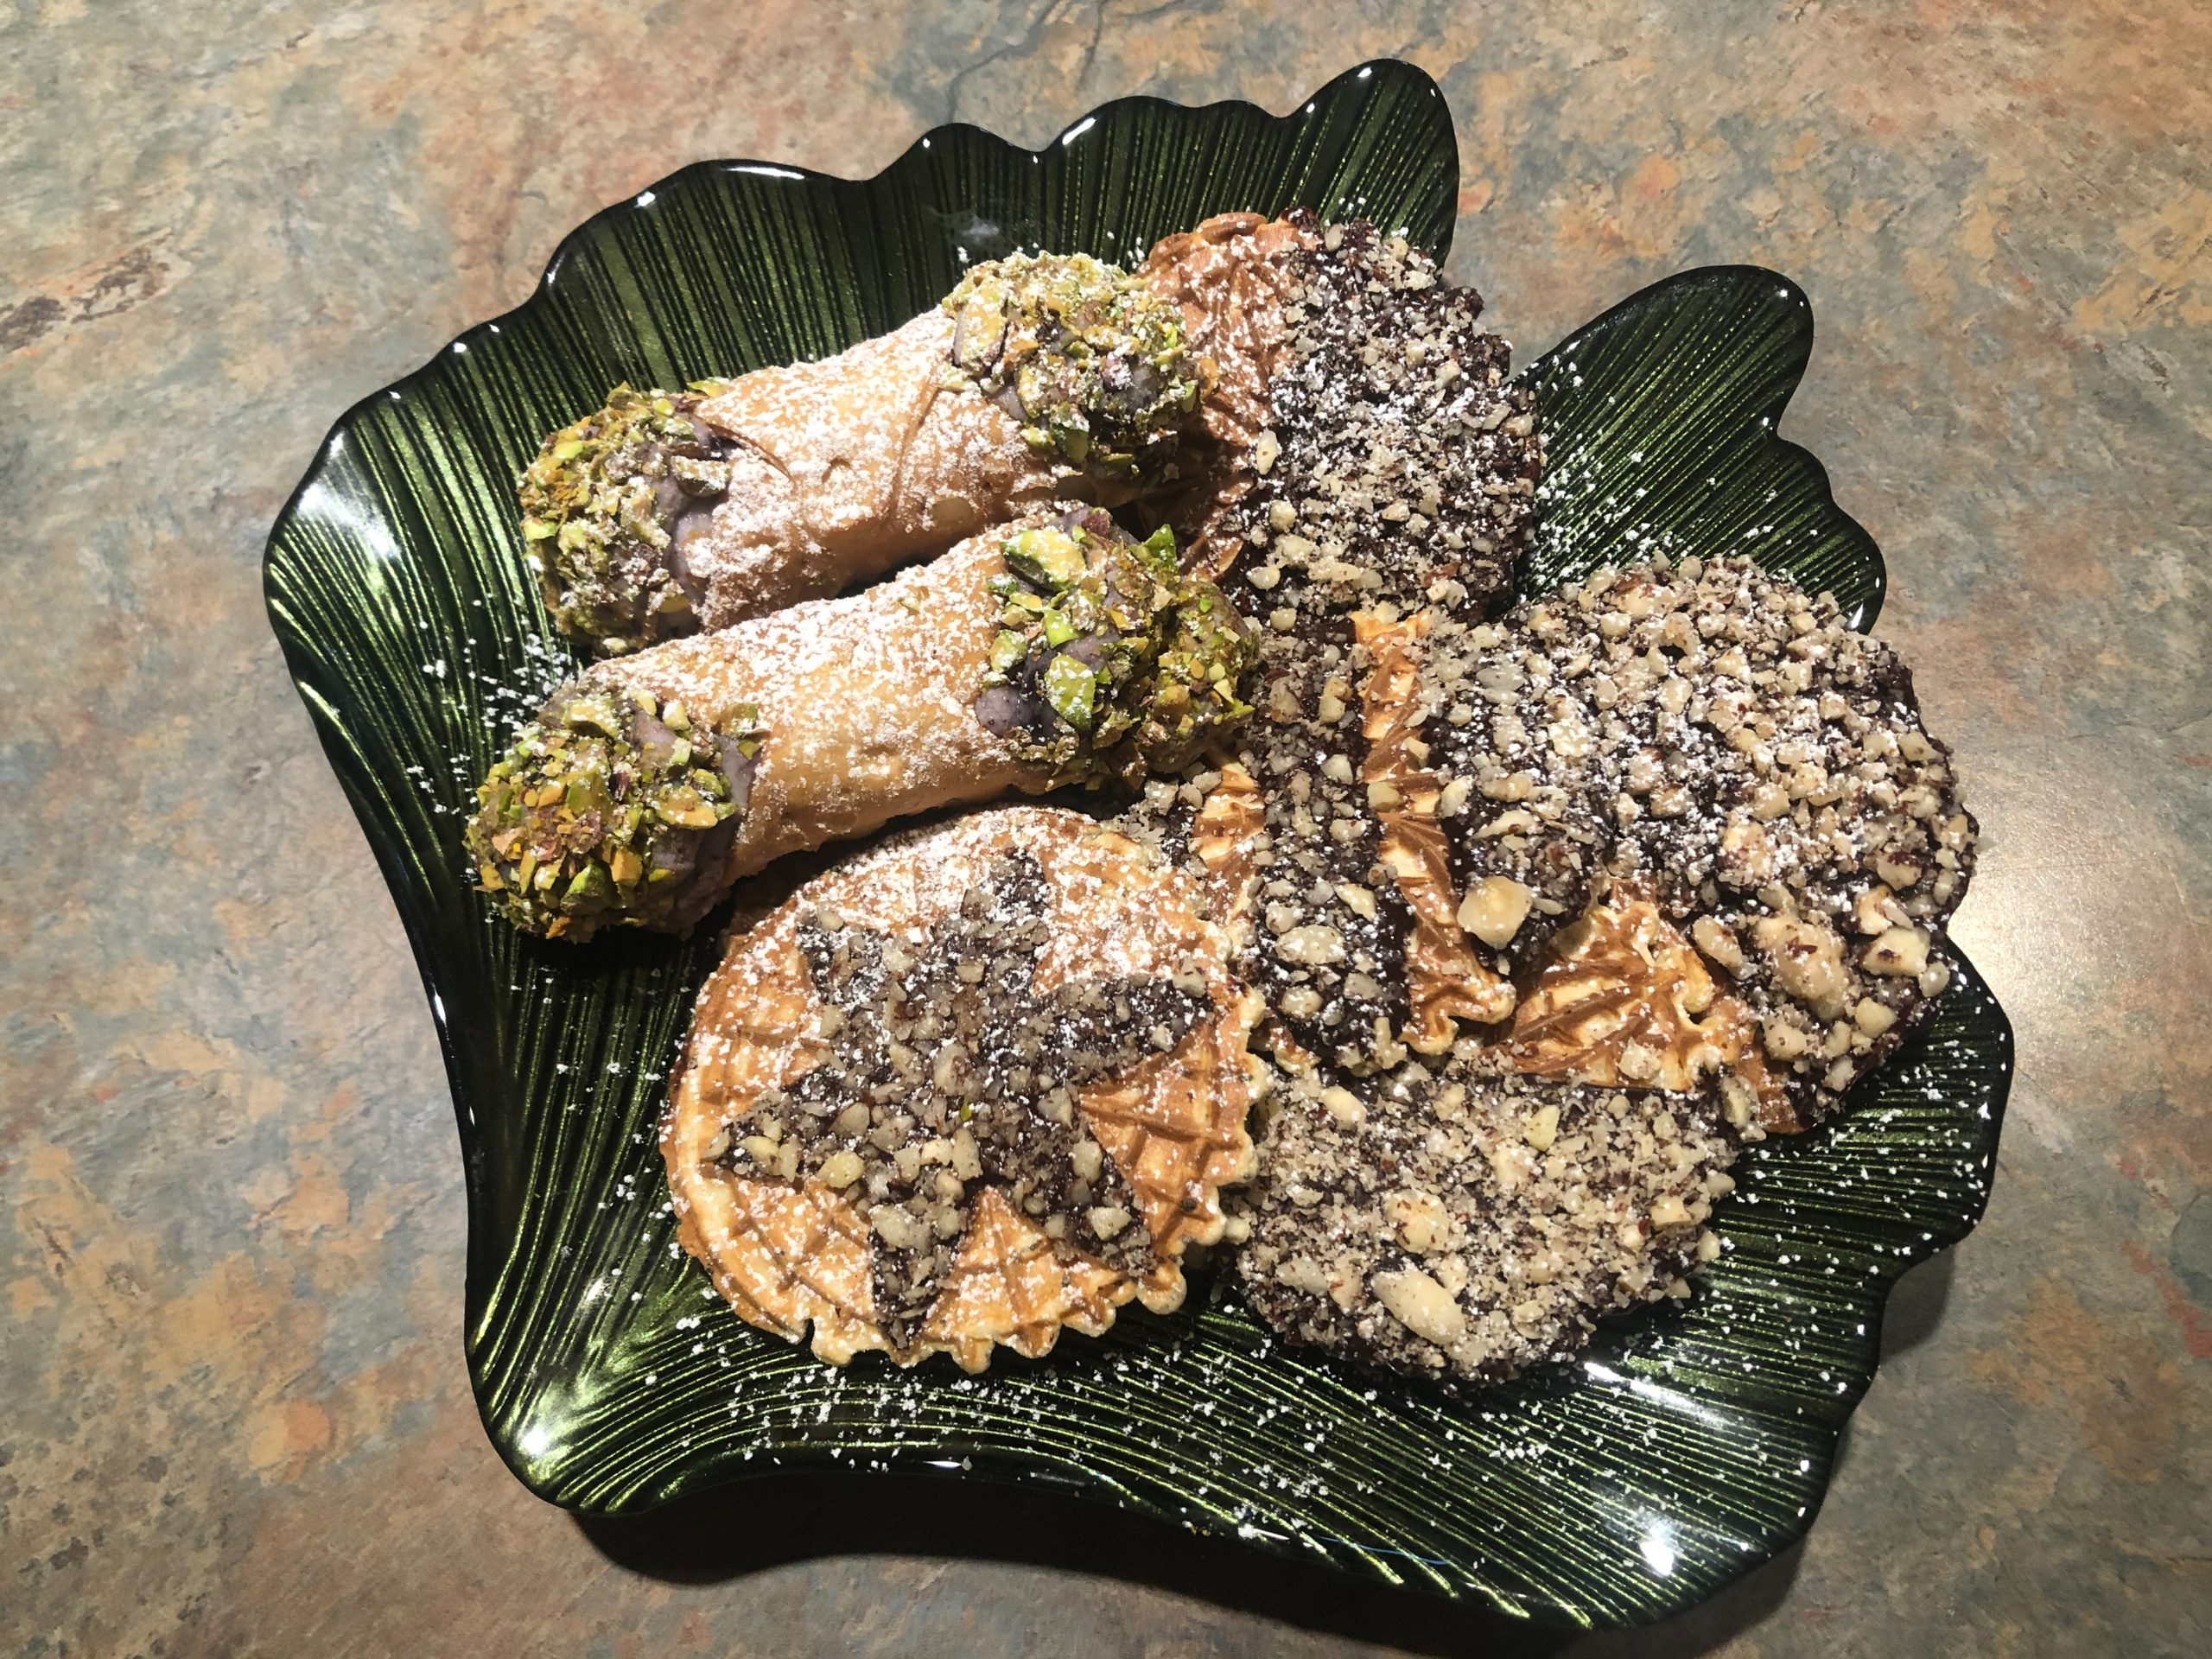
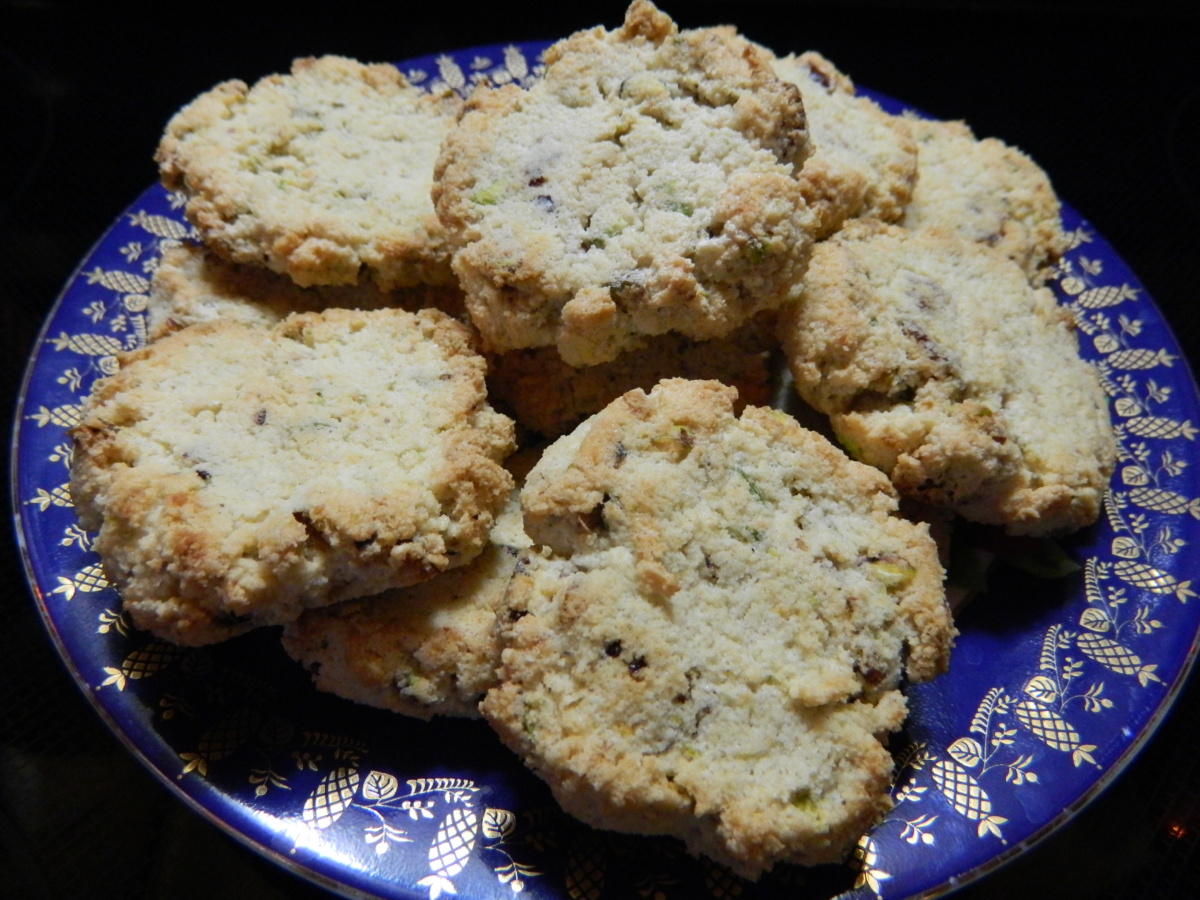
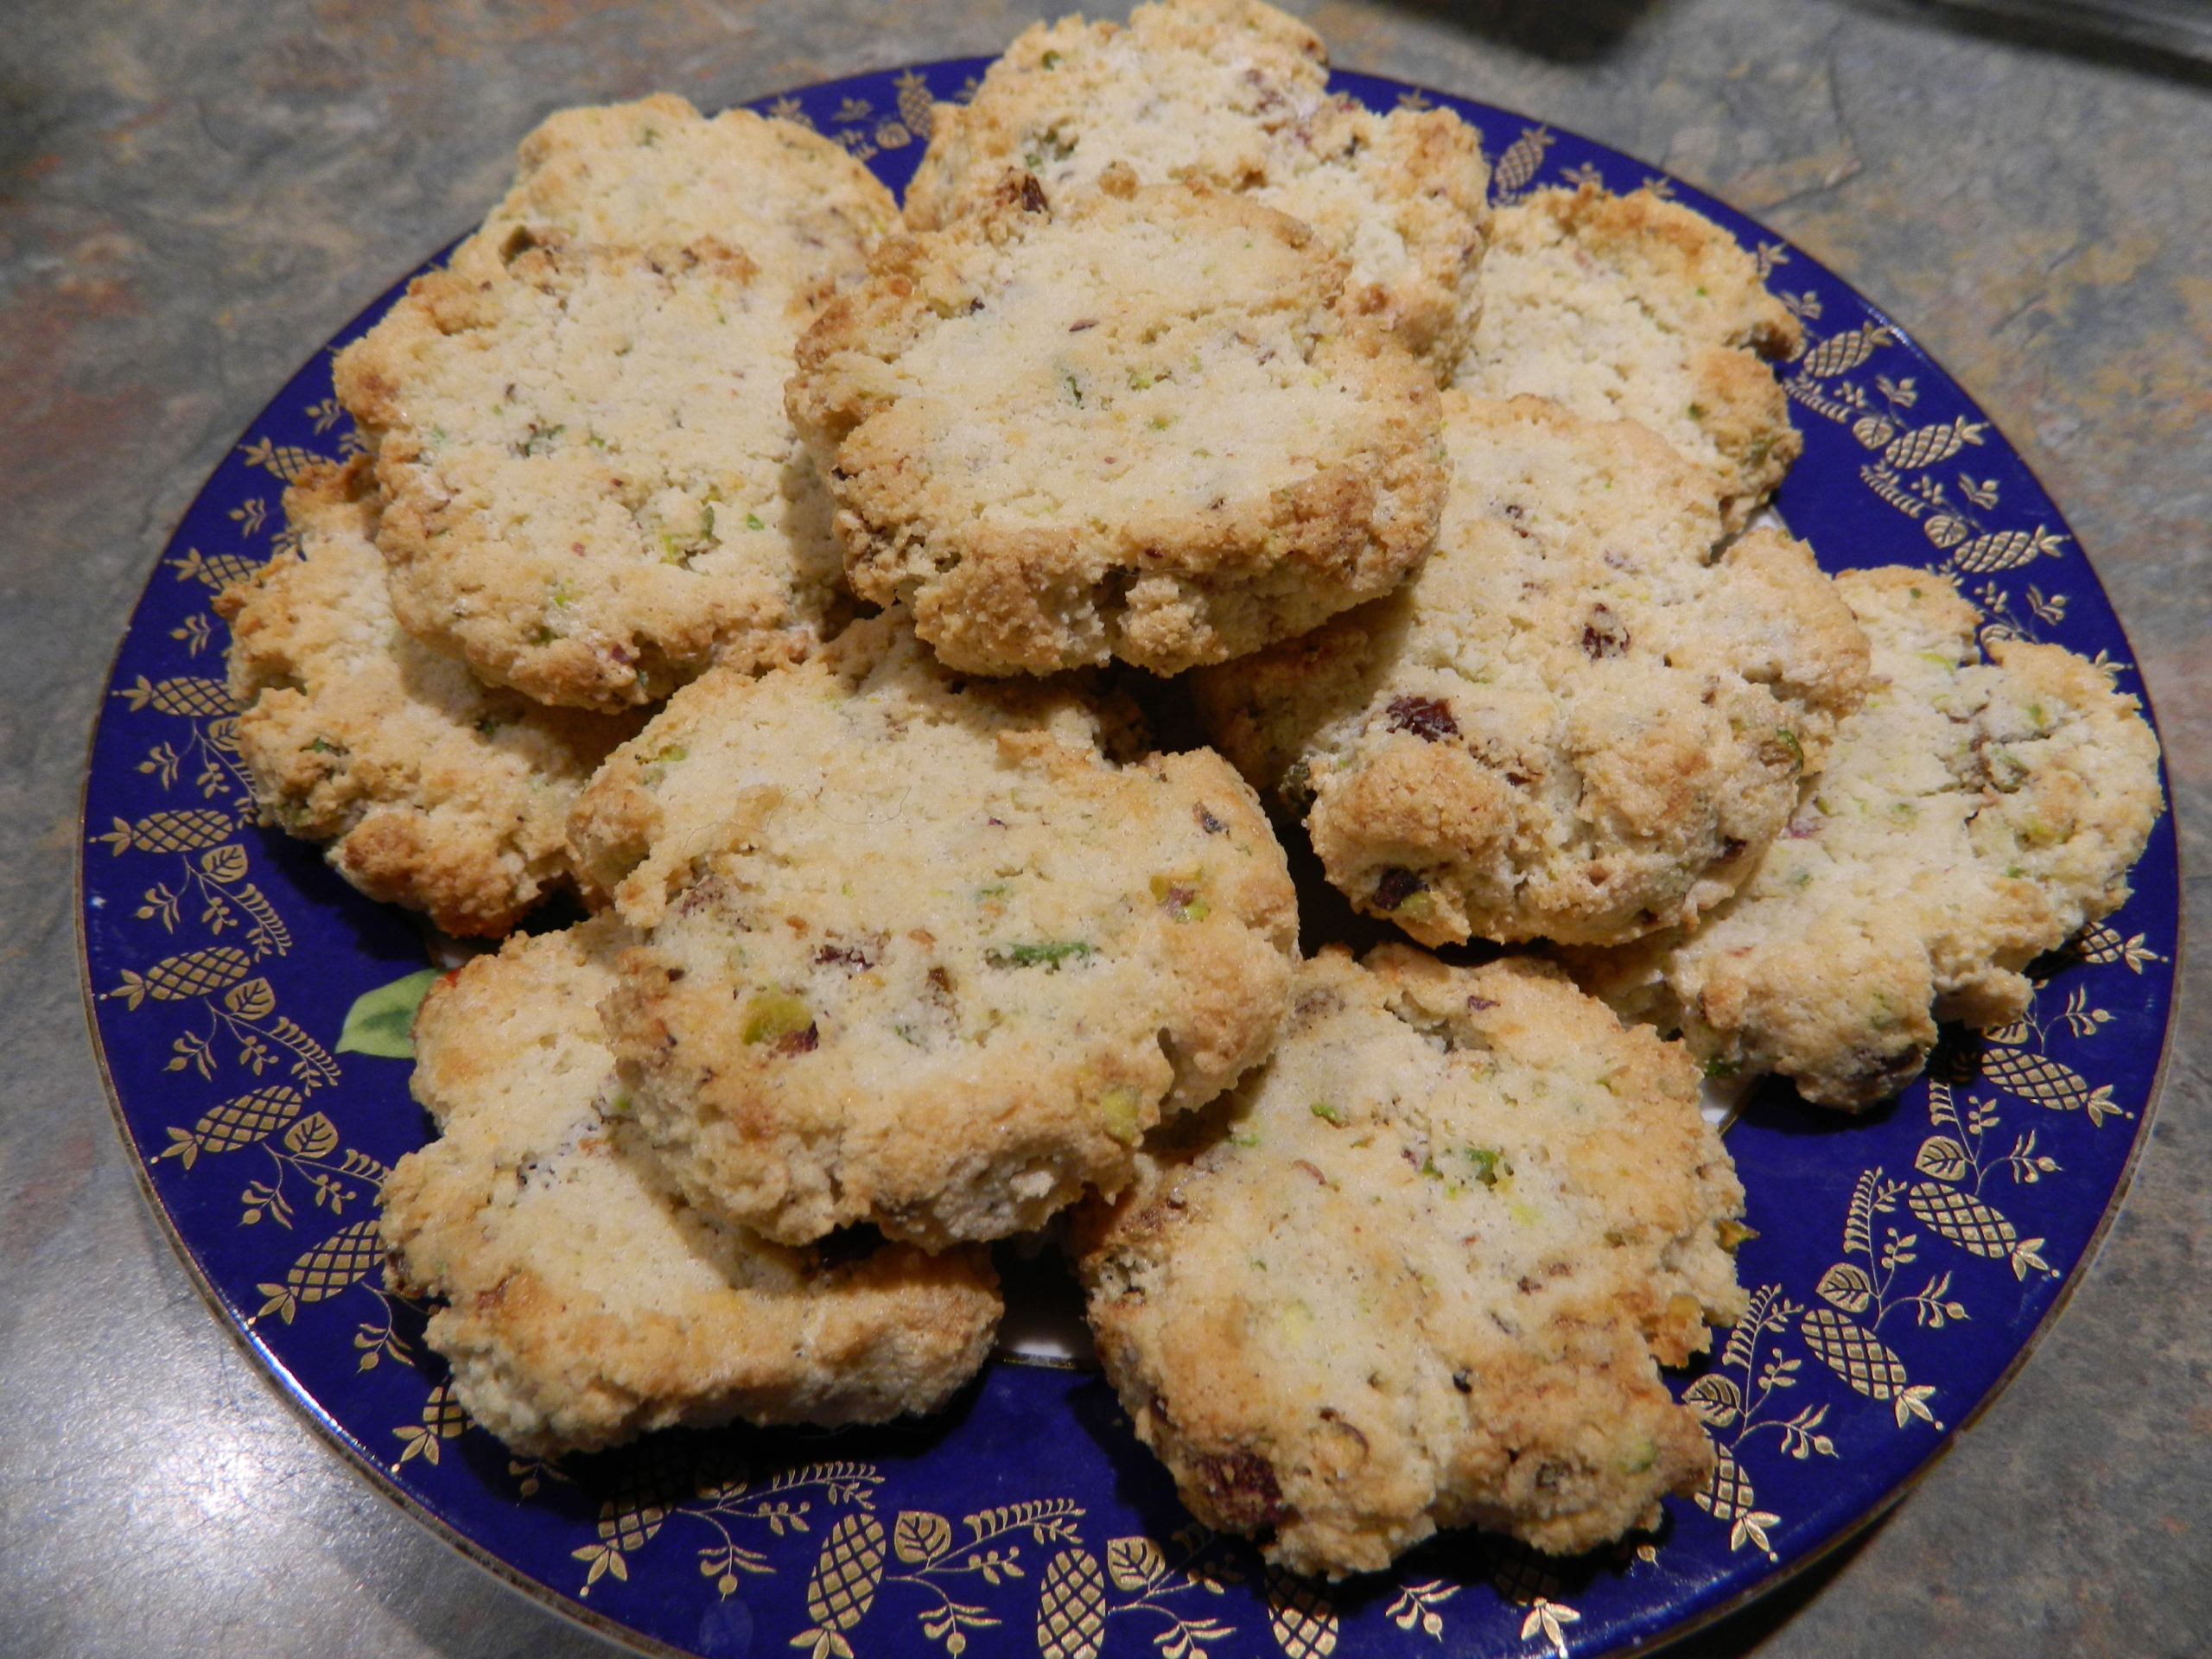
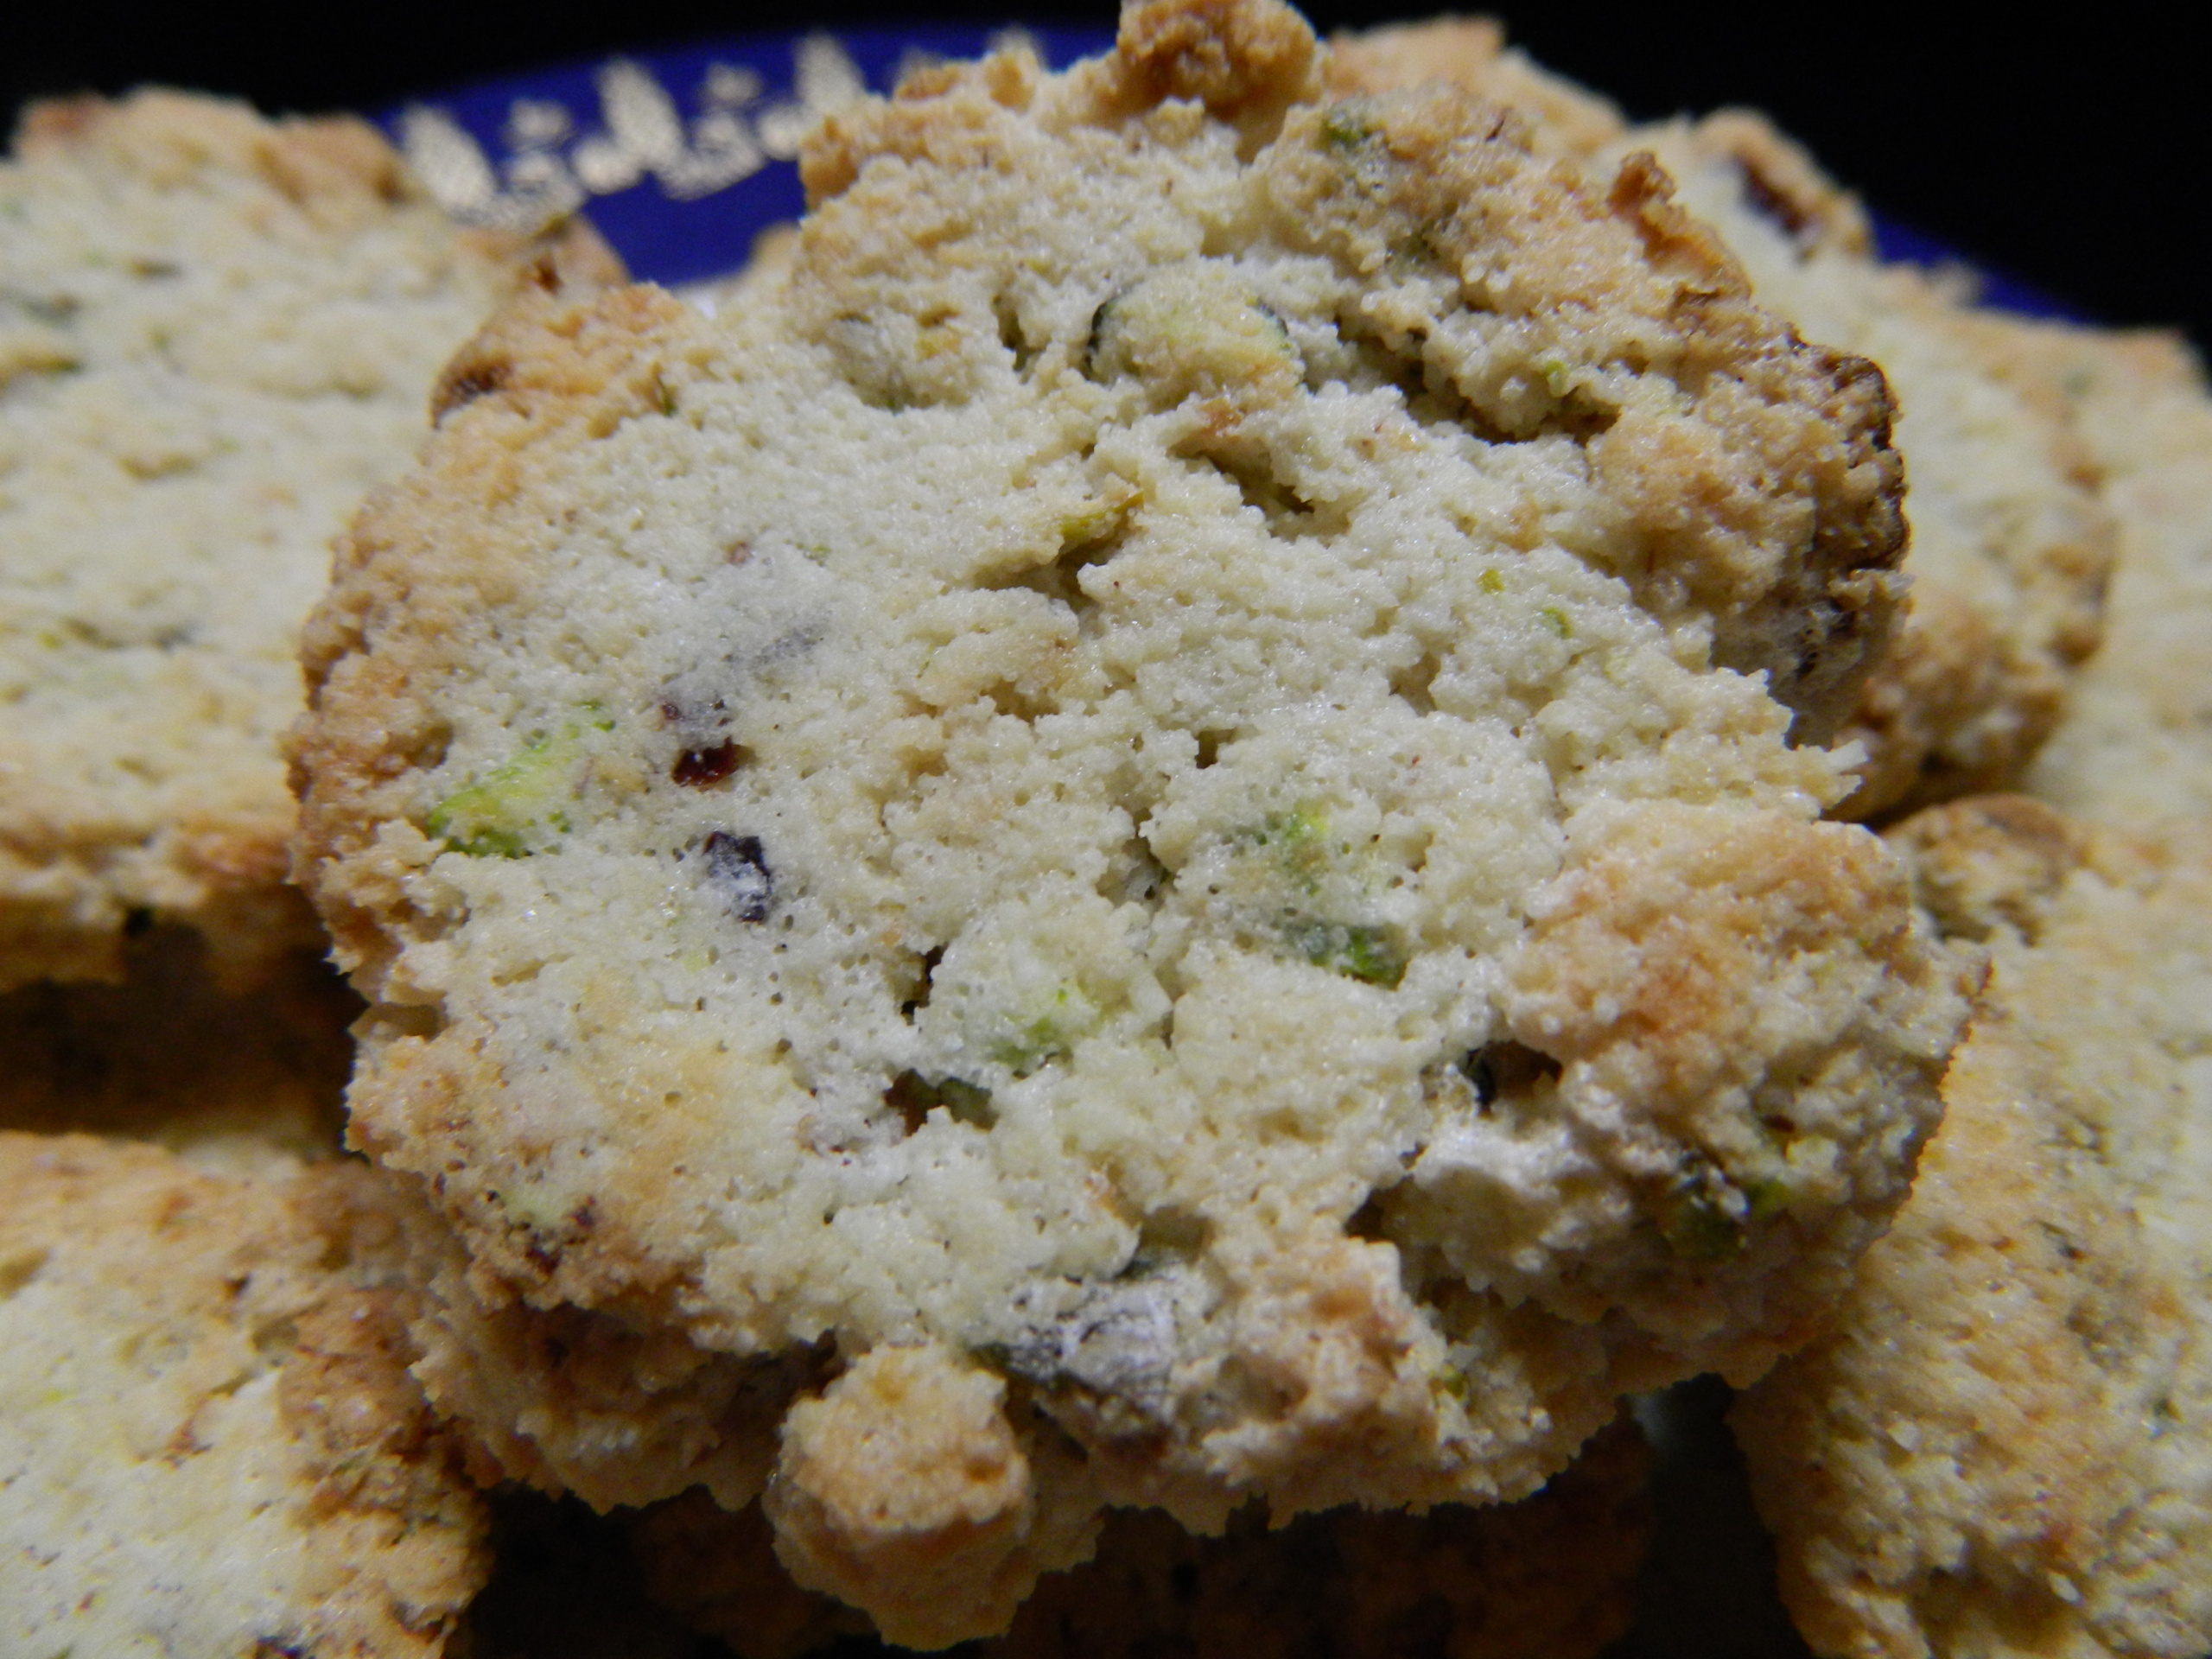
I used it to top my pizzelle cookies (dipped in chocolate and sprinkled with chopped hazelnuts). I also added some chopped pistachios to my cookies. Yesterday I decorated some cannoli for my kids the same way.
Today I want to share with you my family’s favorite New Year Dessert. I usually have many desserts during the Holiday Season. But Cannoli is an absolute must-have on my New Year table.
I fell in love with this traditional Italian pastry from the first bite. It is neither too sweet nor too greasy, which is very important for my taste buds.
Although the store version is very good, there is always room for improvement. This year I bought the shells and made the filling. I am not ready to commit to deep-frying my own shells yet. The filling is a different matter.
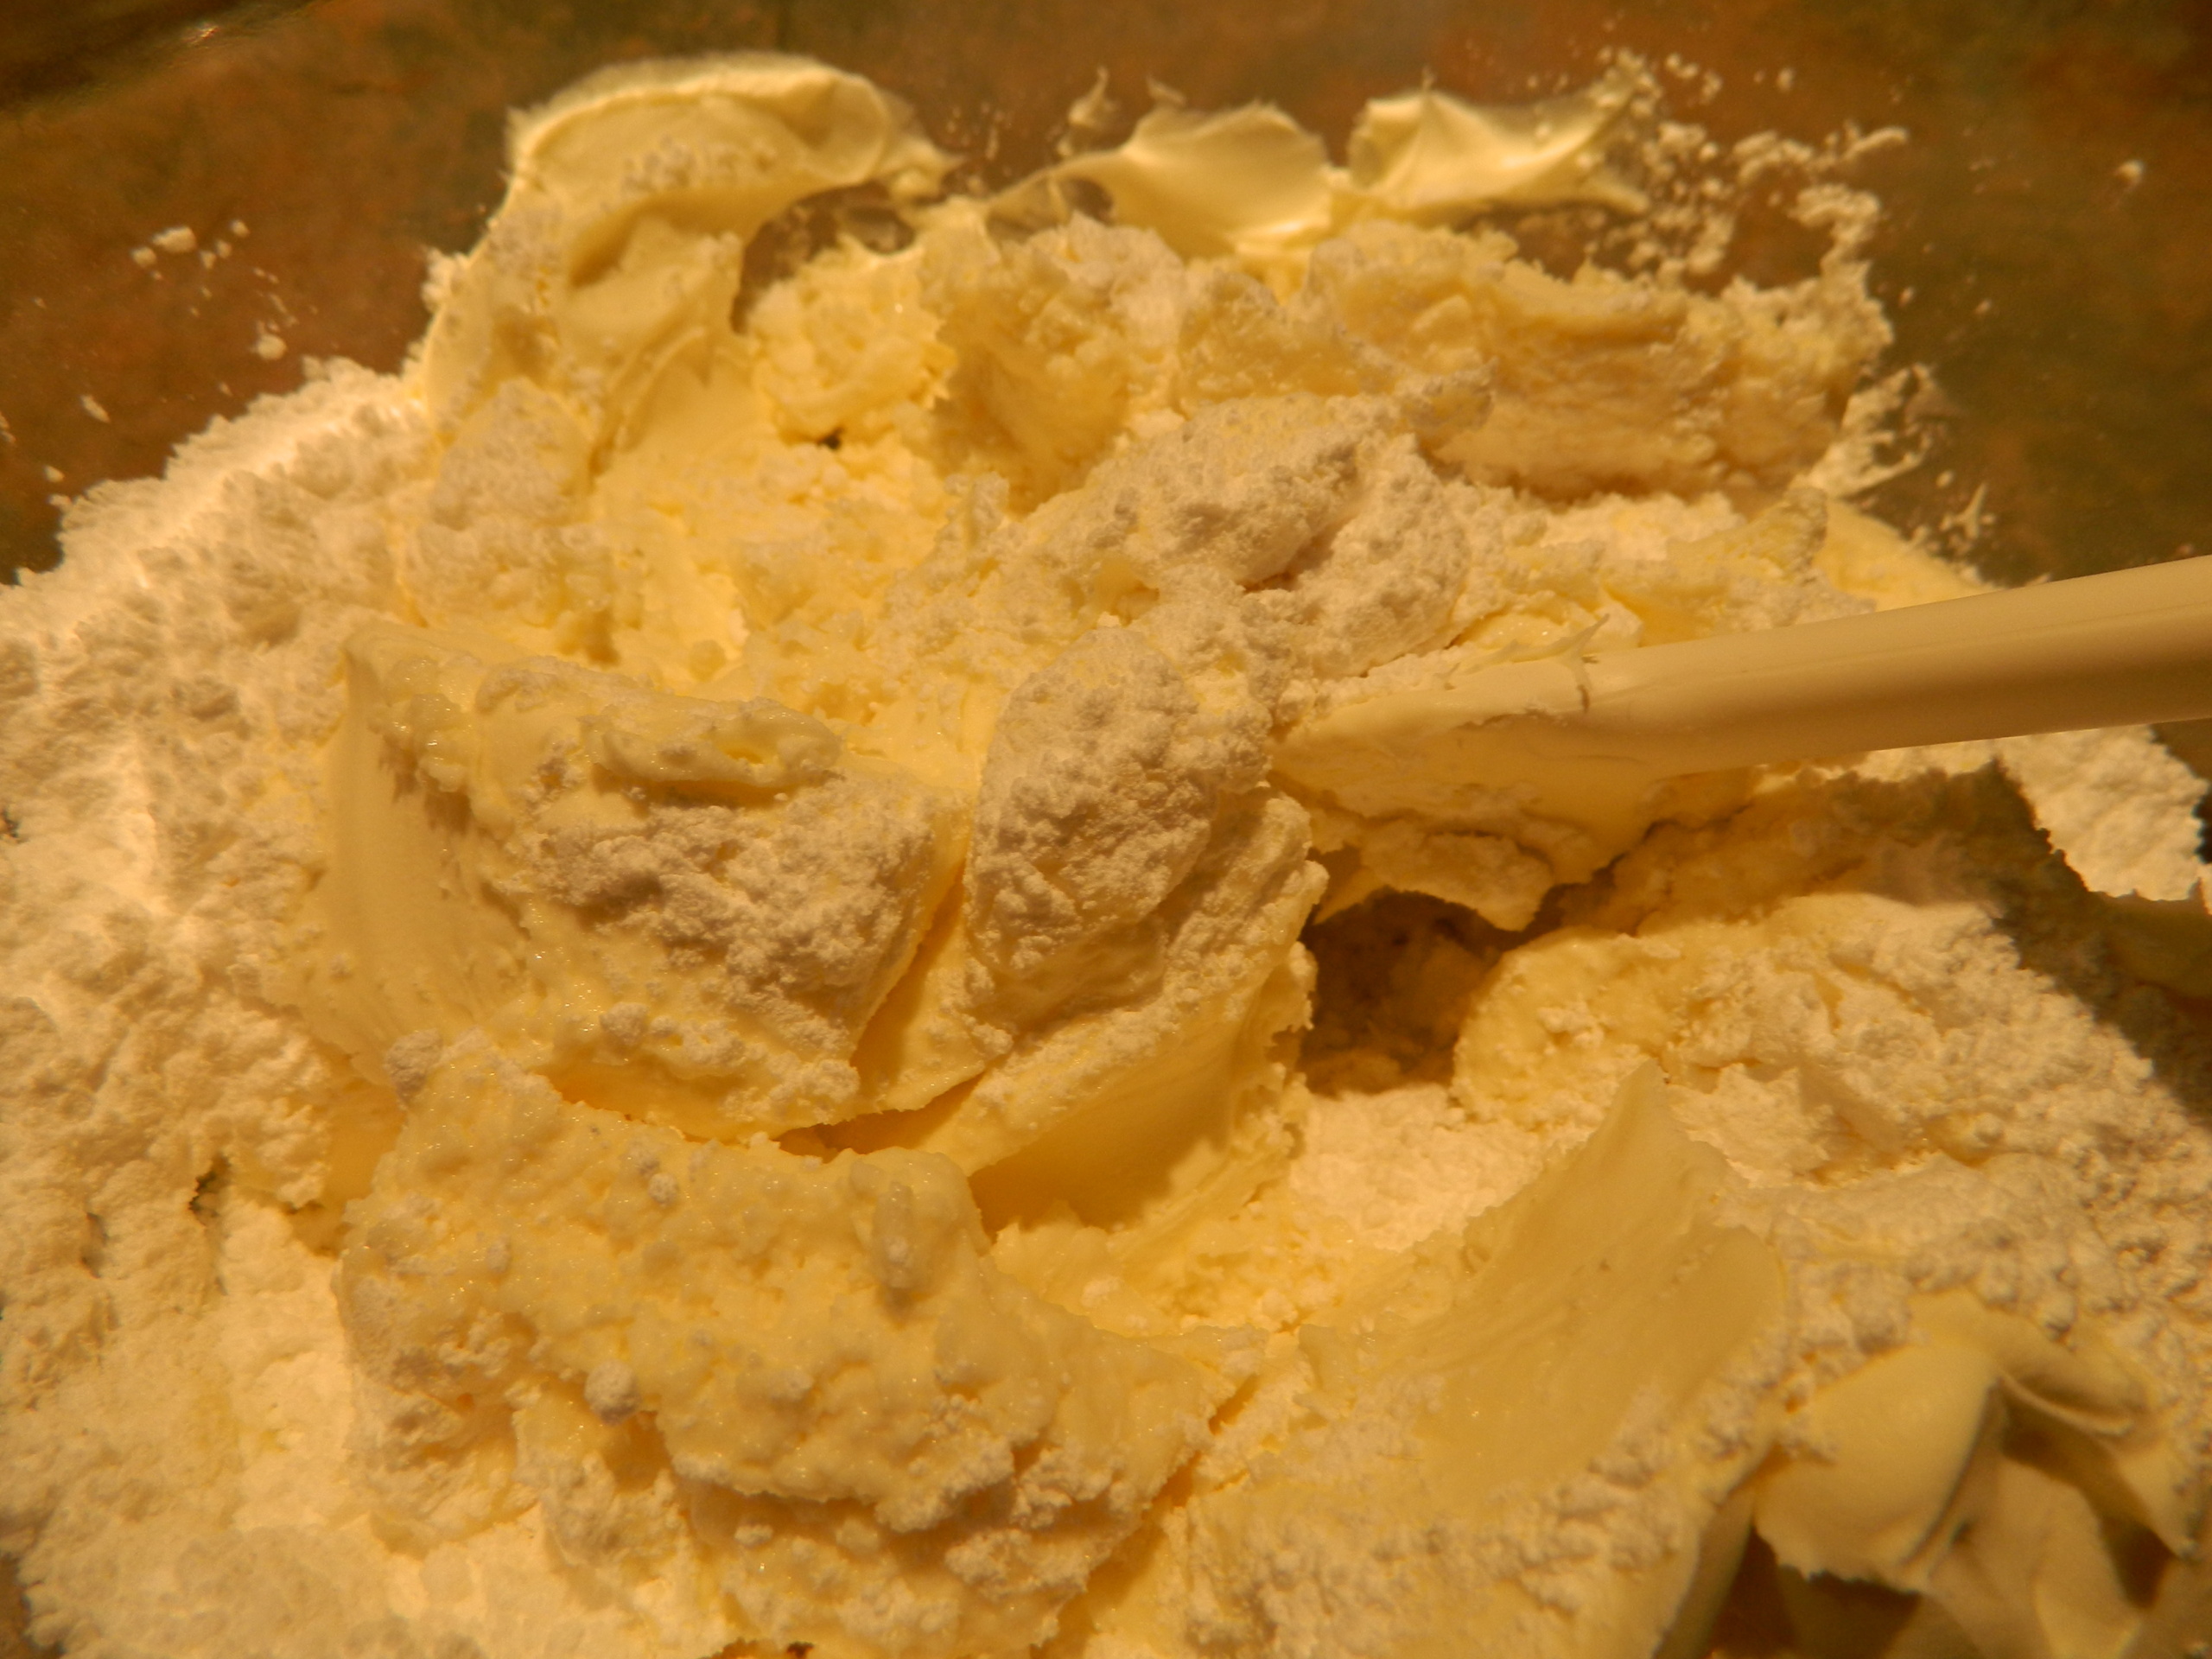
I made the basic Cannoli filling using quality ingredients from a regular supermarket. I plan to test different ingredients with this basic filling.
Ingredients:
Whole milk ricotta cheese – 907 grams
Mascarpone – 1 small jar
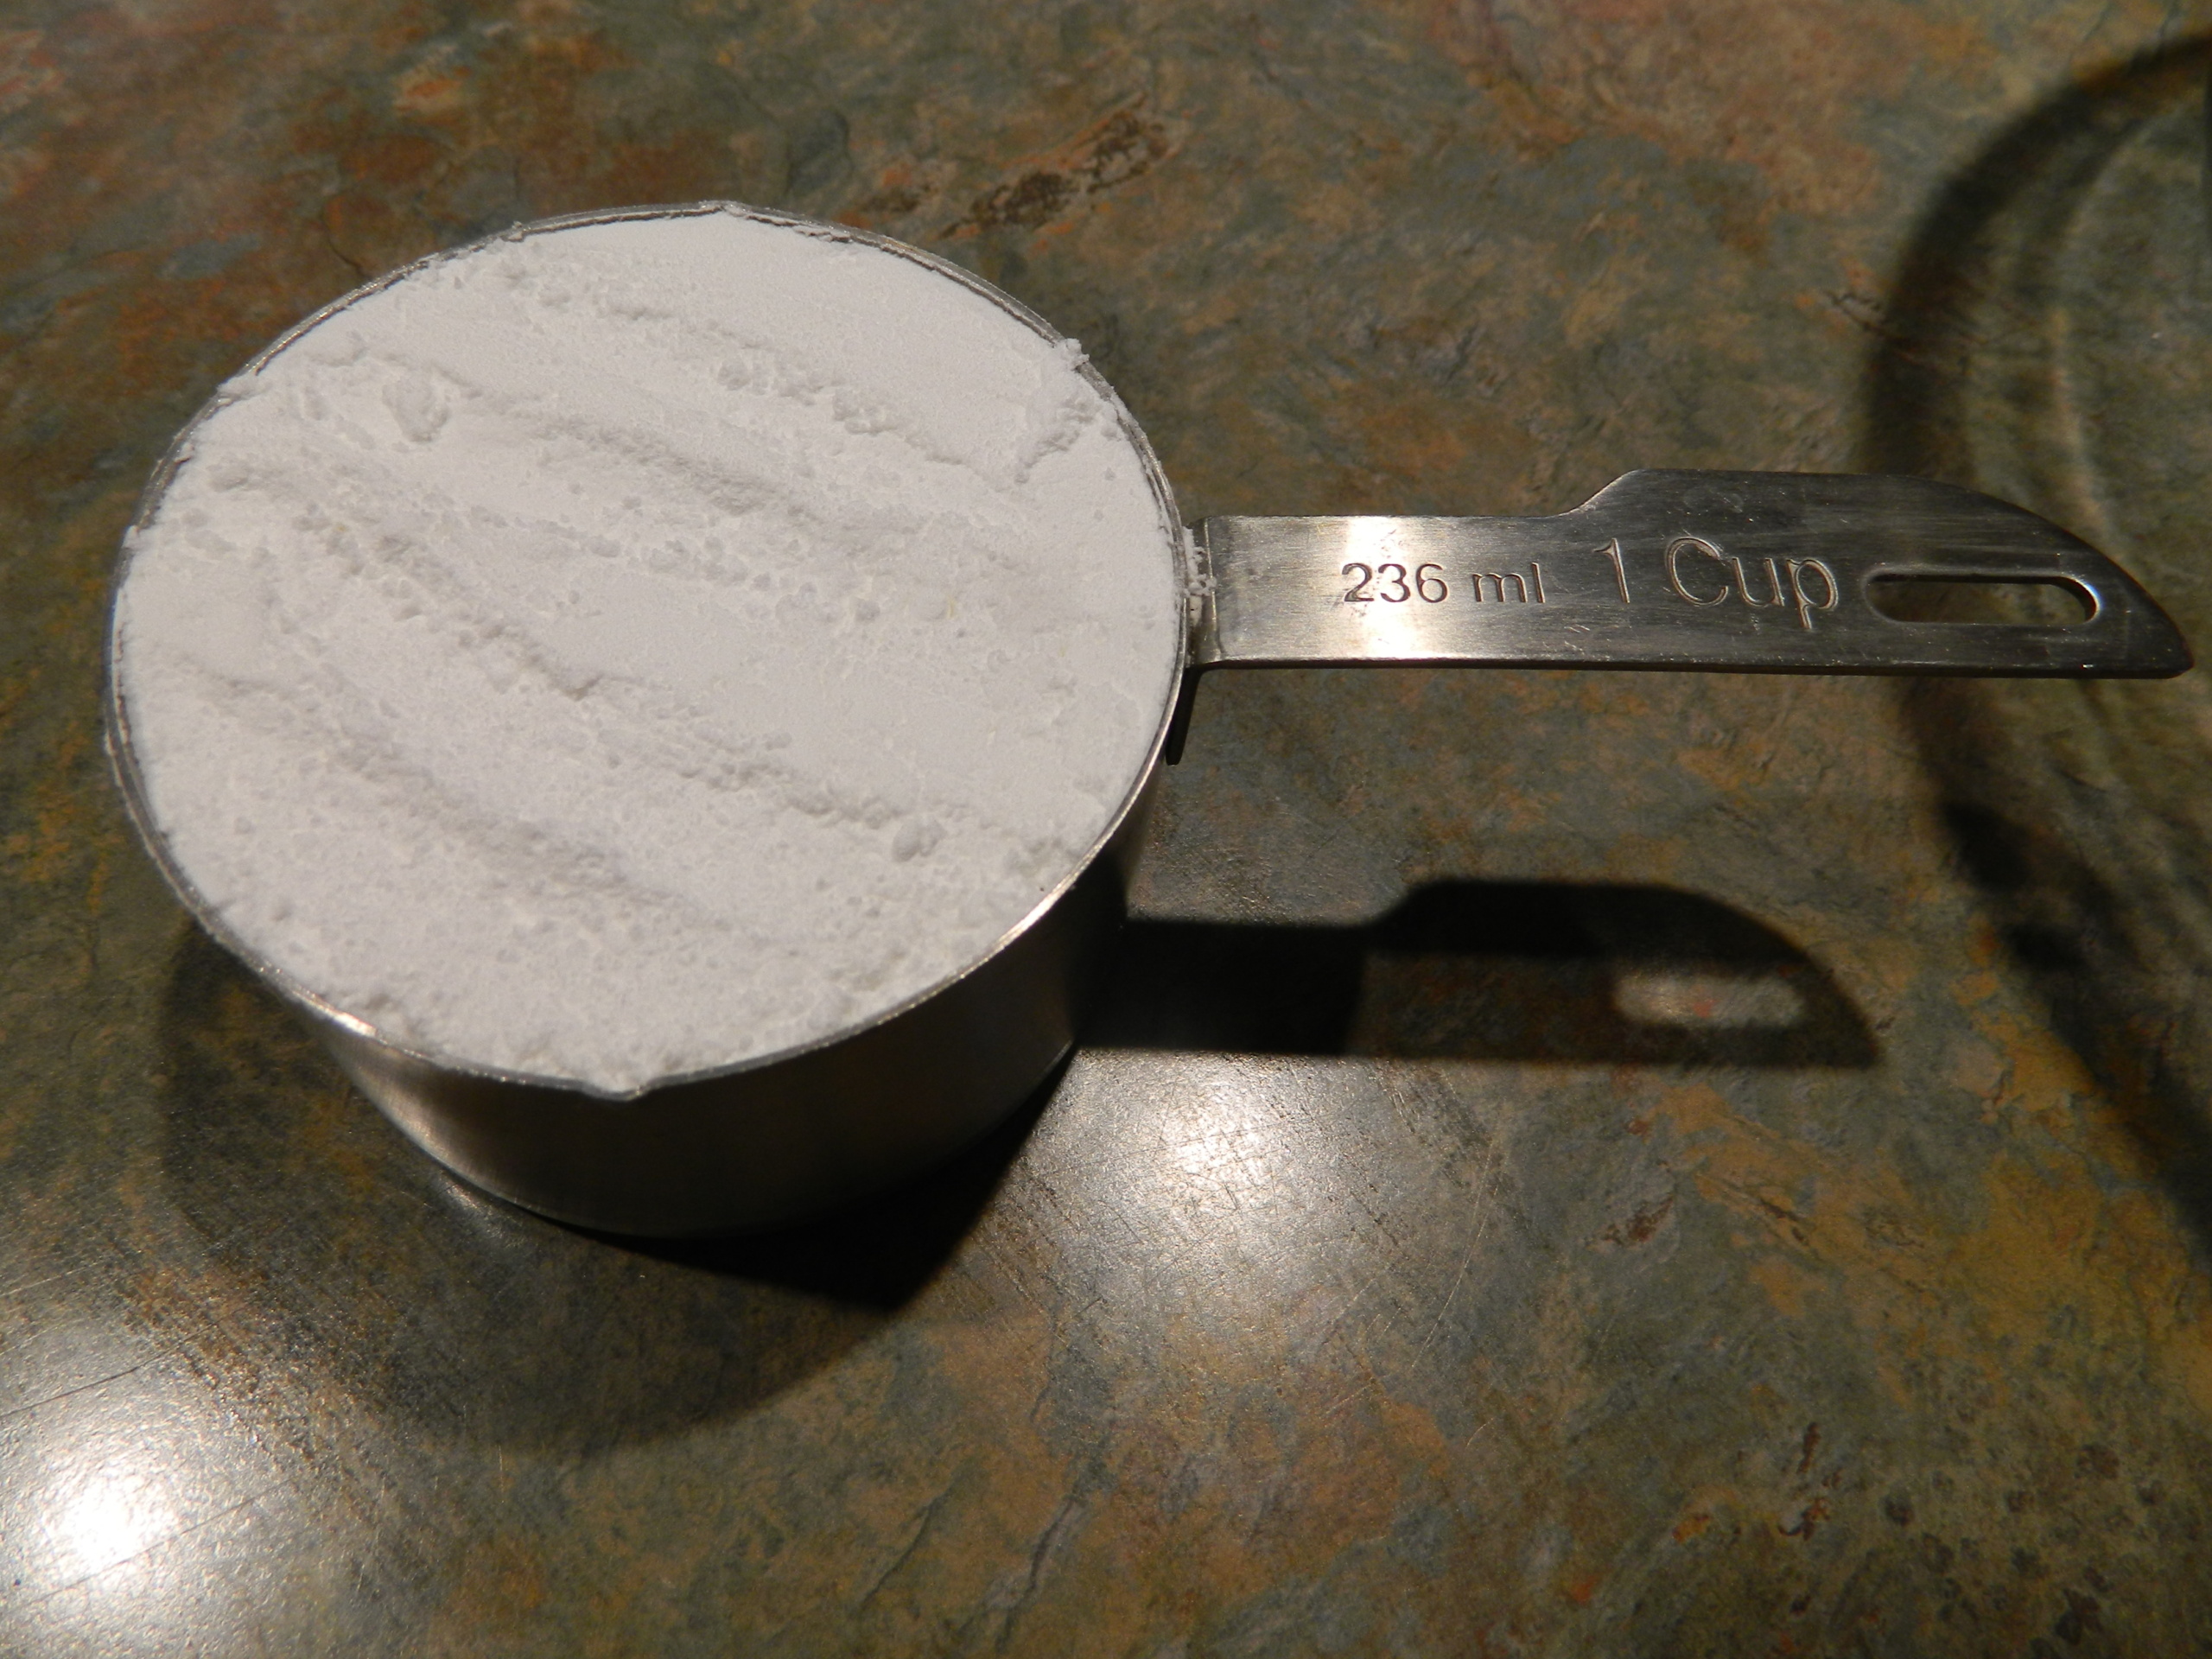
Powdered sugar – 1 cup plus 1 heaped teaspoon
Vanilla to taste (optional)
Cinnamon (optional)
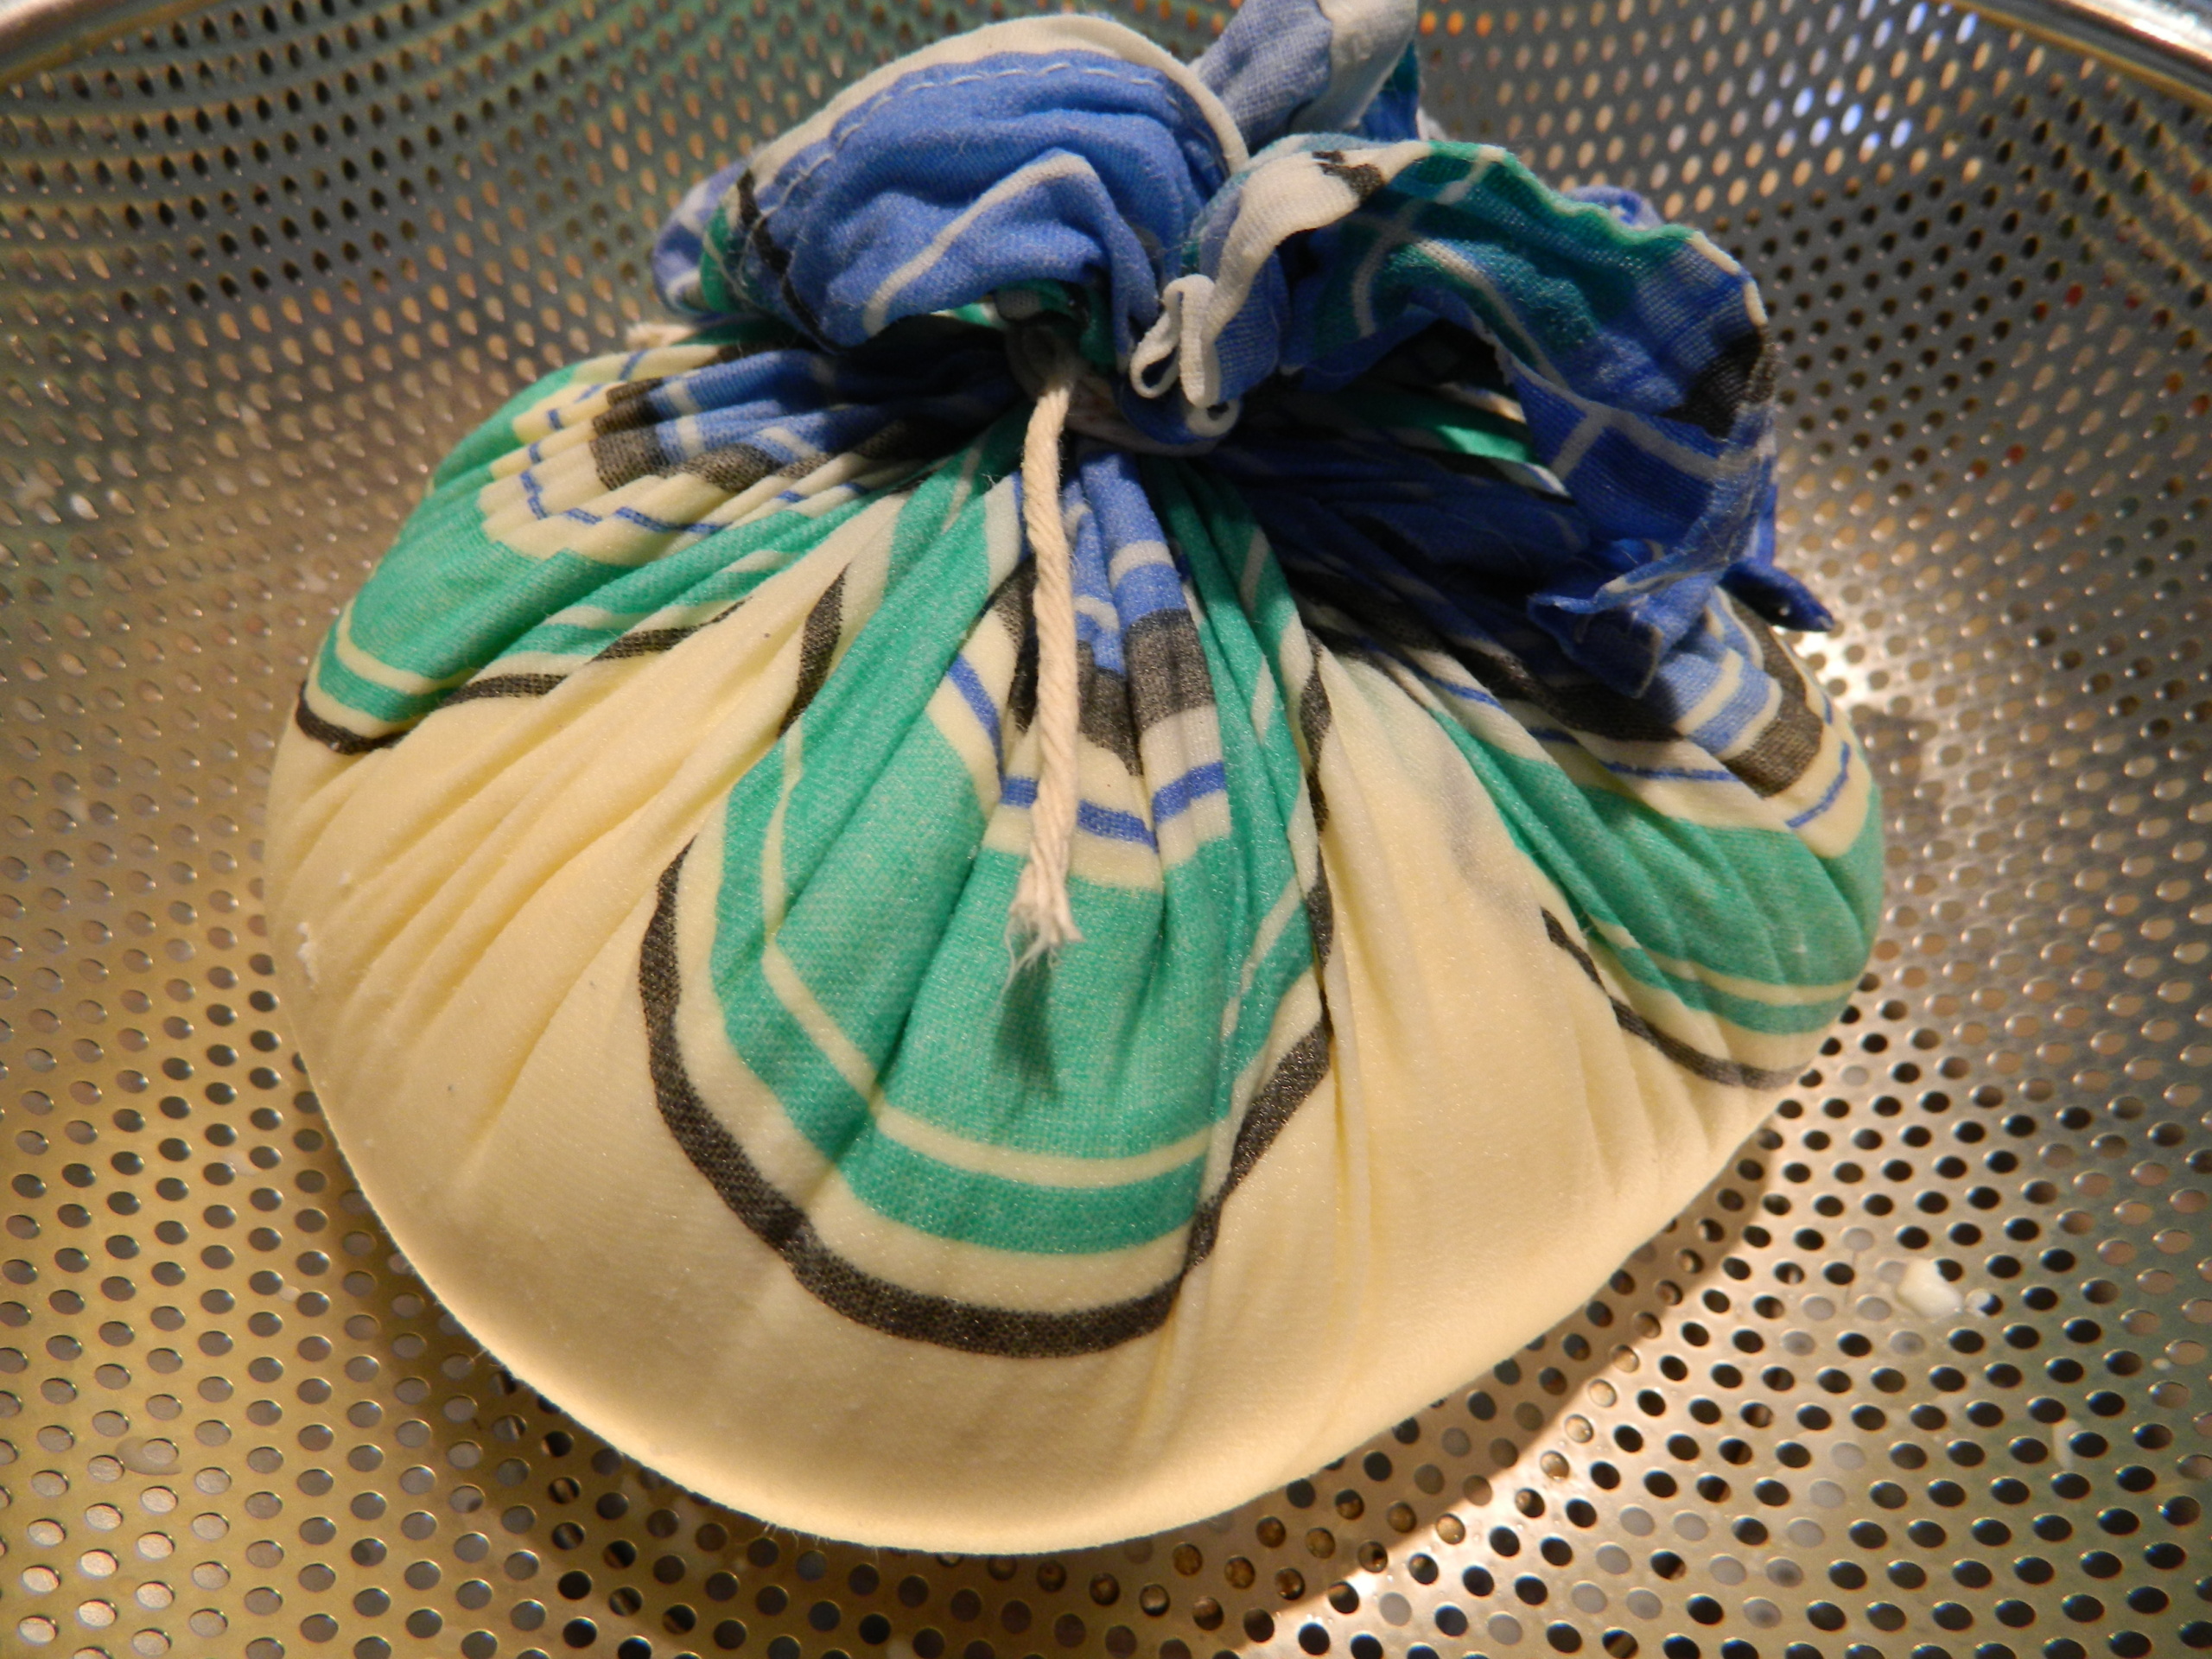
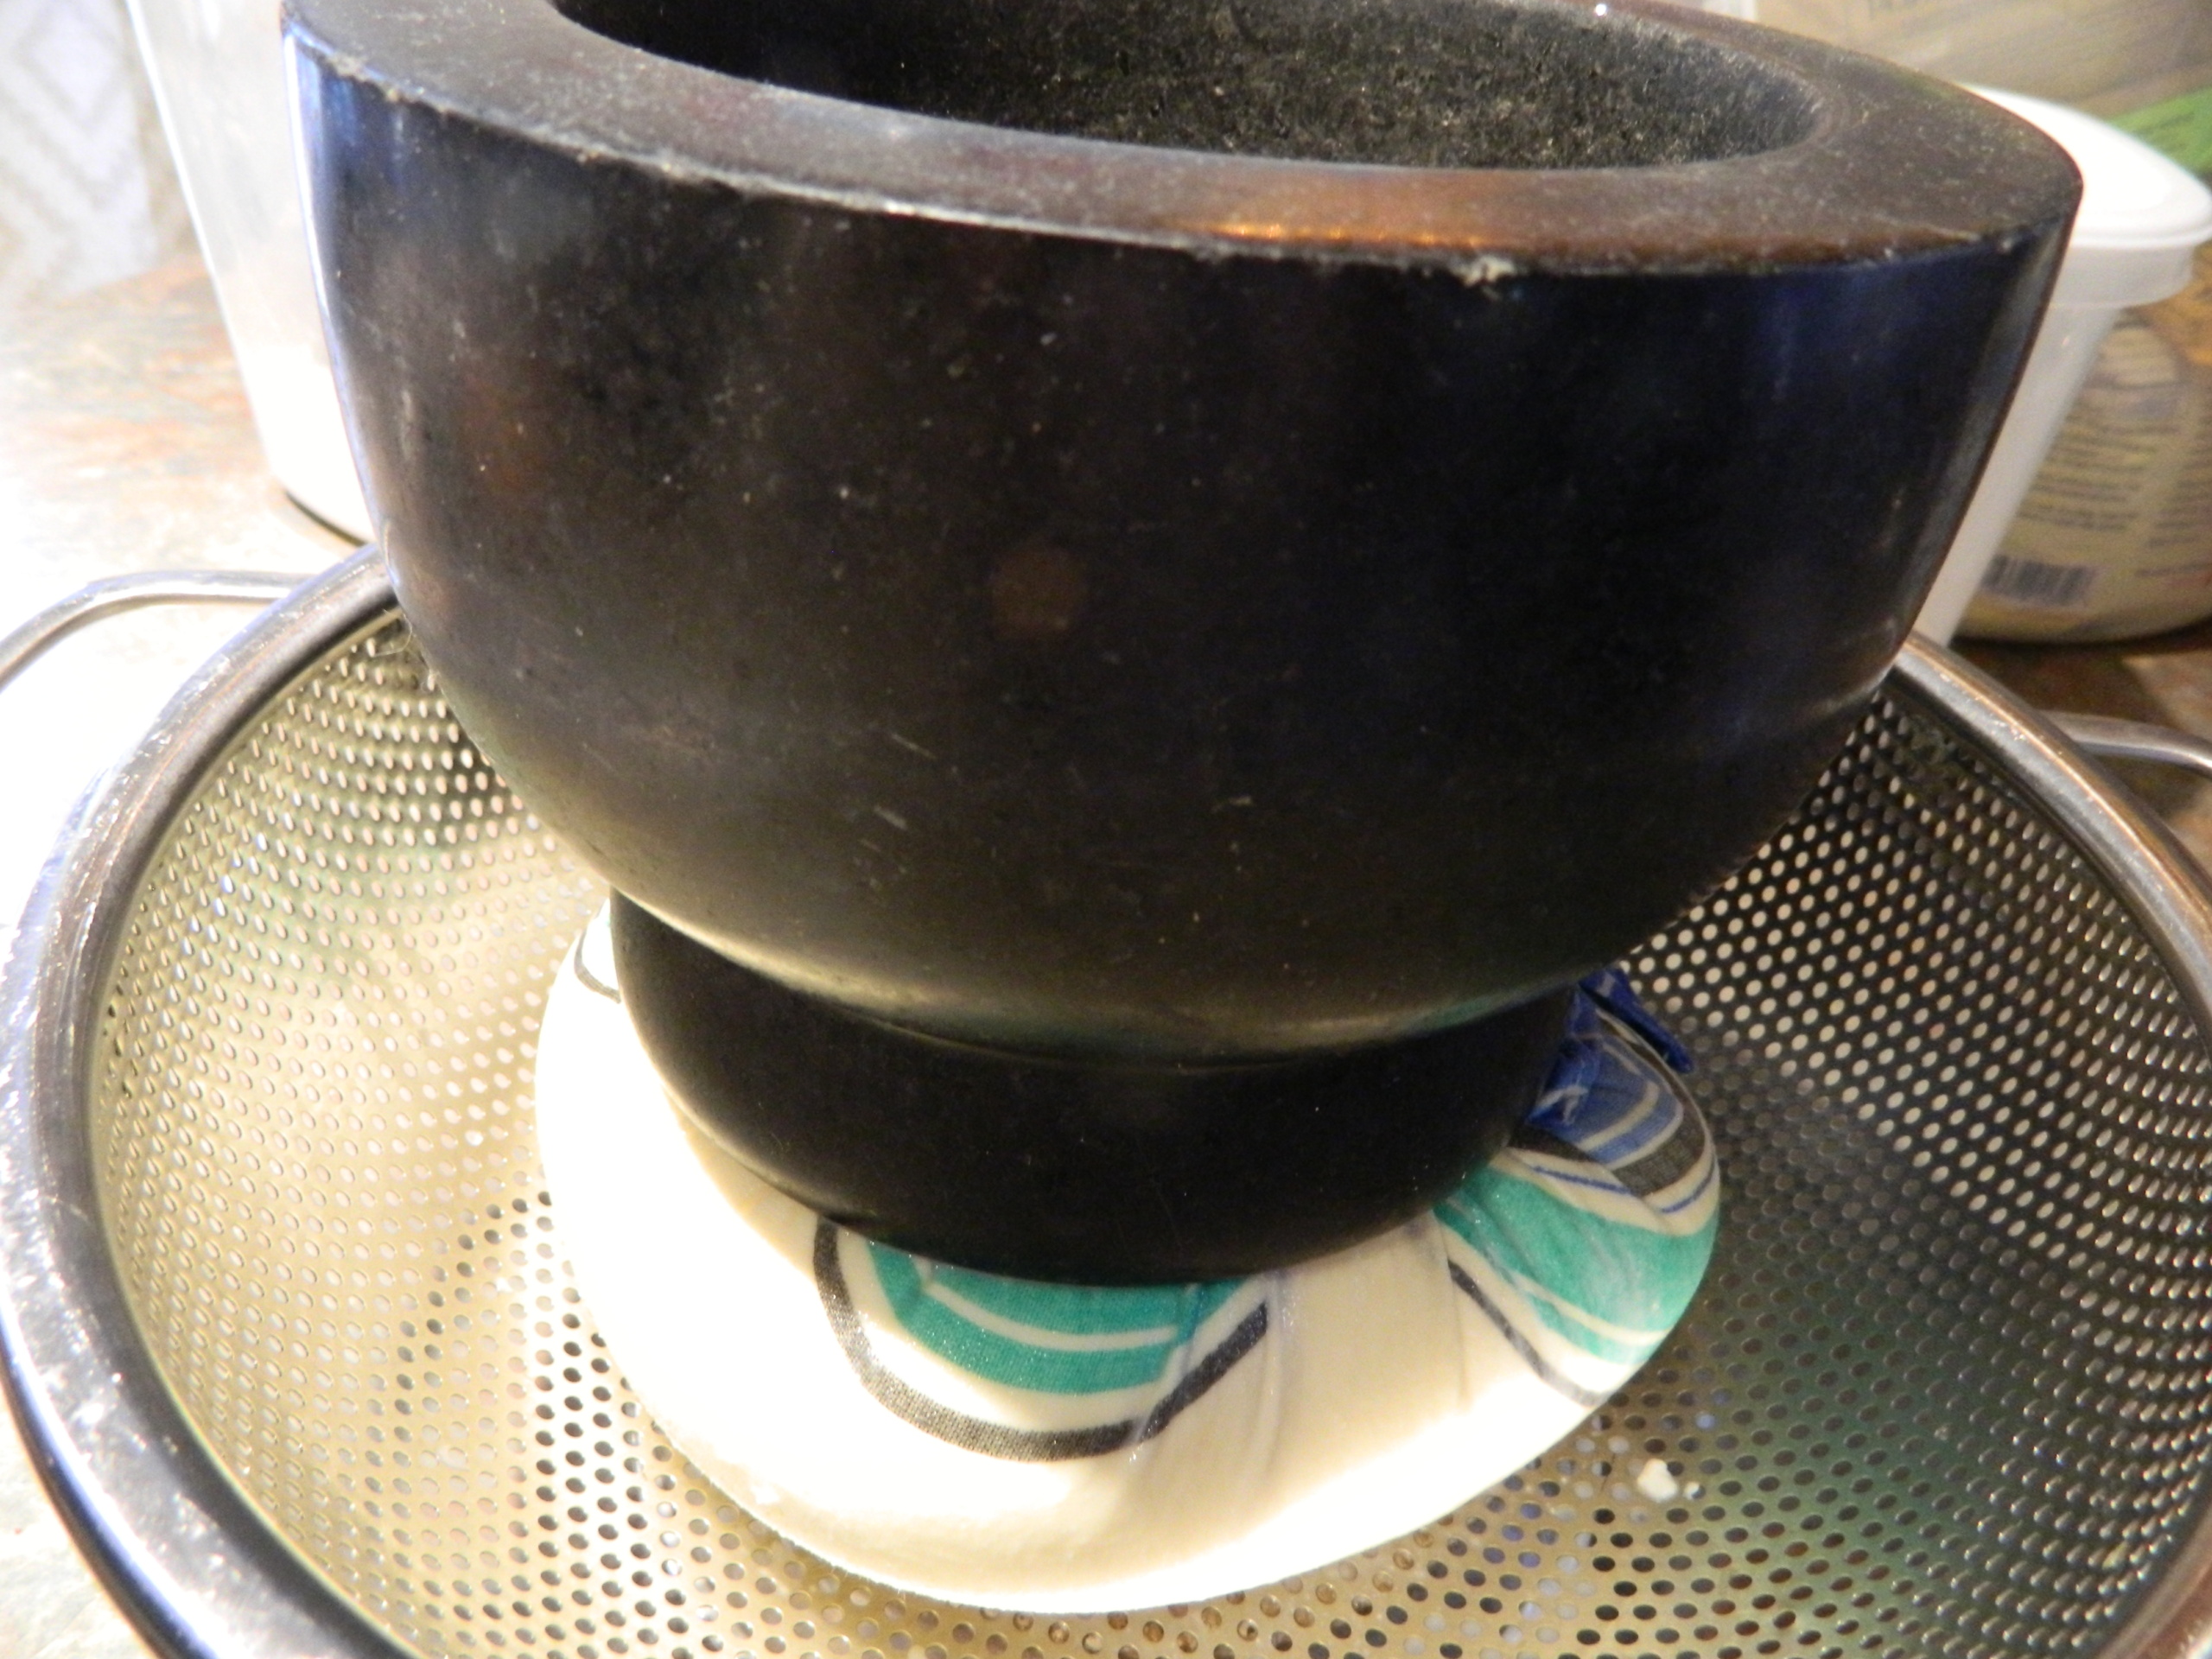
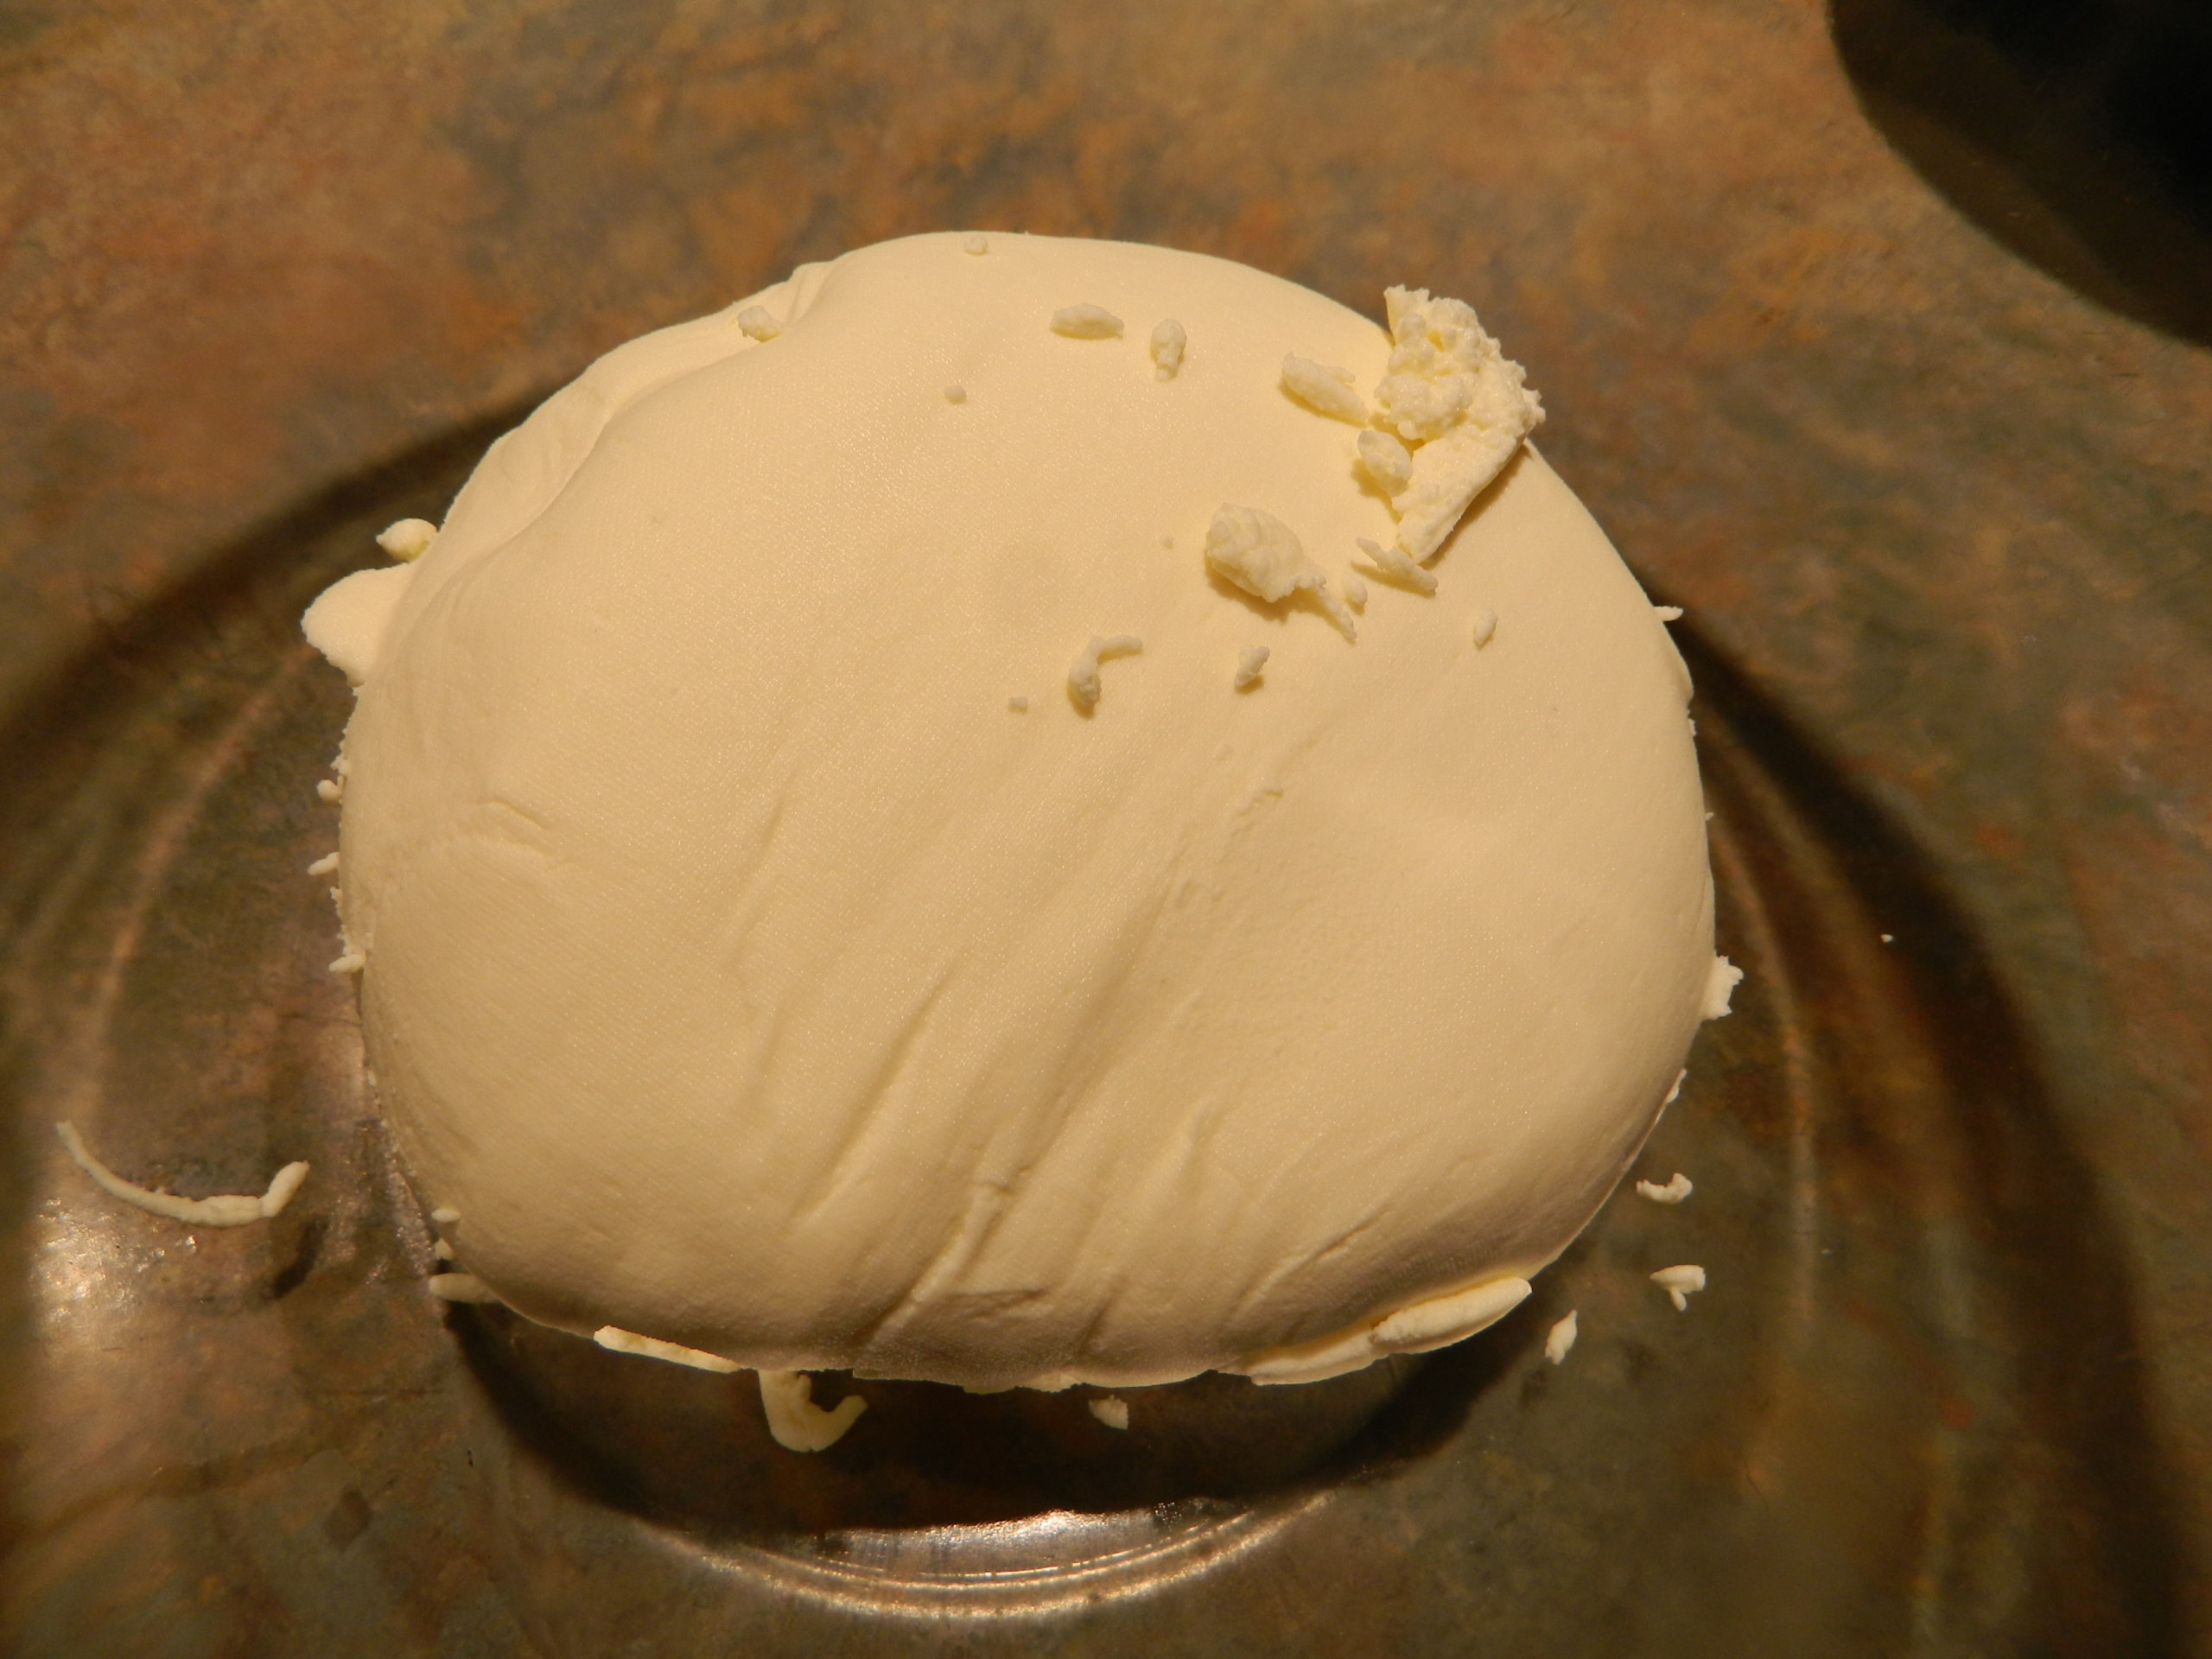
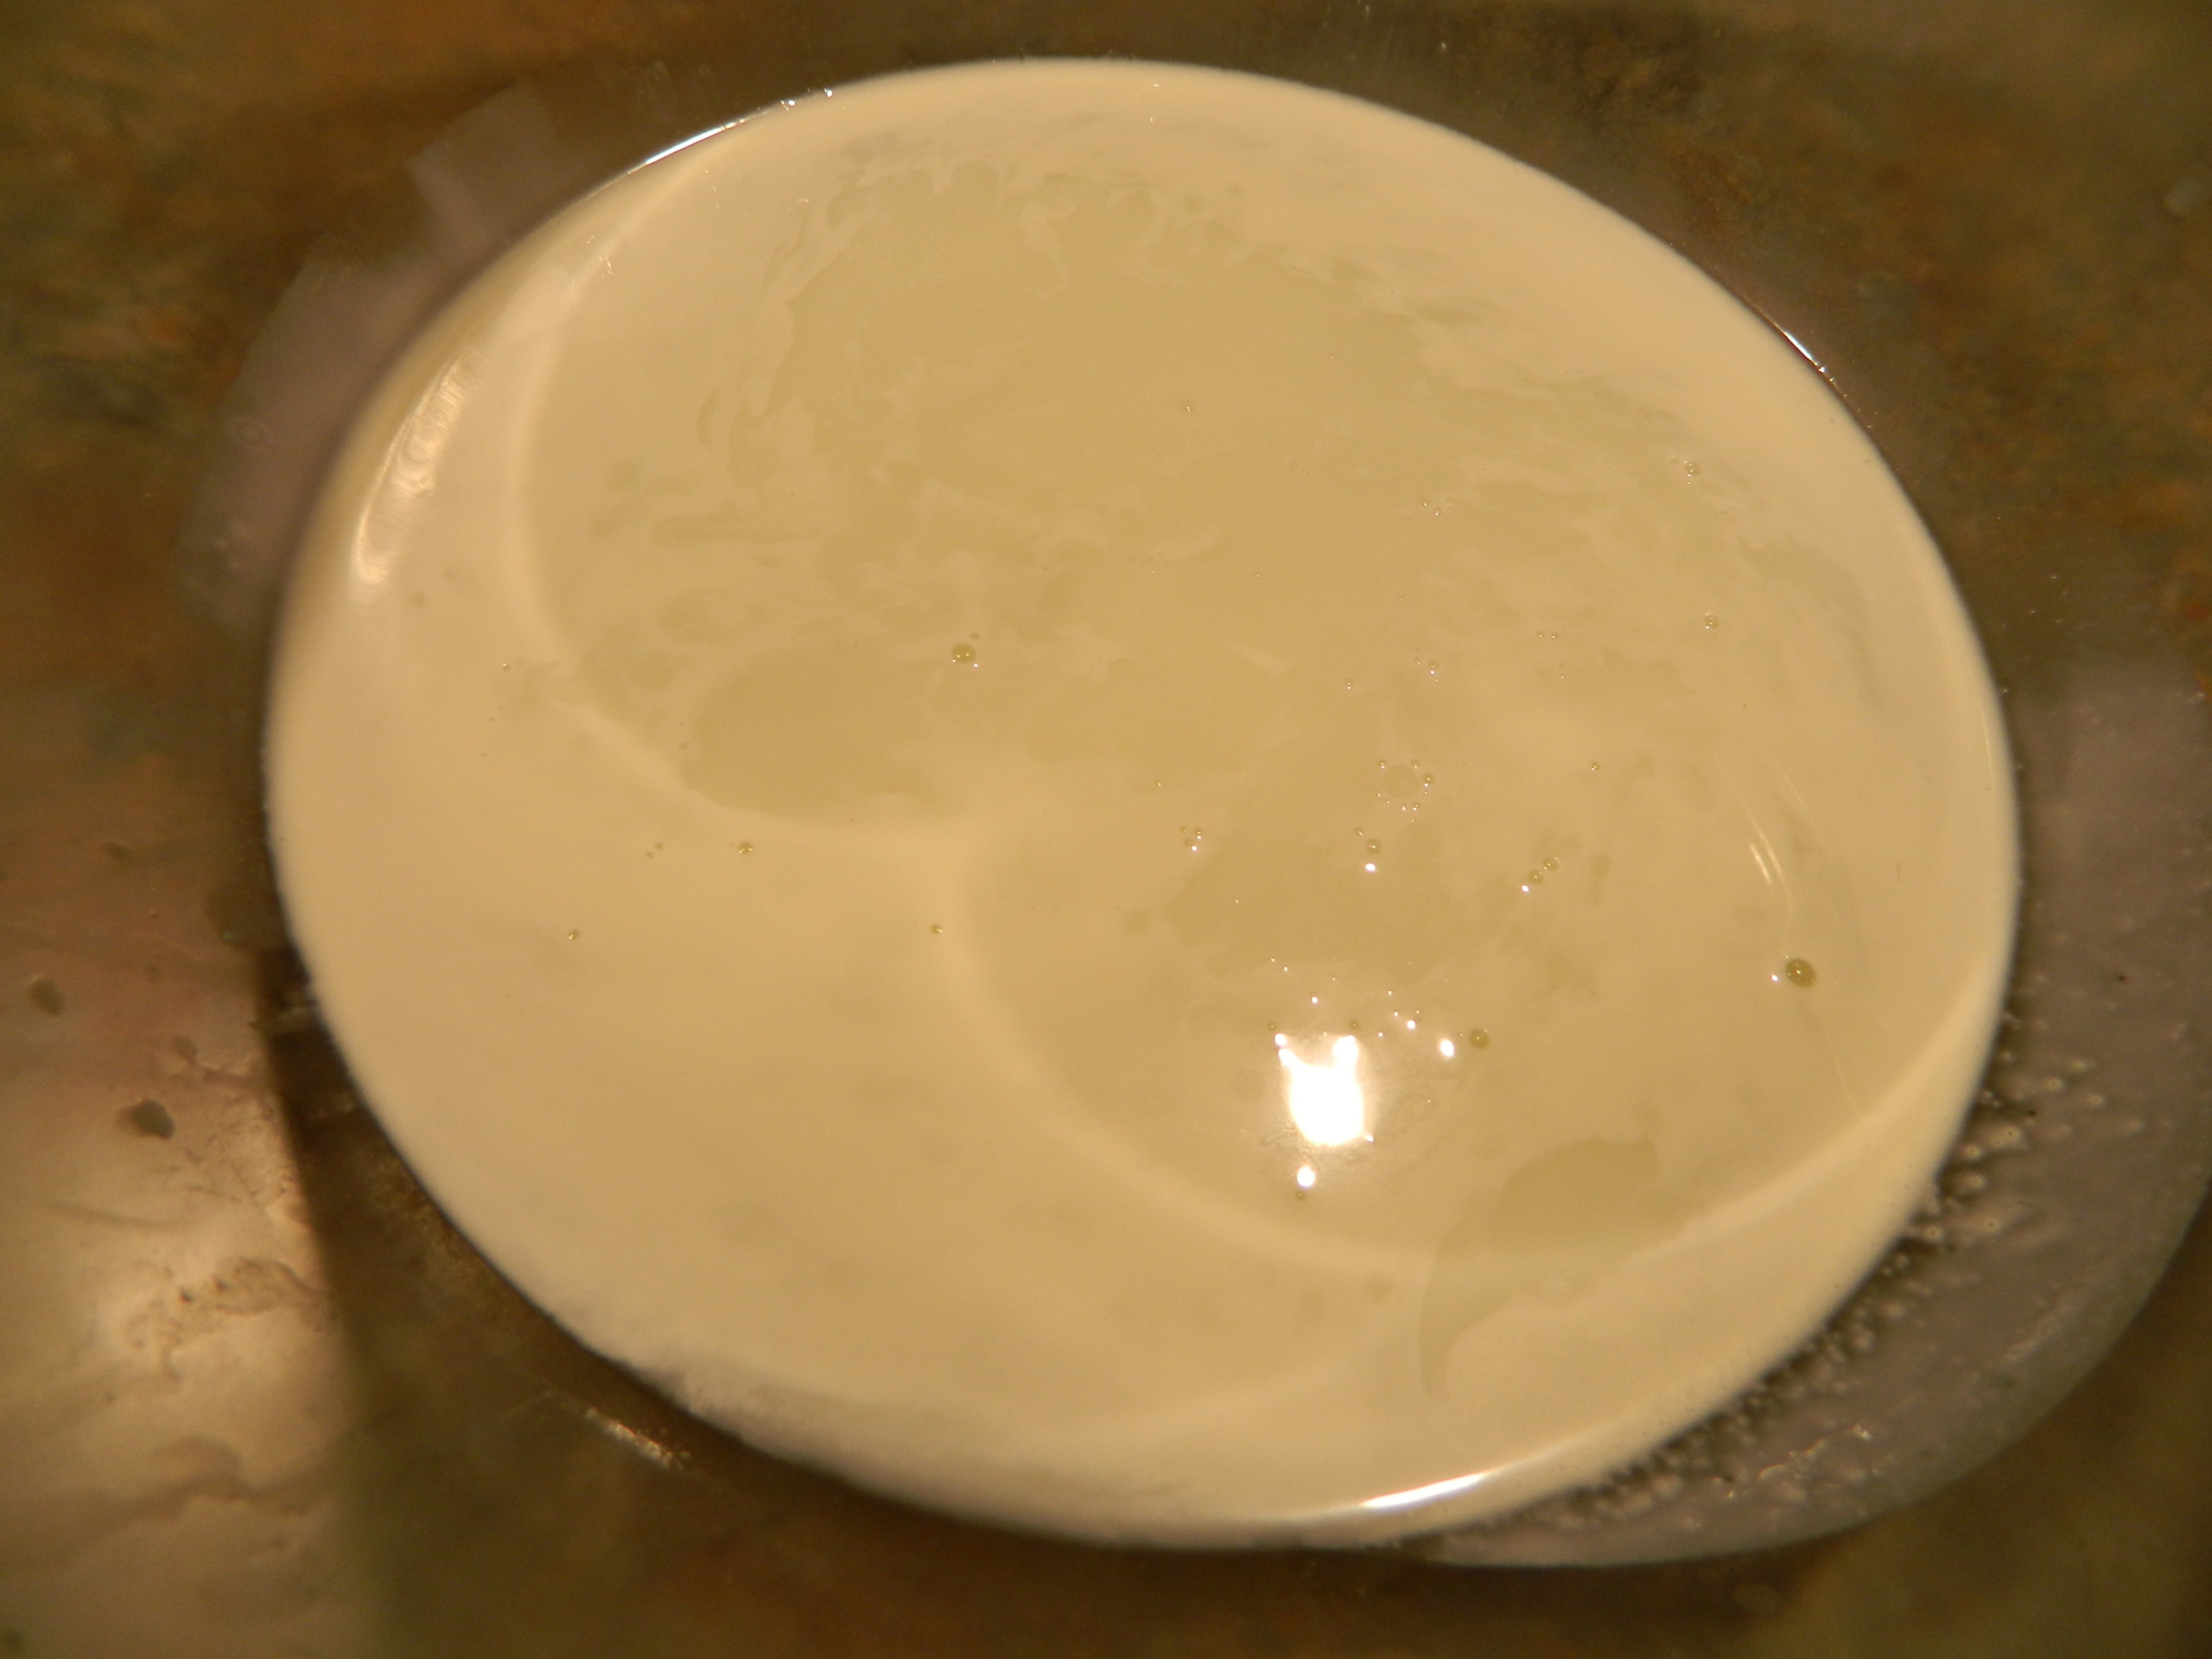
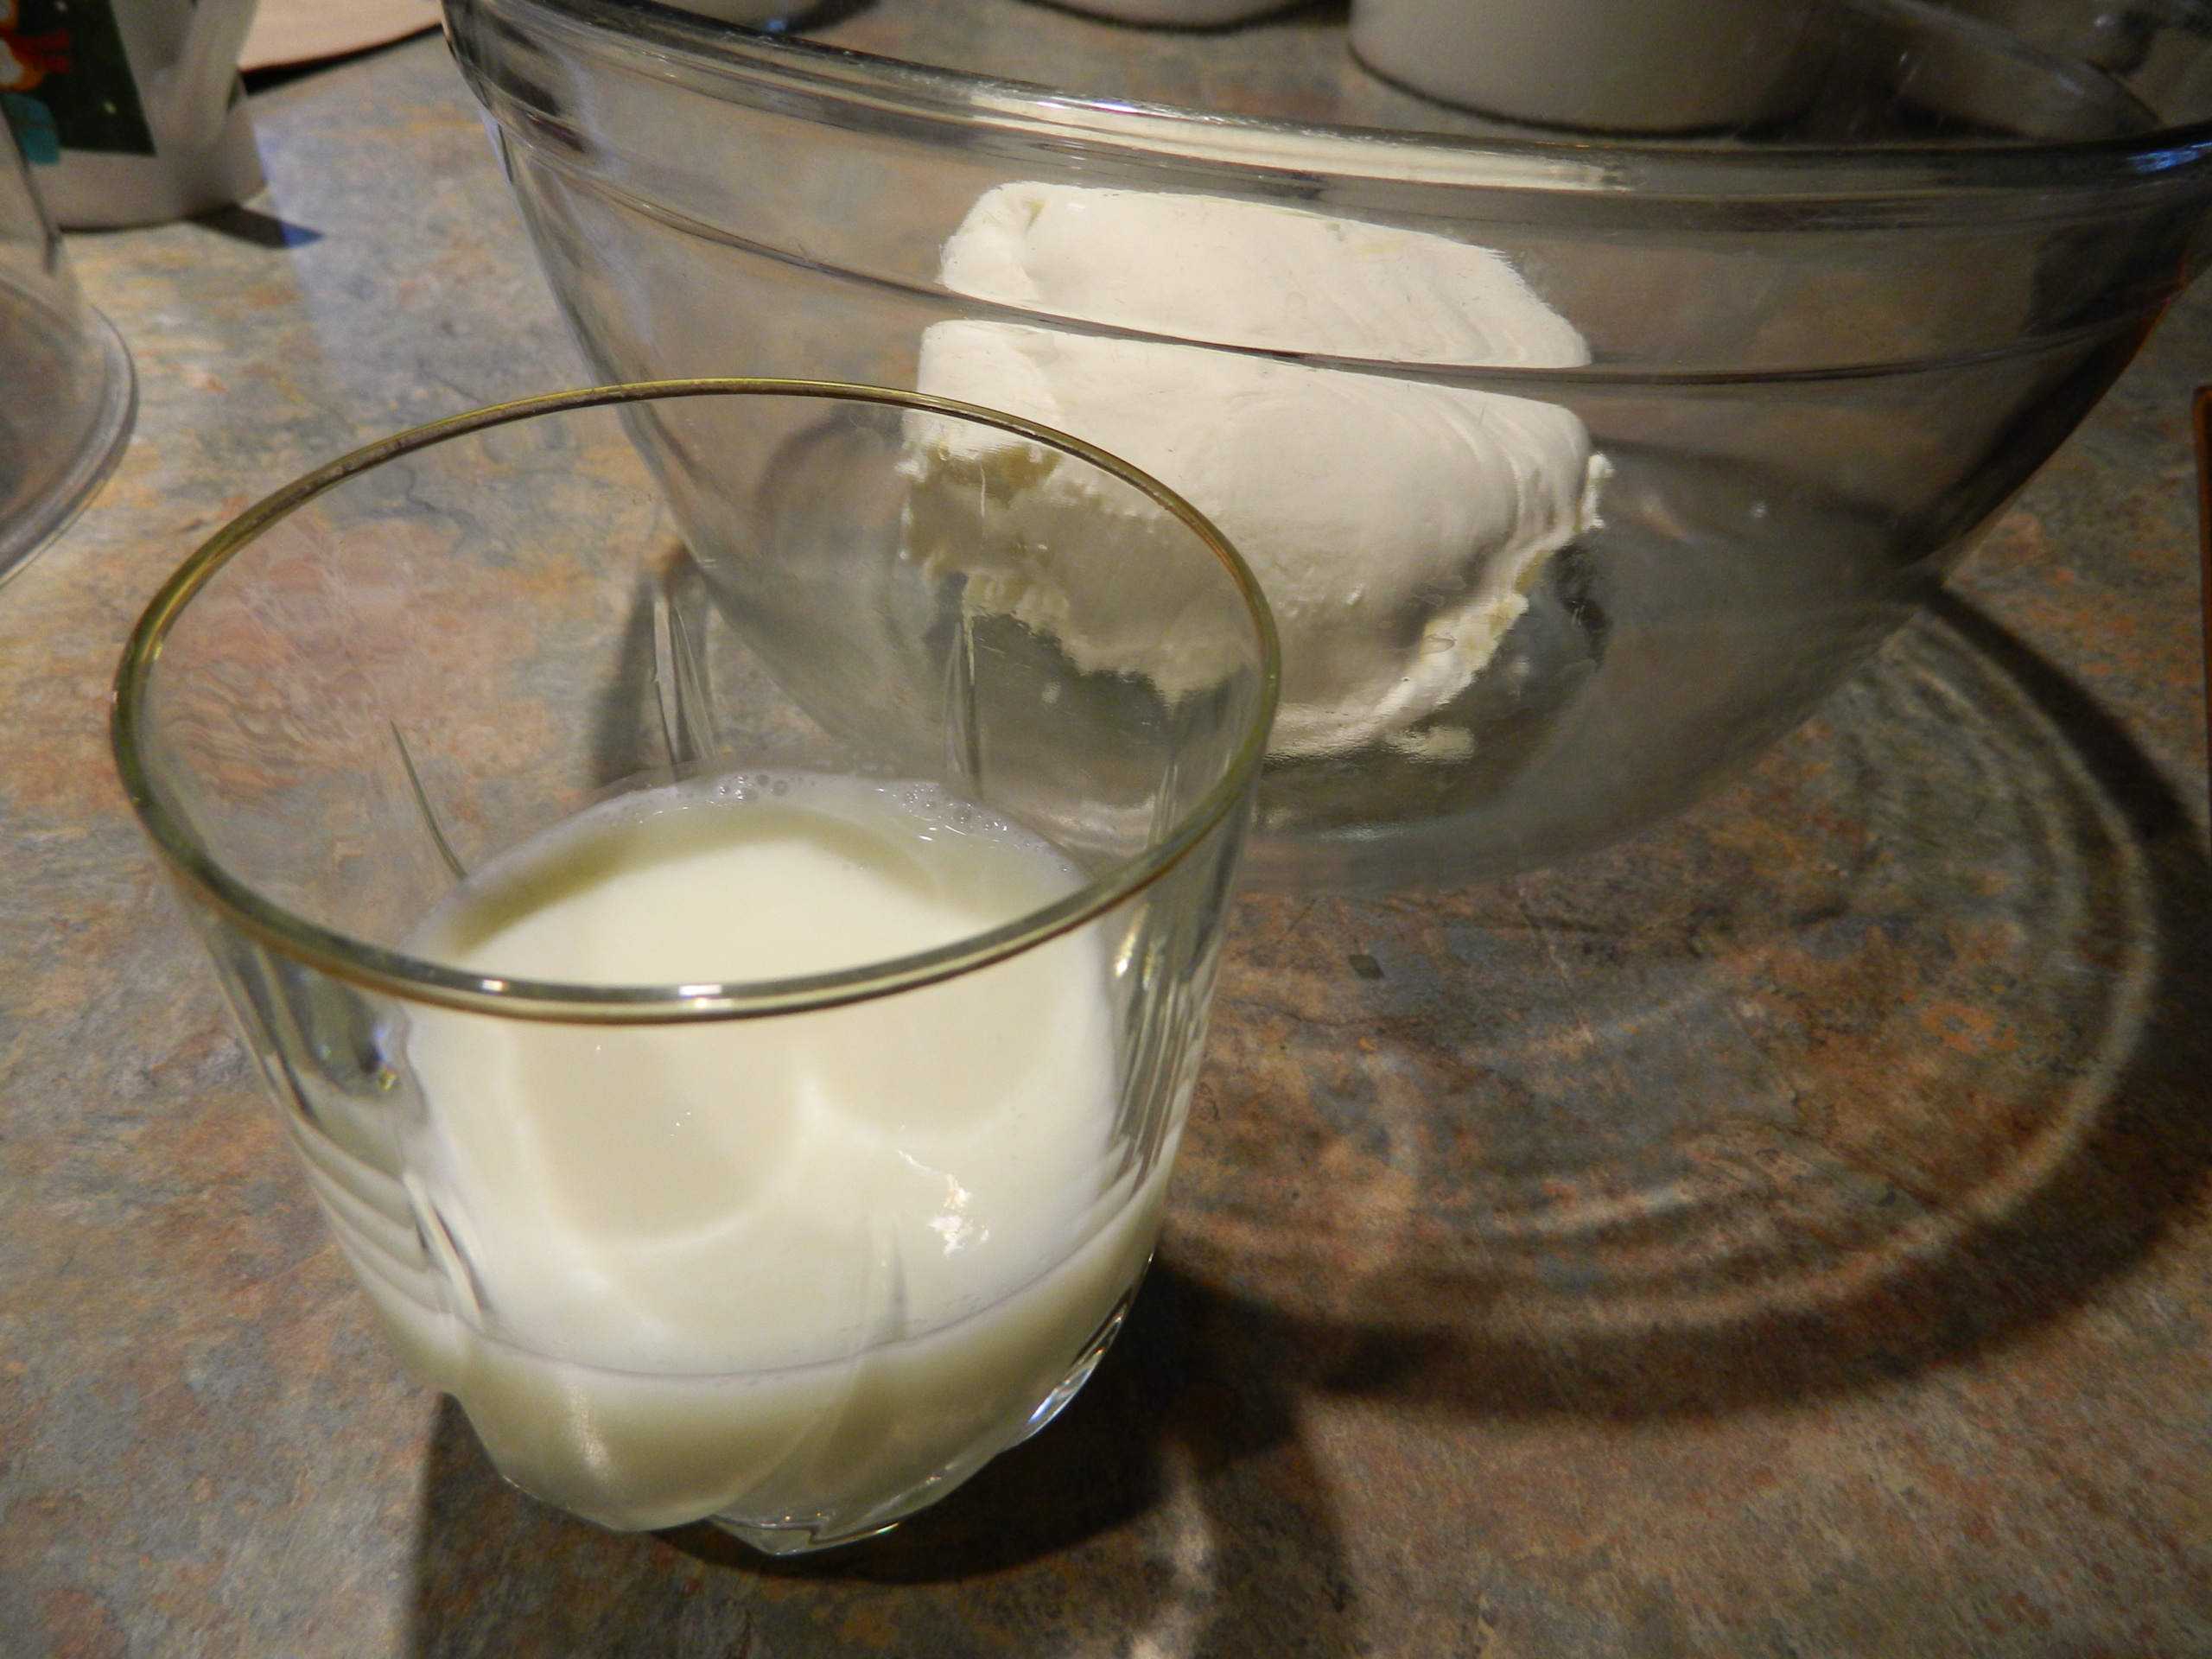
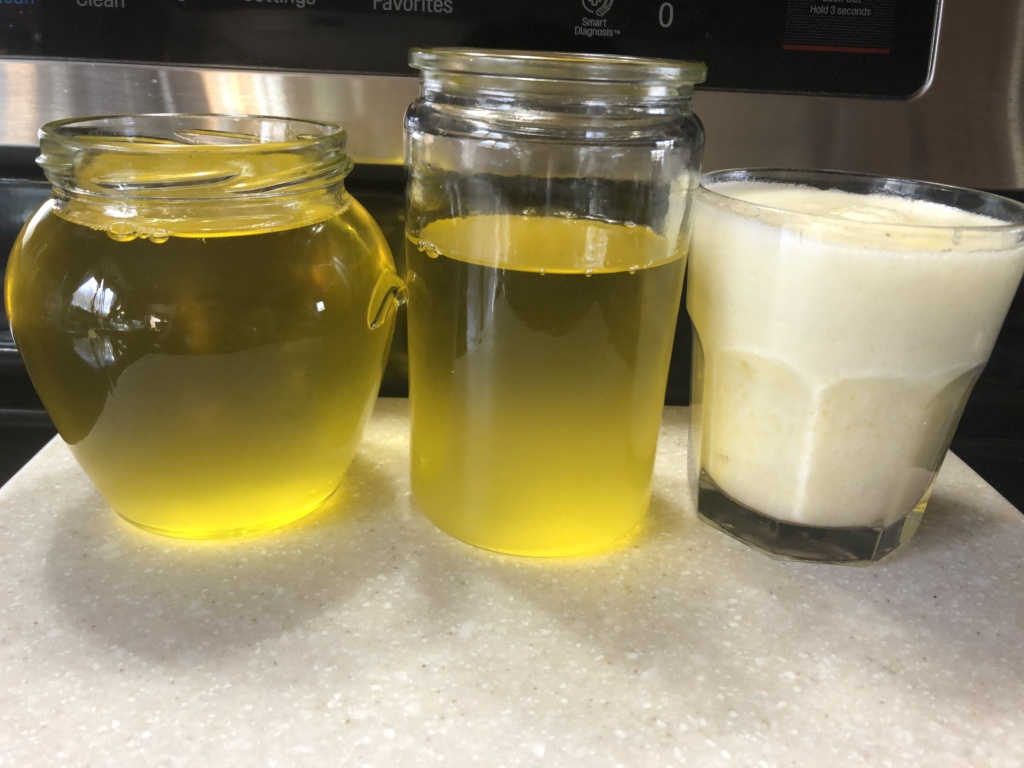
I like to use Galbani Ricotta cheese because of its texture. To make a Cannoli feeling, you need to press out extra liquid from the ricotta cheese. You can use cheesecloth or a clean 100% cotton cloth as I do. I put ricotta cheese inside the colander covered with the cloth. Then I wrap the cloth around the ricotta cheese and tie it with a string to make a sealed bag. I place the colander into a large bowl. The colander should be able to hang above the bottom of the bowl. Then I put some weight on top of my bag. This contraption goes to the refrigerator overnight. You can see how much liquid I got out of Galbani Ricotta cheese. You can use this liquid to make pancakes or a smoothie.
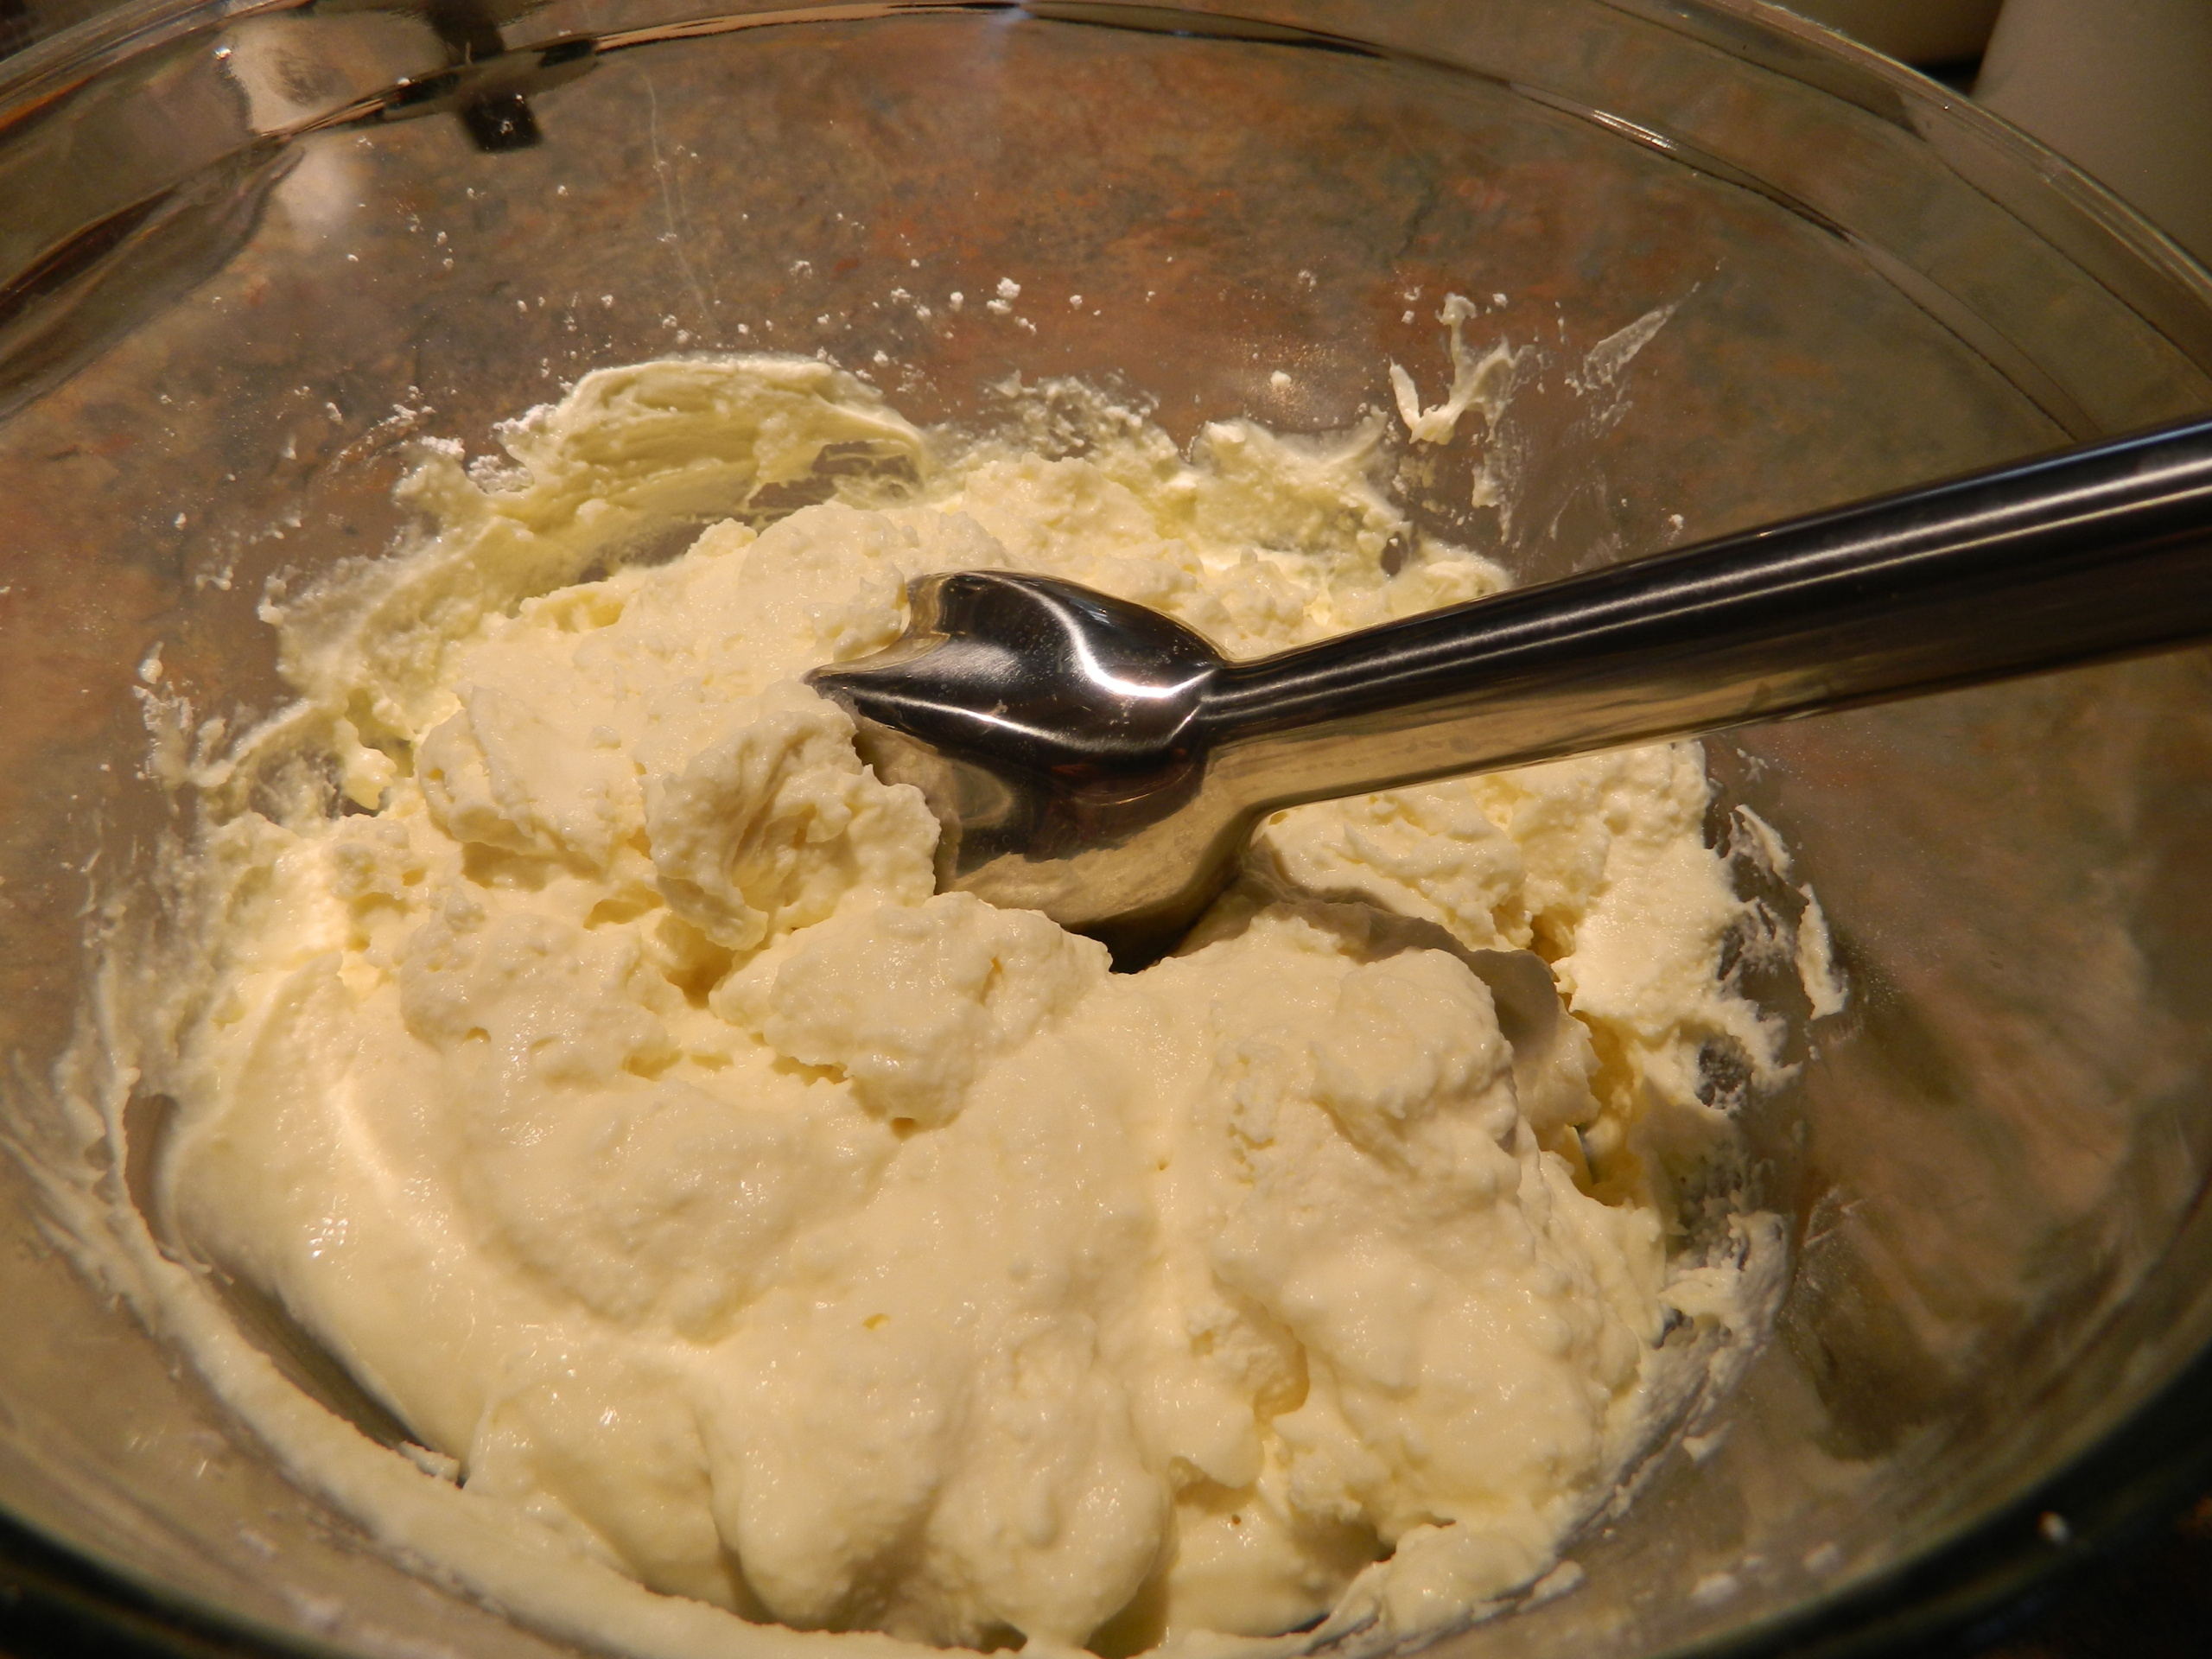
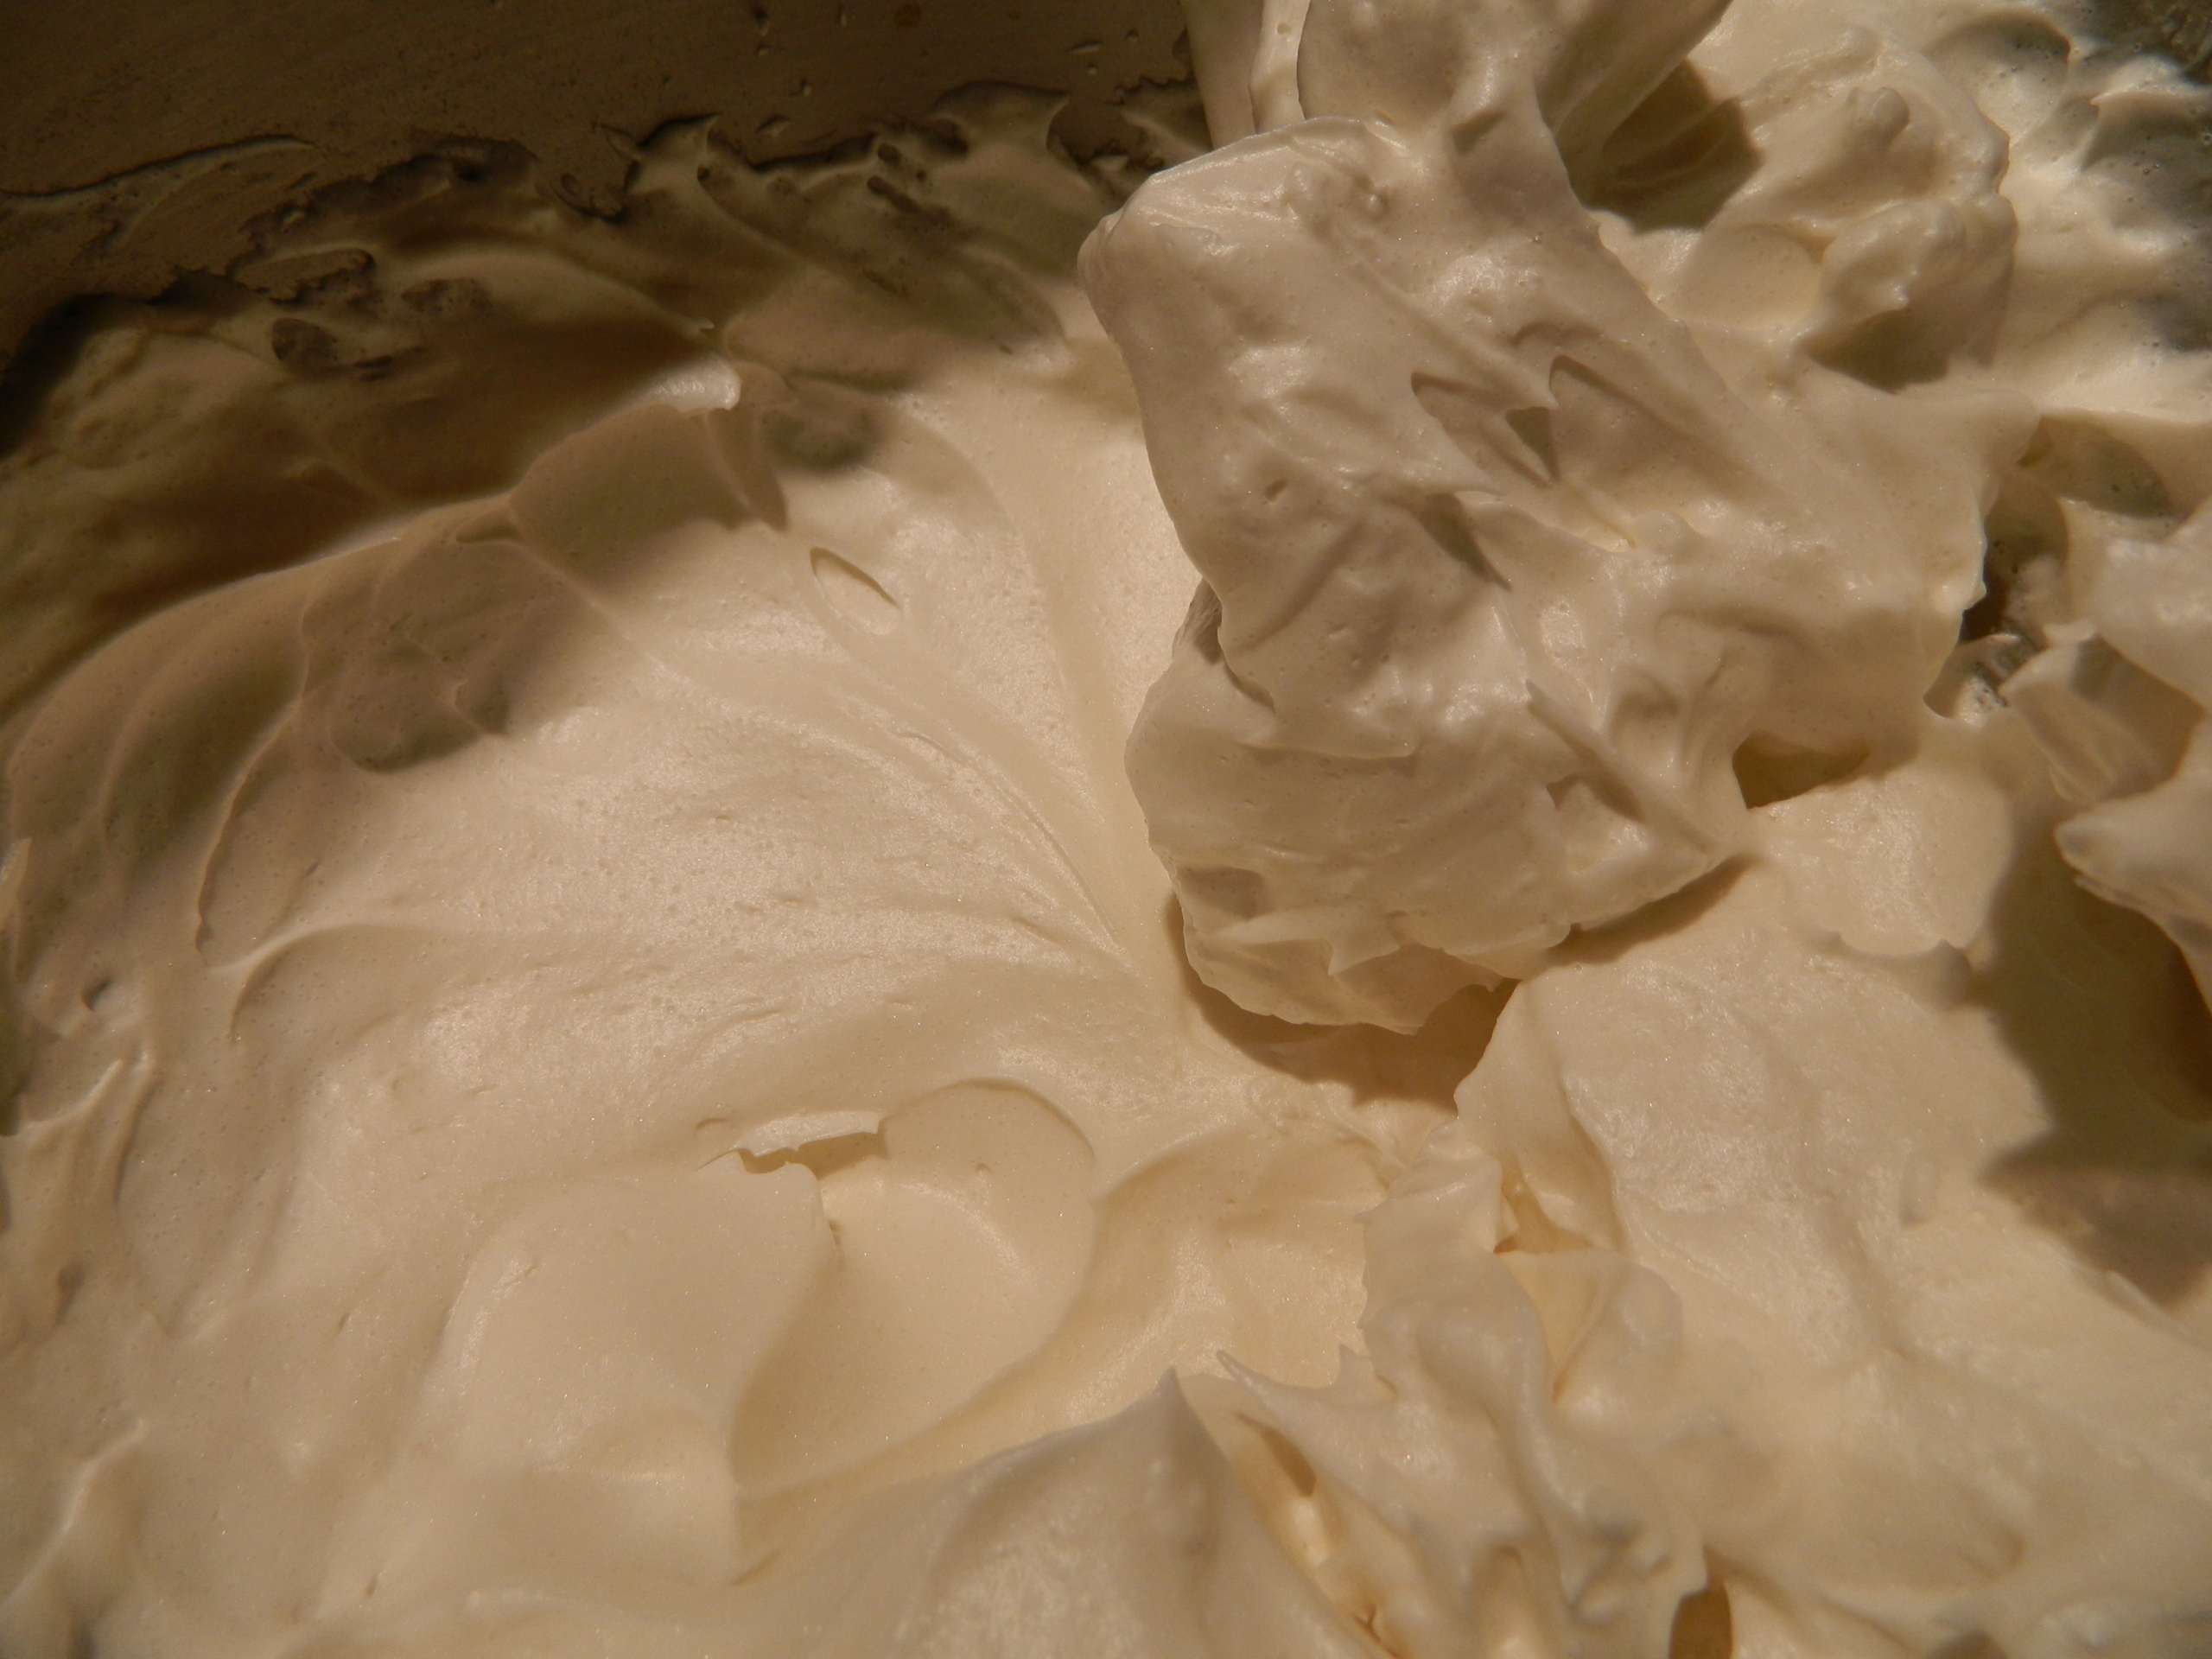
I used the immersion blender to beat all the ingredients together. I made only 5 of them for this post and put the rest of the filling into the refrigerator till the next morning.
I used a small ziplock bag with the pastry tip to fill my Cannoli. This bag serves the purpose very well.
I will update this post with more photos and tips when I am done with my customization. This base filling will keep well in the refrigerator for a few days. I also plan on using some of it with my Pizzelle.
According to the Merriam-Webster dictionary, Ghee is a semi-fluid clarified butter made especially in India (1). Ghee contains fewer dairy proteins than regular butter and could be a better option for people sensitive to lactose and casein.
Ghee also has a nutty flavor, which makes it a great cooking companion for rice and enriched baked goods, and many other dishes. Ghee has a higher smoking point, which makes it great for sauteing or frying at a higher temperature.
Ayurvedic advocates use Ghee for massage and to make herbal ointments to treat rashes and burns.
You can buy Ghee in a supermarket or attempt to make your own. You start with melting sweet cream or unsalted butter and bring it to the simmering temperature. Butter separates into milk solids, which you want to remove from it, and liquid fat. The milk solids gather on the surface and you can easily skim them with a spoon.
I used about 1 and a half pounds of sweet cream butter to make these 2 jars of Ghee. You can see how much milk solids I had.
Continue to cook the butter until all the leftover milk solids have sunk to the bottom, leaving the liquid clear. Simmer for a few more minutes until the milk solids at the bottom of the pan turn brown, giving the ghee its flavor and color.
Pour it into the glass jar of your choice through a sieve to make sure you caught all the milk solids which your spoon missed. Let it cool to solidify.
The formula of this bread is very simple and easy to remember. You can use this dough to make two medium-sized loaves of bread. I try to plan my baking for weekends, but sometimes I have to bake even on weekdays after work. Today I will show how it works out with a busy lifestyle.
Prioritizing and additional planning help to get things done. I will explain everything step-by-step.
Because of family circumstances, I had to bake this bread on Friday night after the full day of work. I had to mix the dough the day before (also after my workday). This is how I did it.
On Thursday morning, I took the sourdough out of the refrigerator, refreshed it (fed it), and left it on the kitchen counter. I expected the starter culture to be at least near the peak of its activity by the time I get home from work. That would give me about 6 hours to work with it because the next morning I had to go back to work again, and I had no intention of staying up late.
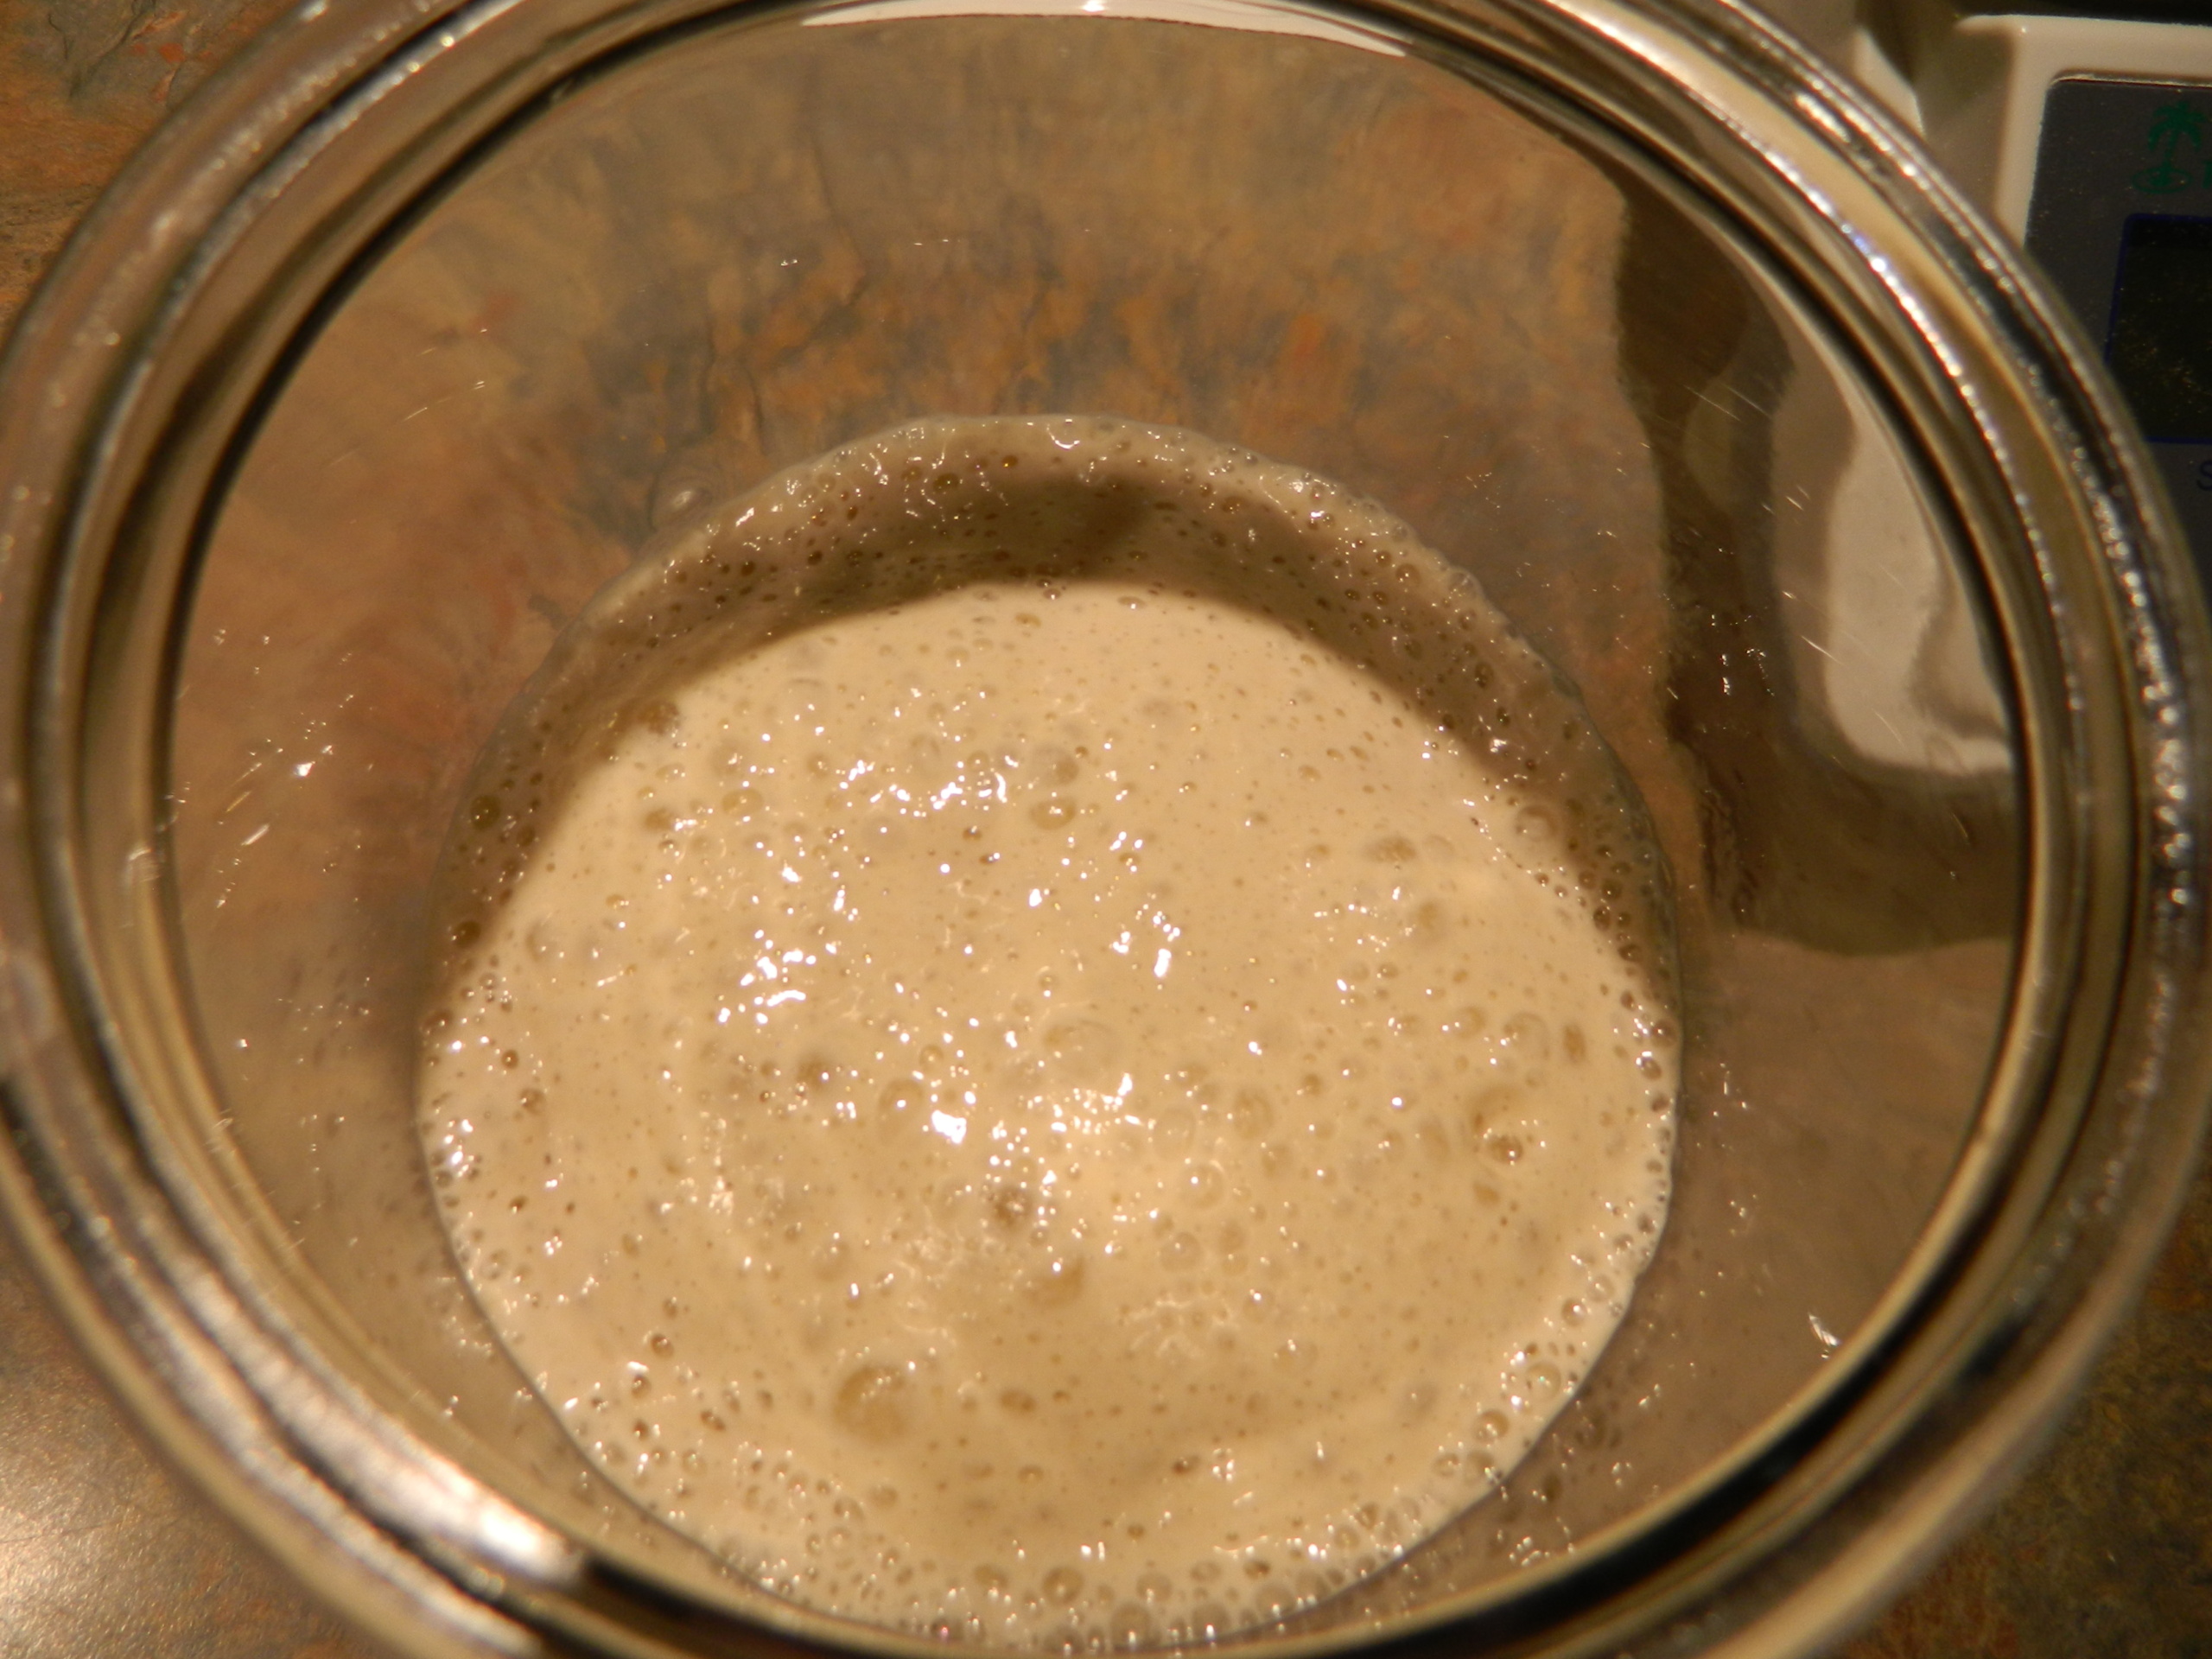
Everything worked out well. As you can see in these photographs, my sourdough grew in volume very well, but the bubbles on the surface were still not enough for its peak form.
When you do not have enough time to wait for the sourdough to reach its pick of activity, you risk compromising the volume of your future bread. That means that your bread will not rise to its full potential in the oven. But it will still be a delicious bread because the long fermentation is the major contributor to the taste of your bread.
Ingredients
Filtered or spring water – 750 ml
Active sourdough starter- 200 g
White bread flour – 900 g
Rye, whole grain flour – 200 g
Sea salt, finely ground – 20 g
Caraway seeds – 20 g (optional)
Pour 750 ml of lukewarm water into the bowl of a stand mixer fitted with the dough hook attachment. Add 200 g of ripe sourdough and start mixing at a low speed. The water will look like milk.
Gradually add flour, starting with the whole grain rye flour, just until incorporated. Do not add the salt at this stage. Cover the mixing bowl with a clean kitchen towel and let the dough rest for 10 minutes.
Add salt and continue mixing the dough at medium speed for about 8 minutes. During the last couple of minutes of mixing, add caraway seeds.
Let your dough rest for 20 minutes before you proceed to the next step – stretch and fold the dough with your hands right in the bowl. You need to do this 3-4 times every 20-30 minutes.
This technique helps to strengthen the gluten in the dough to create a beautiful, airy structure of the crumb.
How it’s done
With your left hand, you will hold and turn the mixing bowl. Moisten the right hand with cold water to prevent the dough from sticking to your hand too much. Slide your right hand along the wall of the mixing bowl, pick up the dough from the bottom of the bowl and stretch it from the bottom through the top and over to the opposite side of the bowl. Turn the bowl slightly clockwise and repeat the same procedure again. Do this 4-6 times. Avoid over-stretching the dough. When the dough resists your stretching efforts, you stop and give it a rest. You will feel how the dough changes when you work with it.
Take the dough on a floured work surface and let it rest for about 5 minutes.
You need to make it a rule – let the dough rest after every manipulation. This is very important for the structure of the bread.
With a plastic scraper, divide the dough into two equal parts and move them slightly away from each other. Now you will work with each piece of dough separately.
Stretch and fold each piece of the dough like an envelope. Do not force your dough. This is the pre-shaping stage. Give your dough envelope another 20 minutes of rest. Cover the dough with a large transparent plastic box, as I do, or a clean kitchen towel dusted with flour.
Meanwhile, prepare your proofing baskets. I have different proofing baskets for my bread, but I love oblong bannetons (oblong bread baskets). They rest nicely on my refrigerator shelf. I make round bread as well. It is more suitable for same-day baking. I like the visual appeal of bread art and certain cuts look better on round bread.
Dust the basket with a mixture of white wheat flour and rice flour. If you do not have any rice flour, then use white flour. Use more white flour to prevent your bread from sticking to the basket.
Shaping and Baking
To start the actual shaping process, you need a pre-shaped and well-rested piece of dough. The dough needs enough time to relax before shaping. Otherwise, it will resist your shaping manipulations and might even tear.
Shaping the boule (round)
The simplest way to shape the boule is based on the envelope fold technique, which I explained above. You start by folding your envelope of dough into a tighter envelope.
If your dough still feels too relaxed, you gather the corners towards the center to add more strength. This creates some tension on the surface of your dough, which is exactly what you are aiming for. You may need to perform 1-4 rounds of gathering corners towards the center technique. It all depends on the quality of your dough and your experience as a baker. You stop when your dough feels strong enough to hold the shape.
After you finished gathering the corners, you need to seal the seams you created. Flip the dough over. Then drag the dough against your work surface in a circular motion until it feels tight. Thus, you need only a little flour on your work surface to make this movement possible.
This boule, seam side up, goes into the prepared round basket for the final proof before baking.
Shaping the batard (oblong shape or “torpedo”)
You stretch your pre-shaped and relaxed piece of dough to round it out. Do not overstretch.
Fold the right side of the dough towards the left a little past the middle.
Fold the left side of the dough the same way. You overlapping the previously folded side.
Start rolling your piece of dough from the bottom up, stretching and tightening up the surface as you go.
When you reach the end, seal the seam with your fingers.
Put your batard into the basket, seam side up.
I put the baskets in plastic containers and refrigerate my bread overnight before baking. You may bake your bread directly from the refrigerator with no warming up before going into the hot oven.
You can keep bread in the refrigerator for up to 2-3 days. In my experience, 2 days work best and in 3 days you might lose some volume of the finished loaf. I had to bake bread from the refrigerator after 4 days of cold fermentation a few times, and it was still delicious.
Baking in a Dutch Oven
On the baking day, I take a large cast-iron Dutch oven and heat it in the oven with a closed lid to 250 C (485 F).
When the Dutch oven is preheated, I take the bread out of the refrigerator and gently place it on parchment paper a little larger than my bread in width, but with long enough ends so I can put the bread into the Dutch oven holding the ends of the parchment paper without burning myself.
I take the Dutch oven out of the oven and put it on the table on a heatproof stand. I also have a stand for the Dutch oven lid nearby.
Now I make cuts in the bread with a sharp razor on a wooden kebab skewer (you may use a special lame for bread). After that, I open the Dutch oven, put the bread on parchment paper into the preheated Dutch oven. Then, I cover it with the lid as quickly as possible and put it back in the oven for 25 minutes for 1035 gram loaves (if you divide your dough into two parts).
After 25 minutes, I remove the lid from the Dutch oven and turn the temperature down to 230 C (450 F). I bake the bread for another 5 minutes. After that, I take the Dutch oven with the bread out of the oven, put the bread (still on parchment paper) onto a baking sheet, and return it back to the oven for another 5-7 minutes to finish baking.
After 5-7 minutes, I turn the oven off, briefly open the oven door to let some hot air and leftover steam out, and leave the bread in the oven for another 5 minutes. For some bread, it is a requirement in order to avoid a sharp change of temperature, which might cause the crust to crack.
Another 20 minutes of cooling time on the wire rack and the bread is ready to eat. 20 minutes is the absolute minimum that the French bakers regard as a law for selling fresh bread. Of course, it is better to let the bread cool completely if time permits and your family members are patient enough.
It is a relatively simple and amazing method of making delicious and healthy homemade sourdough bread.
Some tips on making smaller loaves of bread
All the instructions I gave so far in this post were about baking a loaf of bread weighing about 1035 grams. This is what you get if you divide your dough in half. You might want to divide your dough into 3 parts. You will get 3 loaves of bread. Each loaf of bread will weigh about 690 grams. Shaping directions would be the same, but you will have to adjust your baking temperature and timing.
I start with a slightly lower temperature of 248 C (480 F). I bake for 20 minutes with the lid on. Then I lower the temperature to 230 C (450 F) and bake for 5 minutes or until the crust just starts getting color. Then I take the Dutch oven out of the oven, put it on a heatproof surface. I put the lid on another heatproof surface and take the bread out of the Dutch oven. The bread goes back into the oven on a baking sheet (parchment paper is still in use) to finish baking. Another 8-10 minutes of baking and I turn the oven off. I open the oven door to let the steam escape and lower the temperature of the oven a bit. Then, 5 more minutes of rest in the oven and the traditional cooling down period on a wire rack on the kitchen counter. During these last 5 minutes, you may still want to open the oven door a few more times, or even keep it slightly ajar and warm up your house. Monitor your bread, especially during the first baking months. Oven temperature could be a tricky thing if you did not calibrate your oven.
This seems like a lot of precautions, but a good crust and not an over-burnt bottom of your bread are well worth it.
Baking on Ceramic Tiles
You can also bake this bread directly on a baking stone or ceramic tiles. You should place a couple of half-sheet aluminum pans on the lower rack of the oven in order to use ice cubes to create steam during the first 10 minutes of baking. I usually slide the bread onto the ceramic tiles and immediately put 5-6 ice cubes into the preheated aluminum pans. I lower the temperature of the oven to 218 C (425 F) after the first 15 minutes of baking and bake for another 20 minutes. If the bread looks ready at that point, I turn the oven off, briefly open the oven door to let leftover steam escape, and leave the bread in the oven for another 5 minutes.
This worked well for me with my old oven.
A few comments about different ovens and steam
My oven does not like the tile-steam combo that much. I have a convection oven and the oven fan started making some noise at the beginning of the preheating cycle.
I used to have a regular oven before, and a lot of steam was fine for it. Just make sure you do not drop your ice cubes on the bottom heating element or onto the bottom floor of the oven.
Taking all this into consideration, baking bread in a Dutch oven seems to be safer for most ovens. Decide for yourself. Your oven could be more steam-tolerant.
Ceramic tiles are wonderful for pizza and a variety of flatbreads (no ice cubes required). A serious home baker has to use both methods.
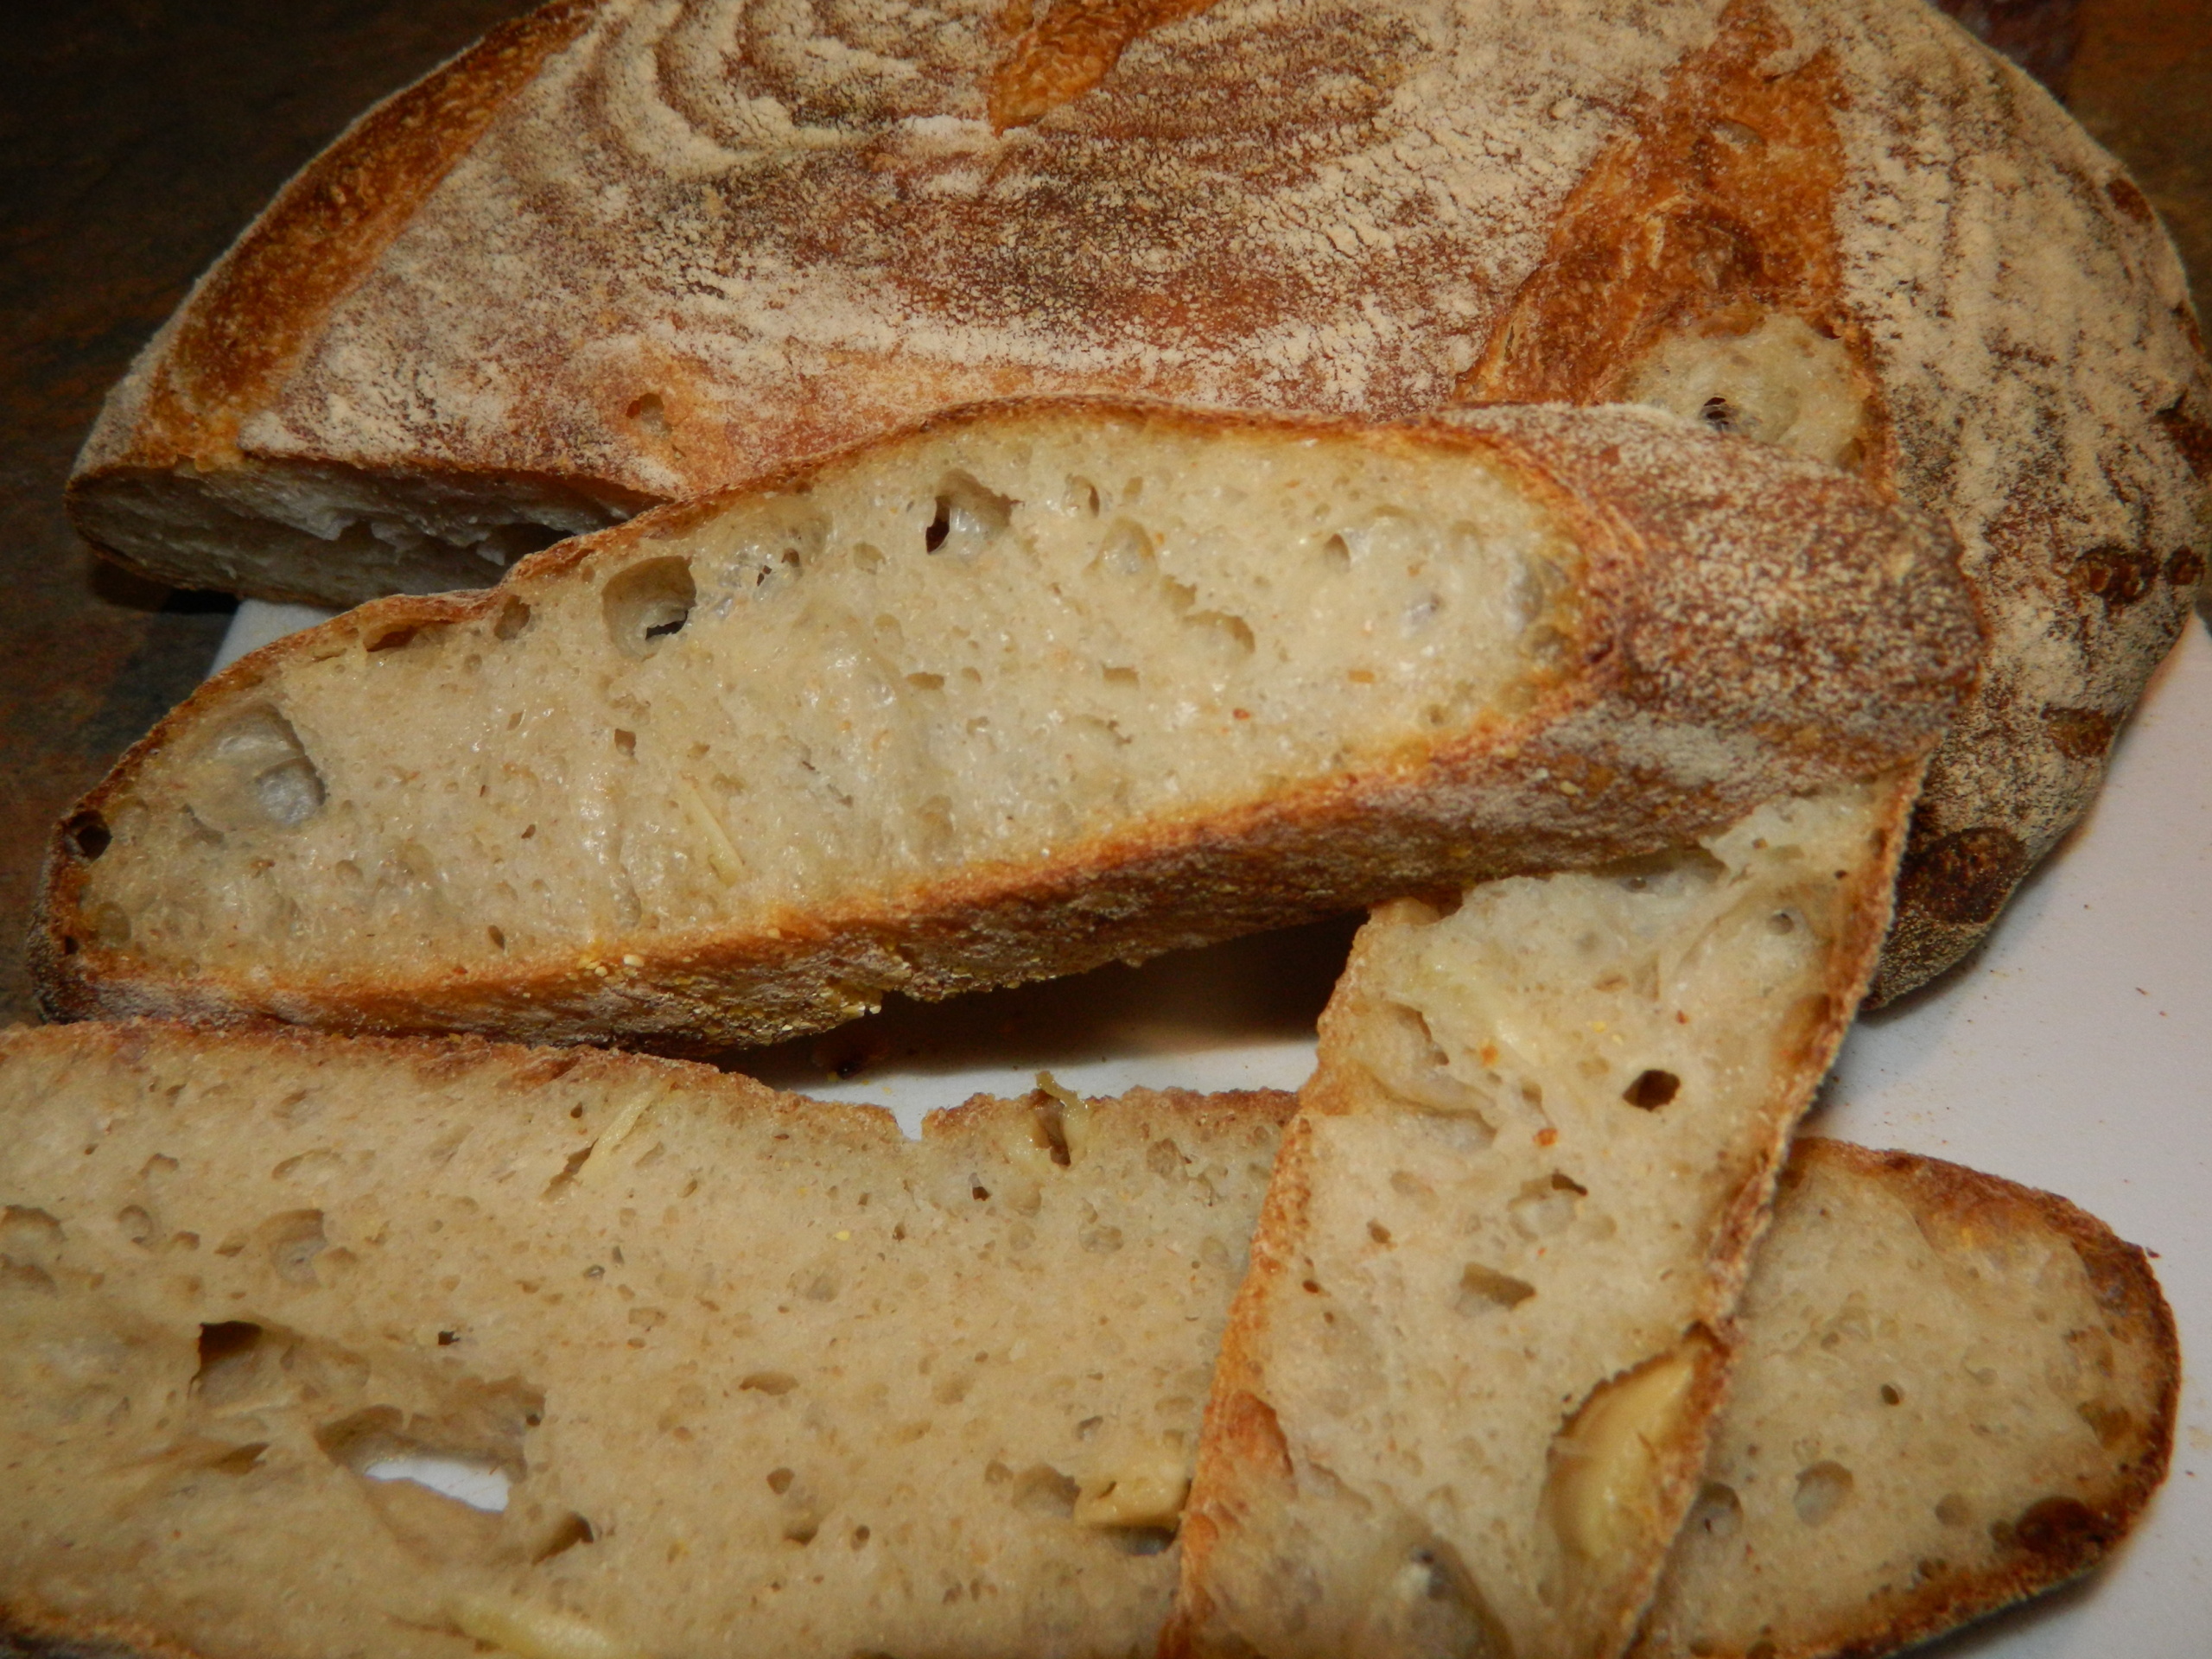
Many faces of the basic sourdough bread.
You may use this basic formula to create many varieties of bread. Here are a few examples of what you can easily do in your own kitchen.
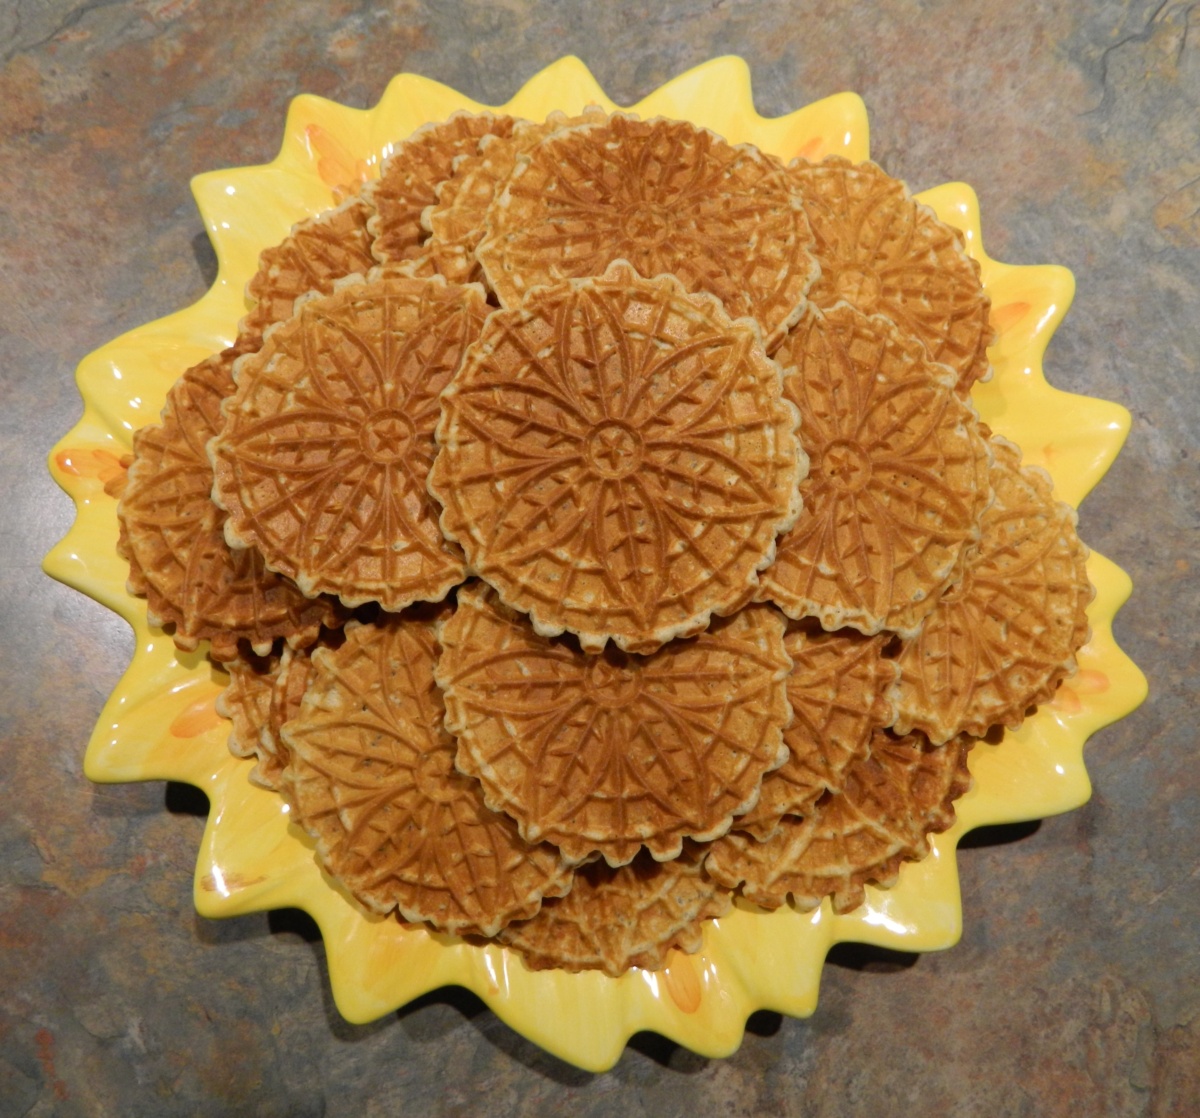
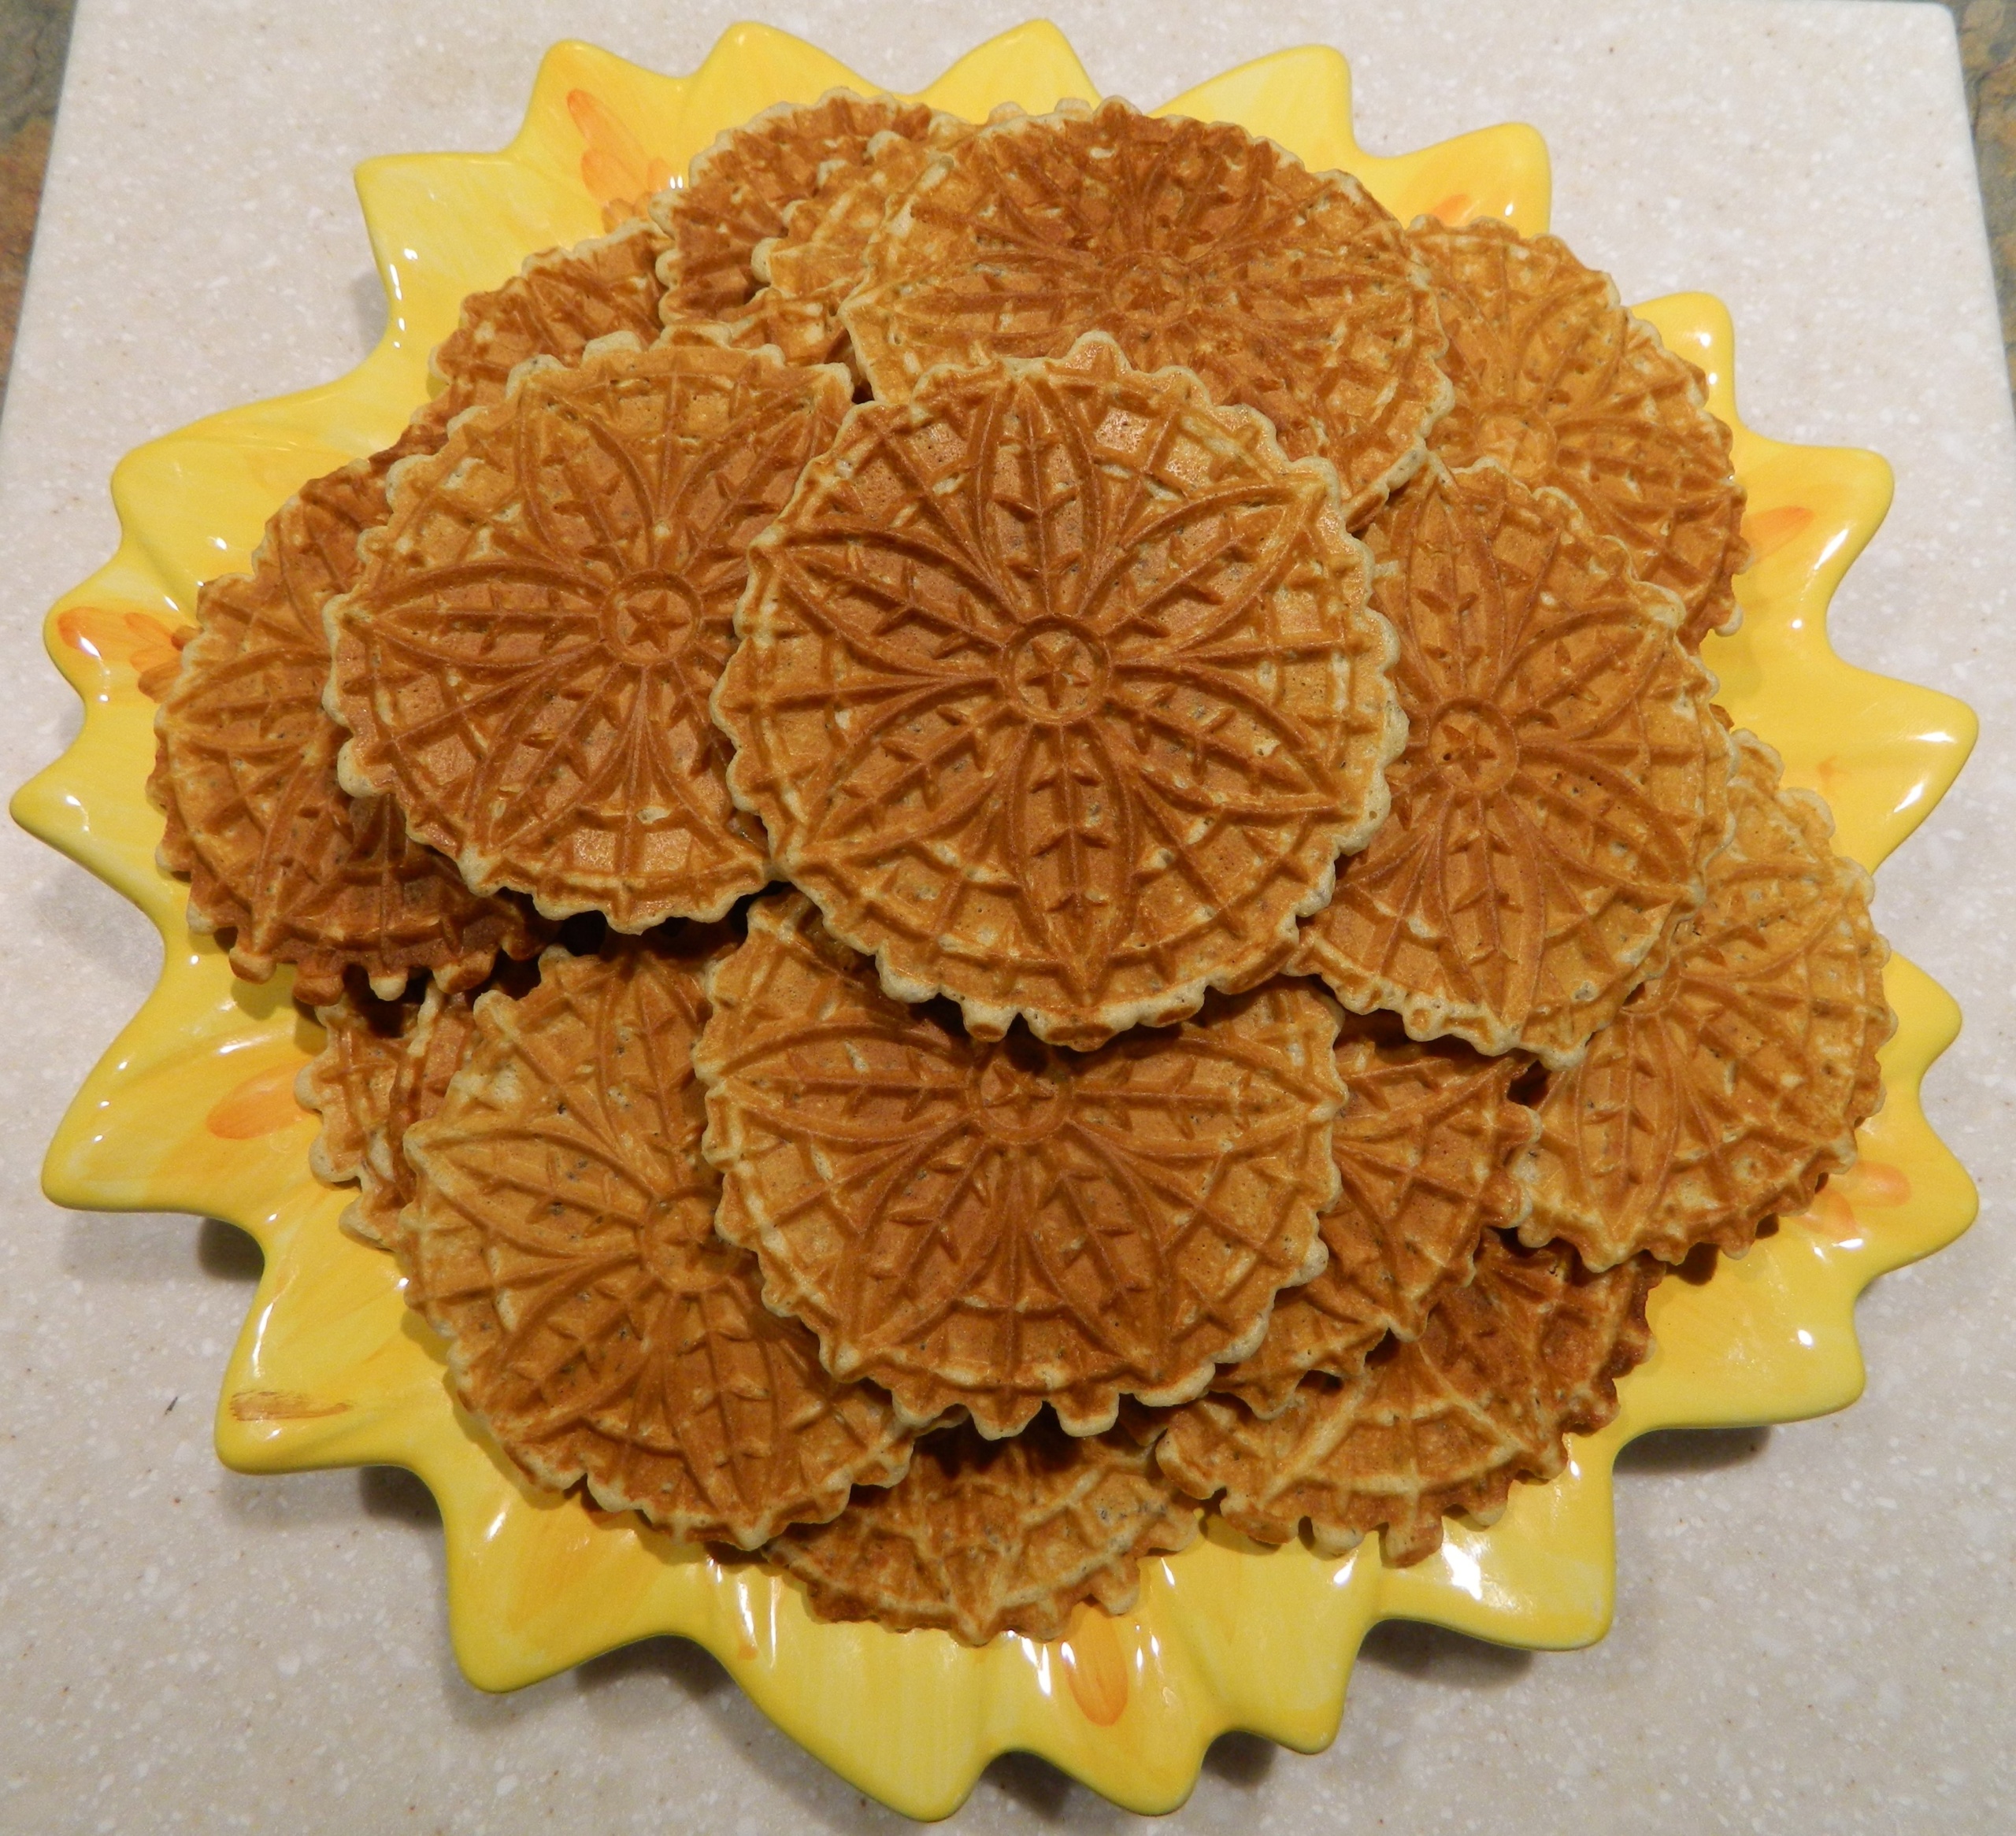
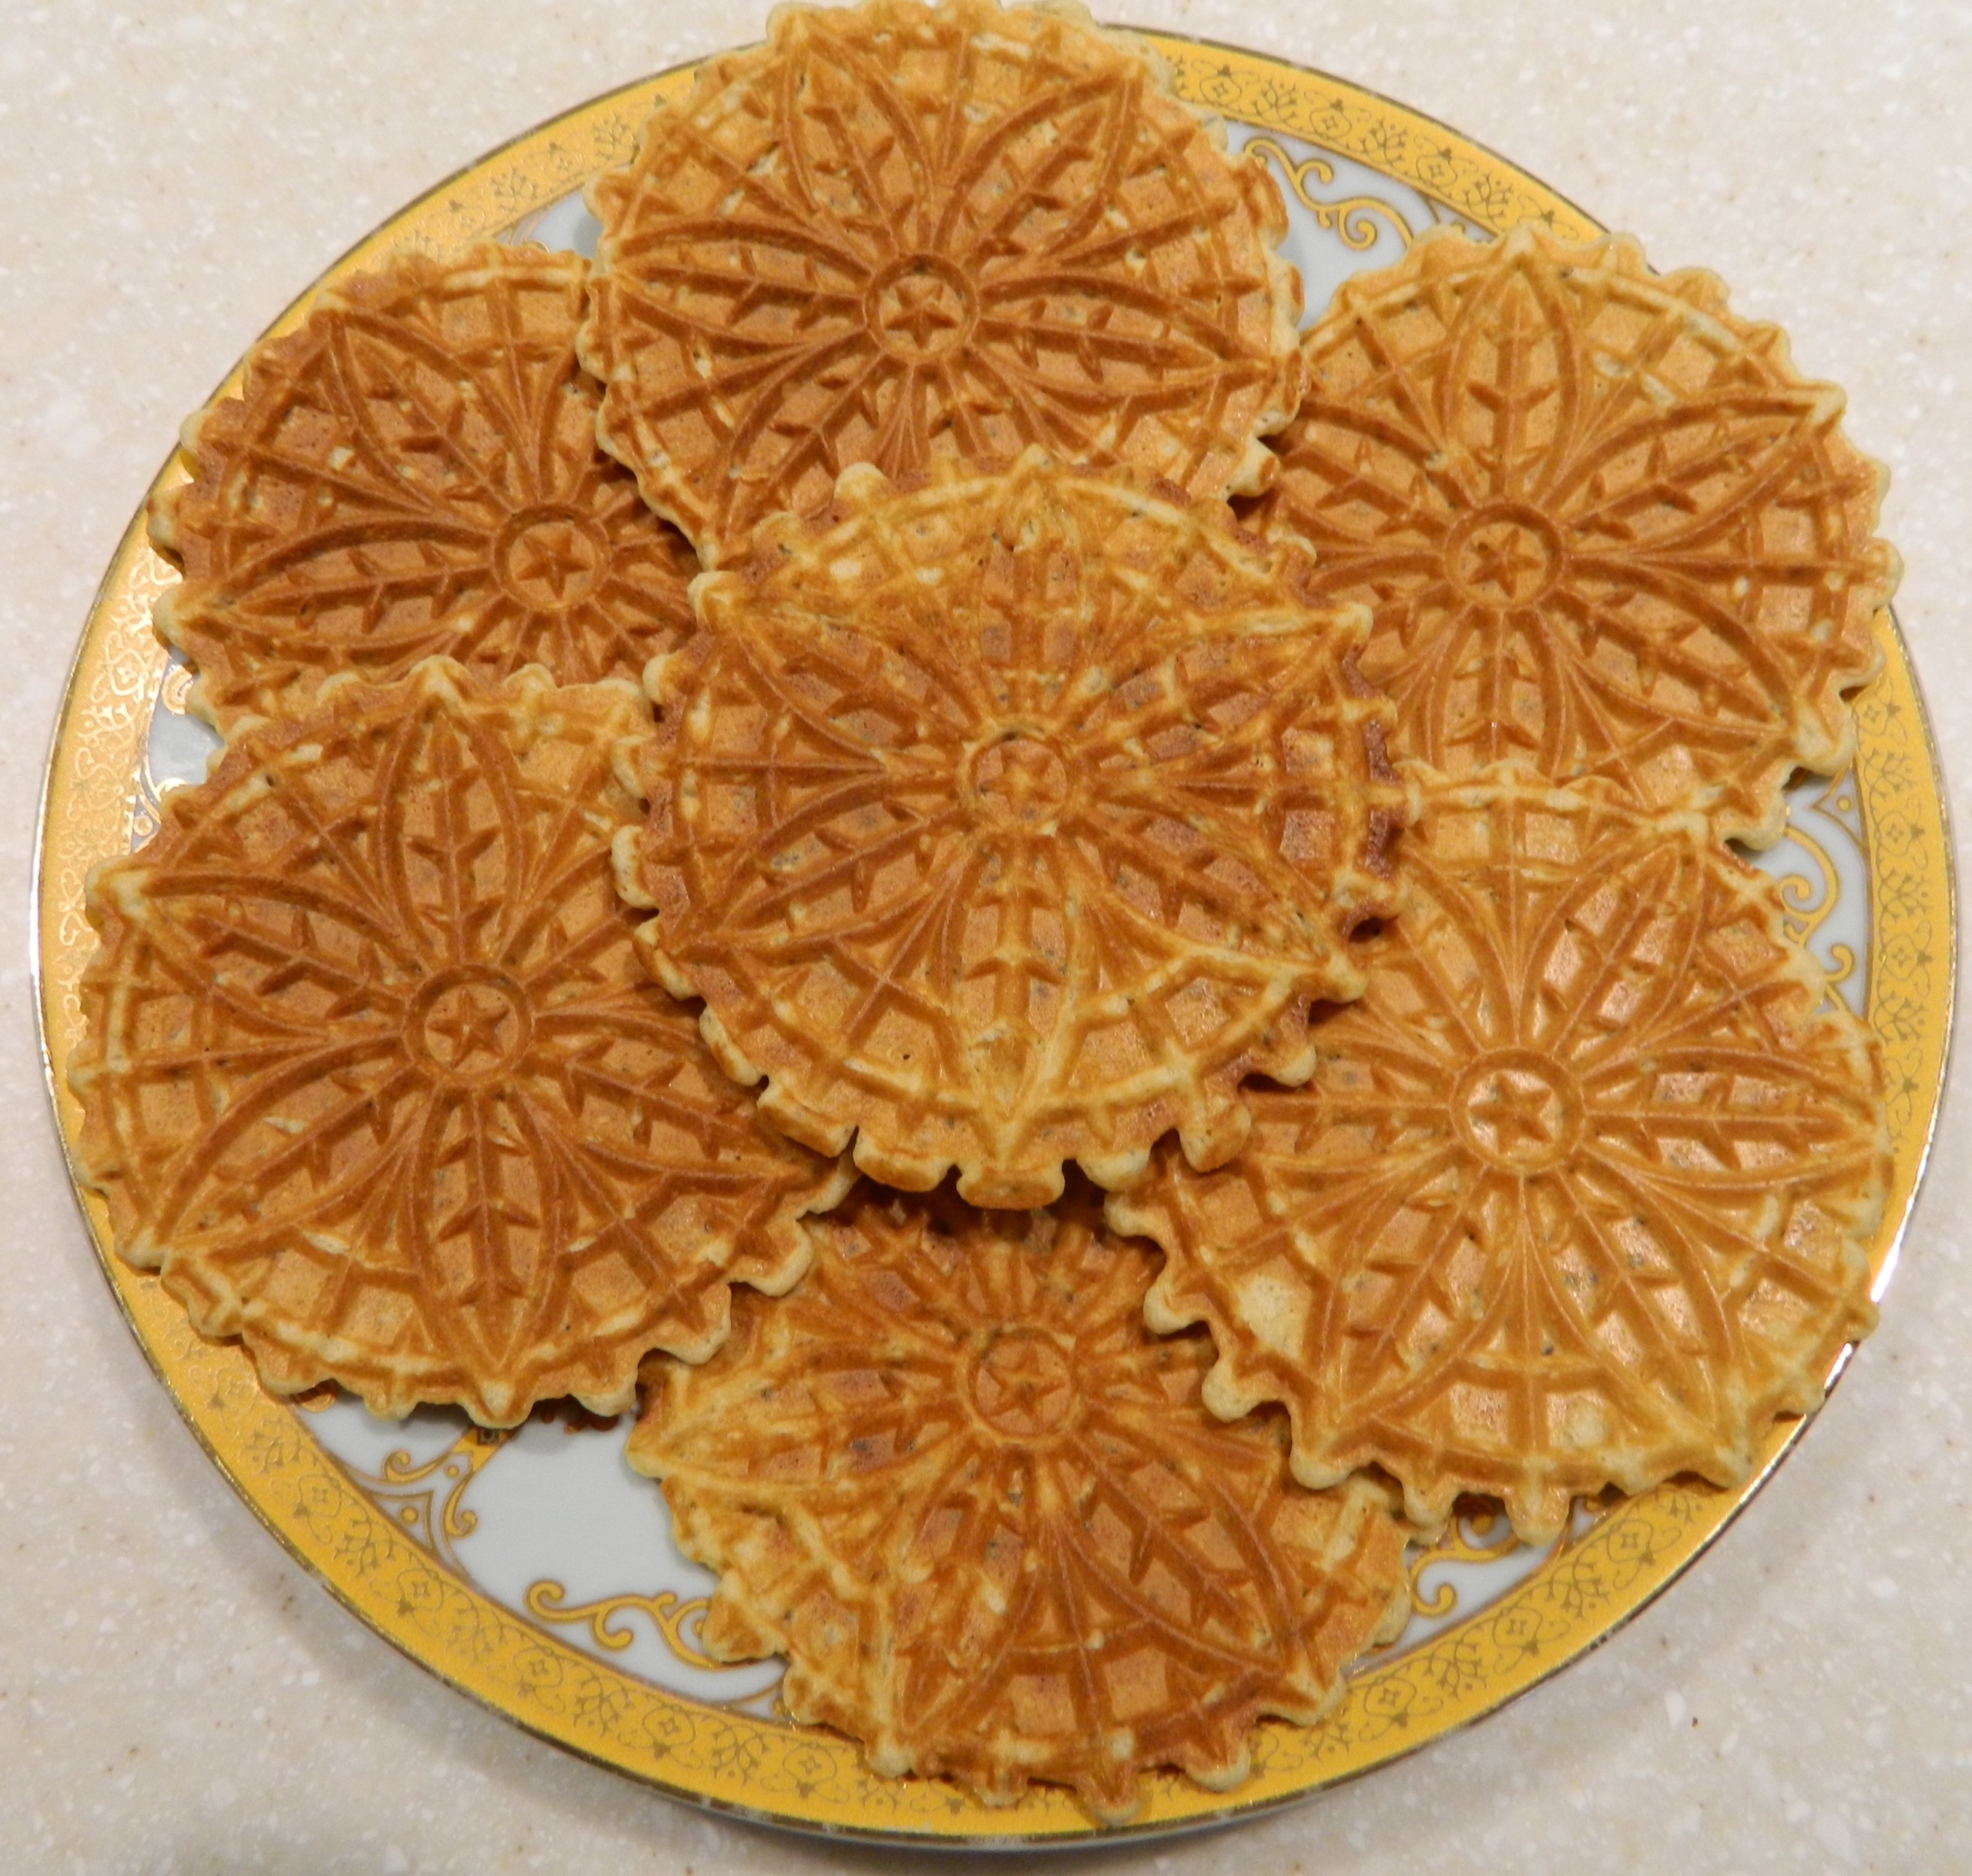
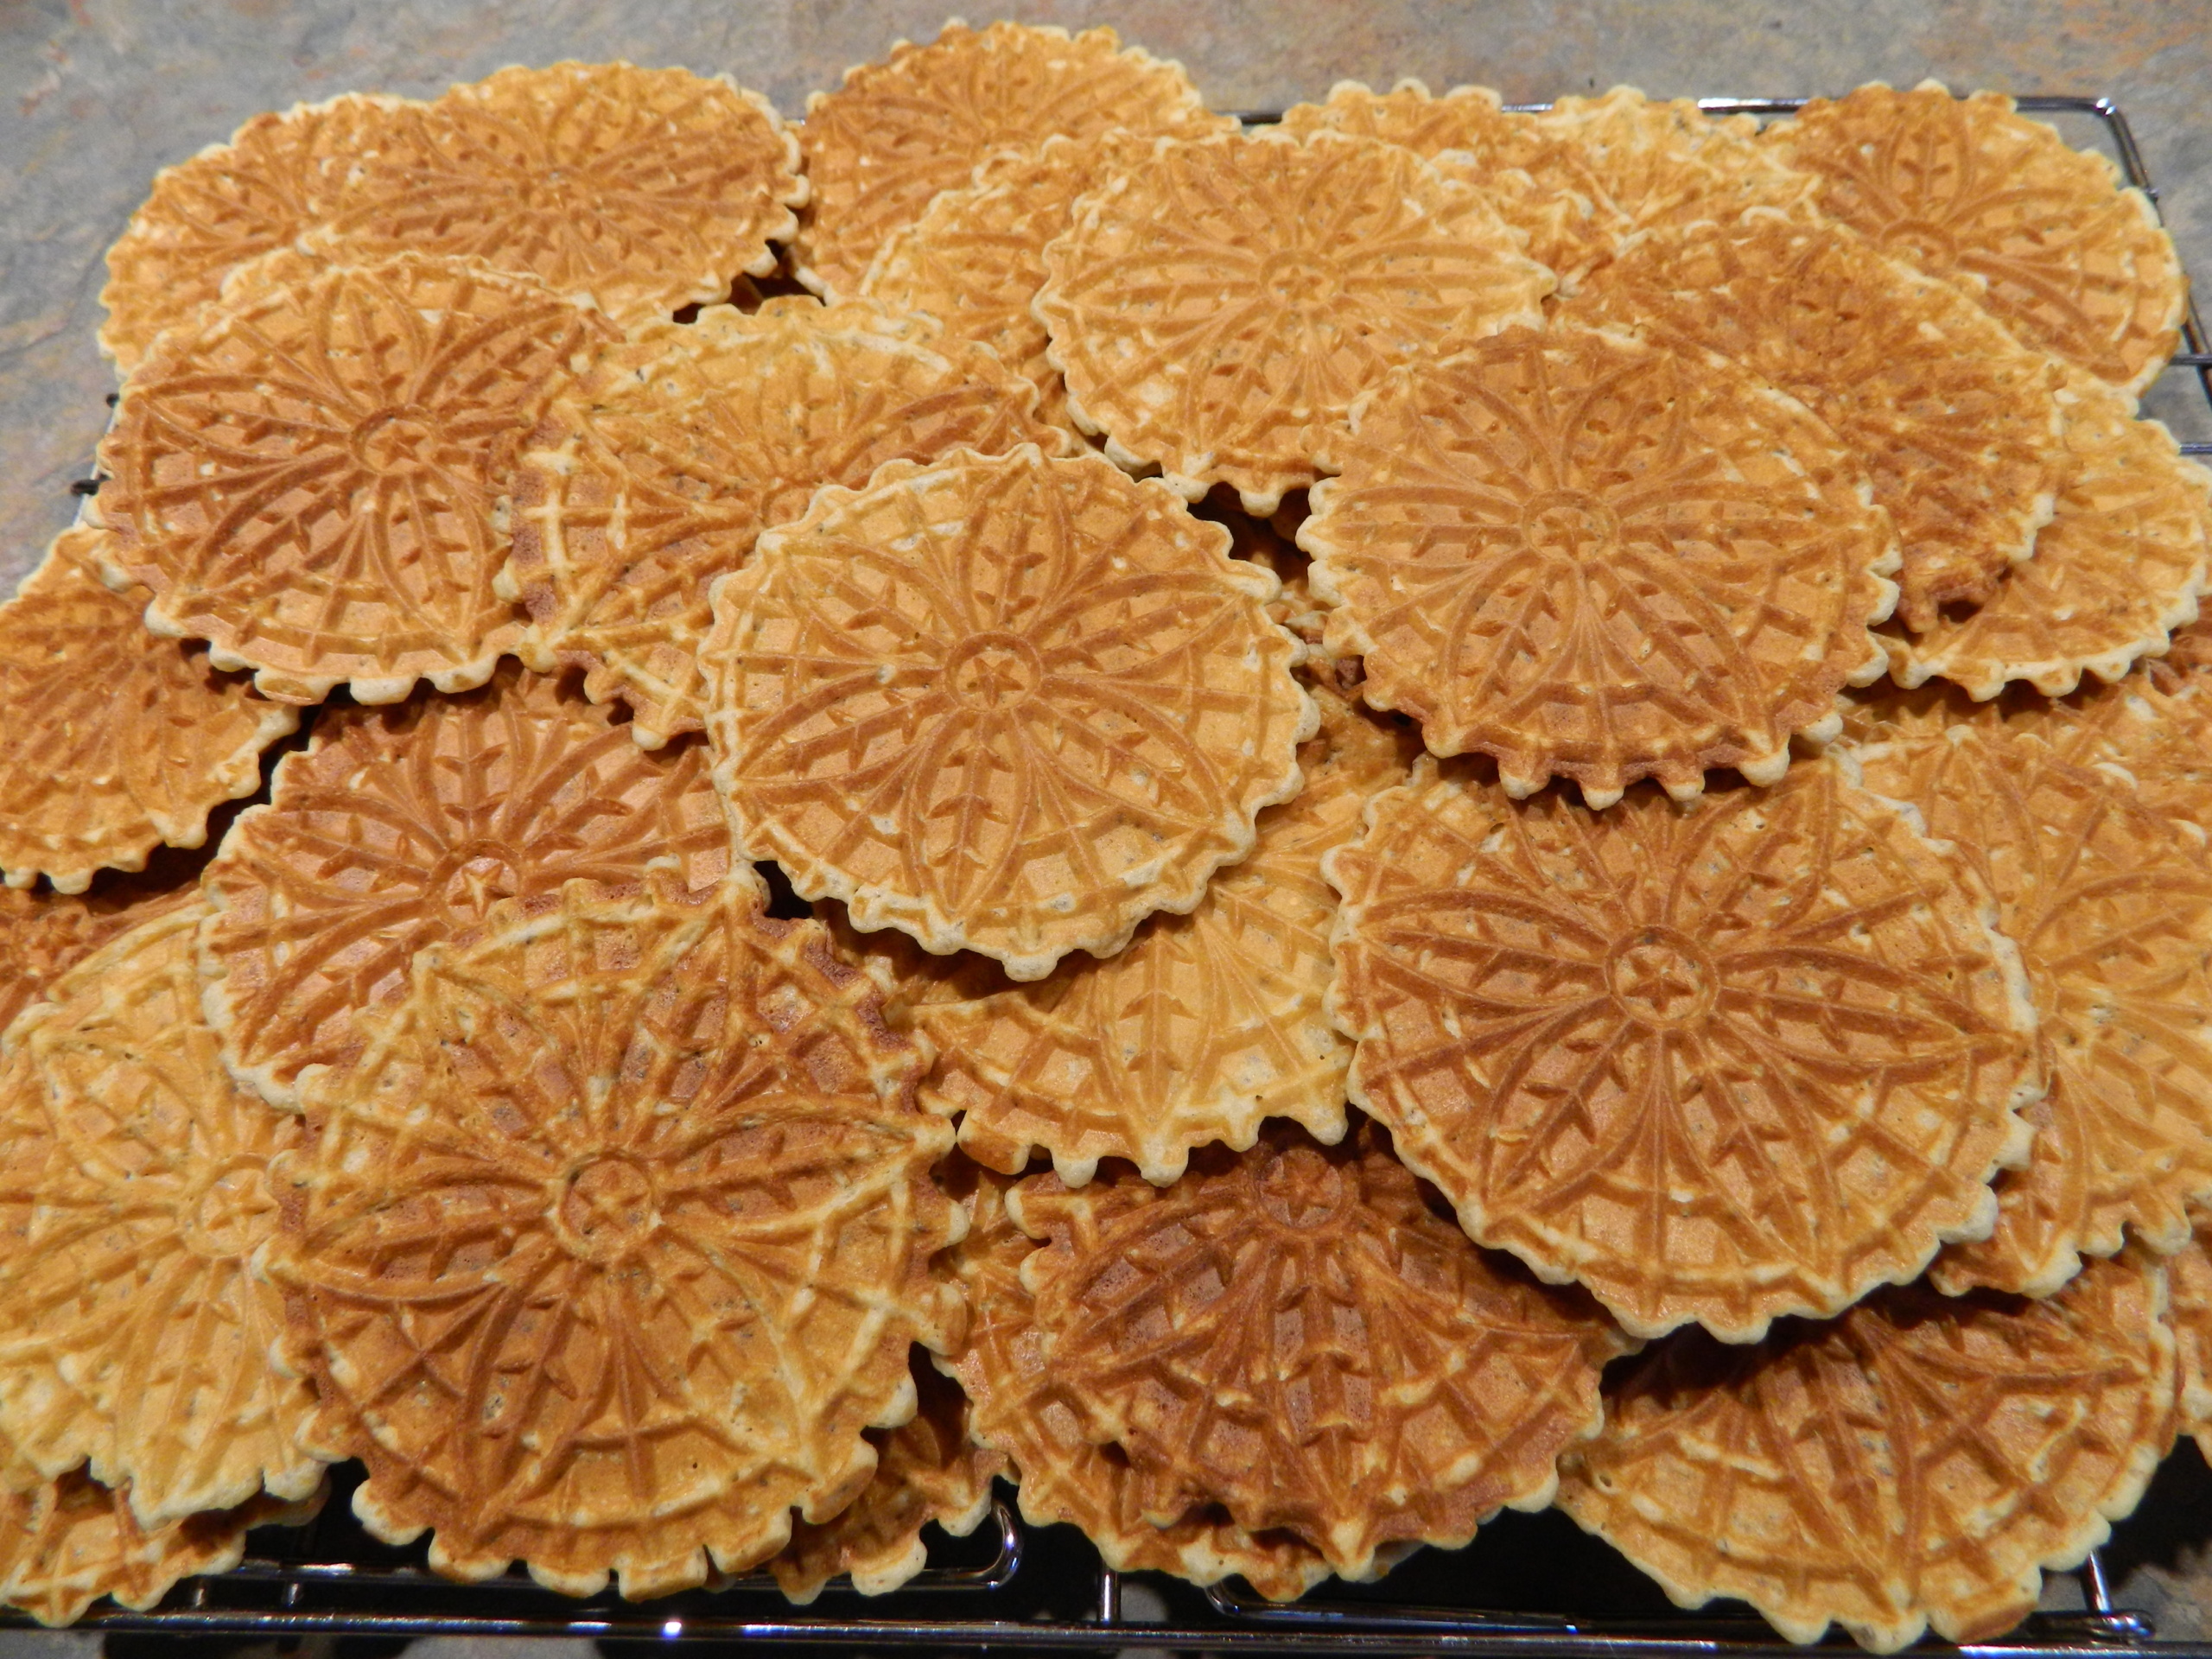
This morning I made pizzelle with white sourdough. I like to refresh my sourdough several times a week to keep it strong and healthy. That way, I end up using my sourdough discard more often. Sourdough pizzelle and sourdough crackers come to the rescue. Kids love them, and they never go stale in my house.
This recipe immediately became my family’s new favorite snack. I am happy to share this formula with you.
Ingredients:
Active white sourdough (refreshed the night before) — 250 grams
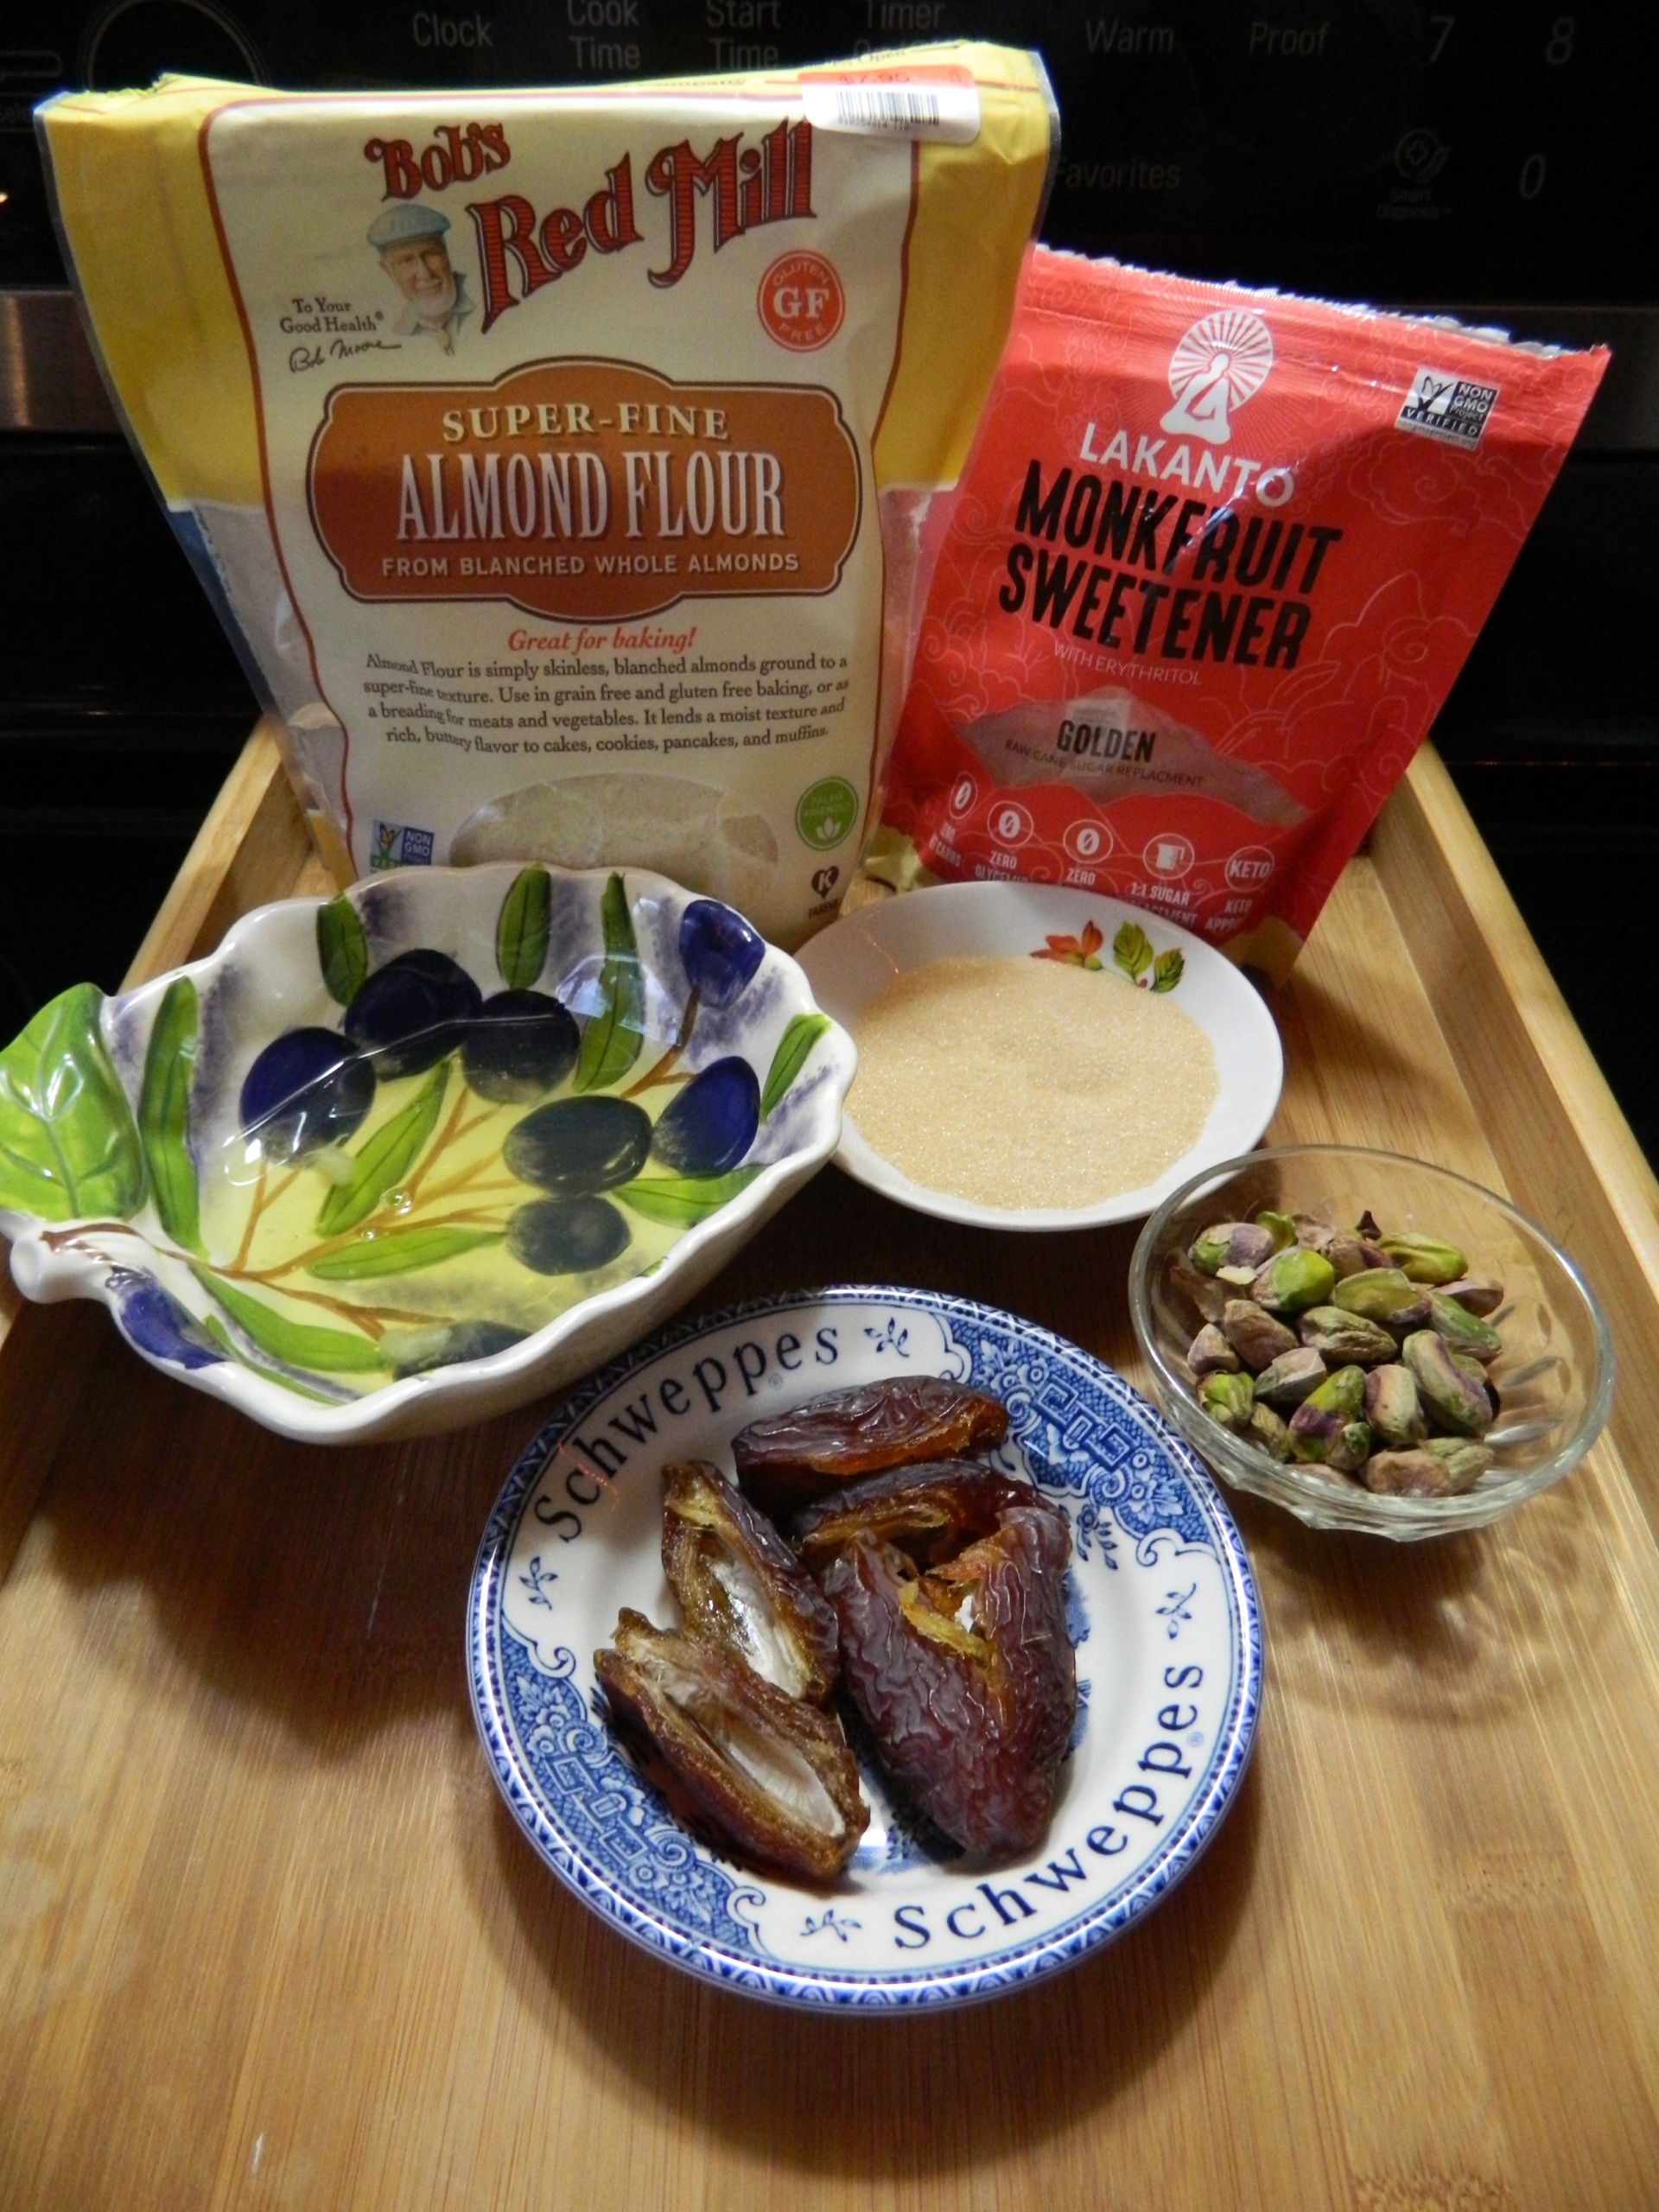
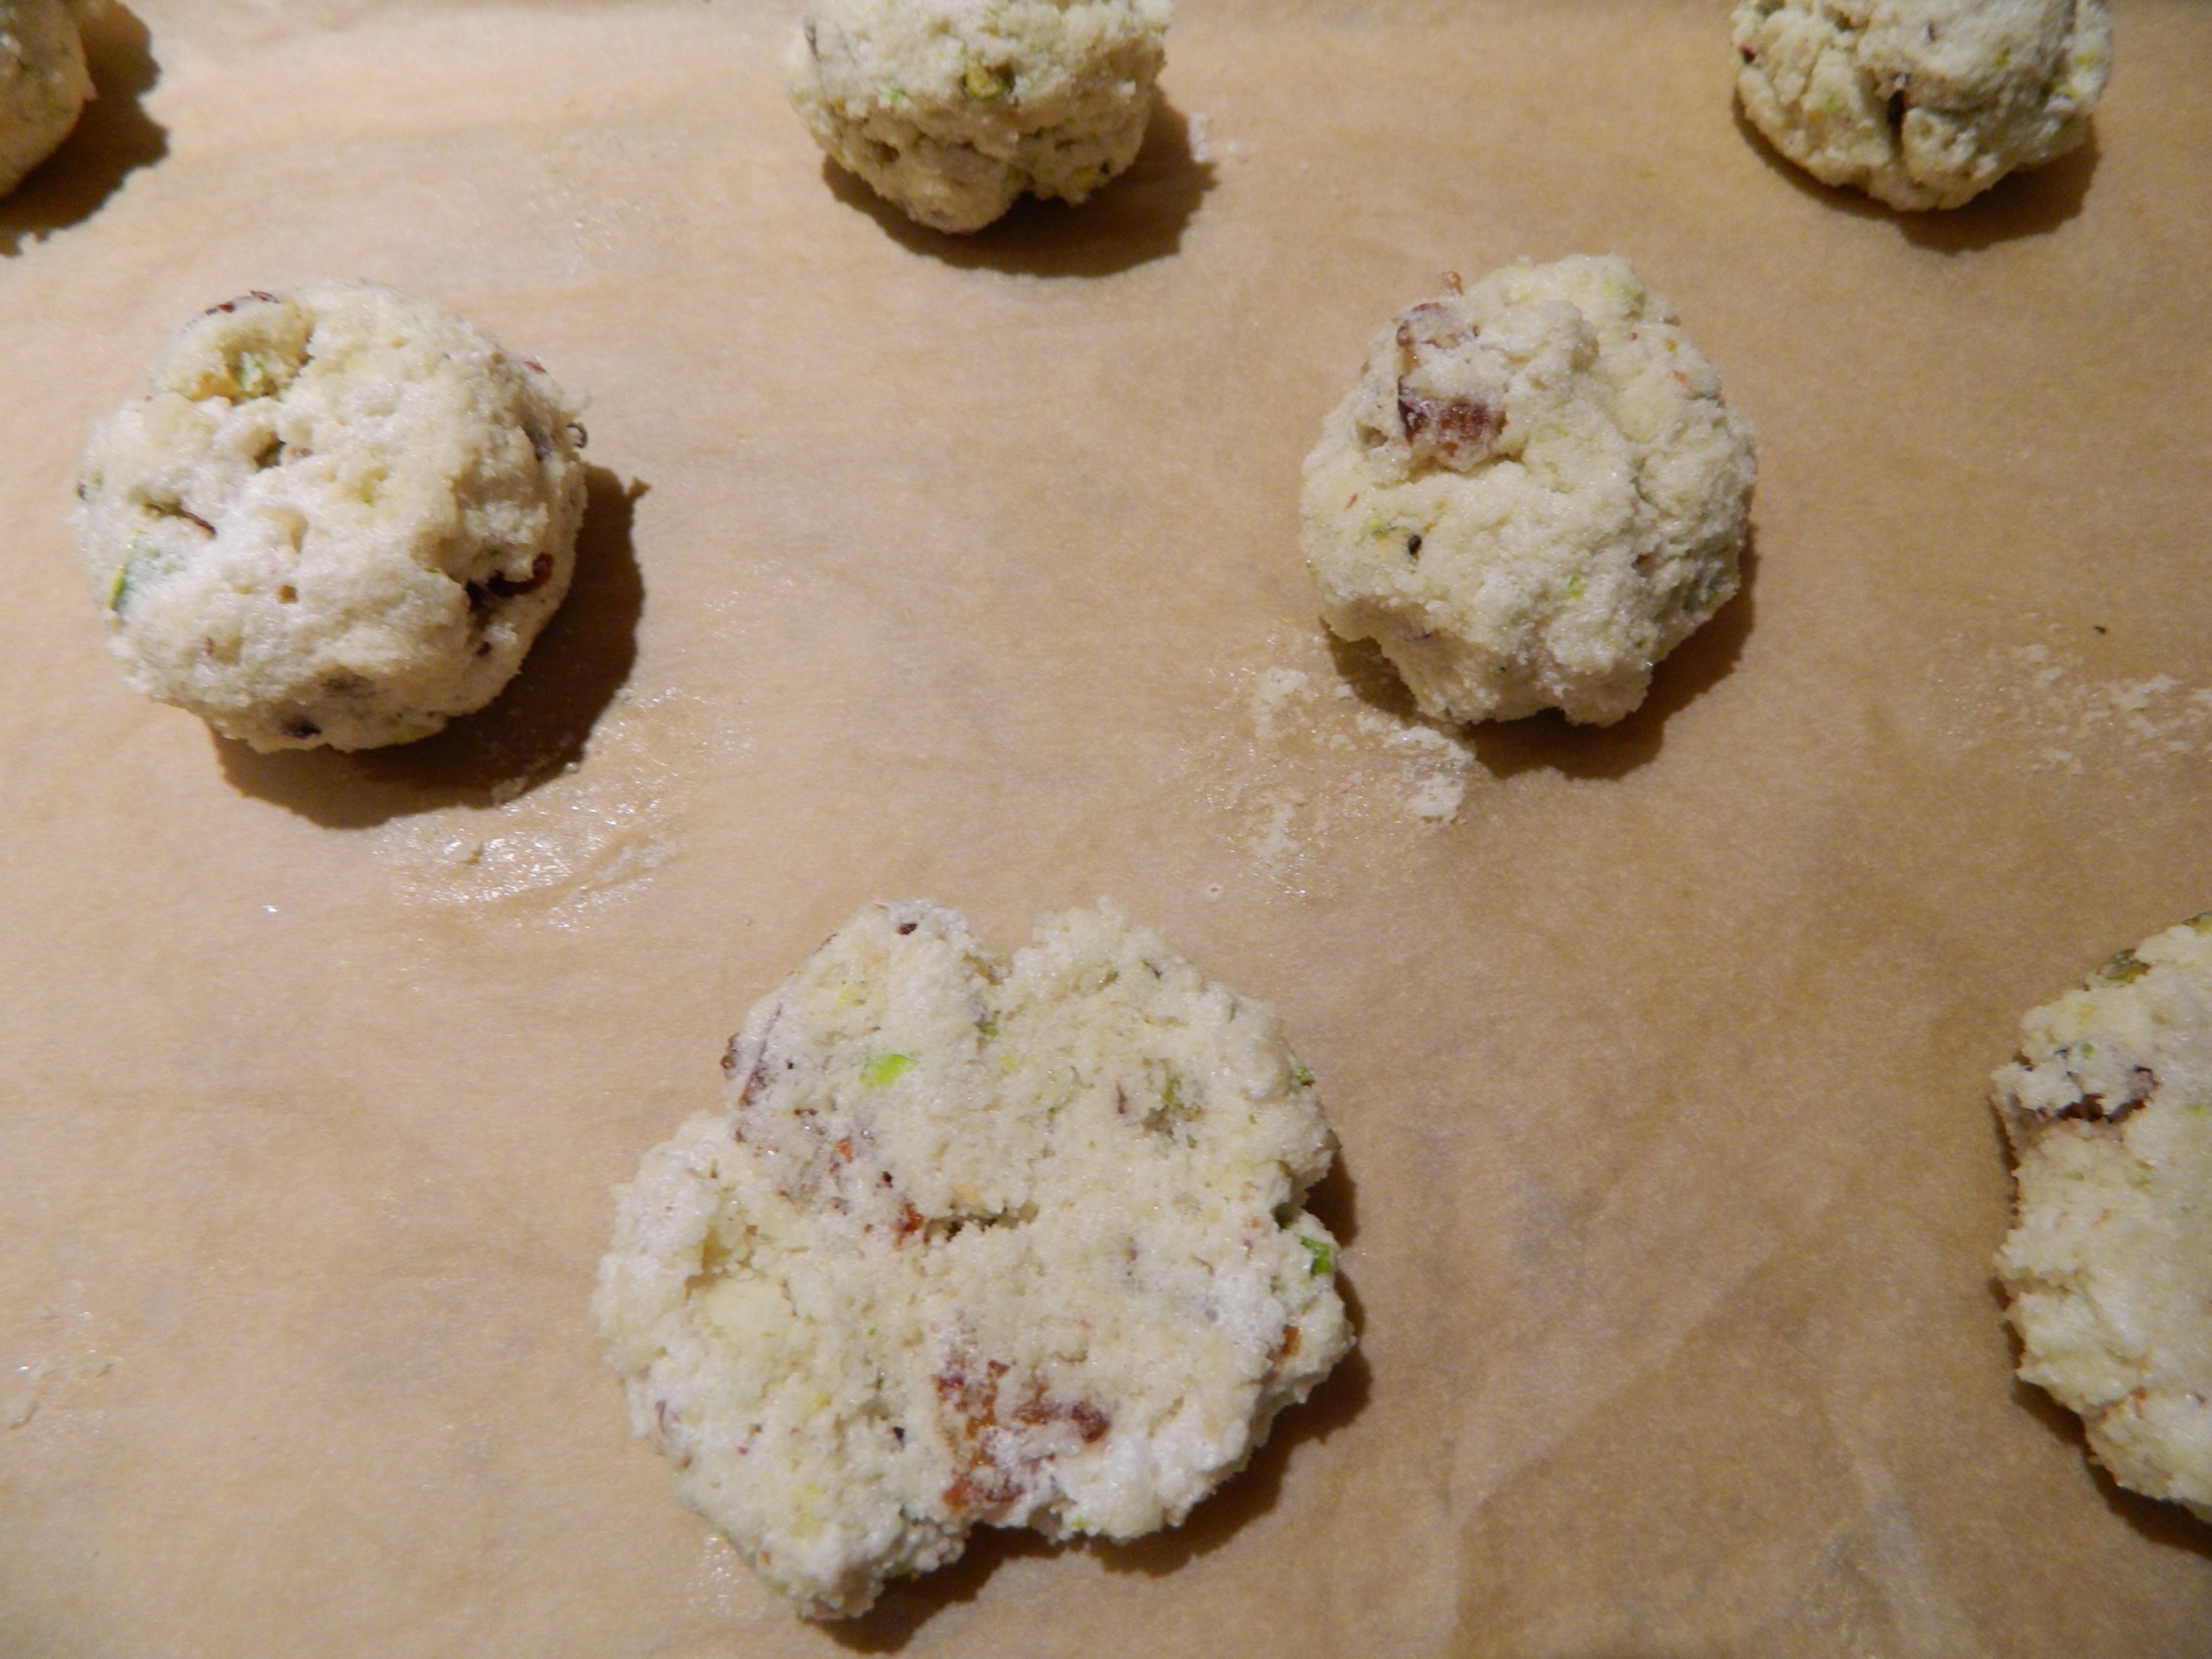
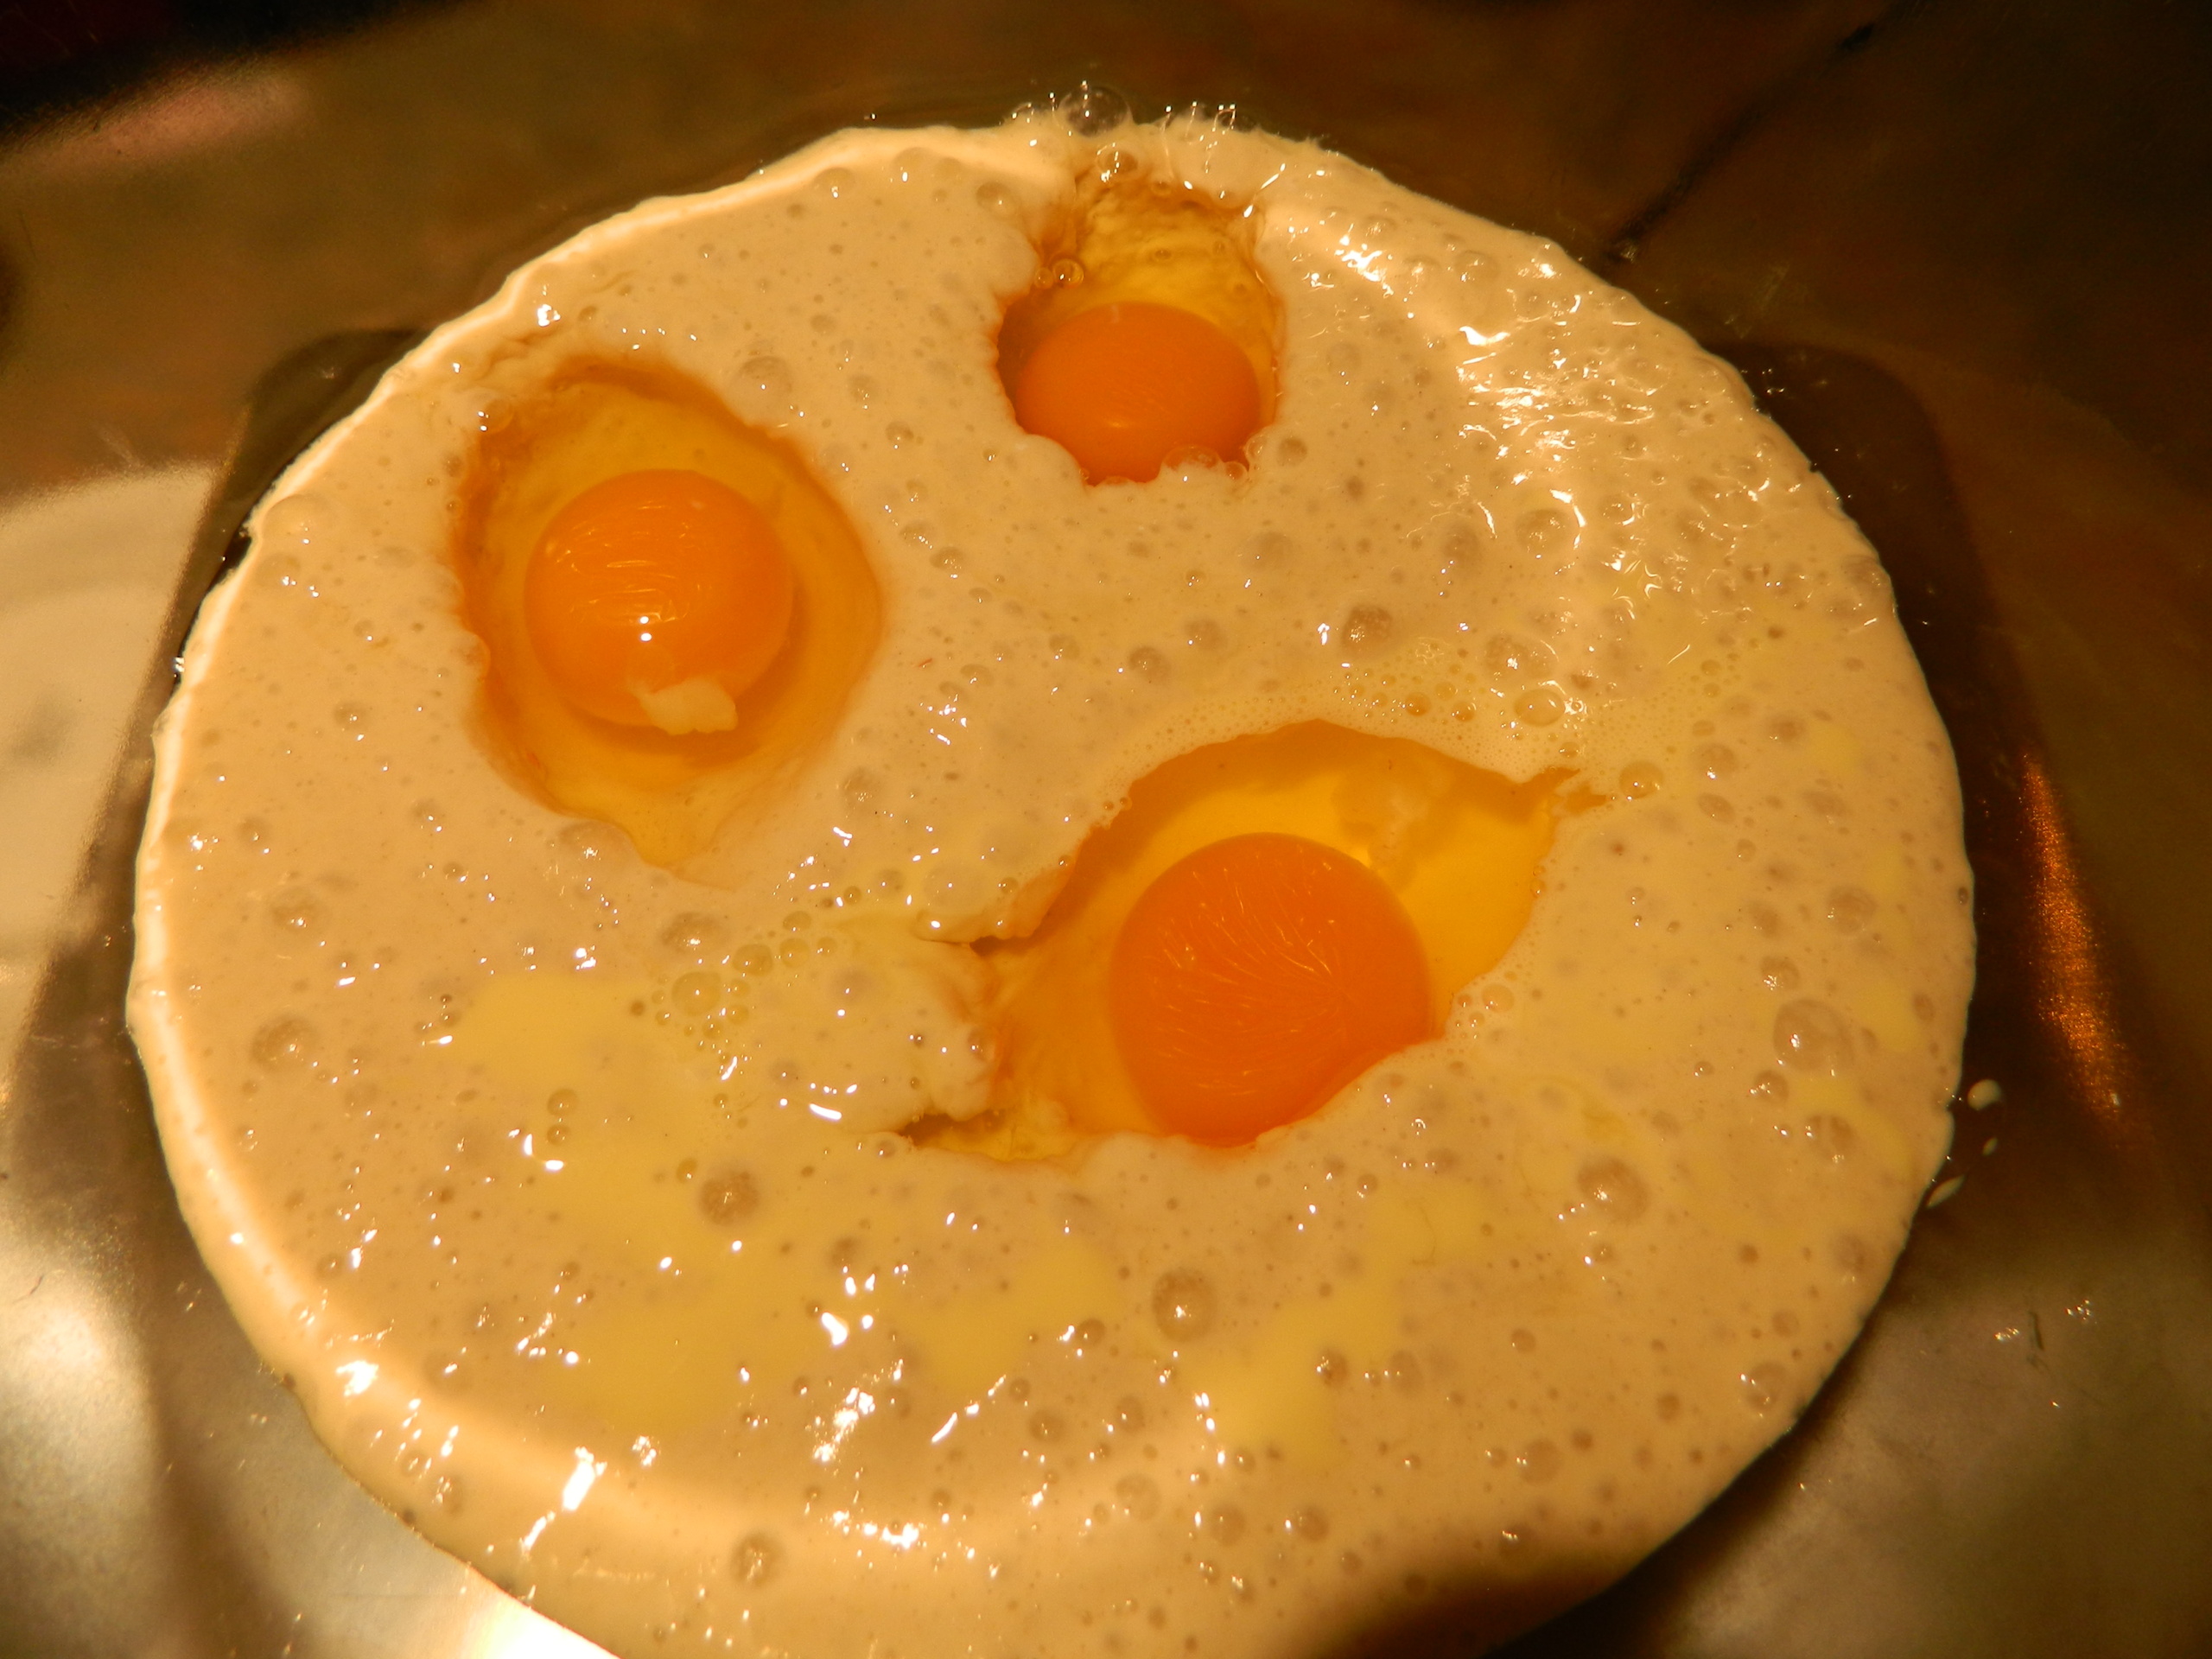
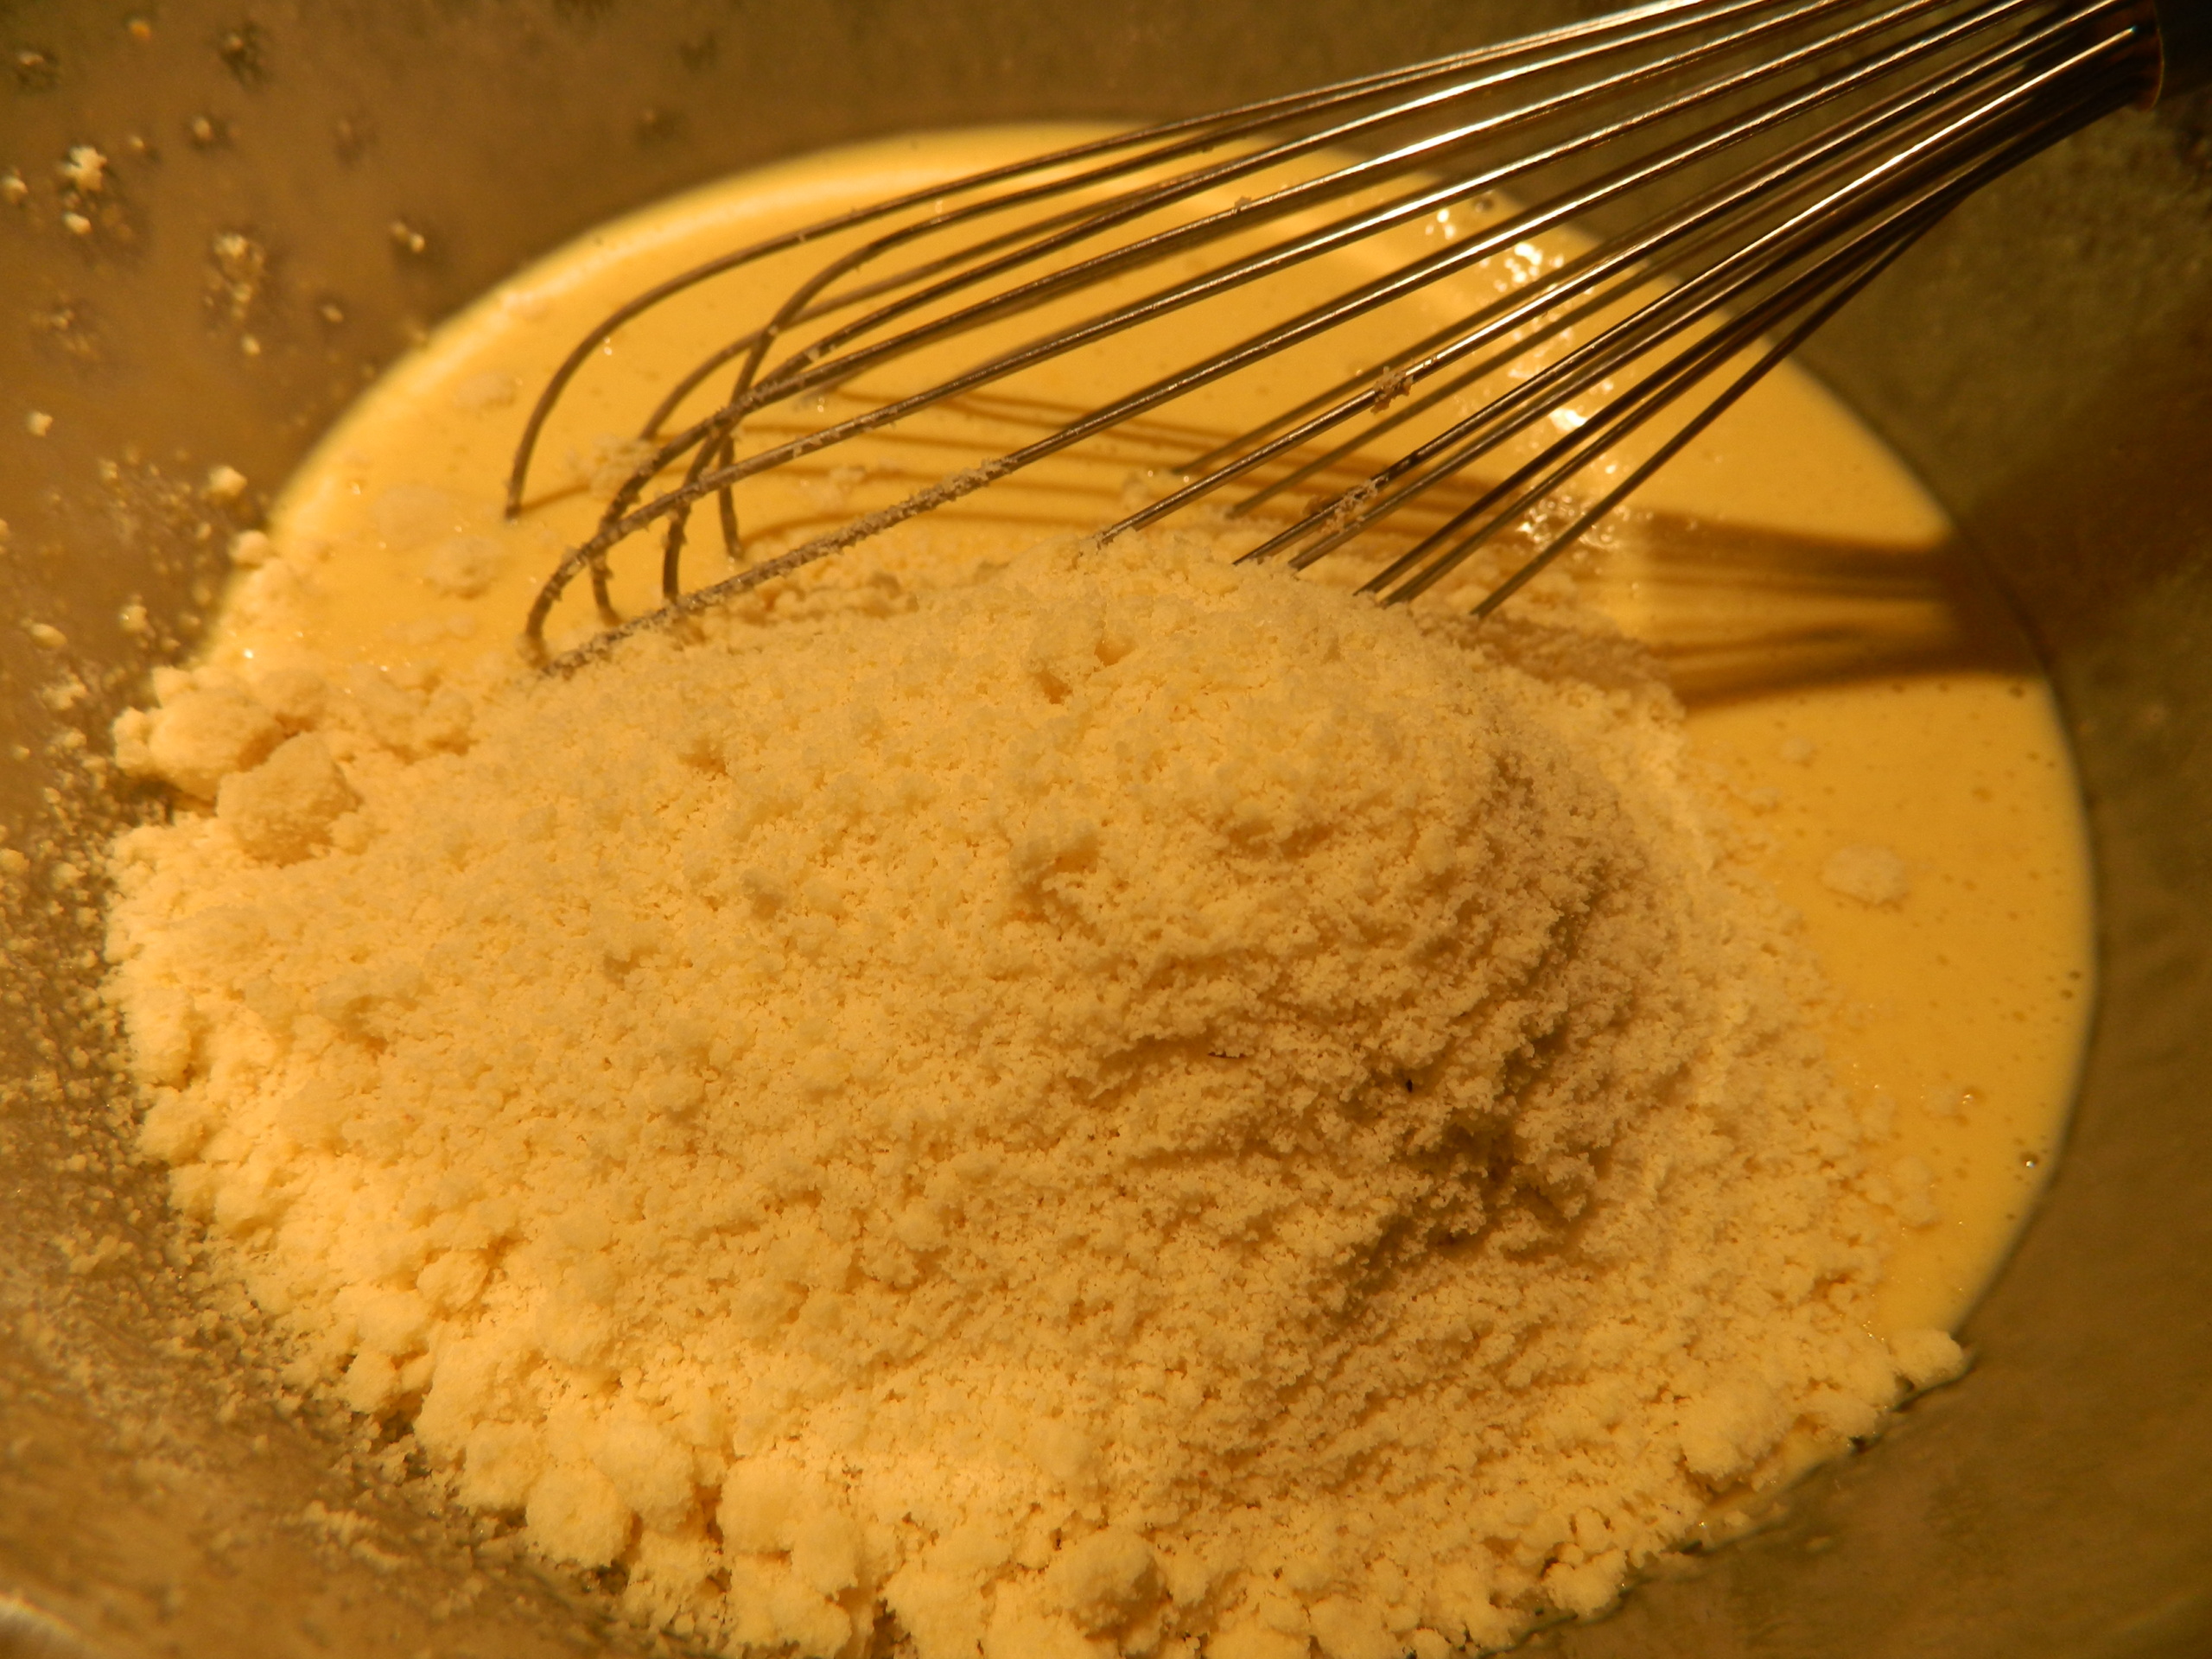
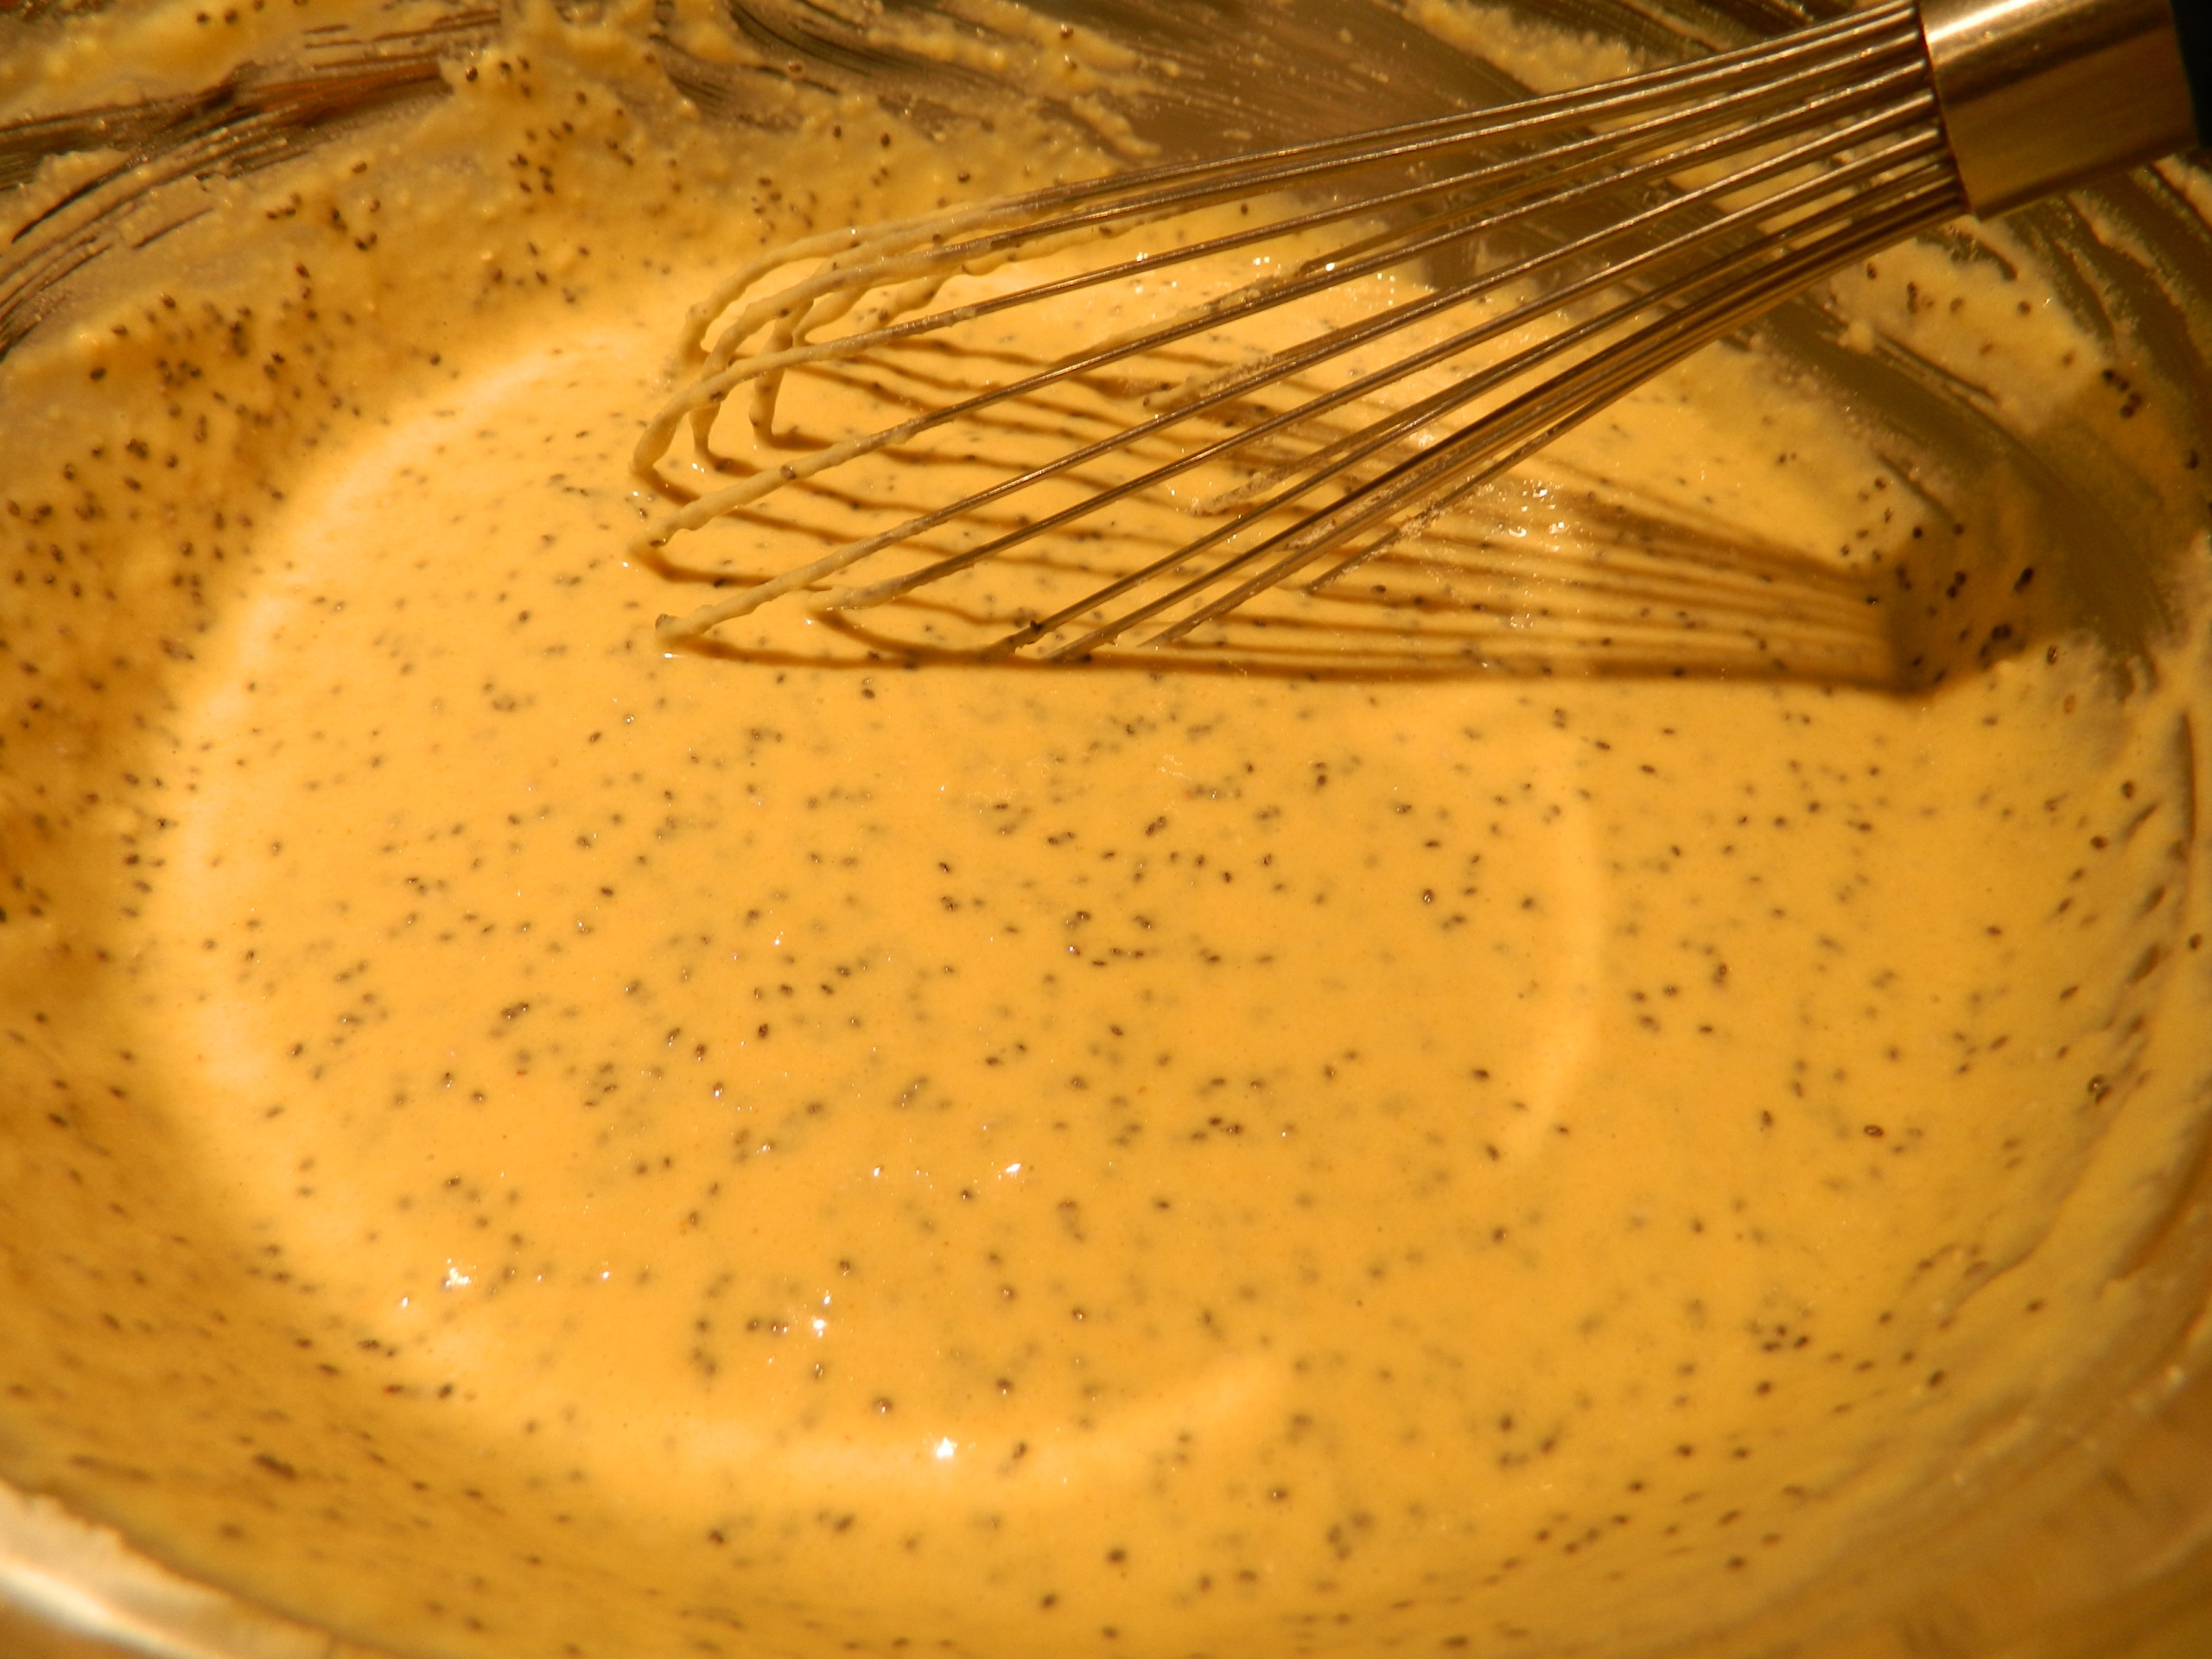
First, start combining your liquid ingredients and salt. After that, add almond meal. Whisk everything well. Then gradually add sprouted wheat flour. Finally, add chia seeds. The batter is ready.
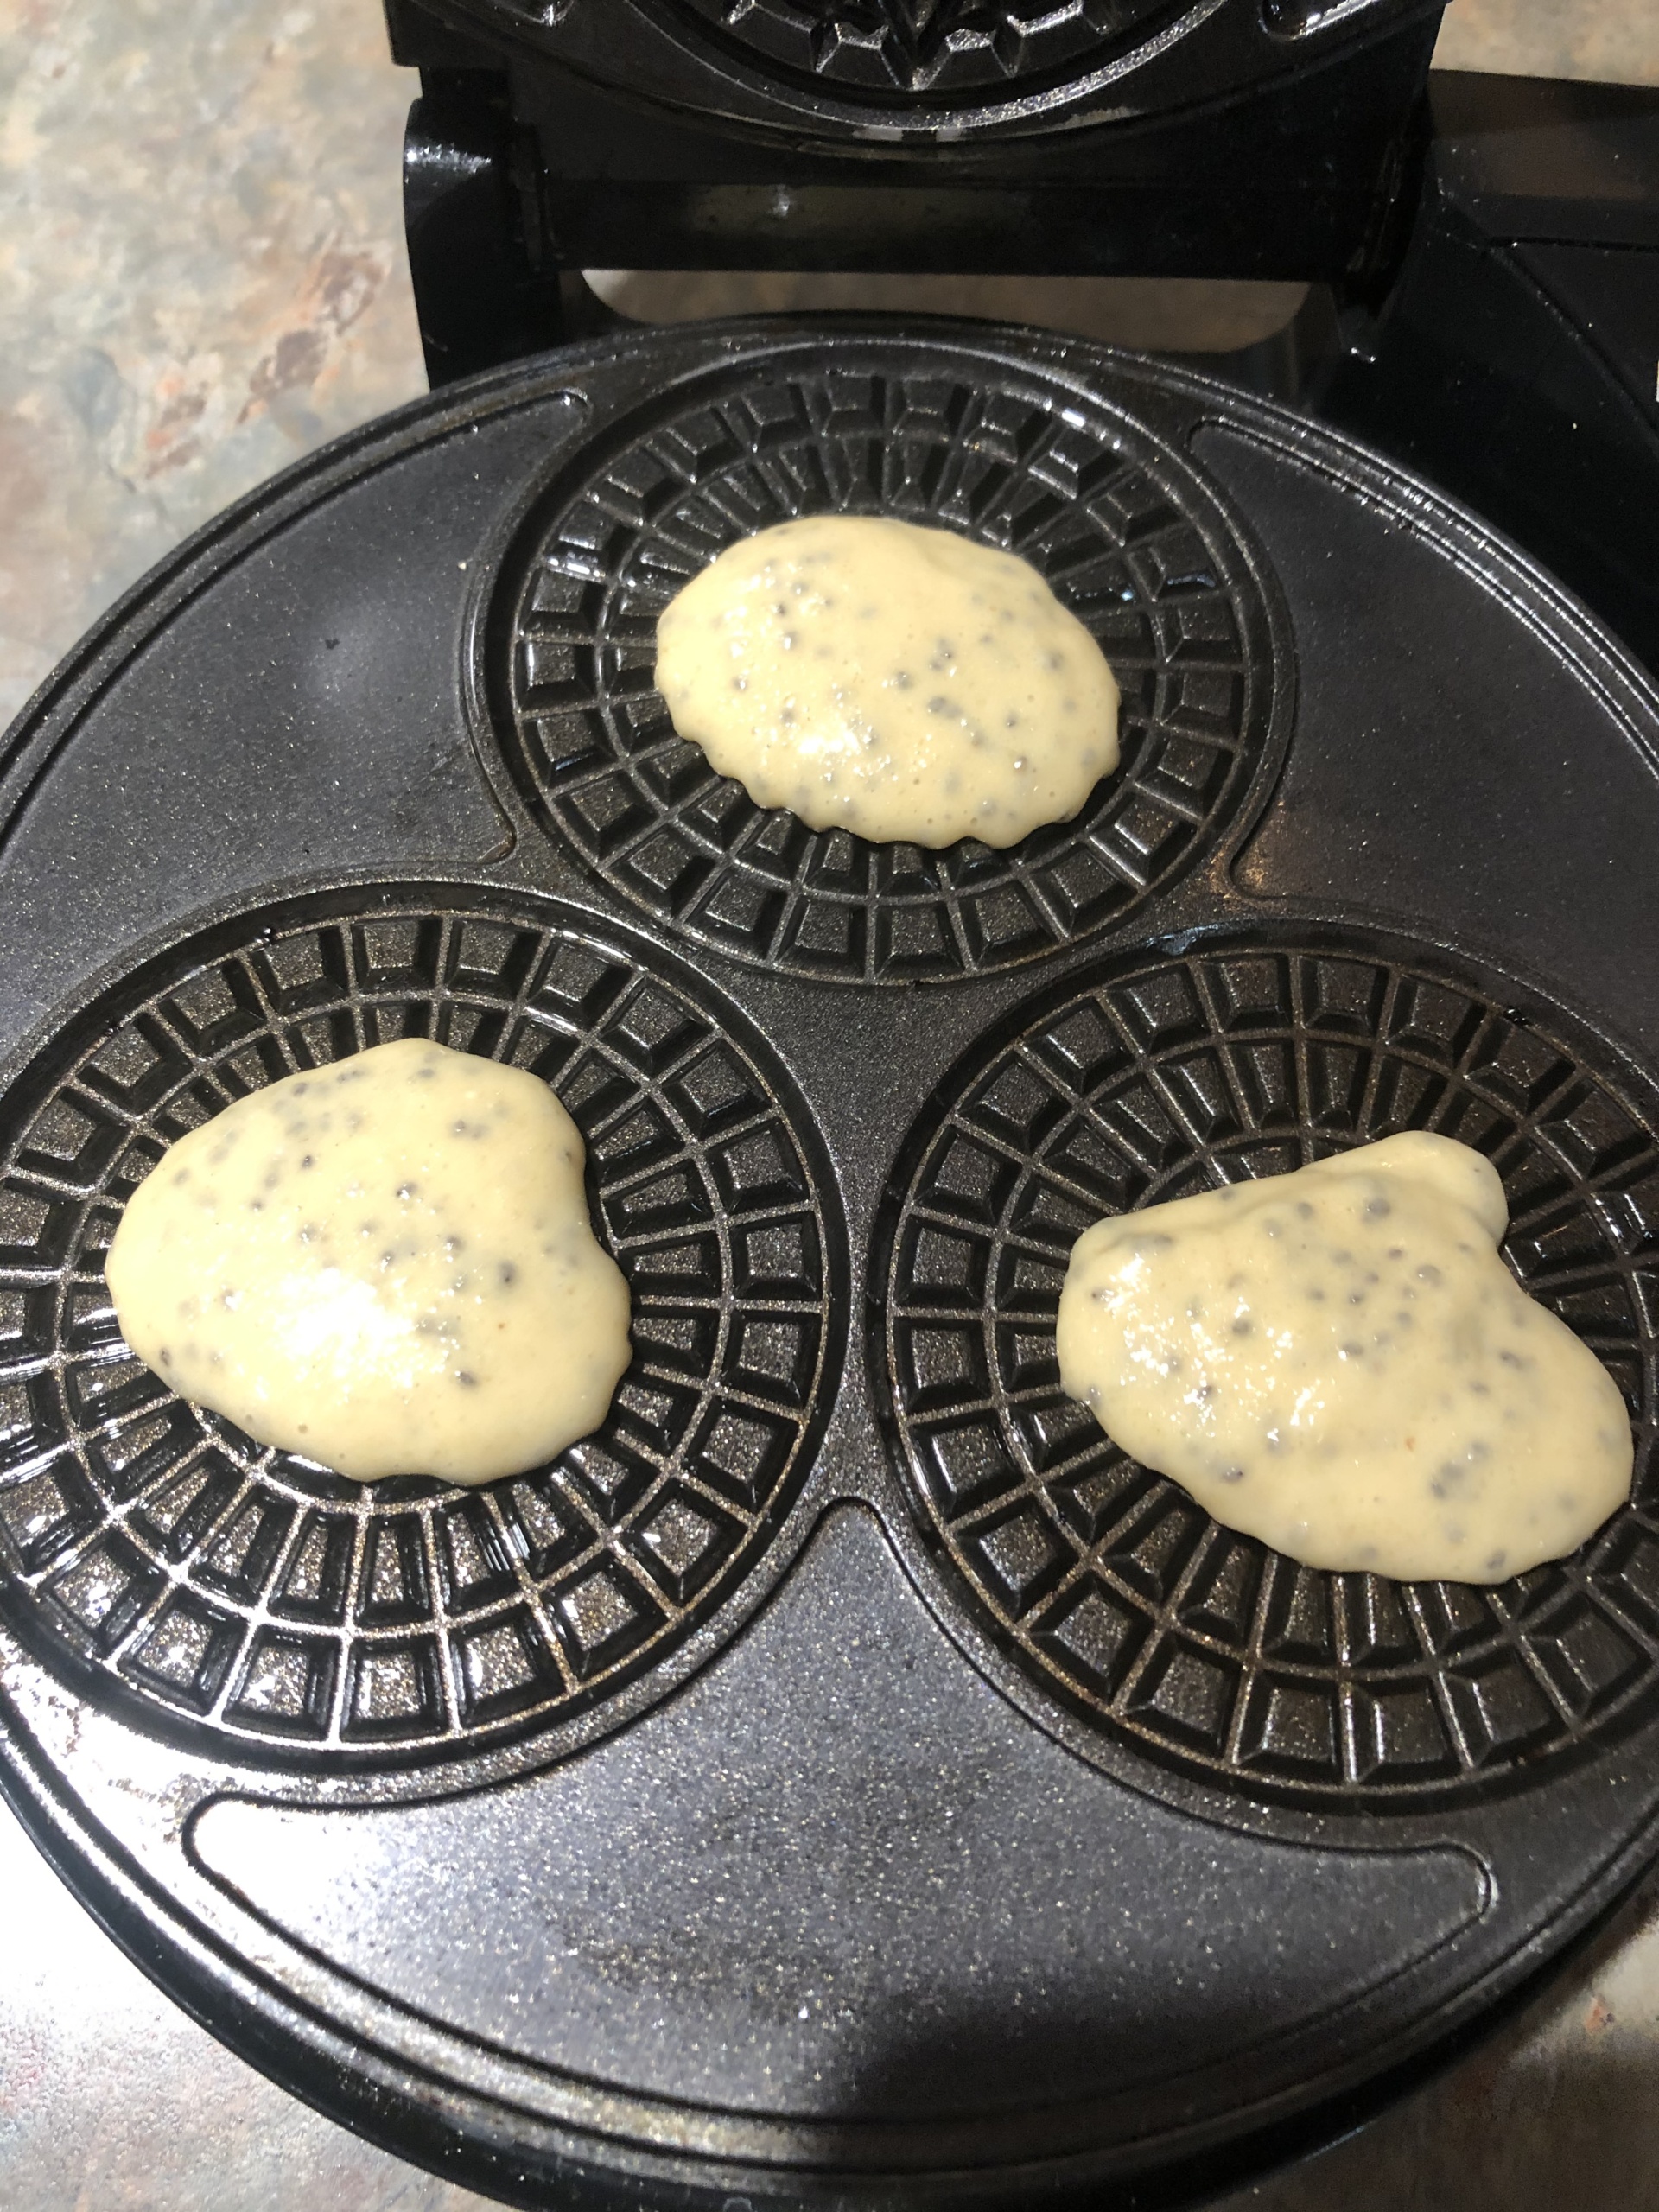
Your pizzelle maker will take care of the rest. Enjoy your pizzelle!
Variations:
Feel free to use any sourdough discard at hand. I was refreshing my white sourdough that day.
You may substitute almond or oat milk for the eggnog from this recipe. In that case, add more spices and some more honey. Eggnog is a very flavorful sweet drink: I only added some vanilla extract to my batter.
I use sprouted wheat flour to increase the nutritional value of my pizzelle. If you want to learn more about the benefits of the sprouted grains, check out this website. You may use any flour you have at hand.