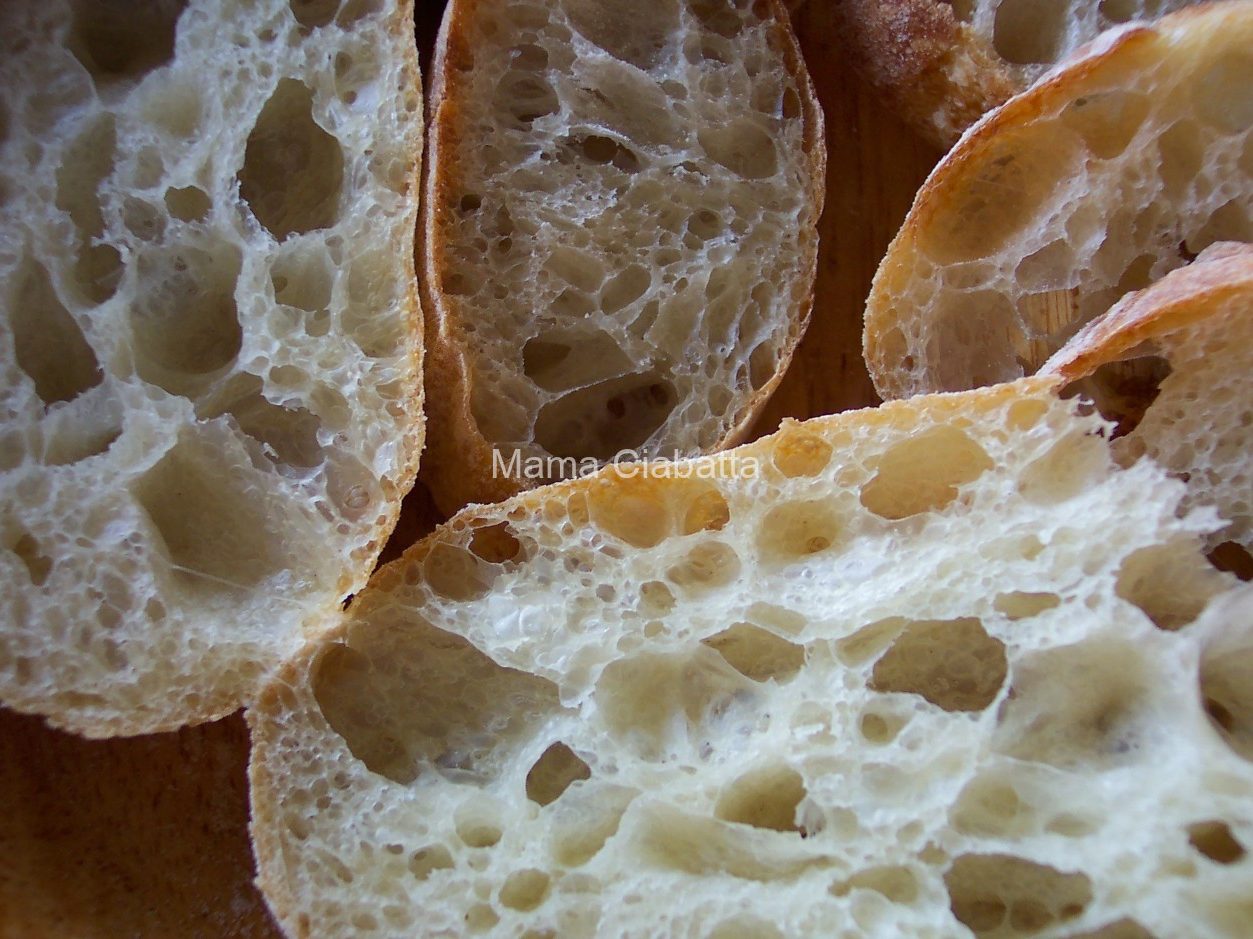

In my bakery, I always had mini bread made from all the dough varieties I used for large loaves. I used some of them to provide samples for my customers and to give to my kids.
One morning I used my sourdough discard to make just one mini bread. I baked some other bread that day, so I did not use the oven just for that little bread. I added a few raisins, a little coconut sugar, and enough organic sprouted wheat flour to make the dough. I let it rise for a few hours and baked it at 400°F (204°C).
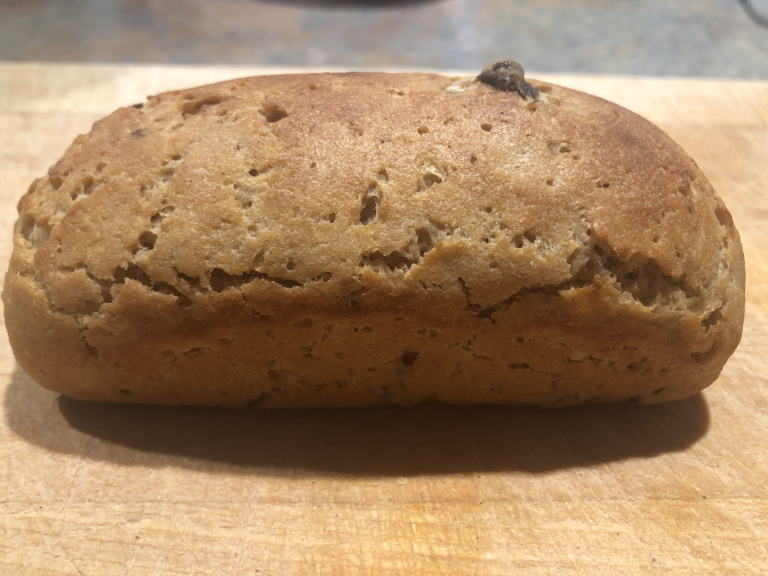
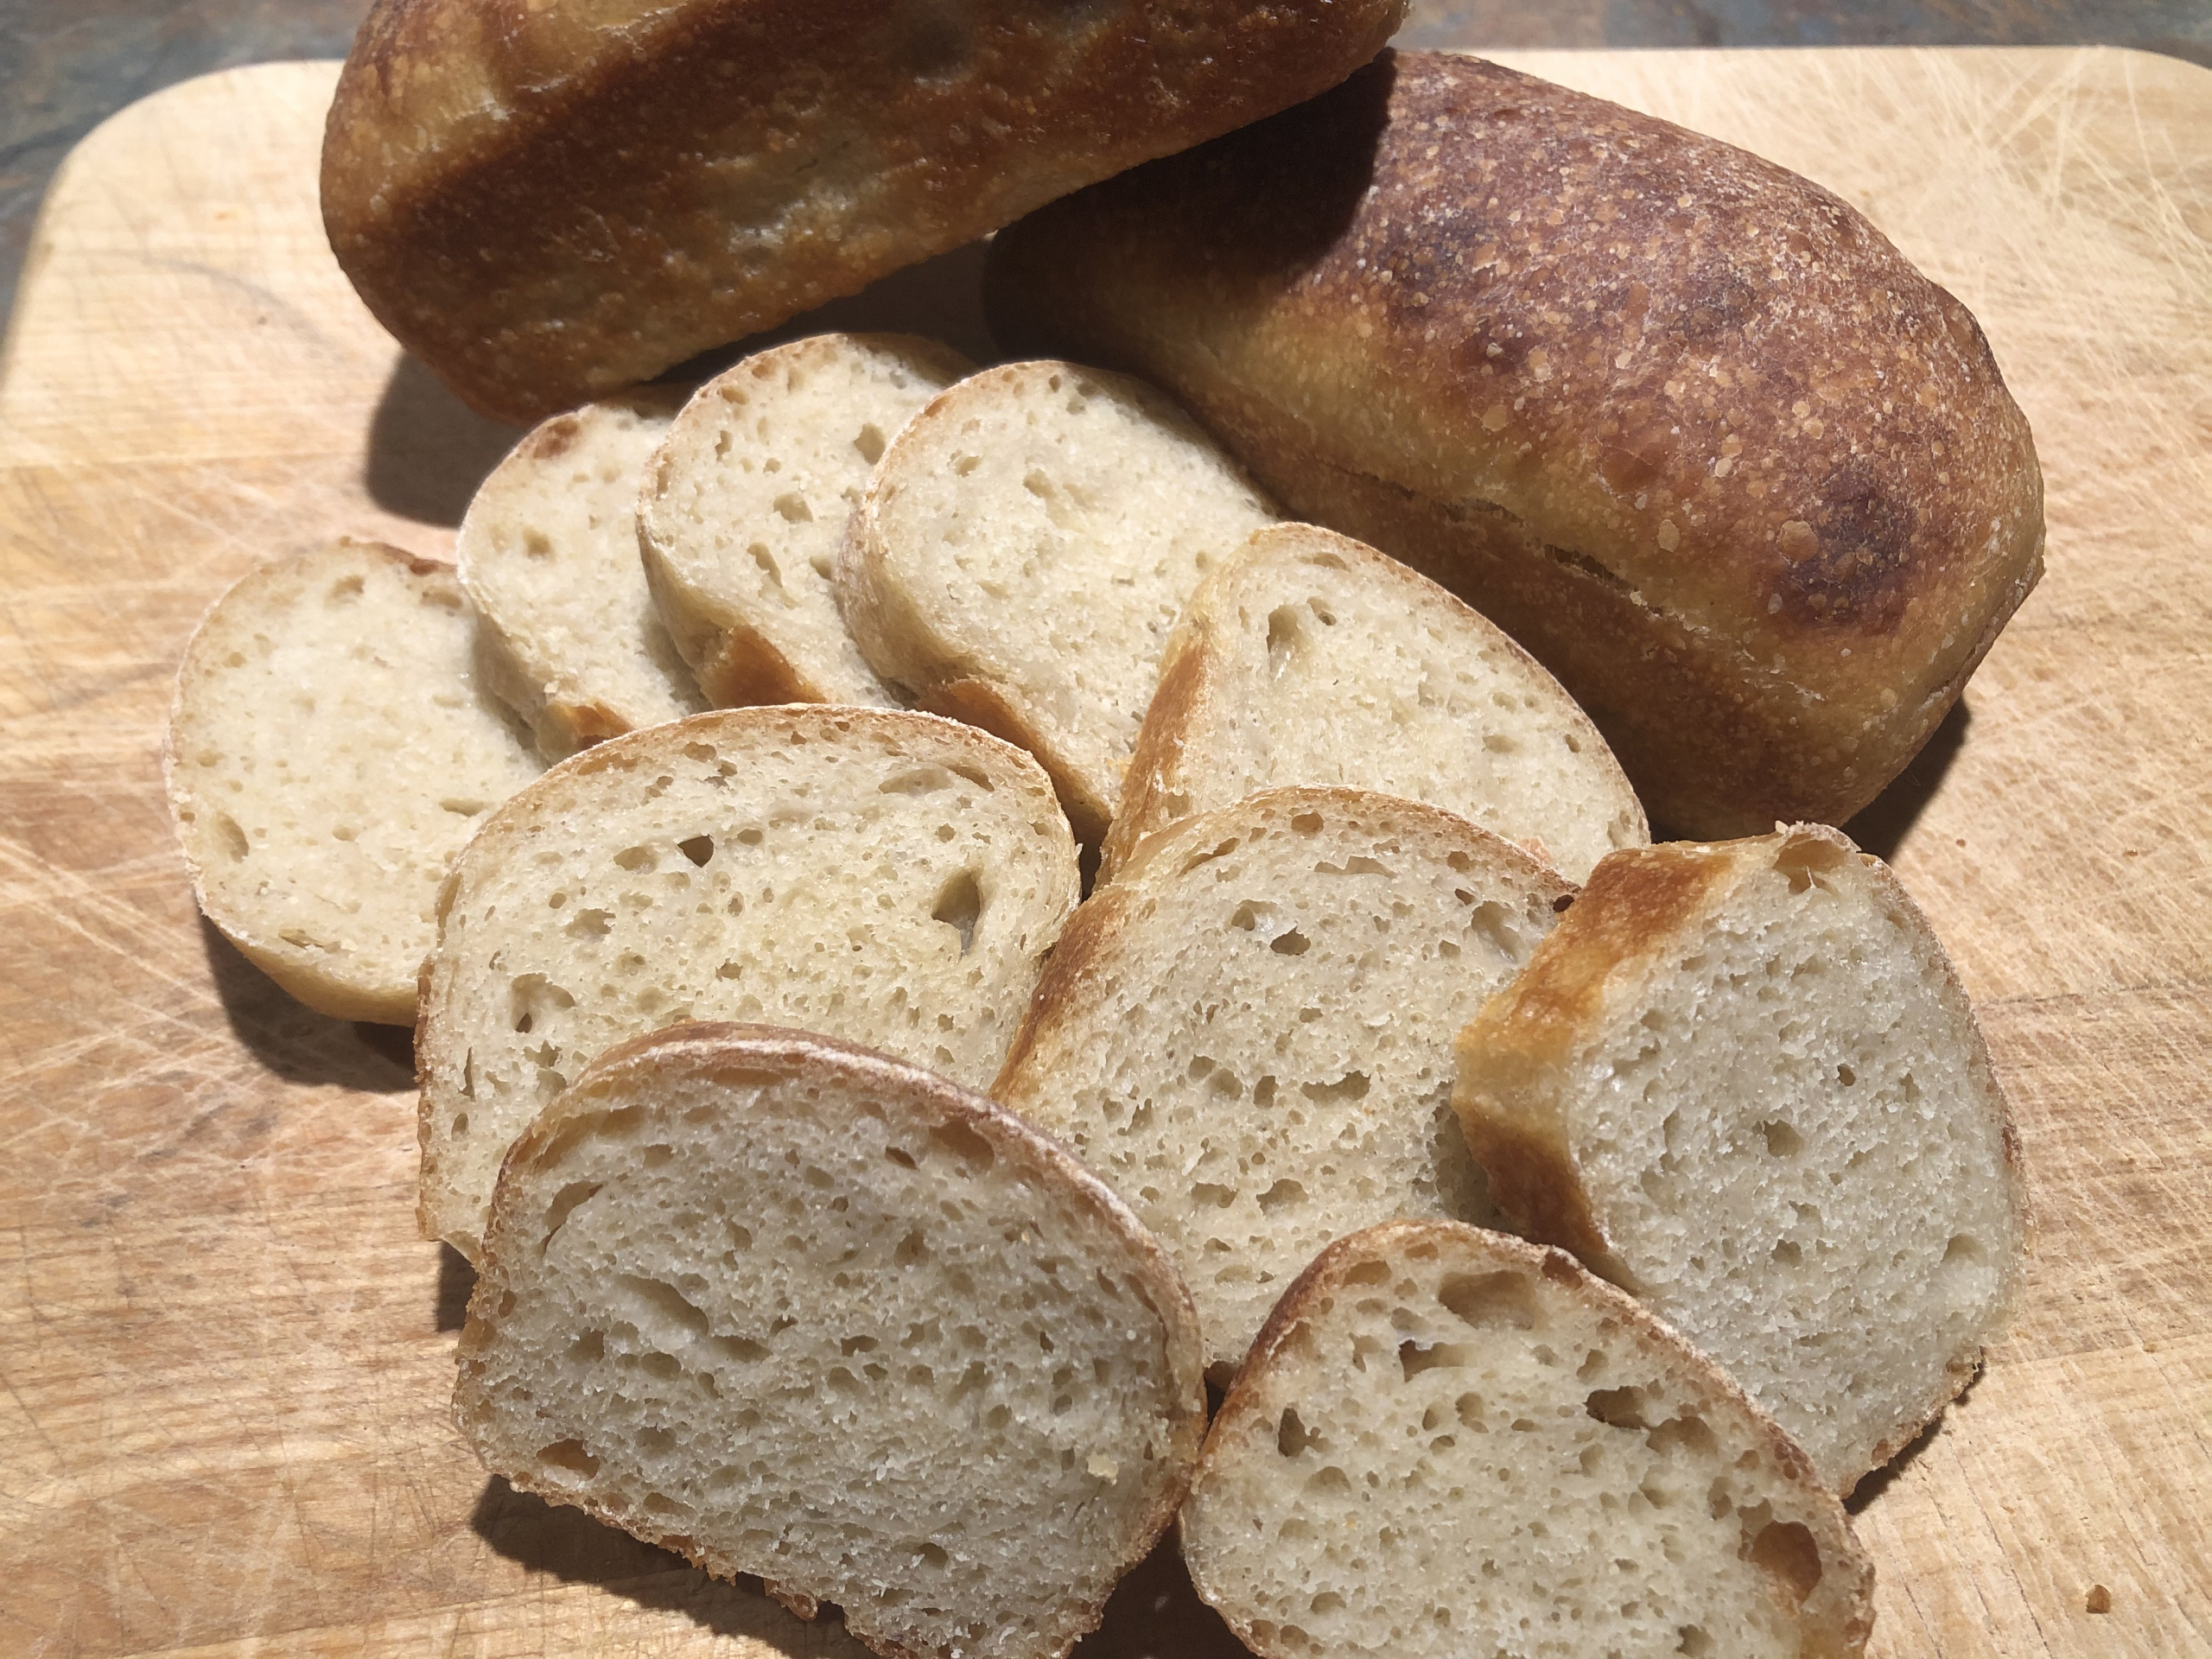
I gave this little bread to my son. He liked it very much and asked me if I was going to bake something similar soon. I thought that next time I should bake several mini loaves to last for a few days. So, to continue my old tradition of making larger bread first and then using some leftover dough for mini bread, I made the dough for pizza and used some dough for several miniature loaves.
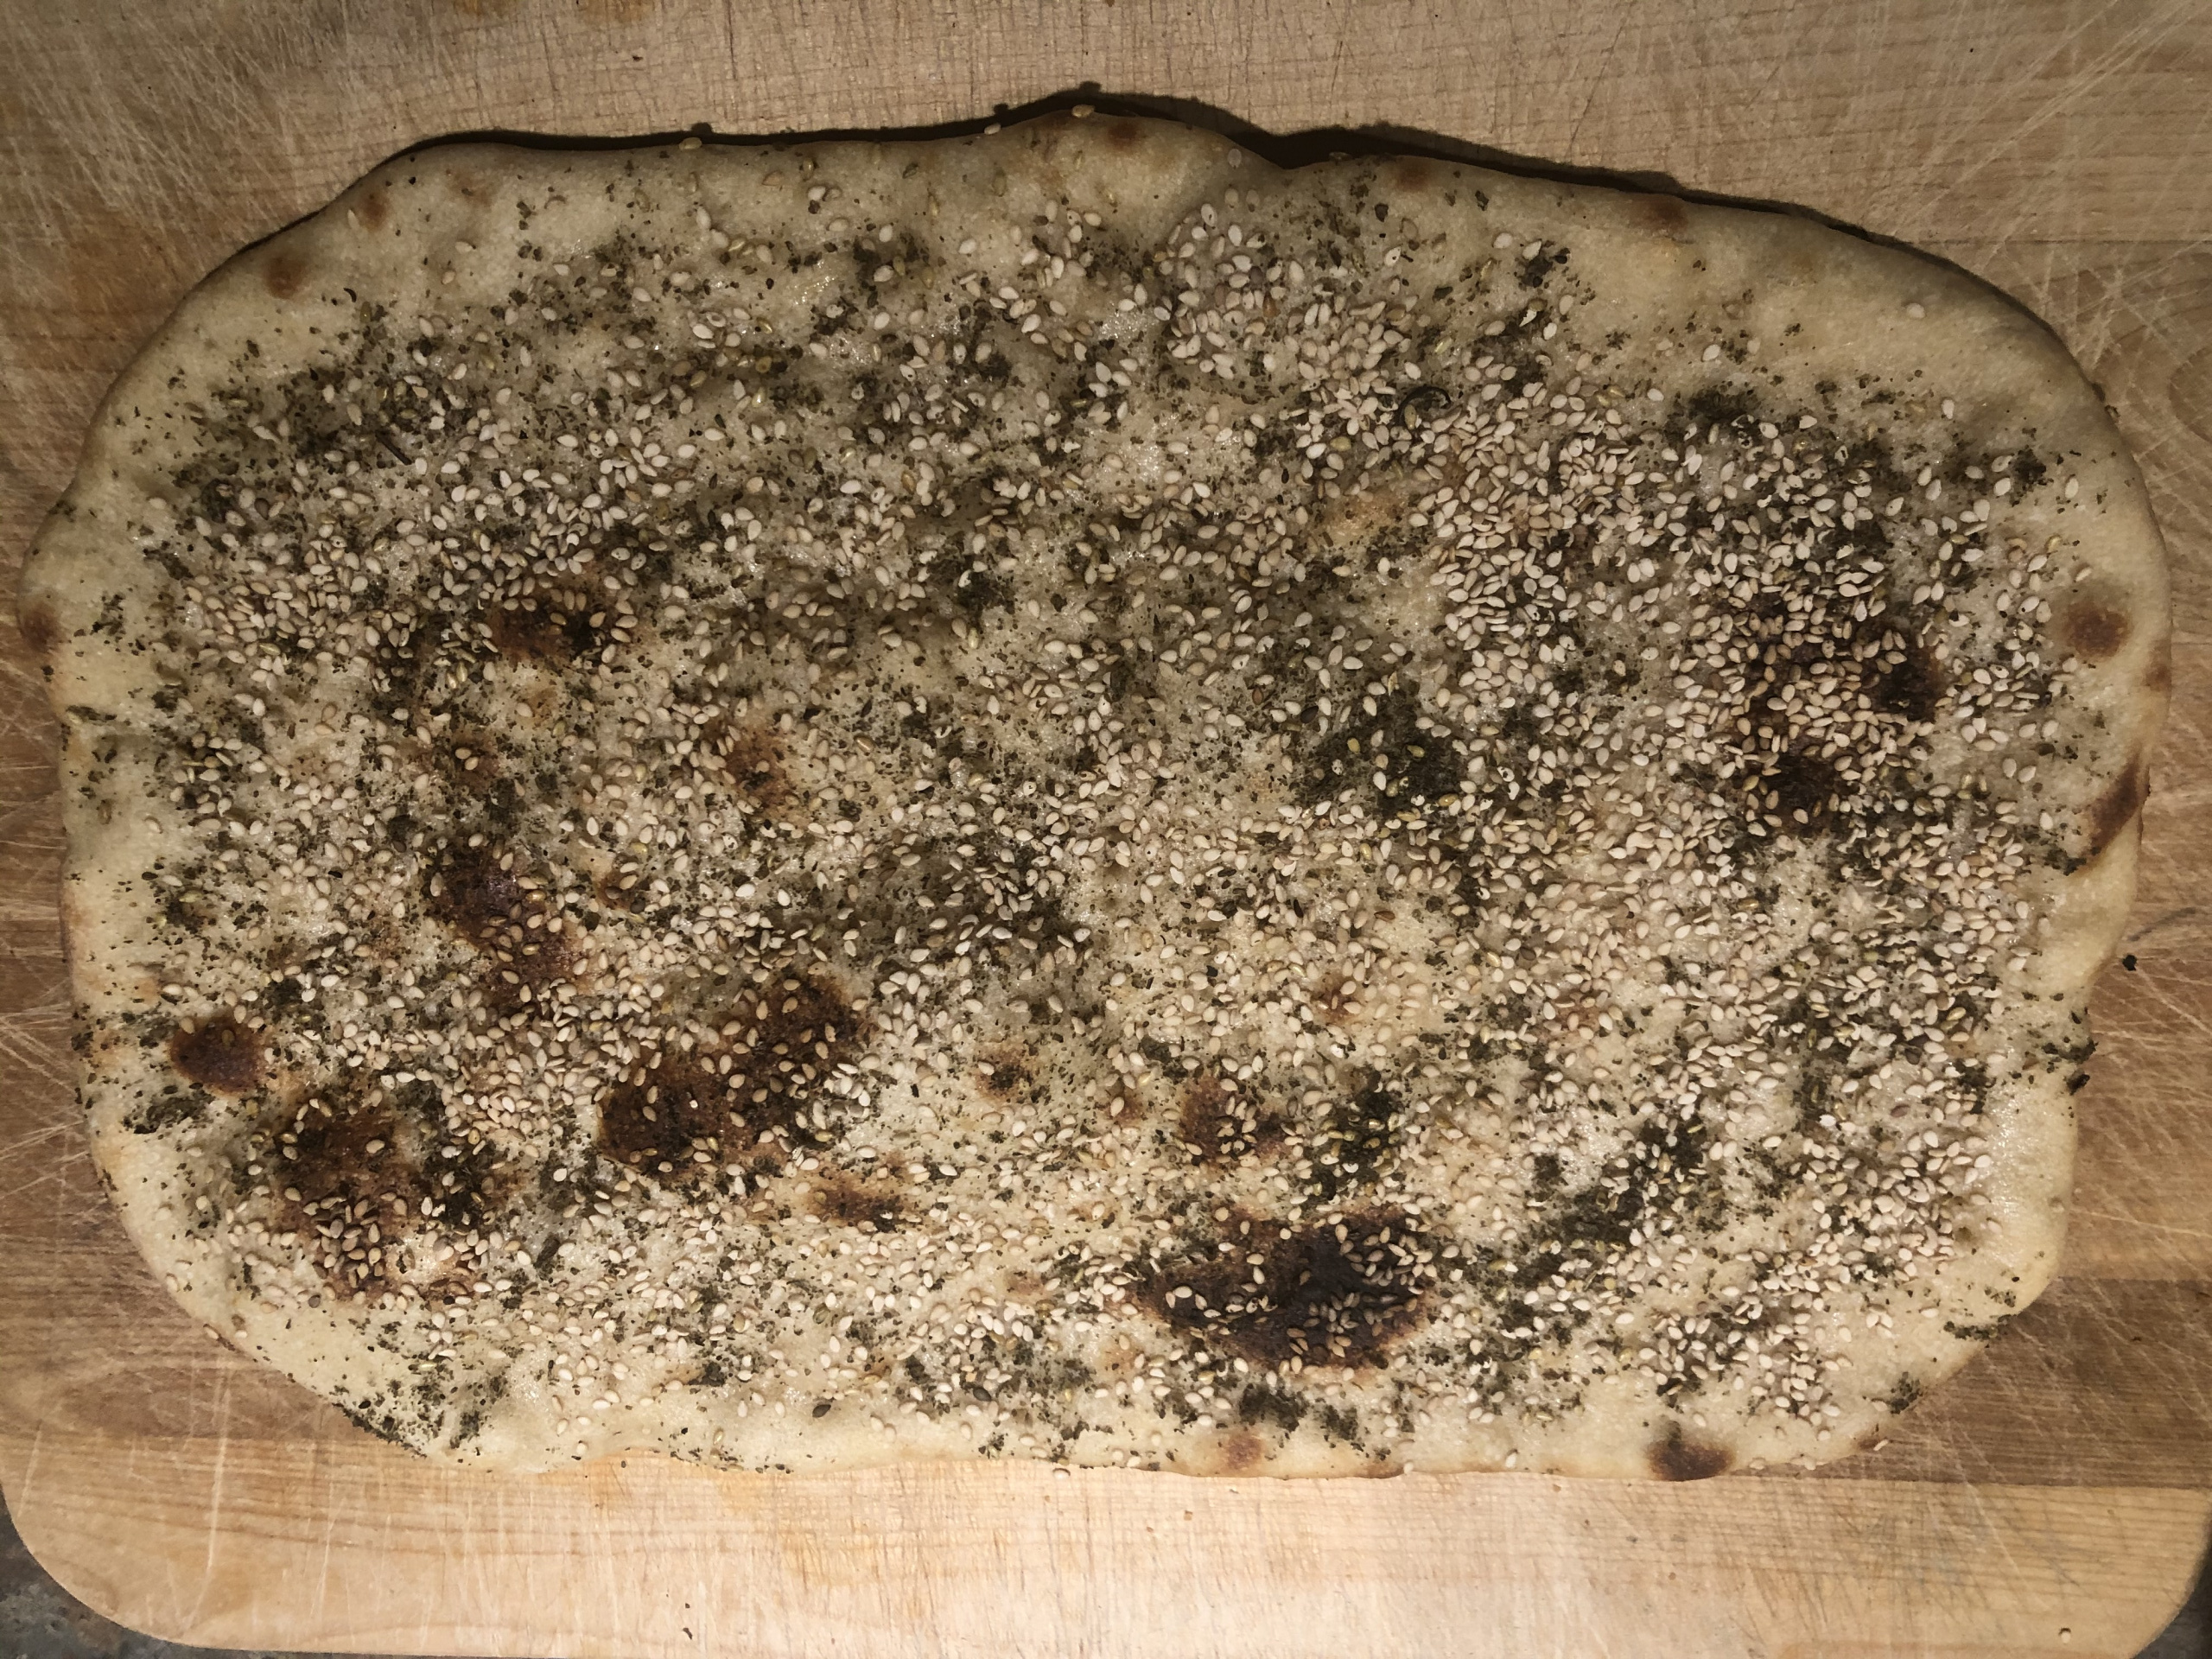
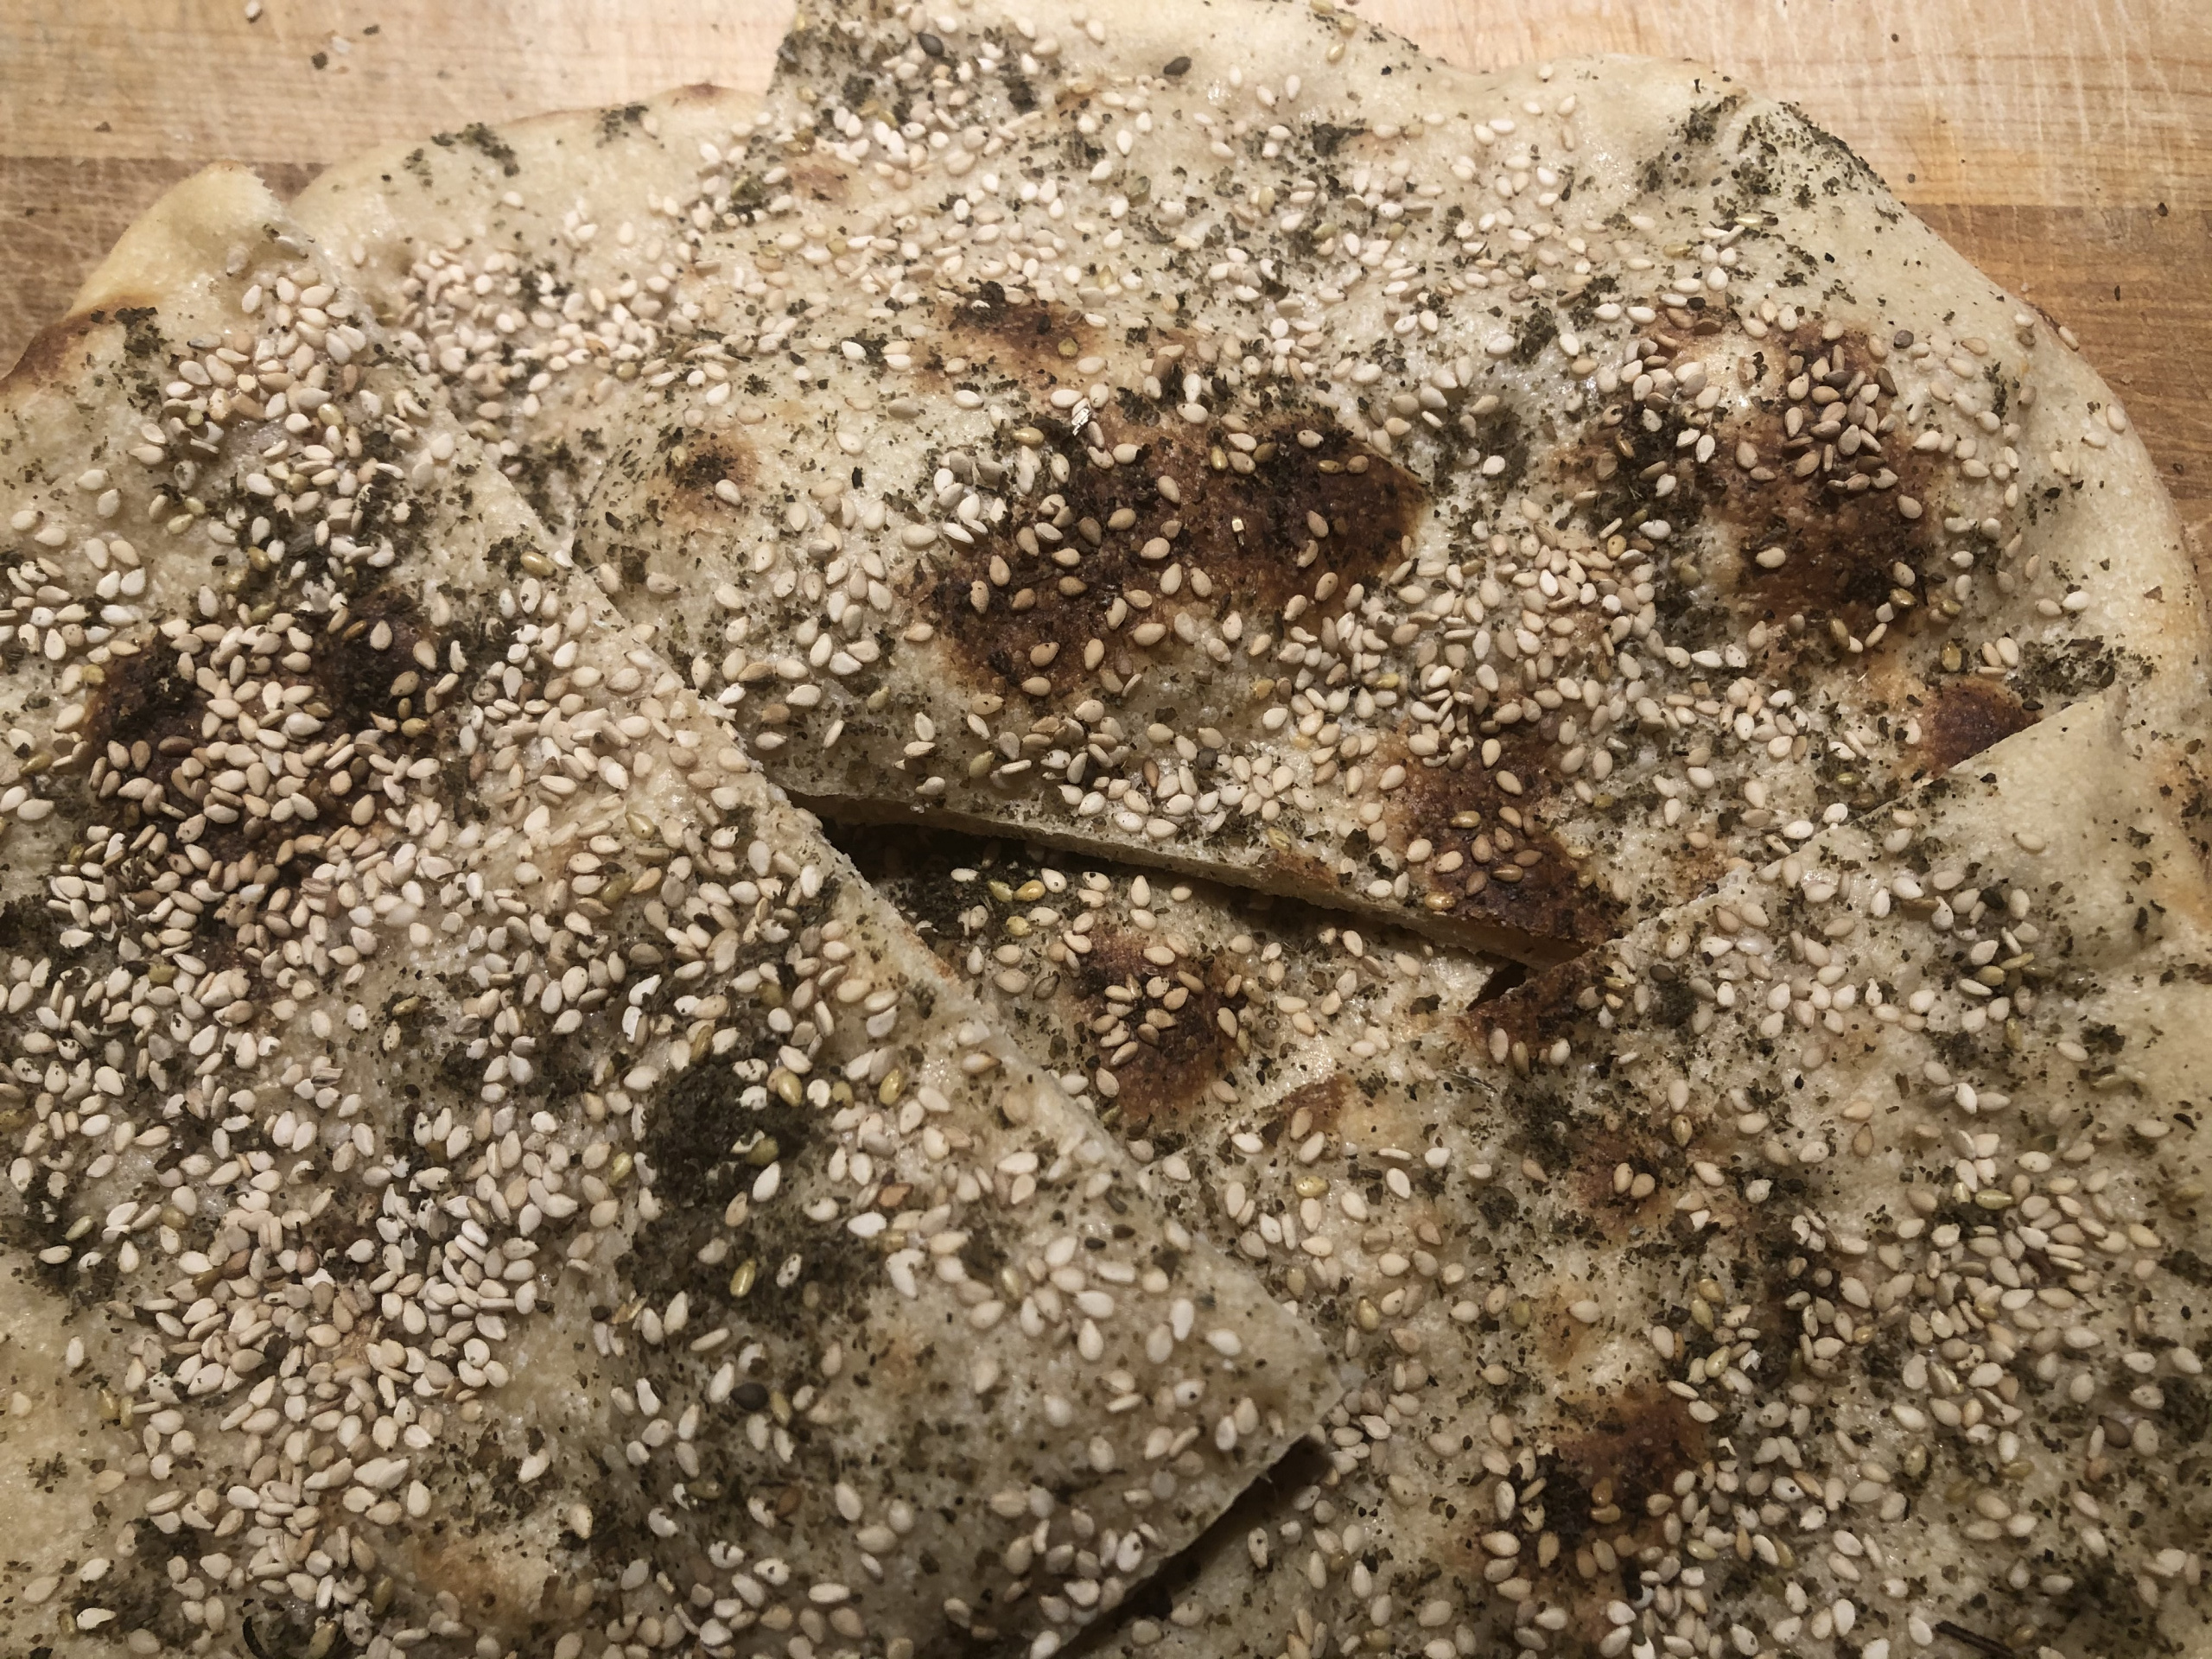
This was not my regular pizza dough because I wanted to make it somewhat similar to that sourdough mini bread and yet suitable for a pizza and/or a flatbread. I created a new recipe.
I made enough dough for one pizza, one flatbread, and several mini loaves. It is not sourdough bread, but a yeasted loaf with a very little amount of yeast and a long fermentation time. The dough is very easy to make and handle.
The Ingredients:
Water — 550 grams
Yeast, active dry or instant — 1/8 teaspoon
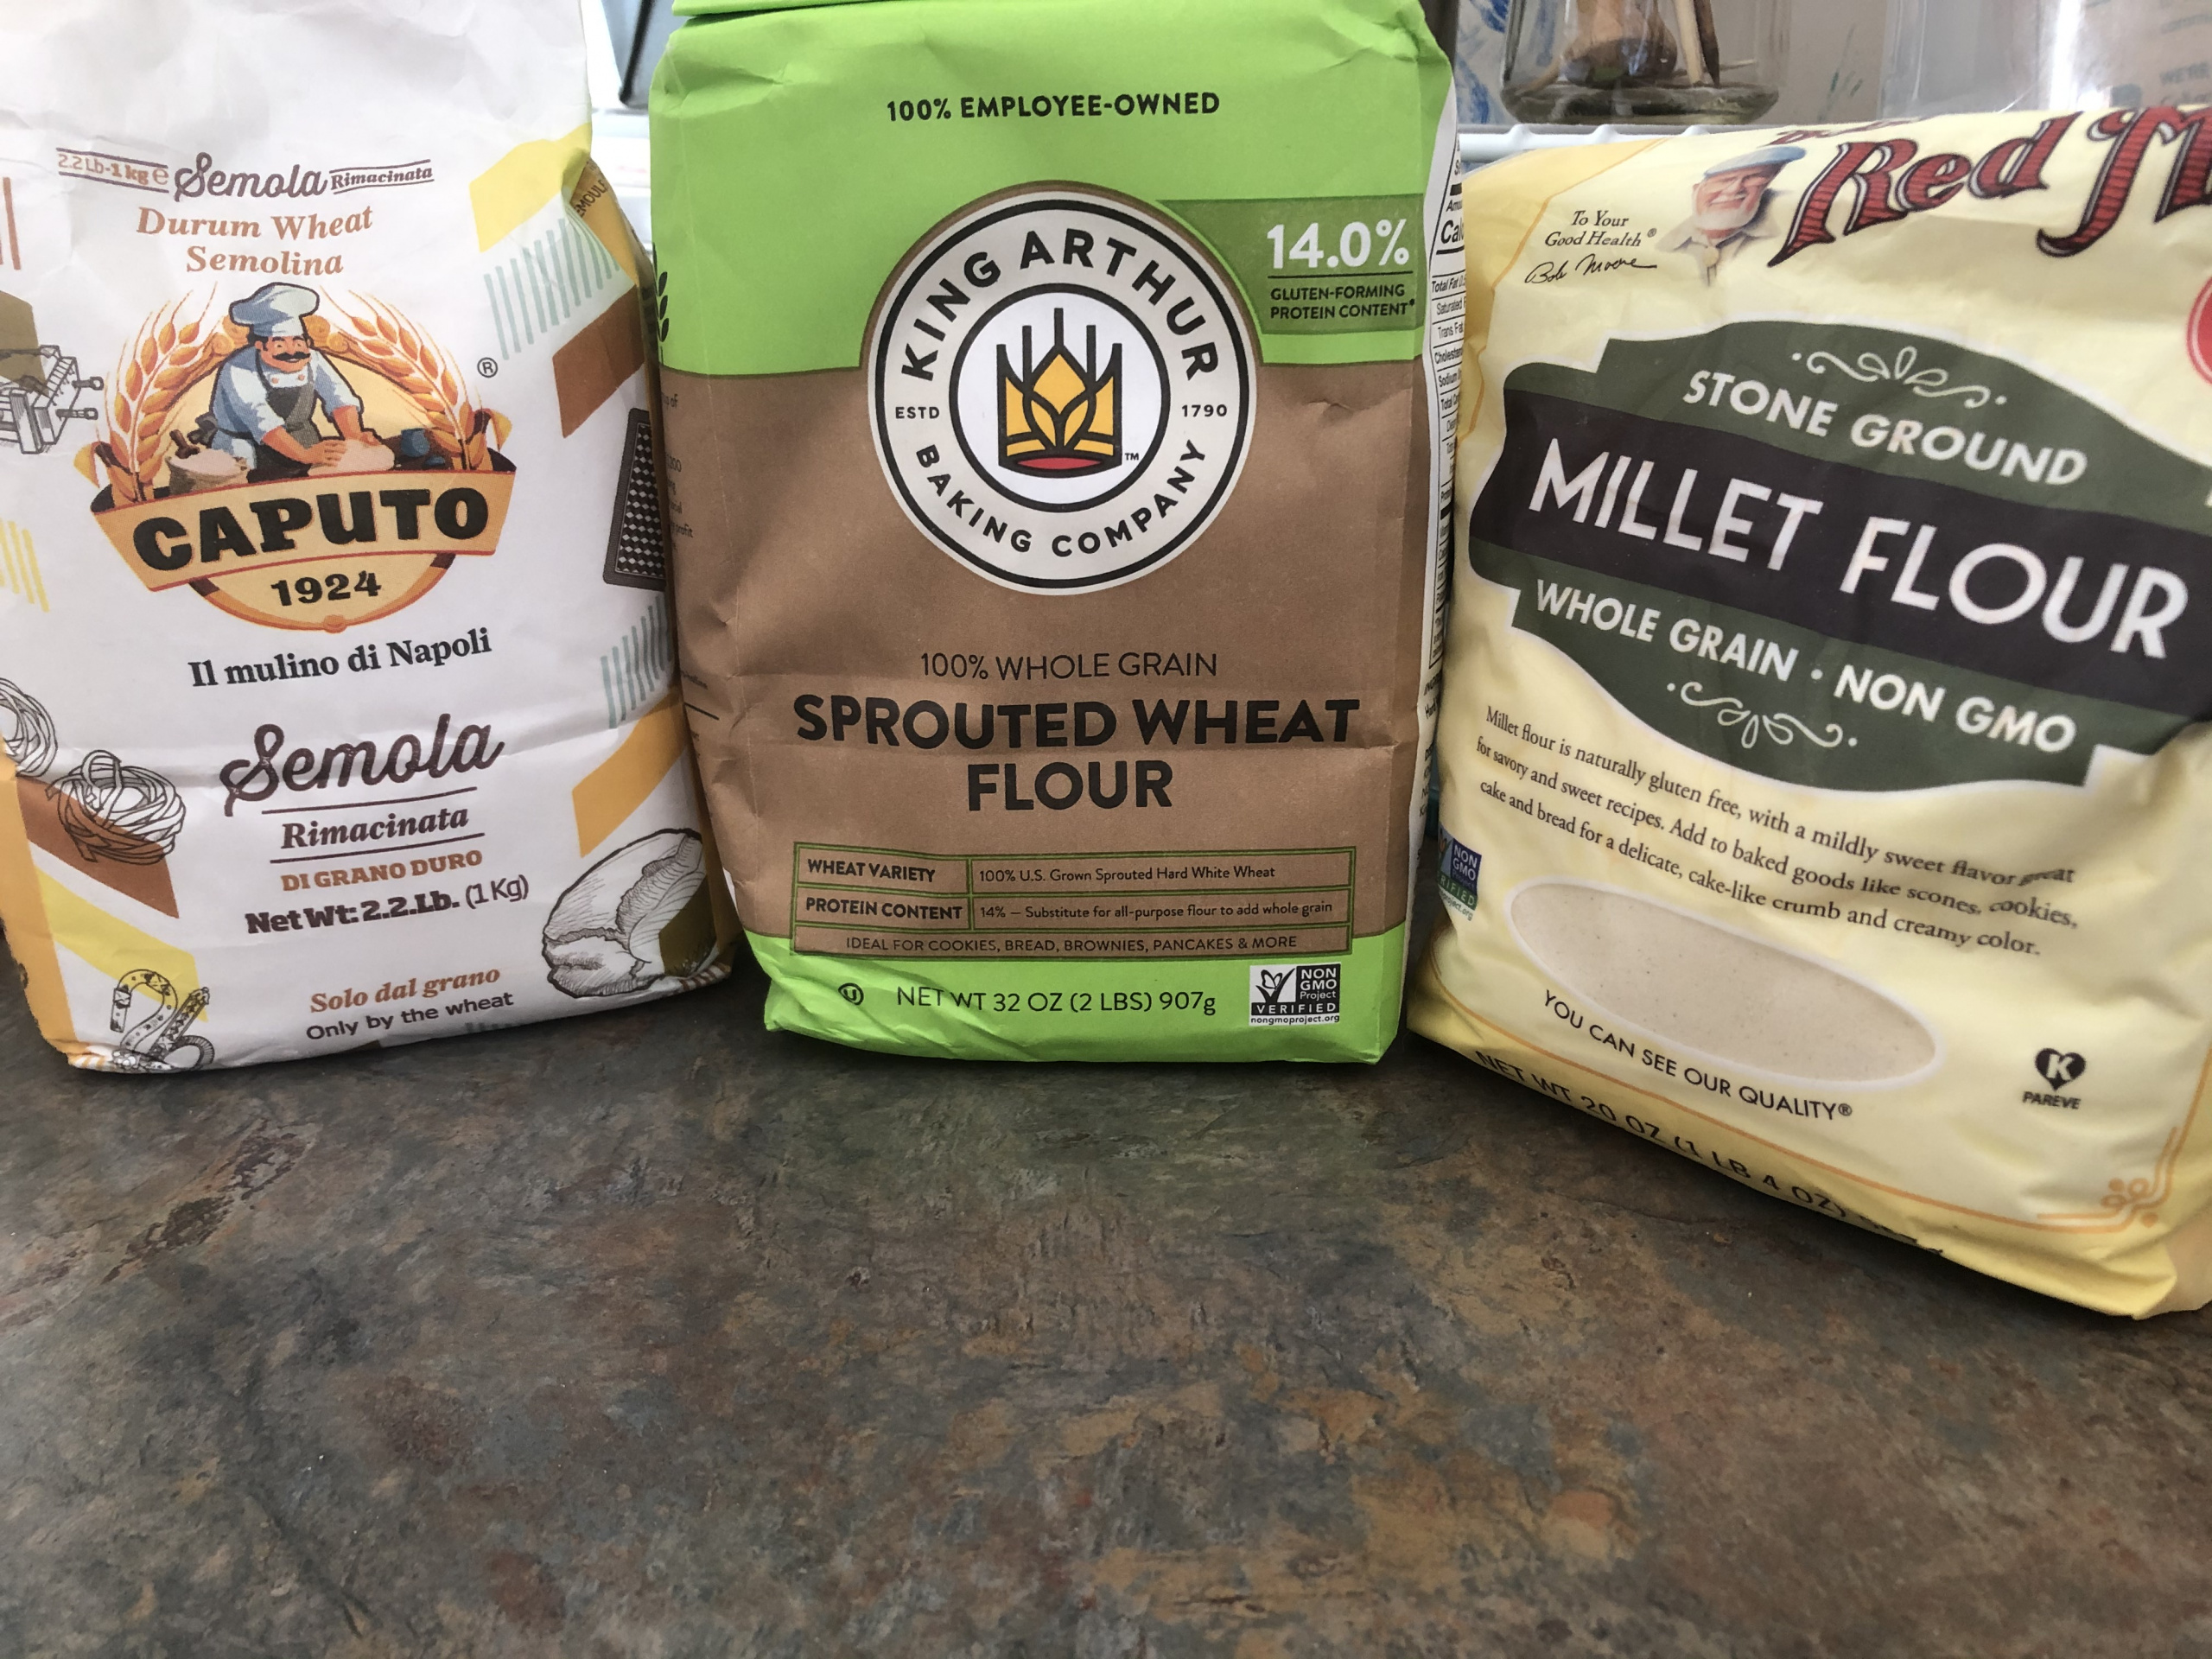
White wheat flour, unbleached — 350 grams
Semola (or Semolina) flour — 260 grams
Sprouted whole wheat flour — 100 grams
Millet flour — 40 grams
Sea salt — 12 grams
Mixing the dough:
Pour water into the mixer bowl. Sprinkle yeast on top. If you use Active Dry yeast, follow the directions on the package on how to activate the yeast. I use lukewarm water and let the yeast rehydrate for 5-10 minutes. Instant yeast is ready for mixing with no activation.
.")

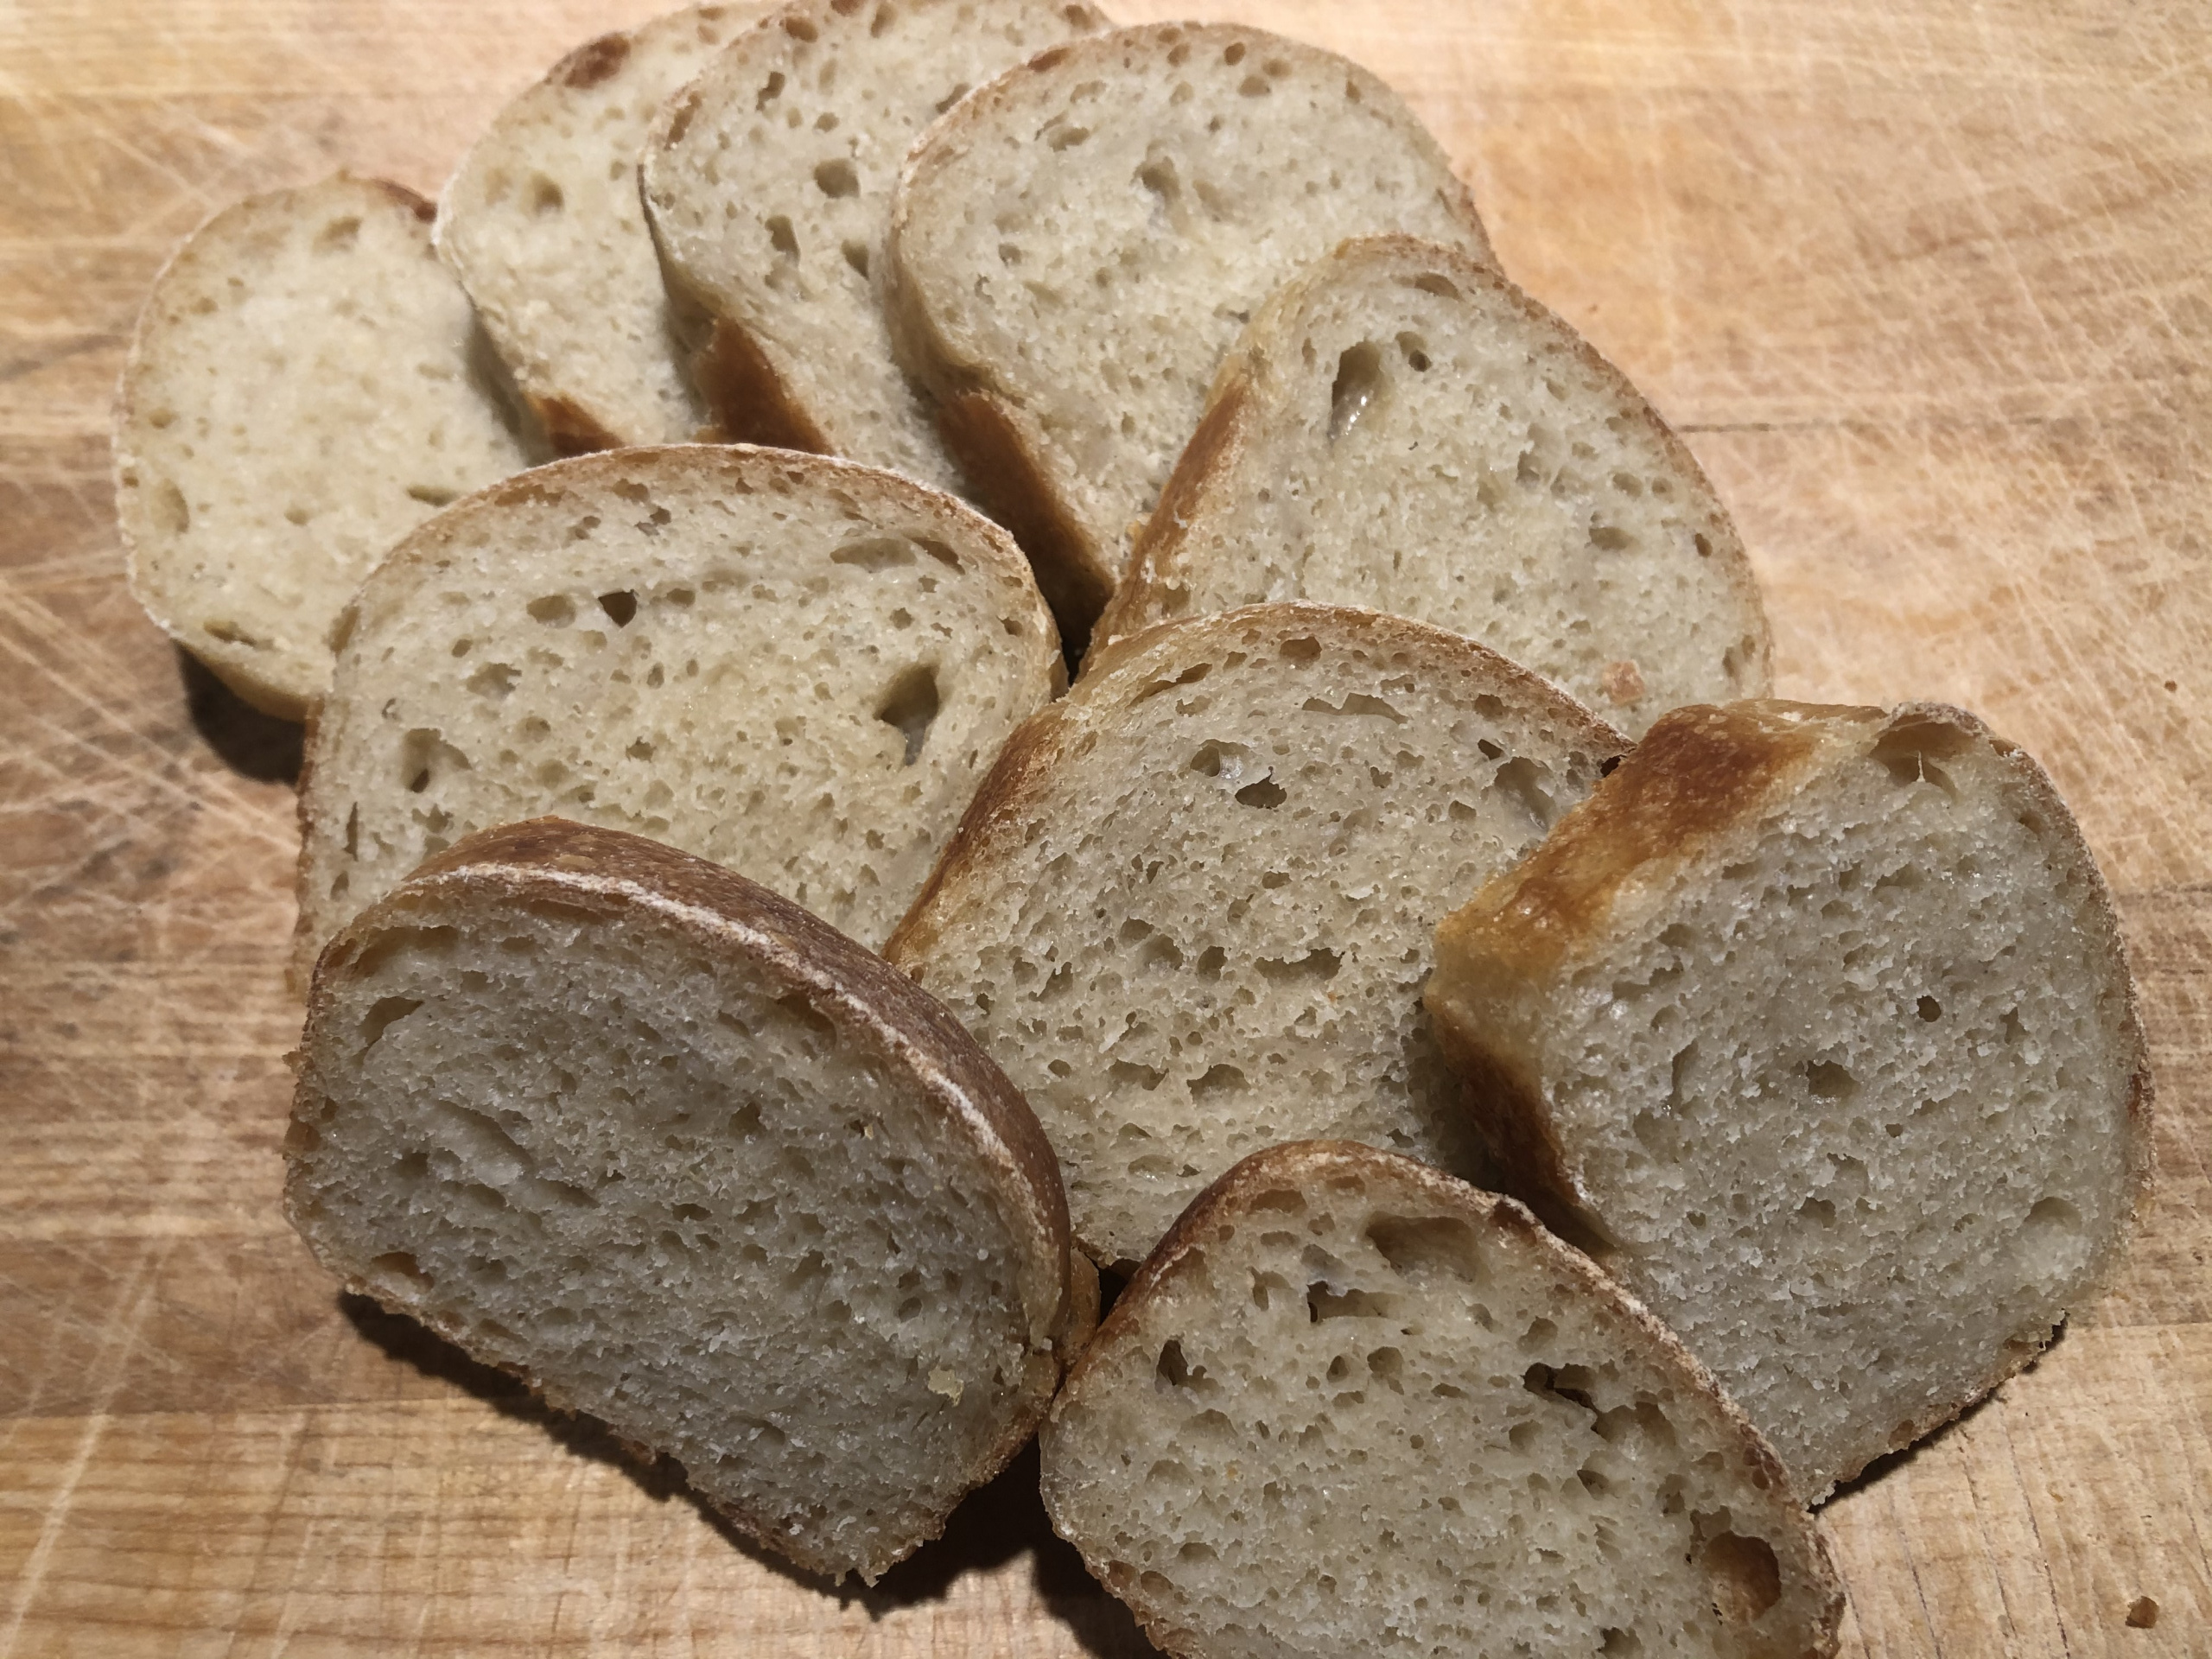
I divided the rest of the dough into 4 parts and shaped them into small loaves. You may find the shaping instructions here.
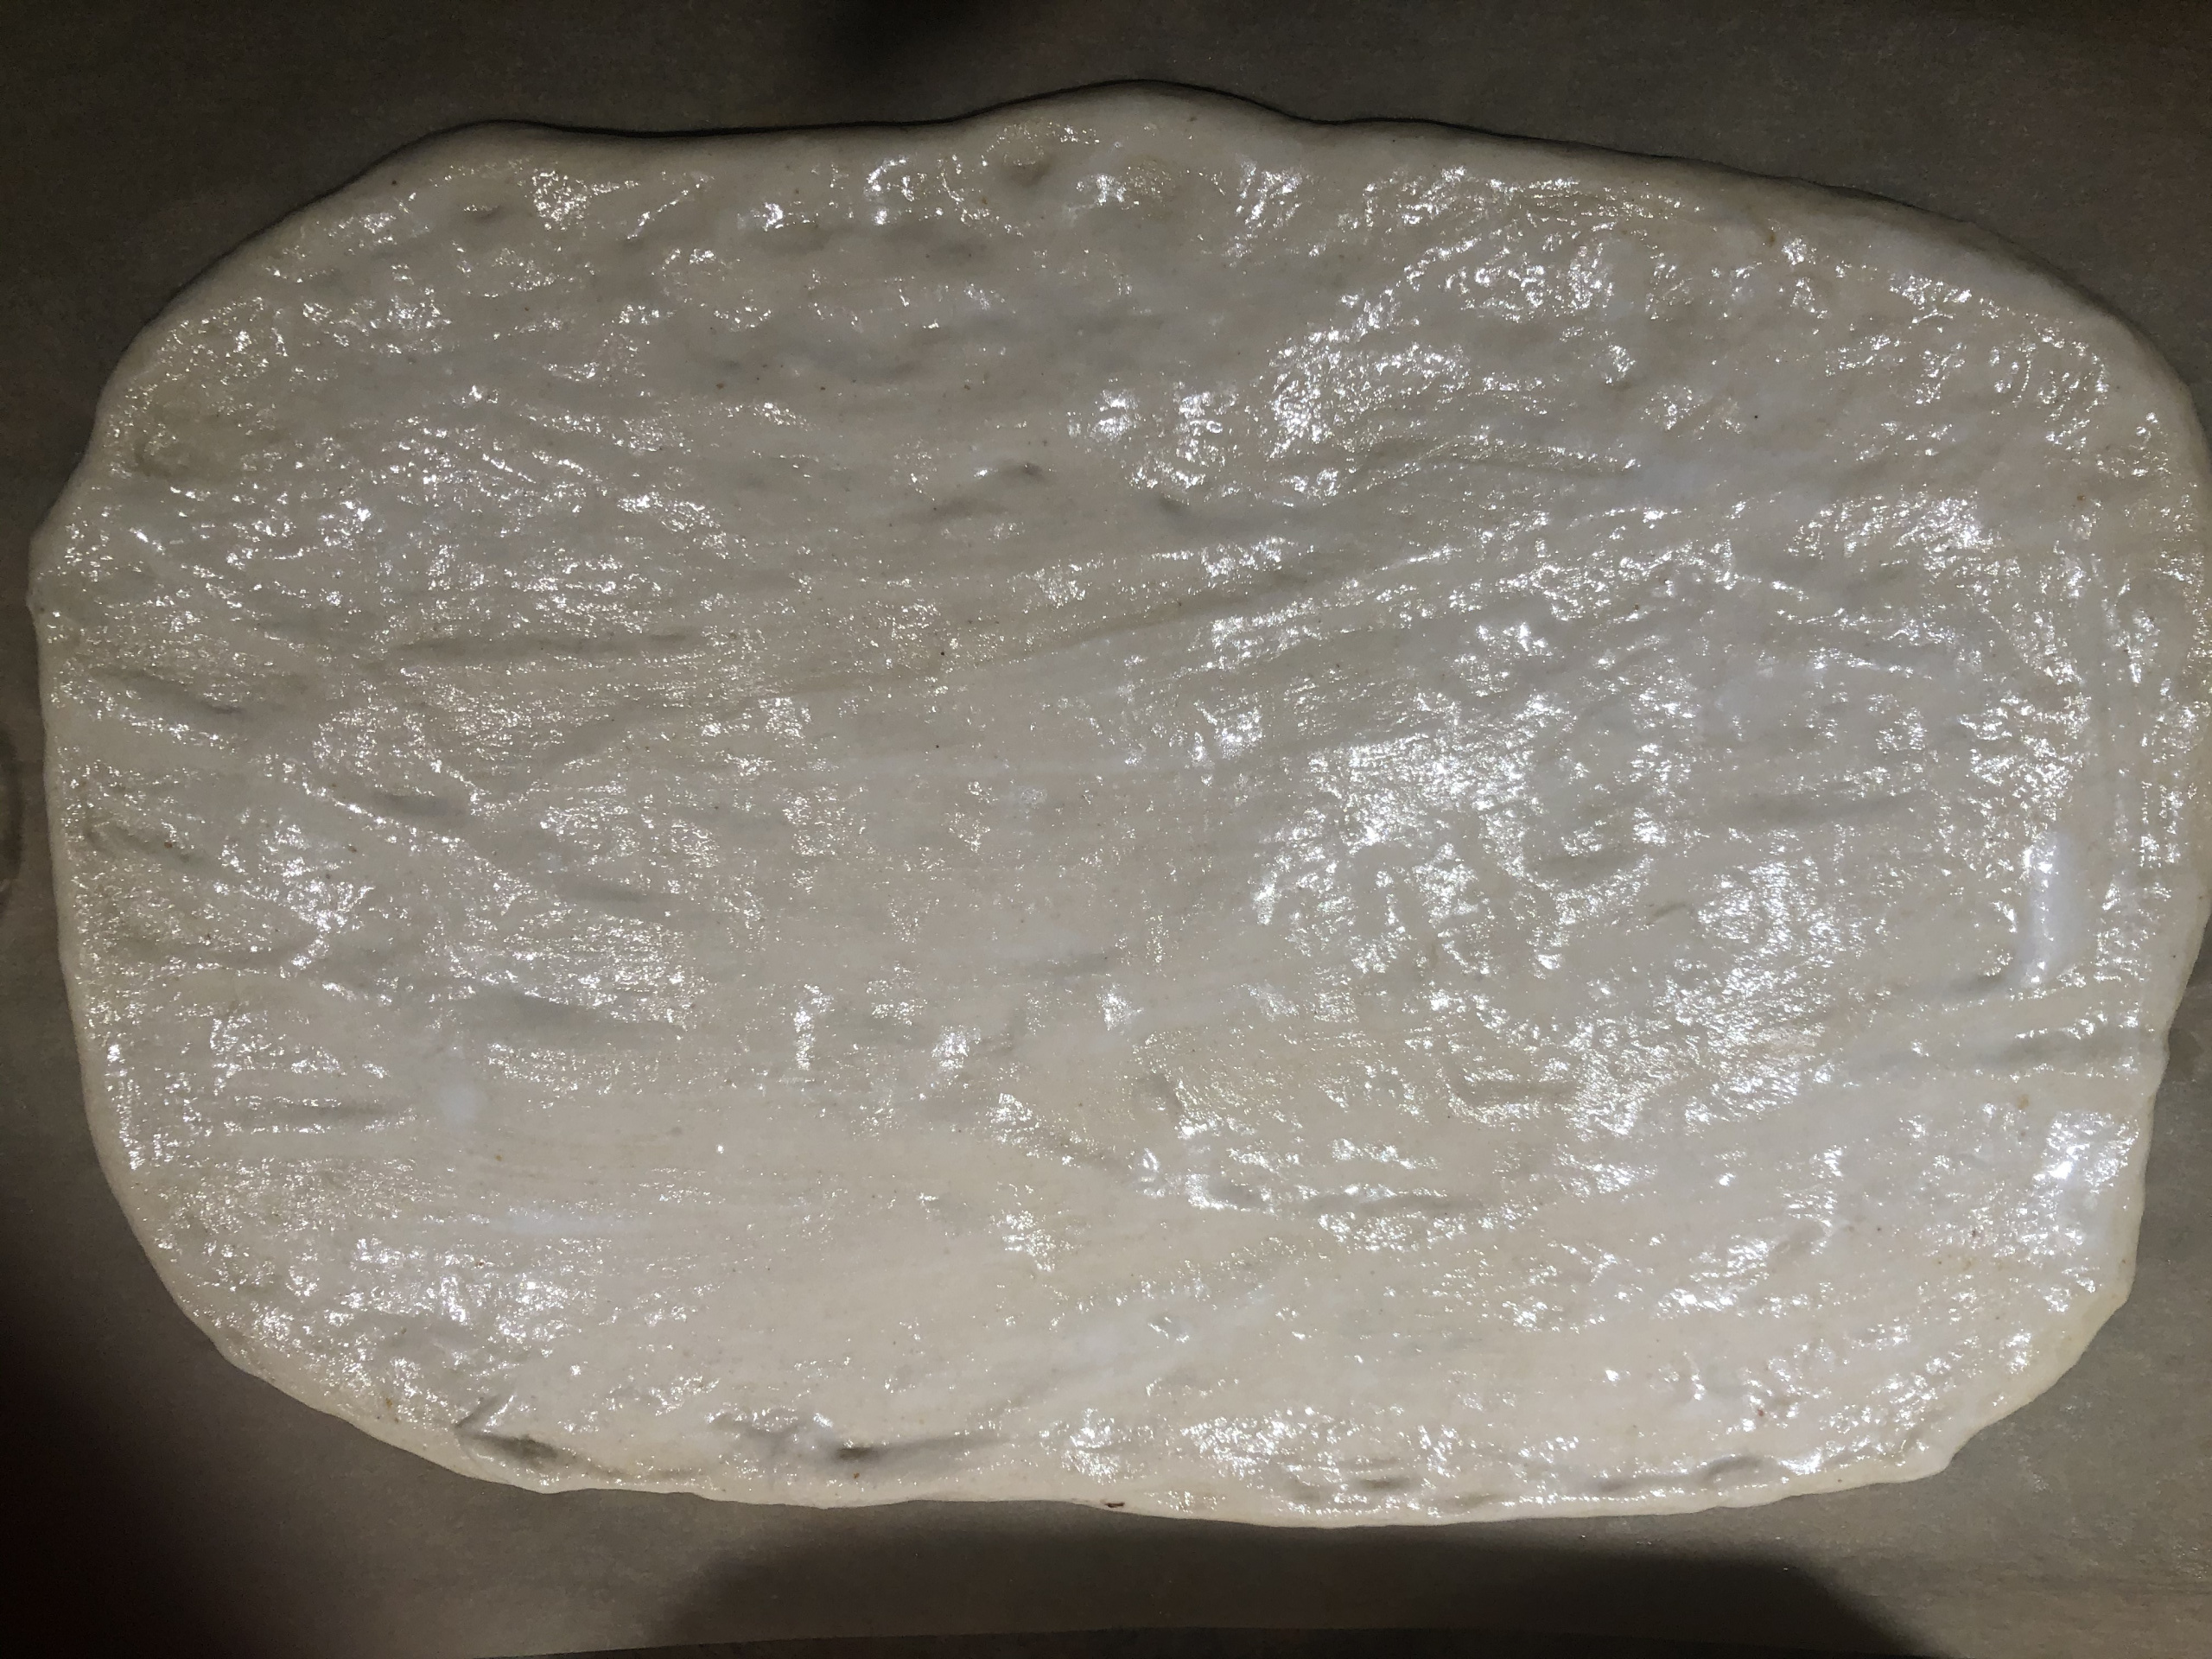
The dough is not sticky and you may just use some oil on the silicone mat to make it easier to handle the dough on the work surface (silicone mat). You do not dust your mat with flour, but use olive oil to lubricate the surface of the mat. This will prevent your dough from sticking to the mat. All your hand movements will be the same, but you will have to seal the dough folds more meaningfully. Experience is the best teacher here. You will learn to feel your dough.
I let my mini loaves rise for a few hours and baked them at 400°F (204°C). Baking time depends on the actual size of your mini loaves. I baked my bread for 15 minutes.


Happy baking!