Categories
Pizza Spelt flour Yeasted bread

Spelt inspiration

I do not make all my bread sourdough. In fact, I started my baking adventure with artisan yeasted bread. Sourdough came into my life much later. I do make my everyday bread mostly sourdough, though. I also bake a lot of yeasted bread. I employ different methods, which allow me to work with as little yeast as possible. My goal is to make healthy bread.


Sourdough bread is trickier to handle than yeasted bread. I leave sourdough preparation for the weekend and use yeasted dough when I need some extra bread on weekdays. Yeasted dough is very forgiving and versatile. You can fit it into a very busy daily routine with ease. Stay tuned and I will show you how.


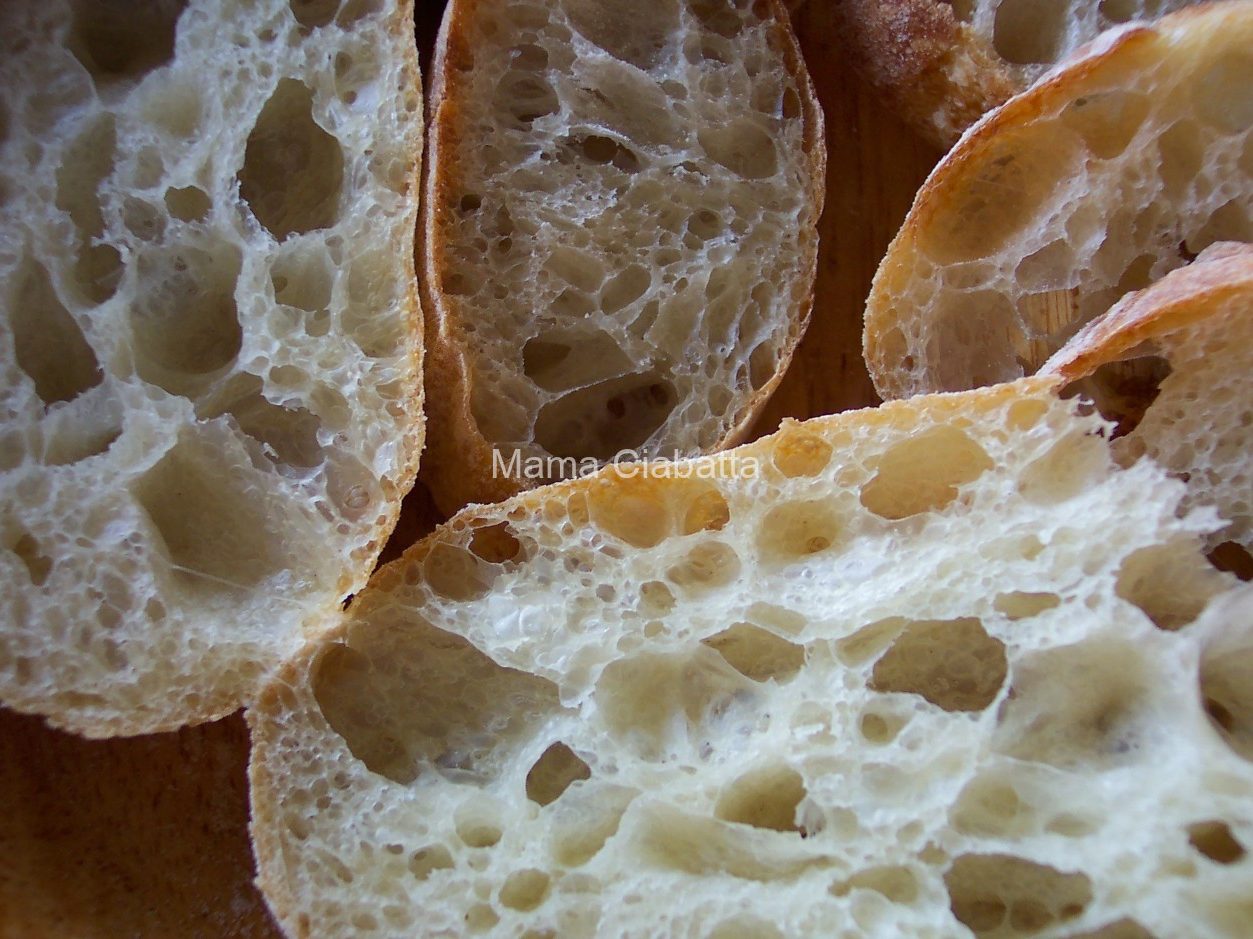
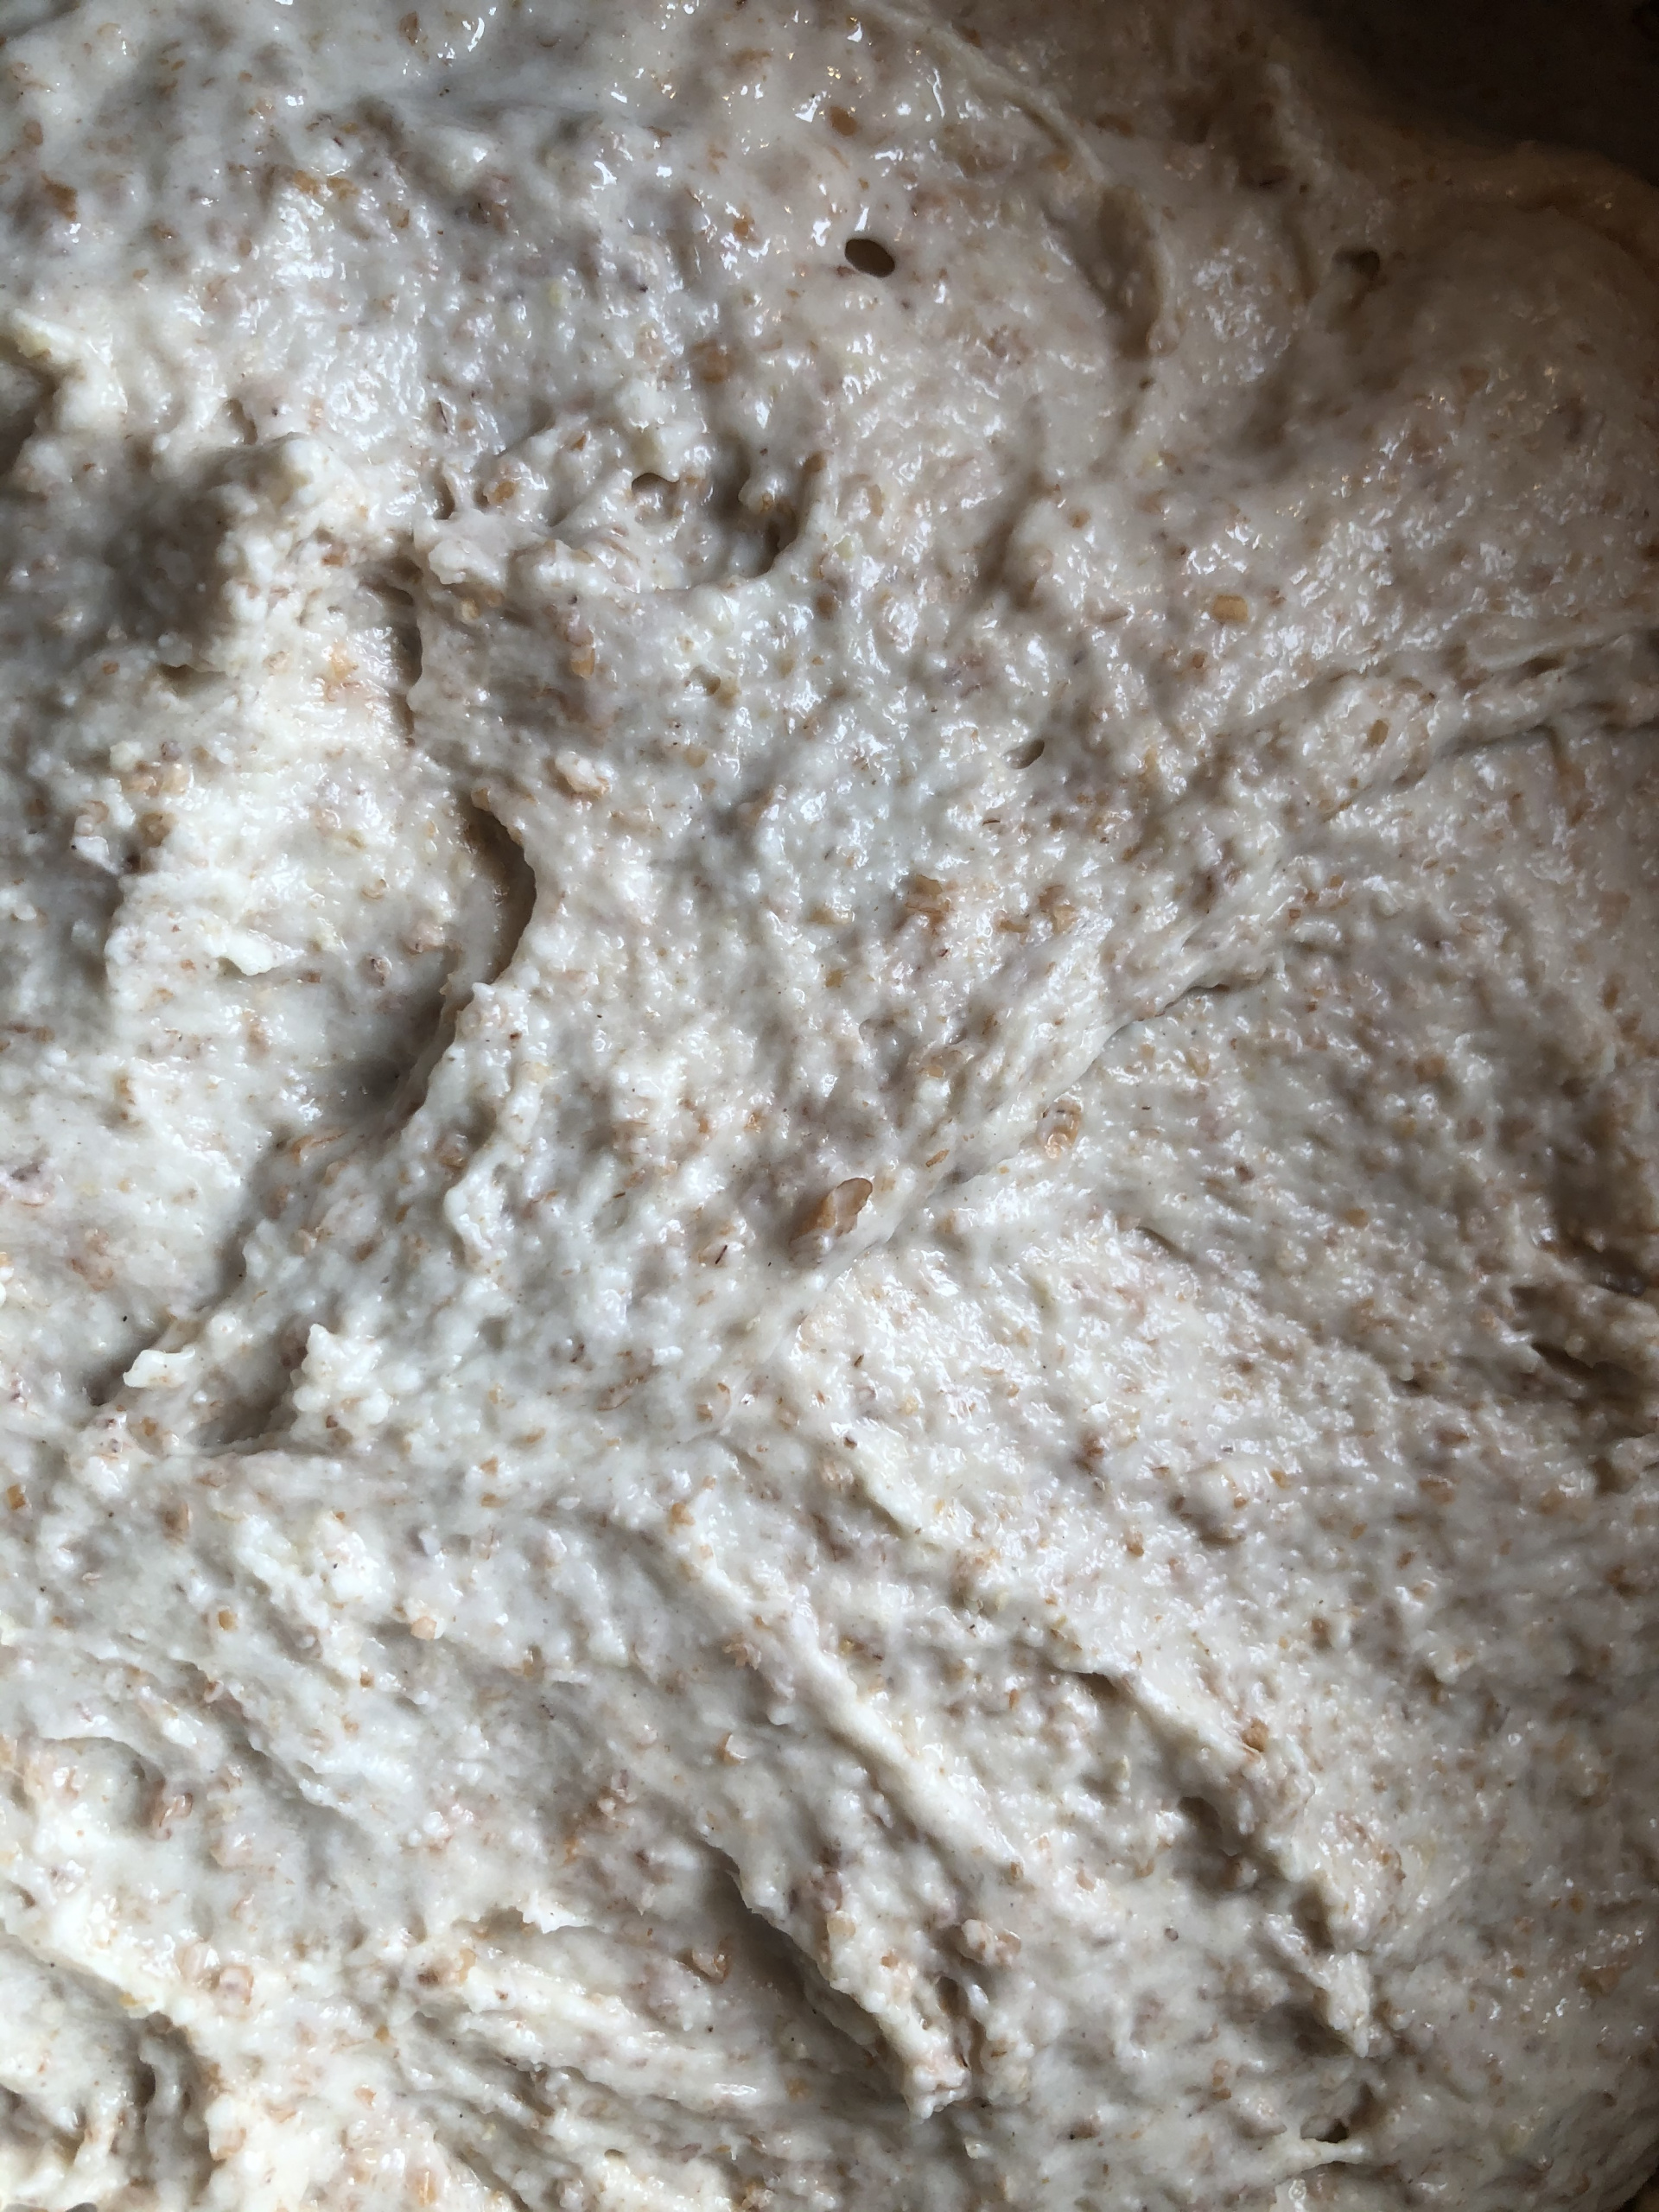
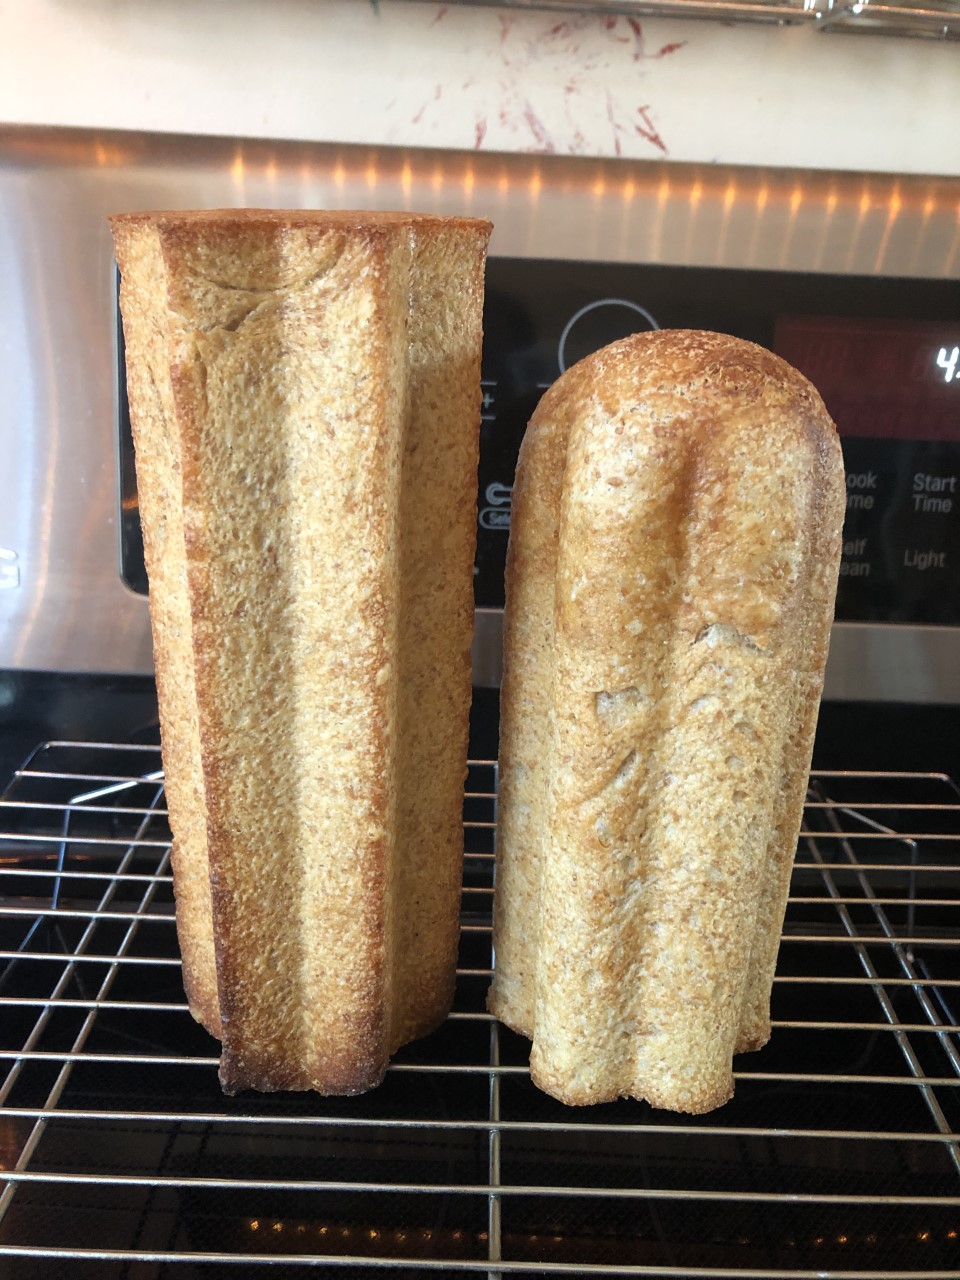
This dough is my new favorite for weekdays, unanimously approved by the family. It has a 40% flour mix with spelt flour, which gives a lot of flavor to the finished product. For the other 60%, I use bread flour. The dough has only 1/4 teaspoon of yeast for 1,770 grams of raw dough. It is suitable for bread and for a pizza or flatbread.


The ingredients:


Filtered or spring water — 725 grams

Bread flour — 600 grams

Spelt flour — 200 grams

Millet flour — 100 grams

Sprouted whole wheat flour — 100 grams

Yeast, active dry or instant — 1/4 teaspoon, leveled

Sea salt — 20 grams


Mixing the dough:


Pour water into the mixer bowl. Sprinkle yeast on top. If you use Active Dry yeast, follow the directions on the package on how to activate the yeast. I use lukewarm water and let the yeast rehydrate for 5-10 minutes. Instant yeast is ready for mixing with no activation. 

Add about half of the flour and start mixing on a low speed. Gradually add the rest of the flour. This way you do not overload your mixer and avoid dusting your kitchen with flour. Add salt with the last portion of the flour and mix the dough for 5 minutes.
 
 
After the mixing:
 
Give your dough another 20-minute rest. Then shape the dough into a ball and put it into an oiled container for proofing. 
 
 
 Refrigerating the dough:
 
Let your dough proof at room temperature for about an hour and a half before putting it in the refrigerator. You may use it any time the next day (up to 72 hours after the mixing). 
 
 
Preparing the dough for baking:
 
Take the dough out of the refrigerator. Cut the piece of dough to make a flatbread, pre-shape it into a ball, and let it rest for 20-30 minutes at room temperature. 
 
 
If you want to make pizza or flatbread, you may start stretching the dough with your fingers as I explained in my post about the Pizza Margherita.
 
 
If you want to make mini bread, follow the shaping directions for the batard from my post about the Basic Sourdough Bread.
 
 
Let your bread proof for 1.5-2 hours. The bread will rise, but it will not double in size. To check if the bread finished proofing, you could try to poke it lightly with your finger. The bread is ready for baking when the indentation from your finger springs back slowly. If it springs back fast, the bread needs some more time to proof. If the indentation does not spring back, your bread is over-proofed and the bread will not rise to its full potential. 
 
 
This time I wanted to make 2 mini pizzas, 2 mini loaves of bread, and leave some dough for the next day’s flatbread. In the dark corner of my pantry, I found two tin baking molds, which I bought years ago and never used. I did not know how much dough to put inside. 400 grams looked fine.
 
 
Then I cut two 400-gram pieces of dough for the mini bread and two 200-gram pieces for mini pizzas. I also put three 150-gram pieces in the refrigerator to use in the next few days.


I greased the baking molds with Ghee, shaped the 400-gram pieces of dough into mini batards, and put them inside the molds for proofing. These molds have removable lids on both sides. When the bread rose by 50% I started preheating the oven to 400° F (204° C). 
 
Baking:
 
400° F (204° C) — 40 minutes. Then I took the bread out of the tins and finished the baking at 375° F (190° C) — 5 minutes. 
 
 
Mini Pizza — 1
 
 
It is a fusion of pizza and flatbread. It is not as thin as my white pizza. The dough in this mini pizza is as important as the toppings. I did not use any tomatoes on this pizza. Instead of the traditional tomato sauce, I used pesto. 
 
 
Toppings:
 
 
Pesto, roasted peppers, arugula, goat cheese, and a variety of olives.

Baking — pizza or flatbread:


550°F (288°C) on ceramic tiles for 6-7 minutes for 1 mini pizza or 8-9 minutes for 2 at a time.
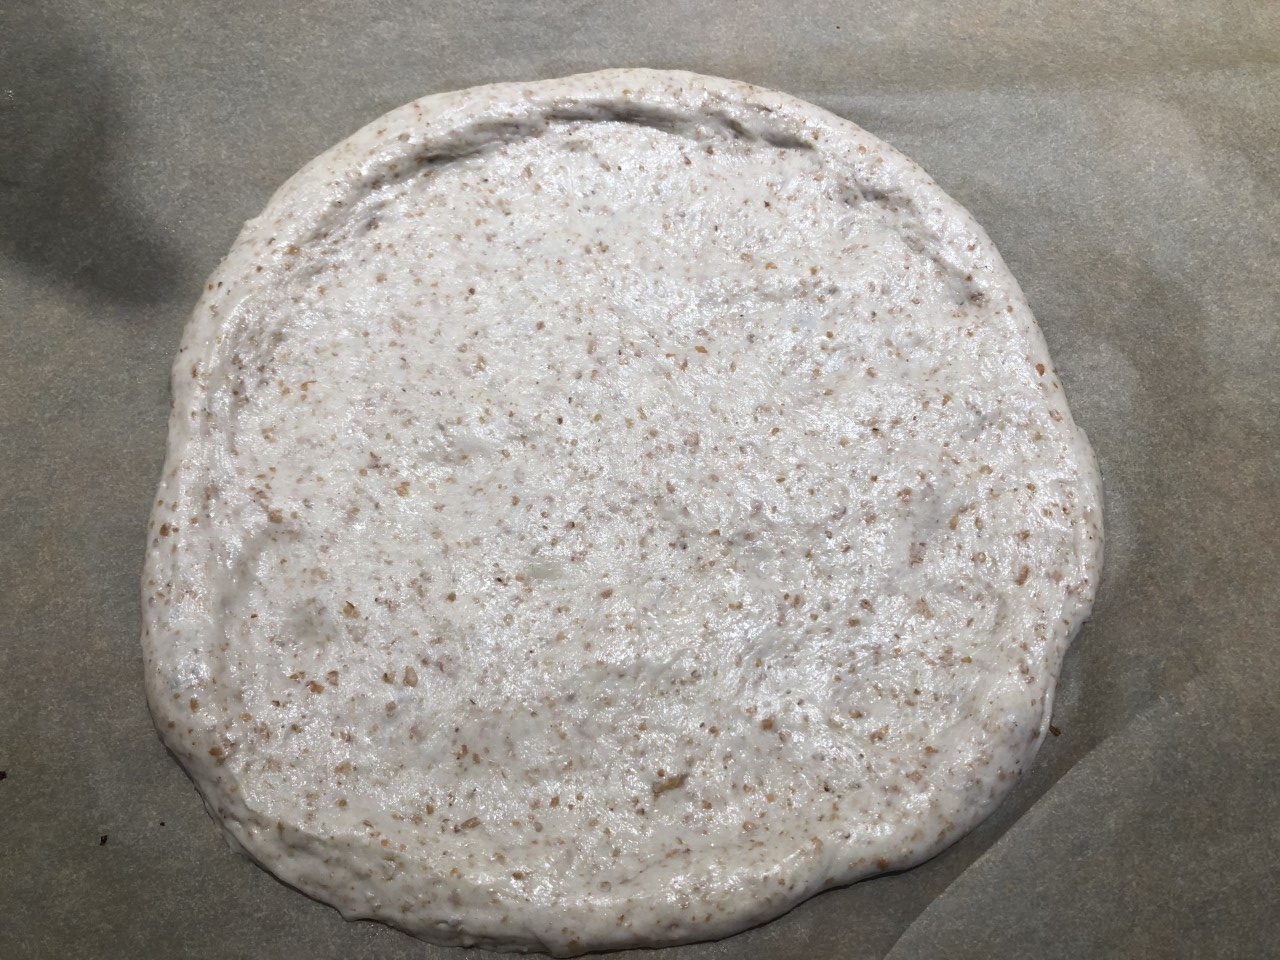
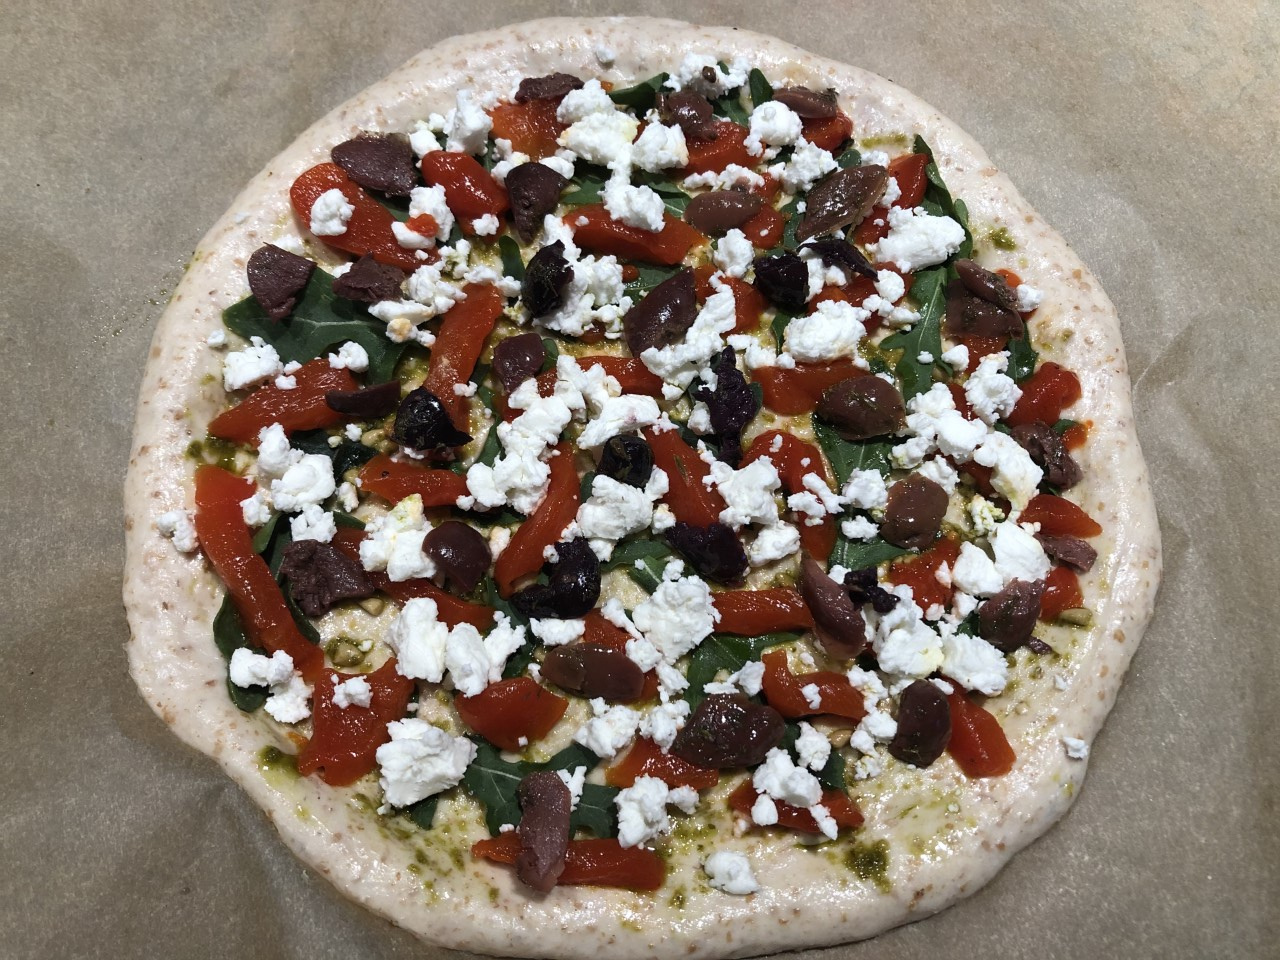
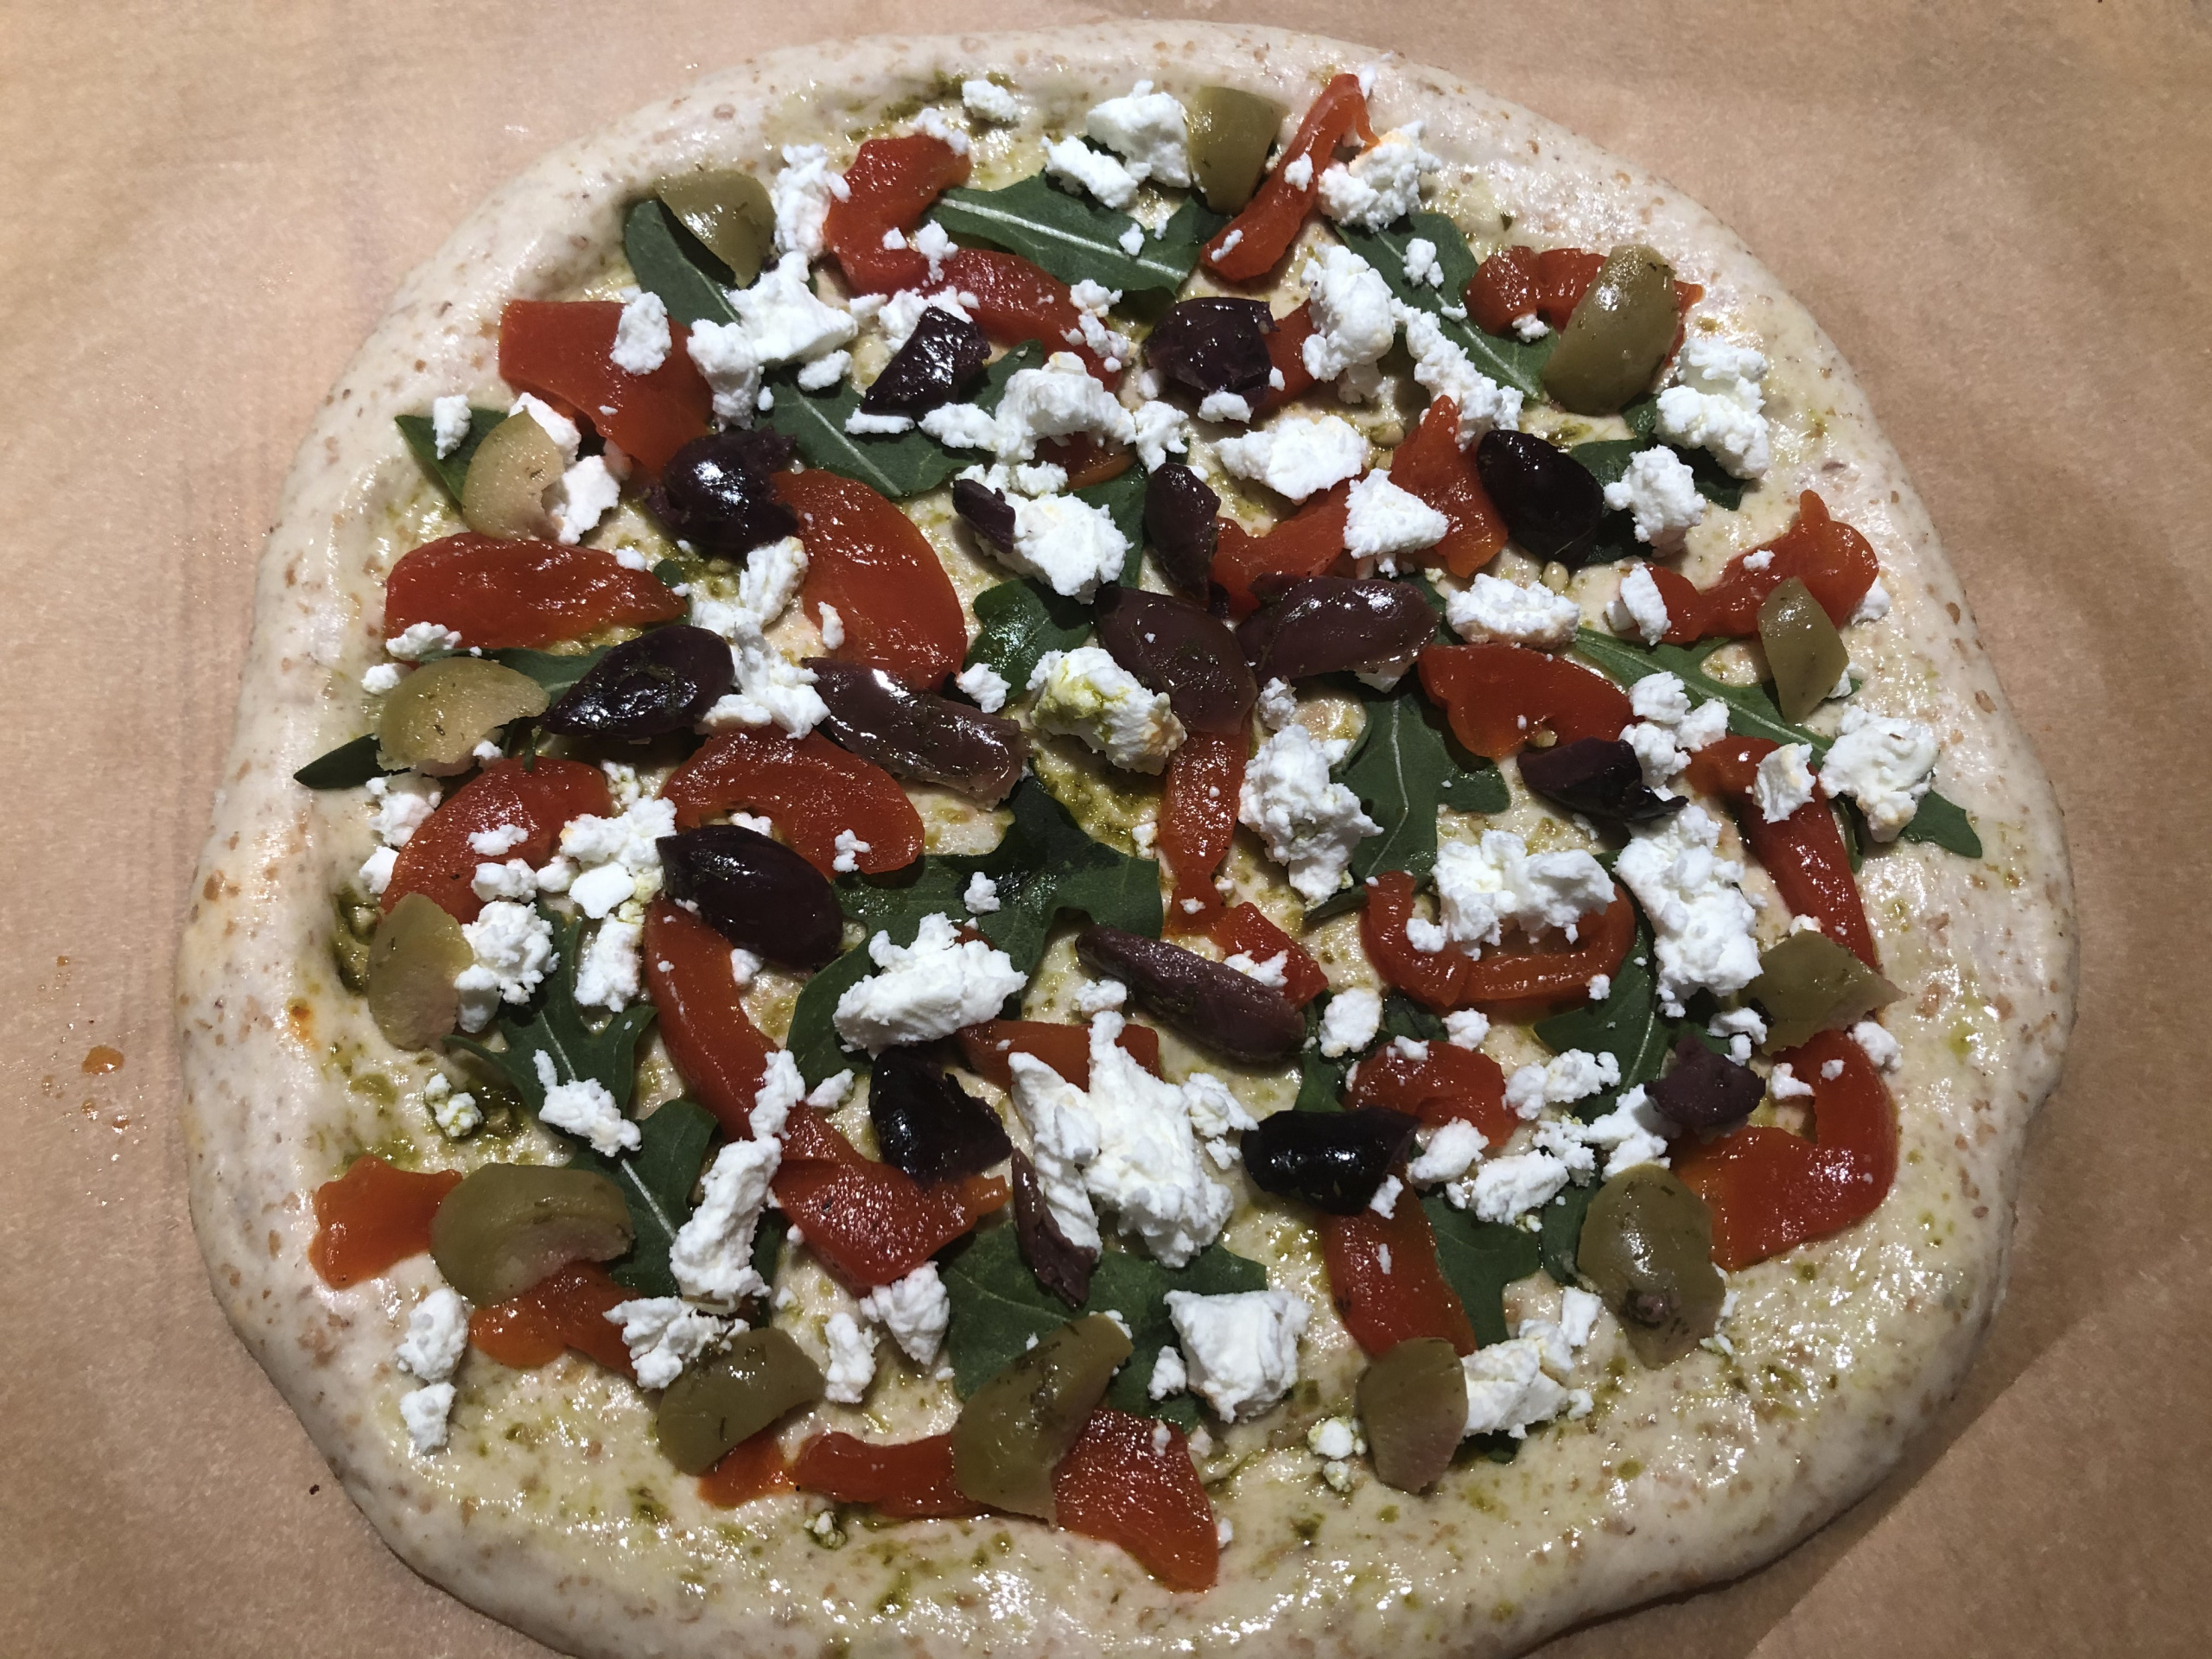
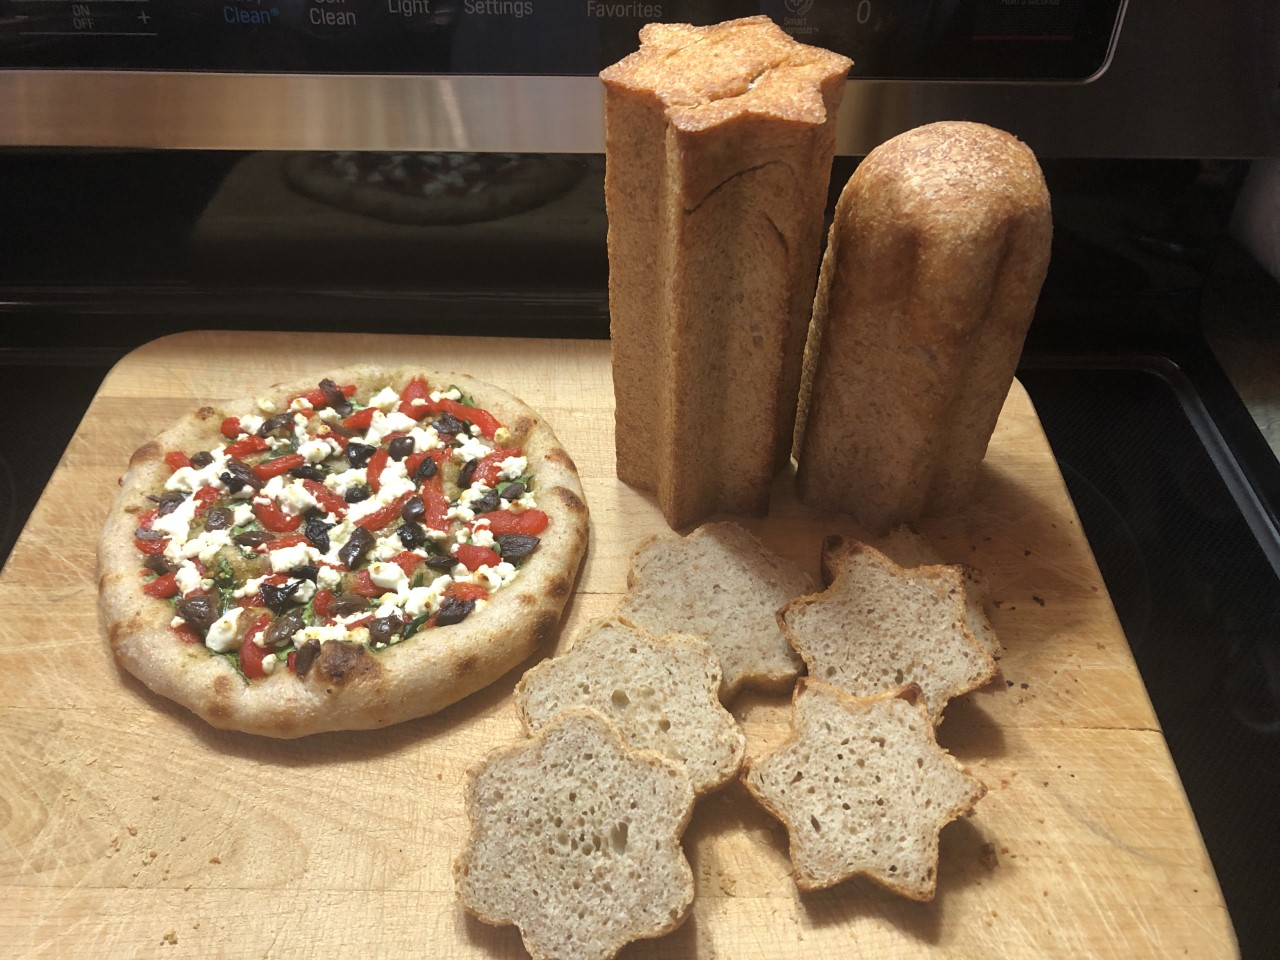
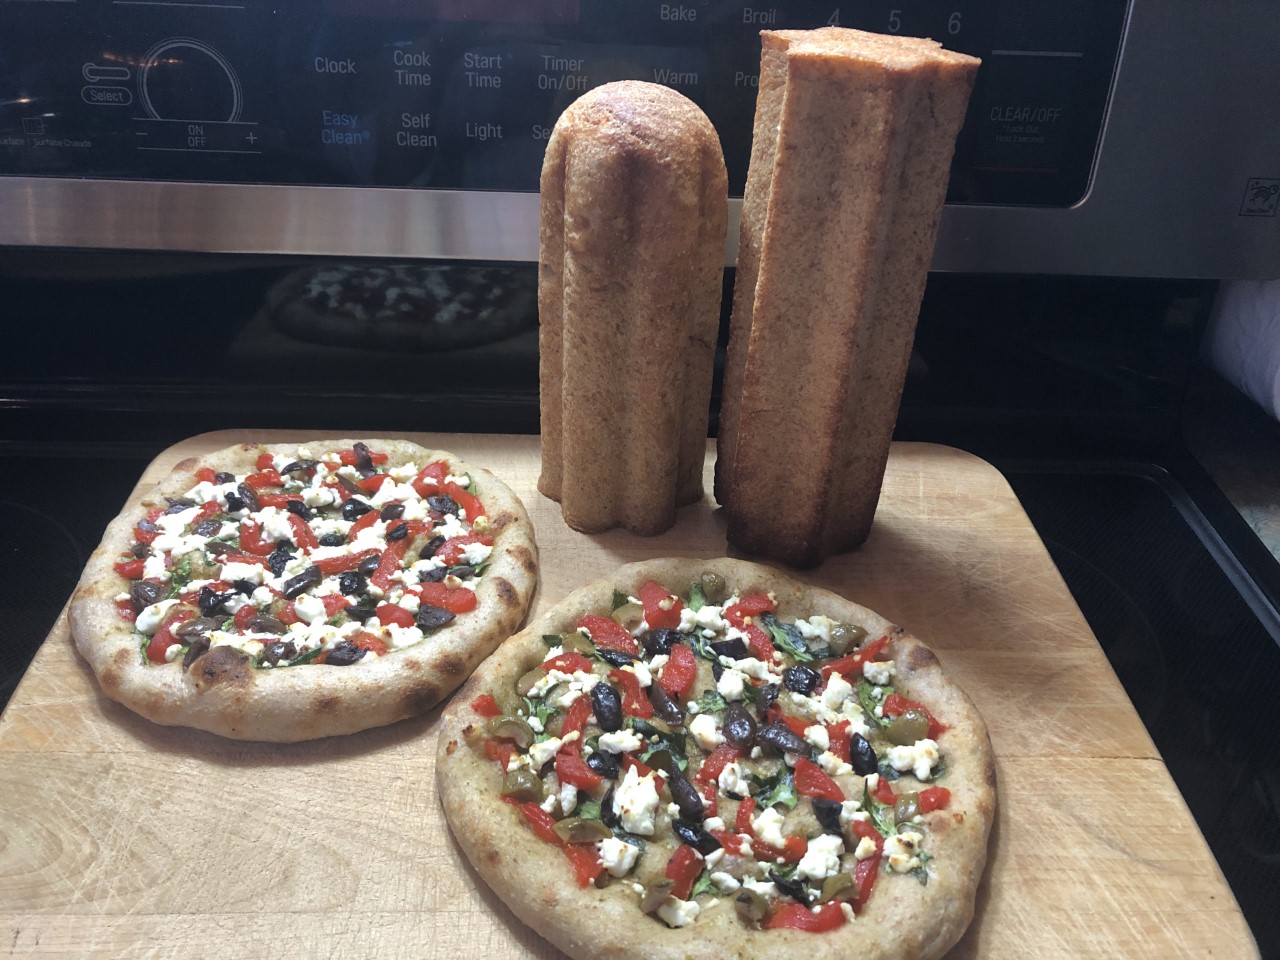
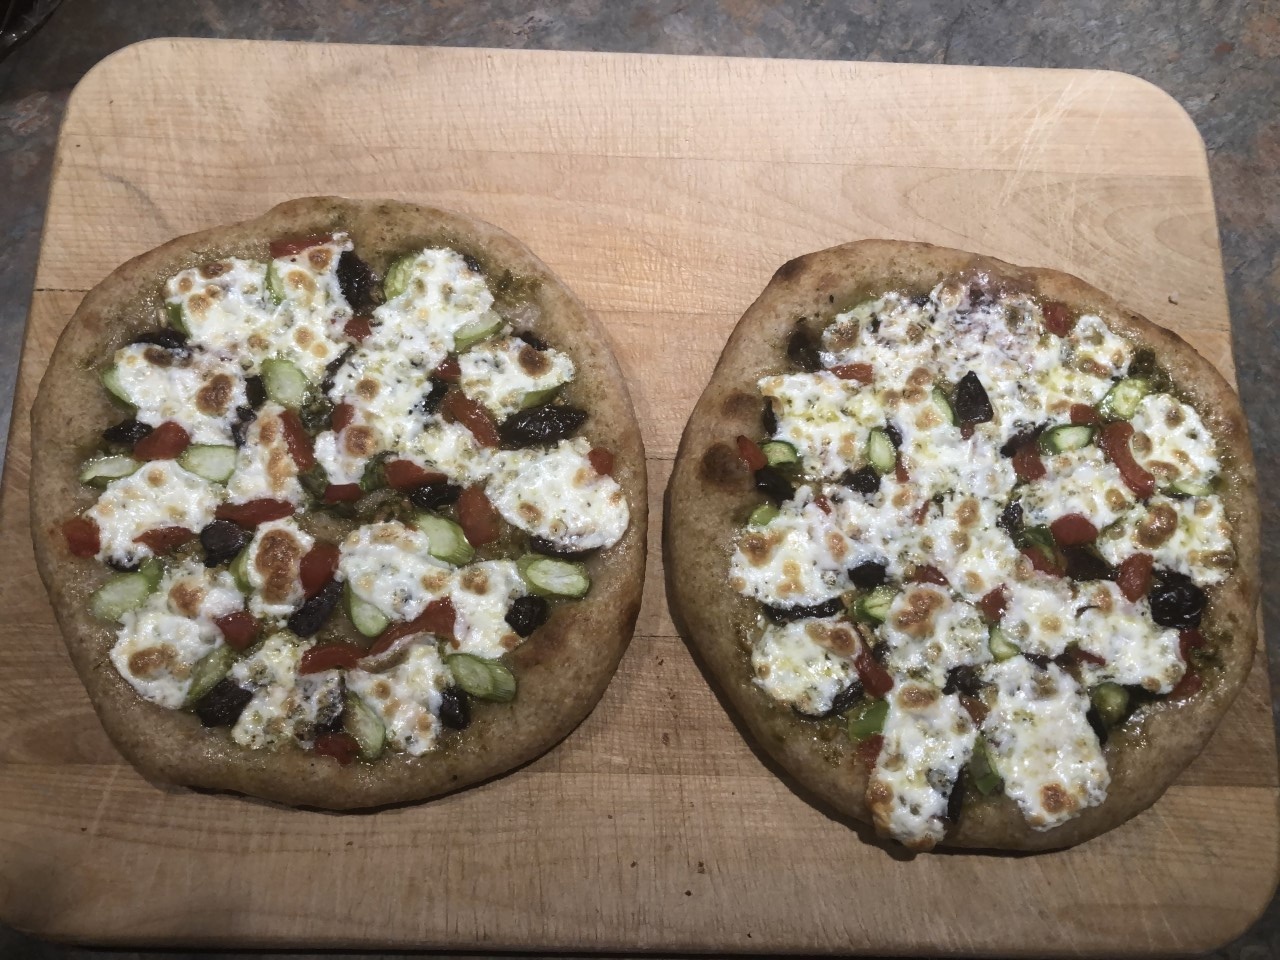
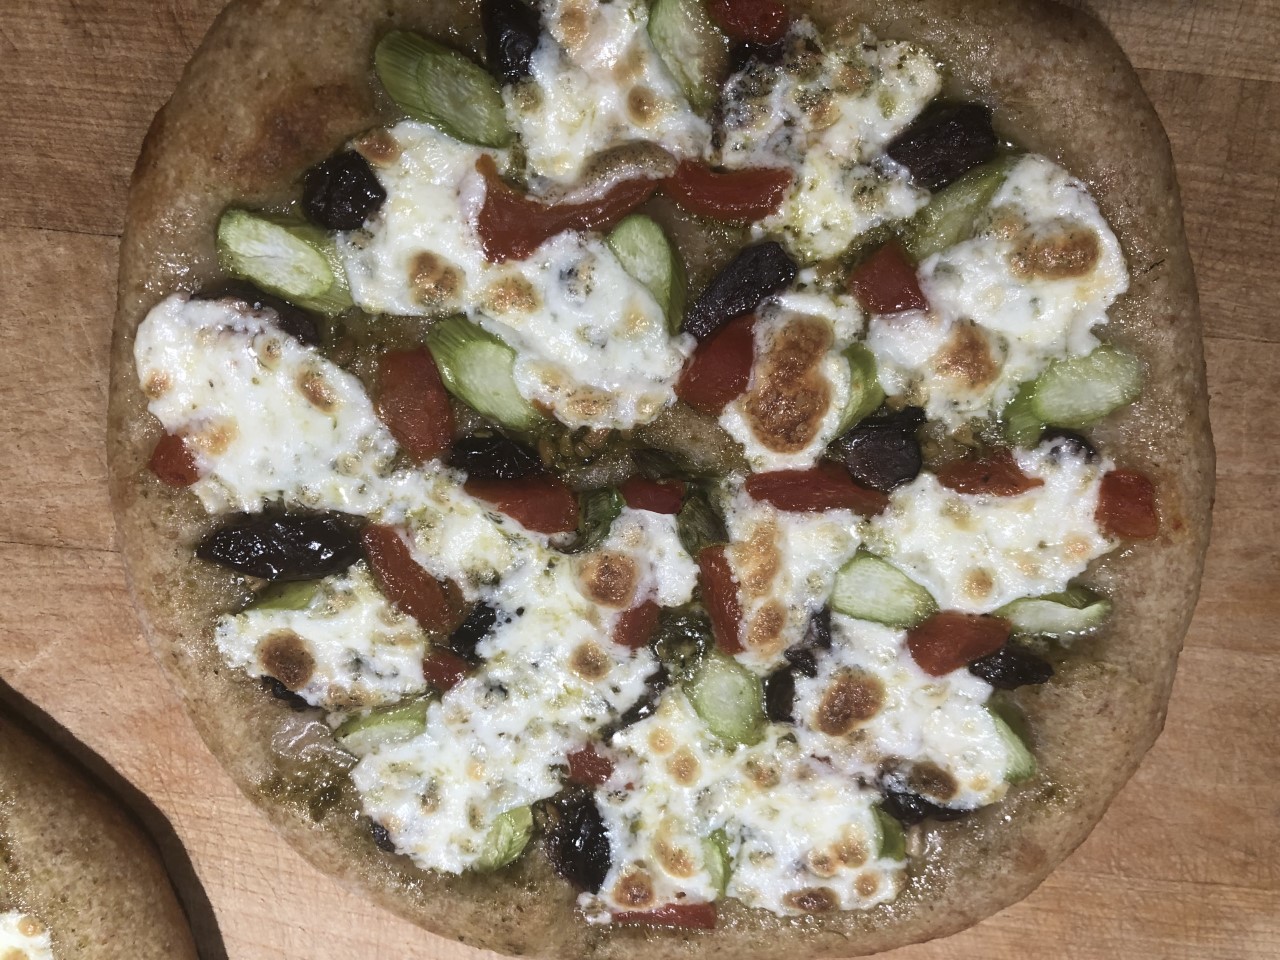
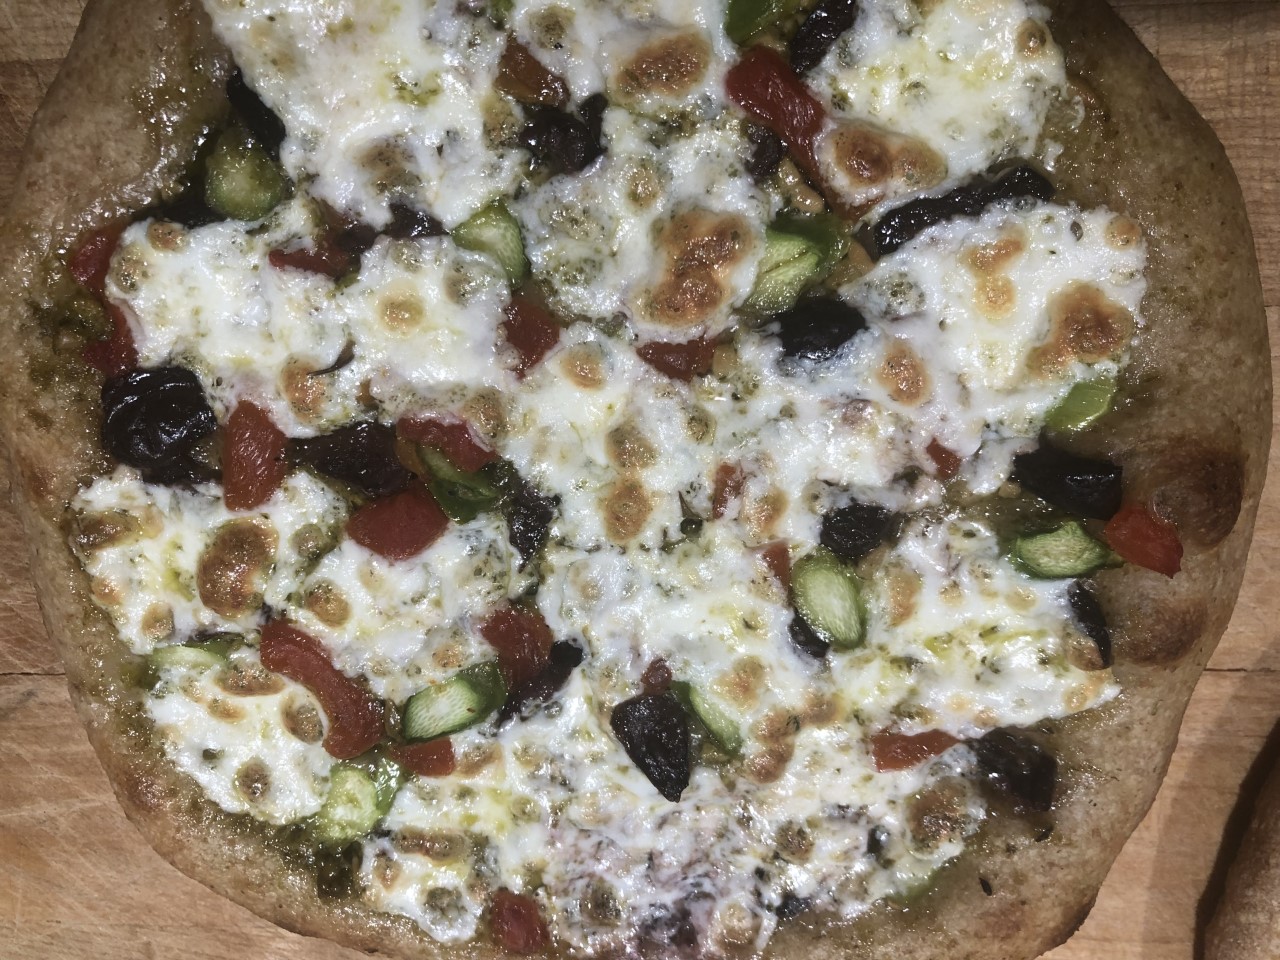
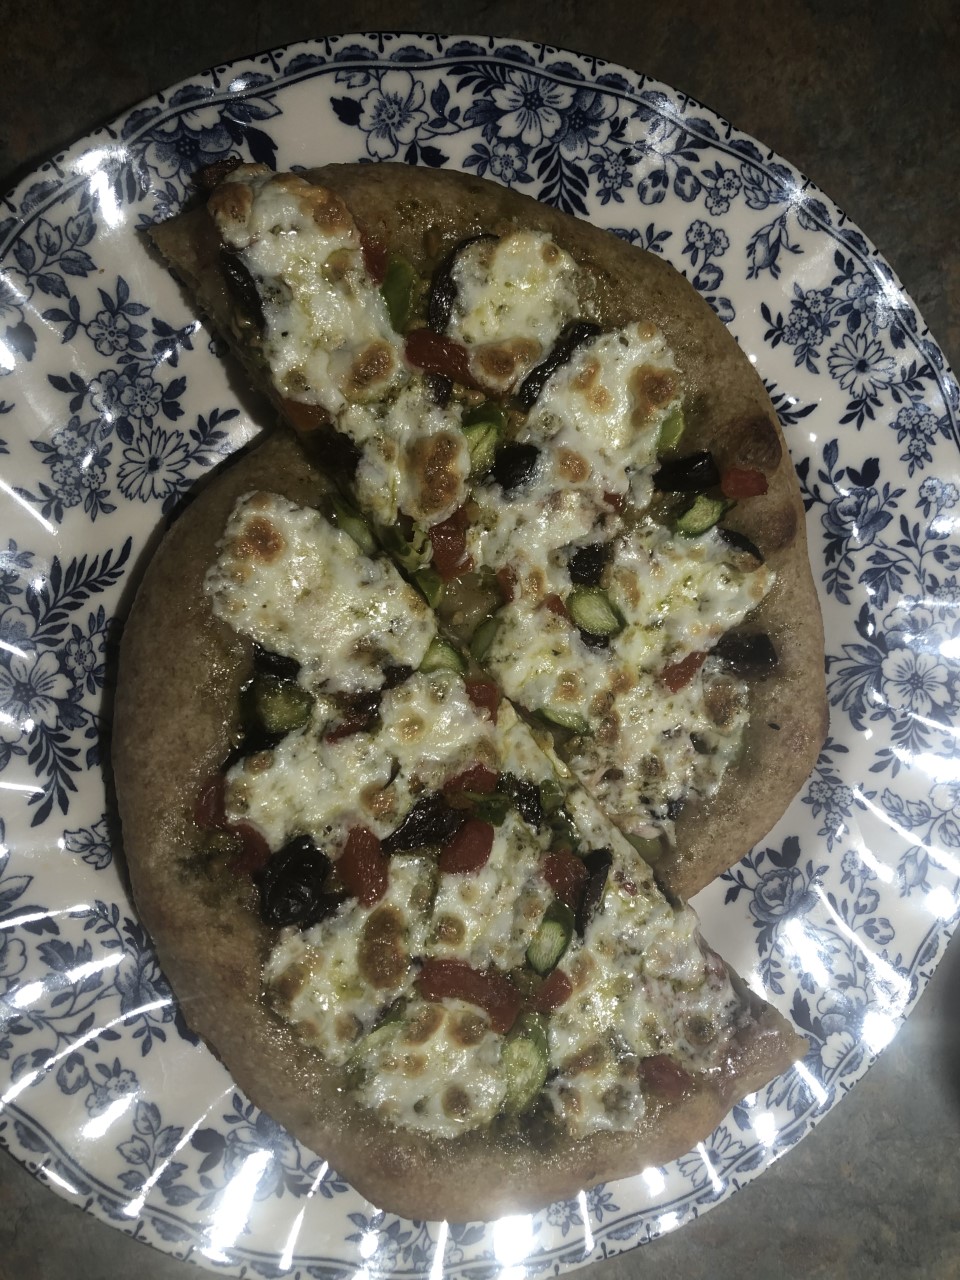
 

Mini Pizza — 2


I used the refrigerated 150-gram pieces to make two mini pizzas and one flatbread with cinnamon and sugar for the kids. I baked all three of them at the same time.


550°F (288°C) on ceramic tiles for 9-10 minutes for 3 at a time. I do not make my dough rounds very thin. I think that the bread part in these mini pizzas is very significant. A thicker crust creates the perfect harmony between the bread and its toppings. 

Happy baking!


Categories
Pizza

Artisan Pizza. Part 2 – Pizza Margherita

This post is about the well-known “Pizza Margherita”. In  1889 the Neapolitan pizzaiolo Raffaele Esposito created this pizza to honor the wife of the King of Naples Margherita. This famous pizza reflects the colors of the Italian flag.
 
Your dough is ready, and you can make pizza. What follows is my working algorithm. Feel free to make your own.
 
 
Preparing the oven
 
I lay out the tiles on the oven rack. The photo shows at what height I place the oven rack with the tiles on it. I preheat the oven to 550 ° F (287° C). With tiles, the oven warms up longer. You will have enough time to prepare everything.
 
 
Stretching the dough
 
I lay out the silicone mat on the kitchen counter. It will be my work surface. I put some olive oil on my work surface to make it easier to work with the dough.
 
If the dough is straight from the refrigerator, stretch it with your fingers in several steps. Give your dough some time to relax between your stretching rounds. Each time you stretch the dough to the point when the dough starts to “resist” stretching. You need to stop and let the dough rest for a few minutes.
 
After resting, you can stretch again until the point when your dough resists your manipulations. This way, you will stretch the dough to the desired thickness. Try not to make the dough too thin.
 
First, I transfer the stretched dough to parchment paper. It is very easy to do. I put a piece of parchment paper on top of the dough and adjust the shape by stretching the edges of the dough over the parchment.
 
Then, I turn the silicone mat upside down. The parchment is on the kitchen counter, and I remove the silicone mat from the dough. This is why I greased the mat with olive oil.
 
 
Toppings for the pizza
 
Next, I take 4 rounded tablespoons of my pizza sauce and carefully spread it over the edges of my future pizza. Then, with the back of this spoon, I spread the sauce over the entire surface of my pizza.
 
After that, I add my favorite seasonings and some caraway seeds. This is optional. Use your own seasonings or just your favorite pizza sauce.
 
I play it simple with cheese. I tried many different kinds of cheese, but most of all I like pizza with traditional mozzarella cheese. It is very convenient to use small balls of mozzarella cheese, but I use cheese logs as well.
 
 
Baking 
 
 
I use a sheet of plywood to drop the pizza onto the tiles. I also have a special wooden pizza board with a handle, but it is smaller than my today’s pizza. A sheet of plywood does an excellent job.
 
It takes about 7-8 minutes to bake this pizza. Watch it closely after the first 7 minutes. At this temperature, everything happens quickly. 
 
My pizza is out of the oven and I garnish it with basil leaves. Many people like putting basil on pizza before baking. It is a matter of preference. I prefer fresh basil.
 
You can also use other leafy greens to top your pizza. I use spinach, spring mix, and arugula as well.
 
Here is my photo guide:

Enjoy your Pizza Margherita!

Categories
Pizza

Artisan Pizza. Part 1 – Making the dough

Today, I want to share my favorite recipe for homemade pizza dough. This dough is a real gem for a busy lifestyle. It is a healthy version of a pizza dough because of a long fermentation with very little yeast. It gives you the flexibility to bake on your terms. This dough keeps well in the refrigerator for 2-3 days and only benefits from cold fermentation. Let it proof for an hour and a half at room temperature before putting the dough in the refrigerator. You can use the dough straight from the refrigerator; there is no need to warm it up.
 
 
Equipment:
 
1. Kitchen Scales. I also use measuring cups in my kitchen, but only for very simple cooking jobs. Every serious home baker should use a kitchen scale.
 
2. A pizza-stone, or some ordinary non-glazed ceramic tiles from a hardware store. This is what I have been using for many years.
 
3. An oven capable of operating at 550 ° F (287 ° C) is essential. At a lower temperature, it will be a completely different pizza. You can experiment for yourself and see the difference.
 
4. A stand mixer, KitchenAid type, or similar.
 
5. Bread flour (or regular all-purpose flour). Flour should be unbleached. If you use all-purpose flour, then you might need to reduce the amount of water in the dough (by about 25-50 g).
 
6. Spring or filtered water (room temperature).
 
7. I use Active Dry yeast, but you can work with Instant Yeast as well. I like to work with sourdough, yeasted pre-ferments or use cold fermentation for all my bread.
 
8. I use sea salt.
 
9. Silicone mat as your work surface.
 
10. A little vegetable oil to lubricate the container for the dough and your work surface. I will show you how to use it. My oil of choice is extra virgin olive oil, but you can use any vegetable oil you like.
 
 
Ingredients:
 
  • 660 g water
  • 1000 g flour
  • 1/4 teaspoon of instant yeast or 1/4 heaping teaspoon of dry active yeast.
    20 g salt
 
I measure all ingredients in separate containers. Pour water into the mixer bowl. Sprinkle yeast on top. If you use Active Dry yeast, follow the directions on the package on how to activate the yeast. Usually, you use lukewarm water and let the yeast rehydrate for 5-10 minutes. Instant yeast is ready for mixing with no activation.
 
Add about half of the flour and start mixing at low speed. Gradually add the rest of the flour. This way, you do not overload your mixer and avoid dusting your kitchen with flour.
 
Do not add salt at this point. Stop the mixer and give your dough rest for about 20 minutes. This will allow you to shorten the mixing time and get a better dough.
 
After 20-minute rest, start mixing again, gradually adding salt. Then, switch to a medium speed of the mixer and mix the dough for about 5 minutes.
 
Some mixers dislike working with stiff dough and start “jumping” on the table a little. You hold the mixer in place with your hand. My old KitchenAid did not do that, but the new one is fidgety. Do not leave your mixer unsupervised.
 
After mixing:
 
Give your dough another 20-minute rest. Then shape the dough into a ball and put it into an oiled container for proofing. If you want to make several pizzas, divide the dough into several pieces and shape each piece into a ball.
 
I usually make this dough around 10-11 am on Saturday for the evening dinner. I finished the batch at 10:32 am, as you can see in the photo. The dough fermented at room temperature until evening.
 
Refrigerating the dough:
 
Let your dough proof at room temperature for about an hour and a half before putting it in the refrigerator.
 
I divide the dough into three parts and keep two parts in the refrigerator. The dough is very versatile and you can use it for many things, not only pizza.

Stay tuned for more information about pizza.

Solverwp- WordPress Theme and Plugin