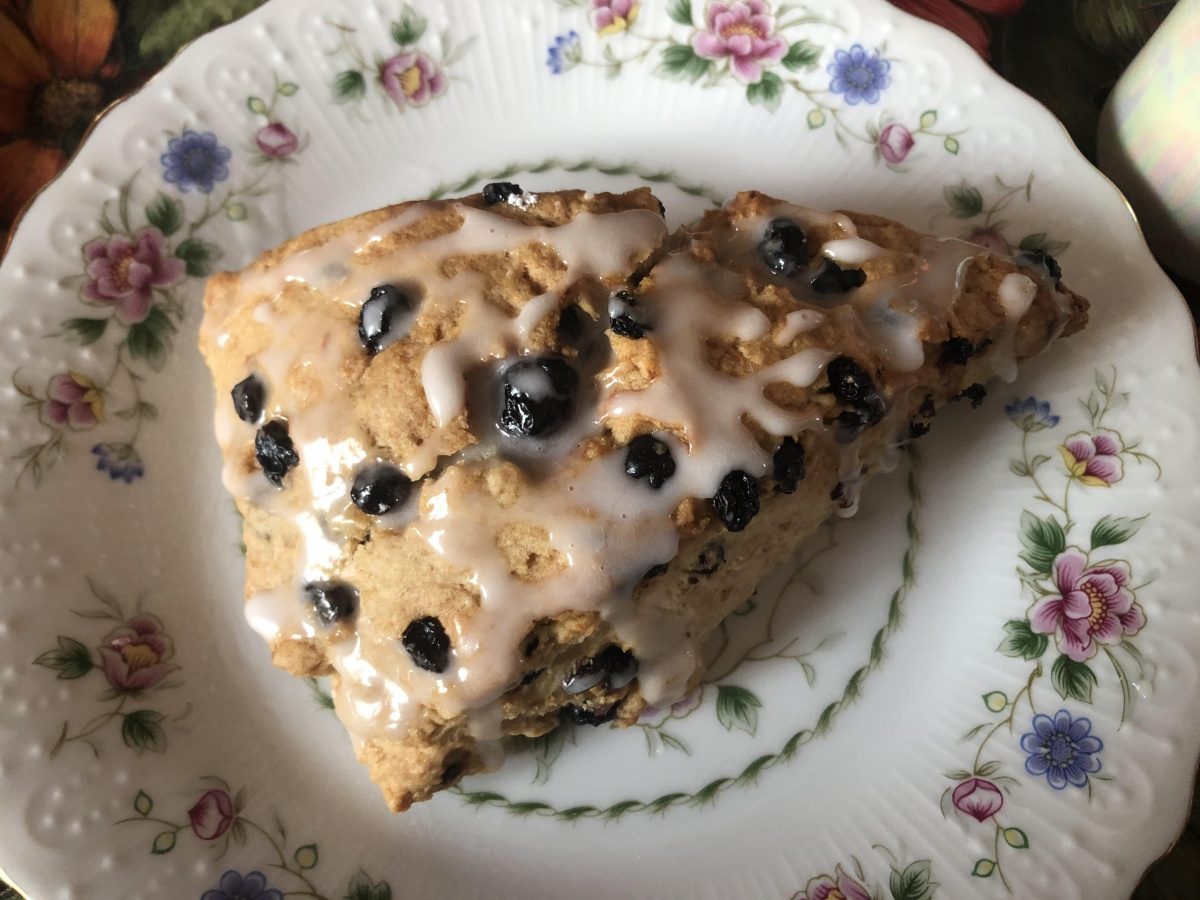
Sourdough Scones with Sprouted Flour, Almond Flour and Berry-Nut Combo
This is one of my favorite dessert recipes. I used organic coconut sugar and organic sprouted wheat flour to add sweetness to the dough. Both sprouted wheat flour and almond flour help to create that wonderful light and moist texture, which many people like that much. Oat milk contributed to the texture too. All the flavors are well balanced.
Ingredients
Method
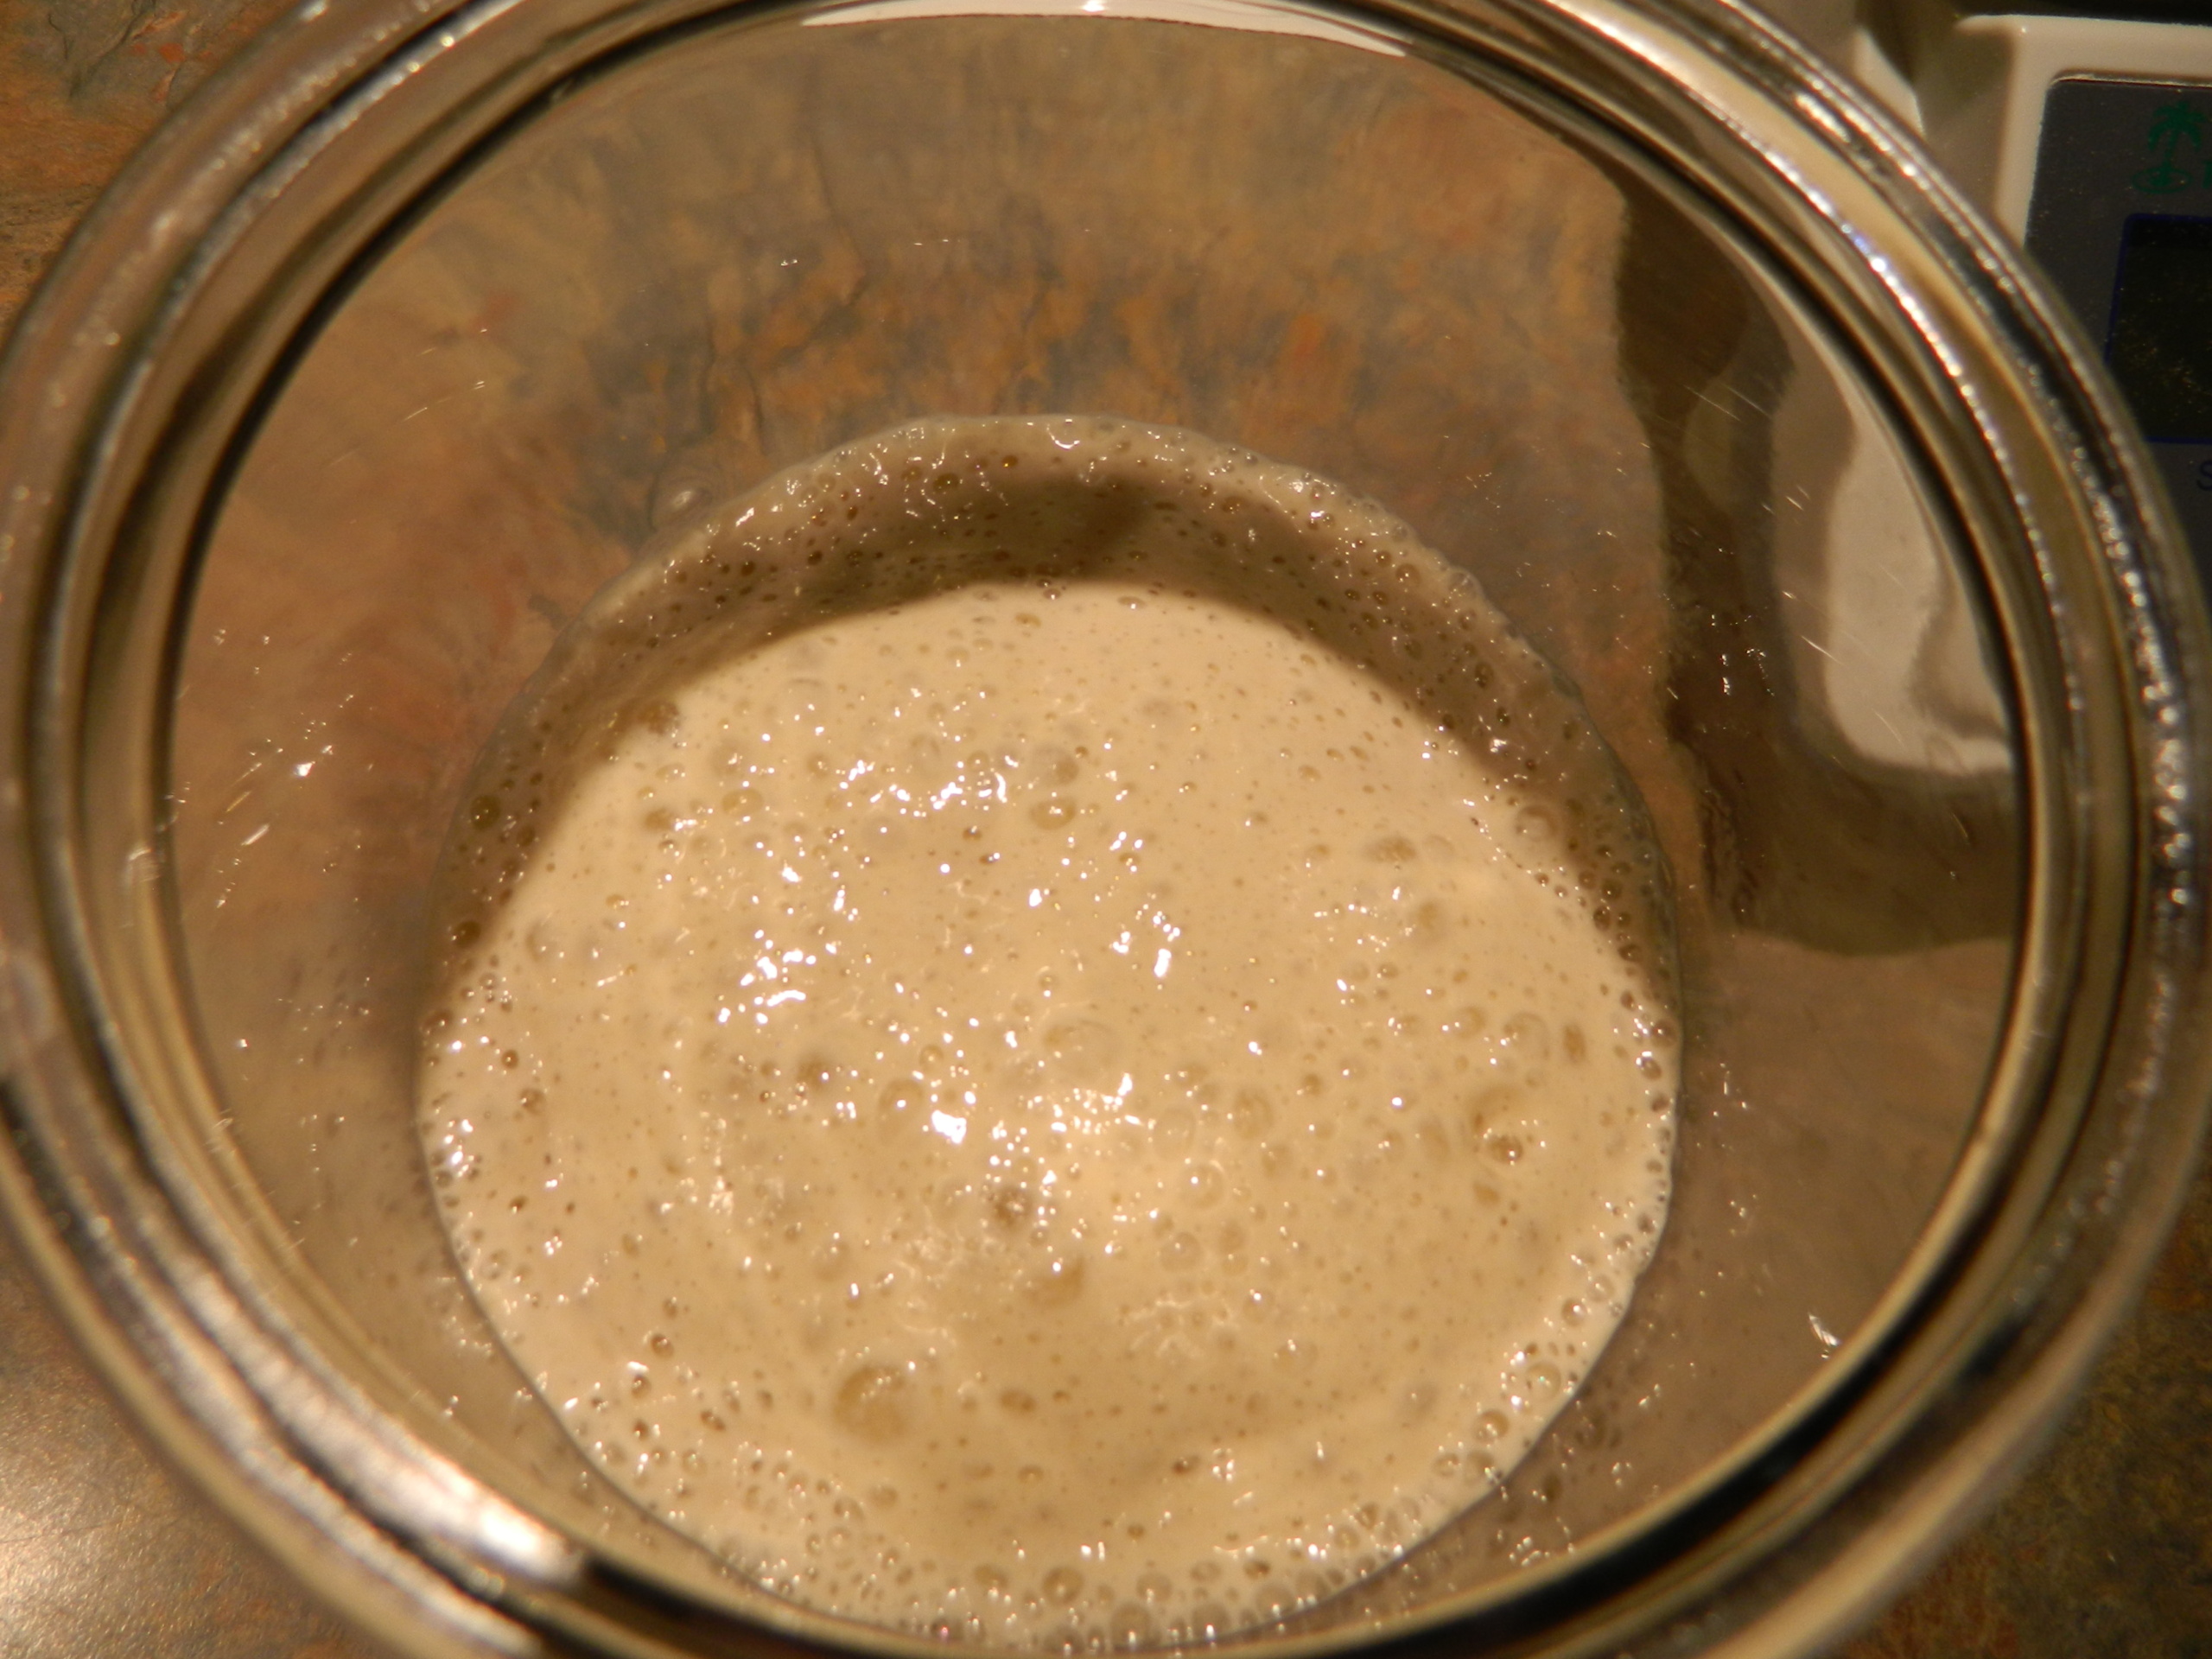
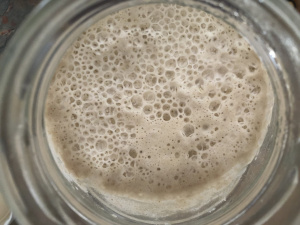
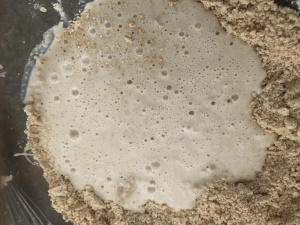
- I started with sourdough. As you can see my sourdough was pretty active. It could go without refreshing for another half hour or so, but it was in good condition for scones.
- I took out almost all the sourdough from the jar. I left just enough to refresh my sourdough culture in 2 steps for the next day's bread dough. Basically, I added 25 grams of room temperature water to it and 25 grams all-purpose and white rye flour mixture.

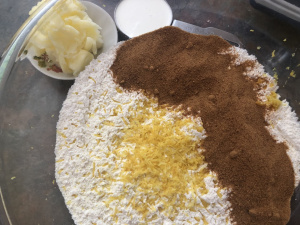
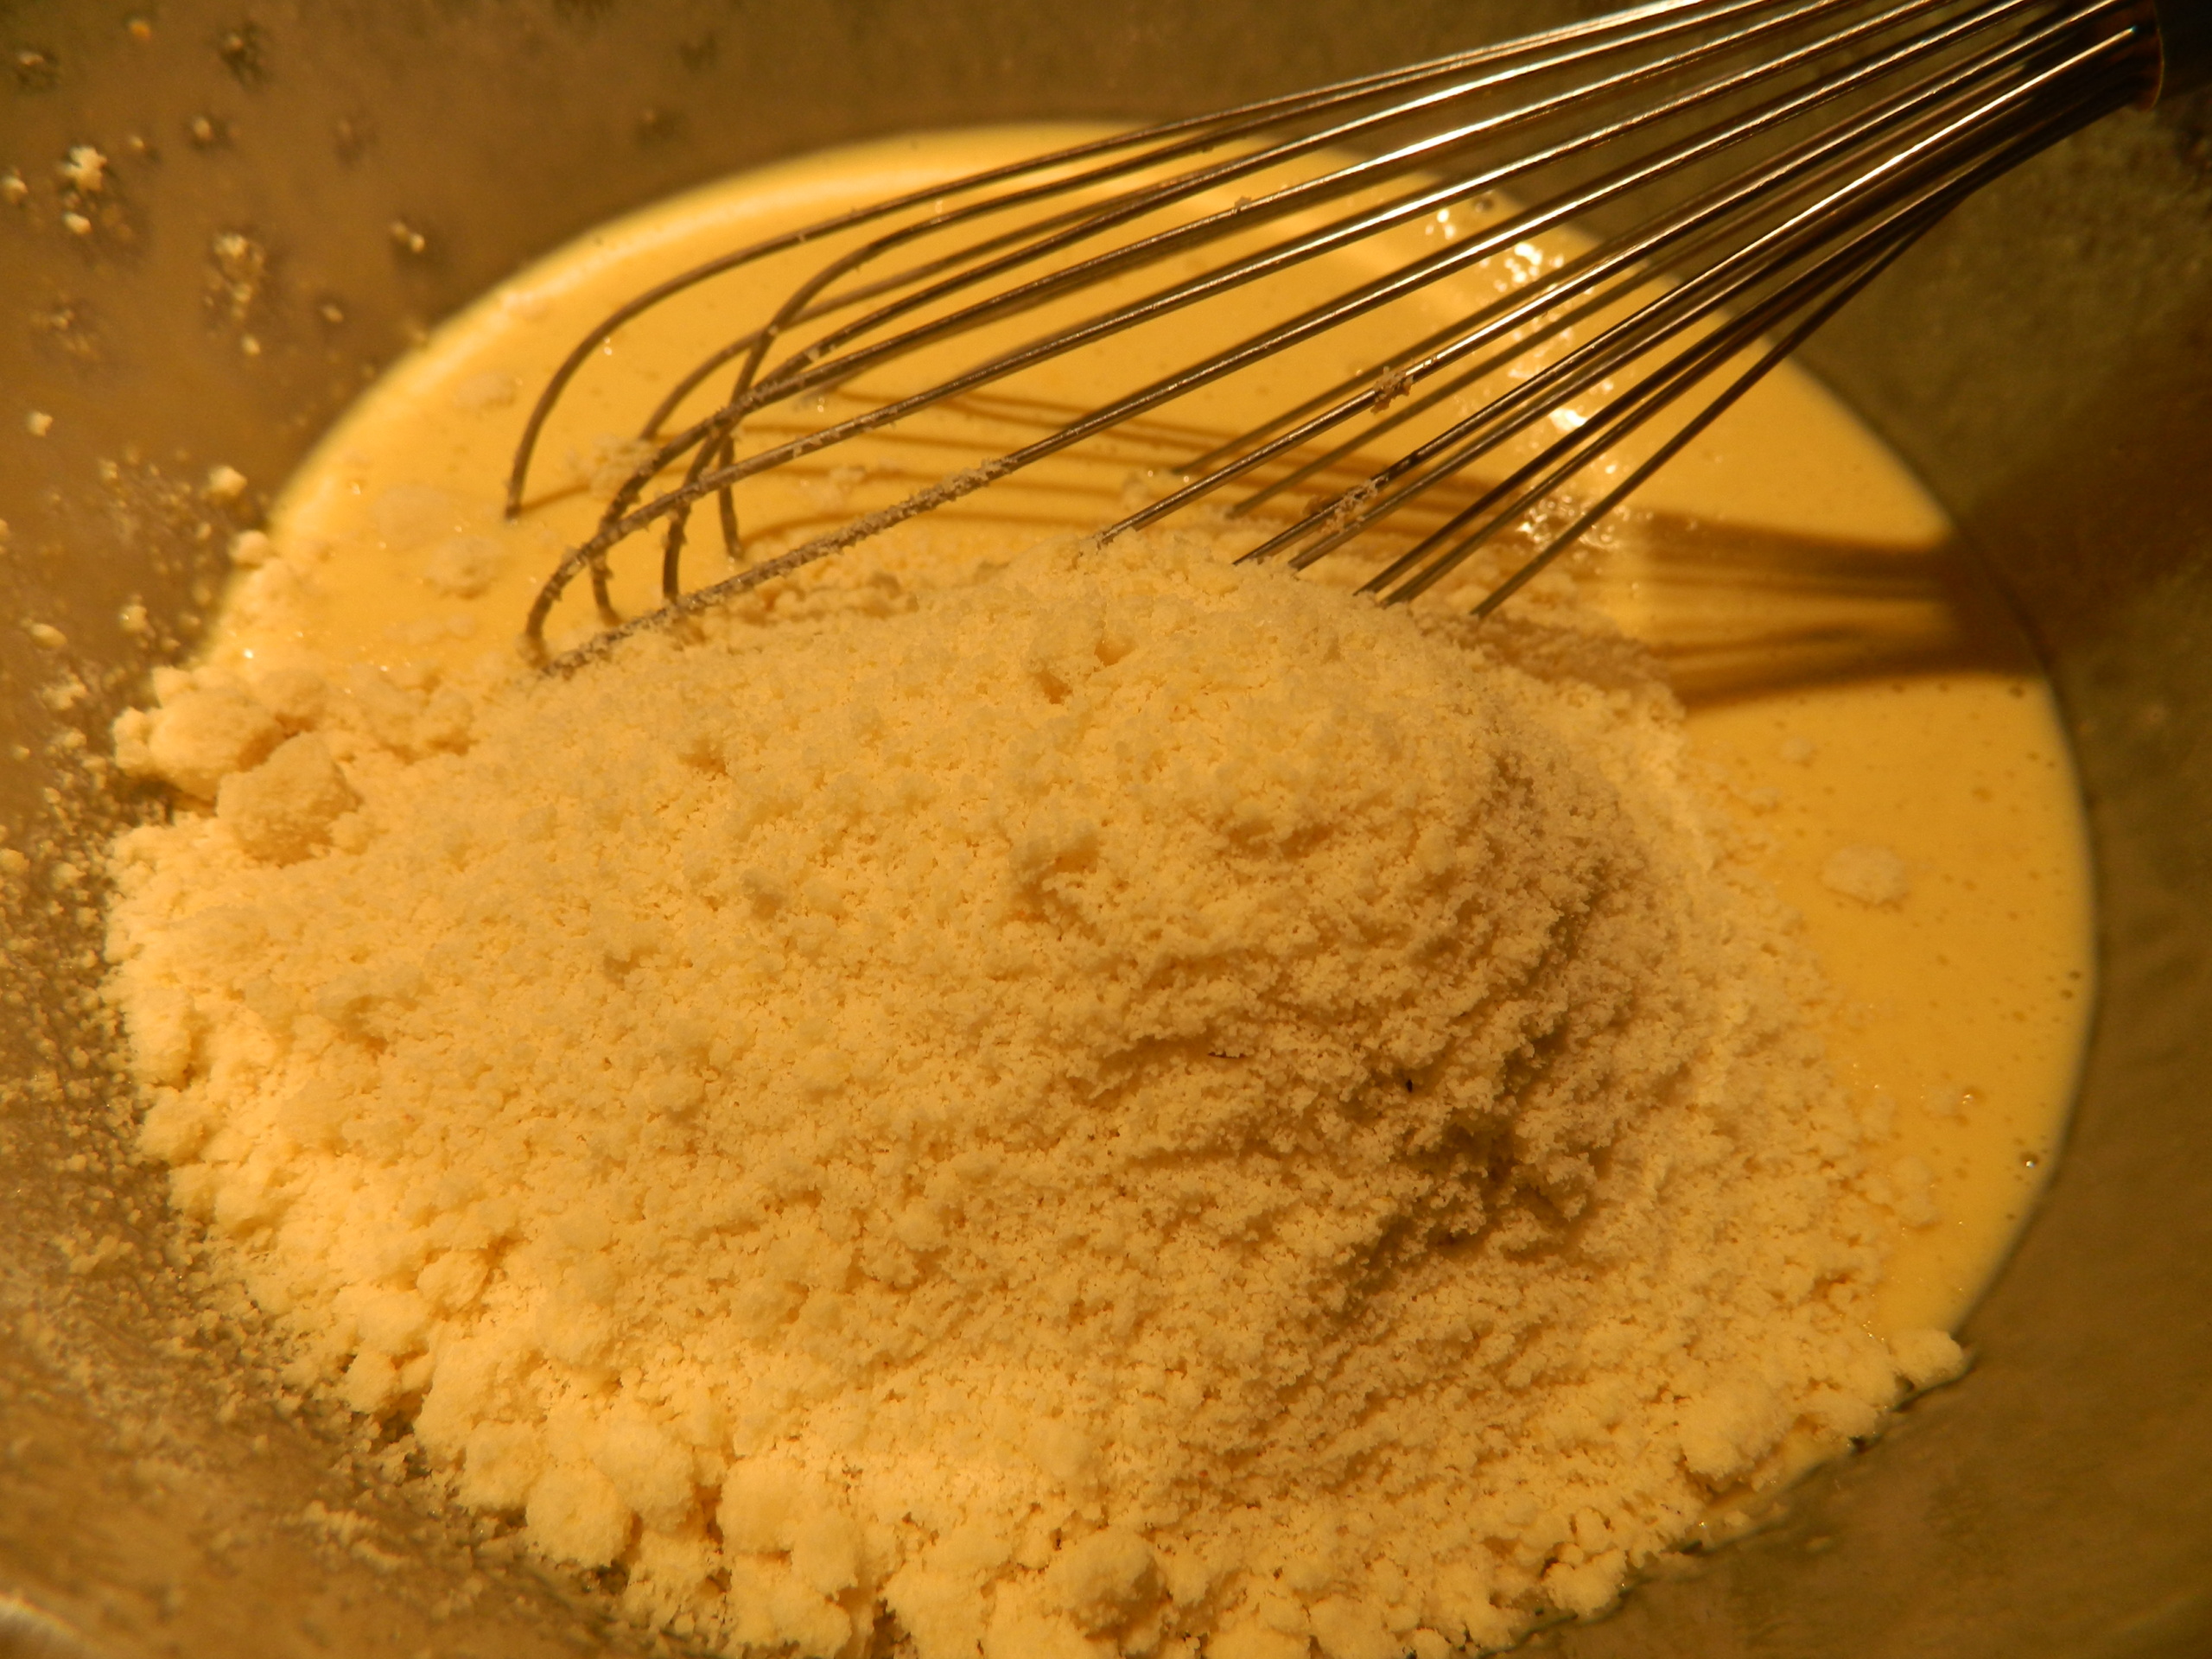
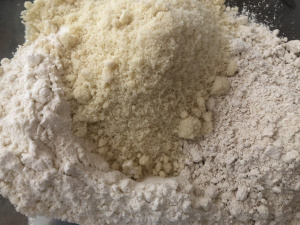
- I added all three types of flour to a large glass bowl.
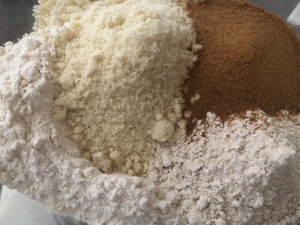
- Then I added coconut sugar.
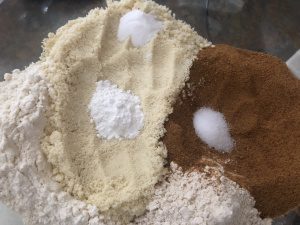
- I also added sea salt, baking soda, and baking powder. When you can see what is in your bowl, it is easier to control all the dry ingredients. It is time to whisk everything together.
- Whisking in the orange zest.

- I am absolutely adamant about not employing my food processor for simple recipes. I wanted to use a fine grater and a pastry cutter for my cold butter.
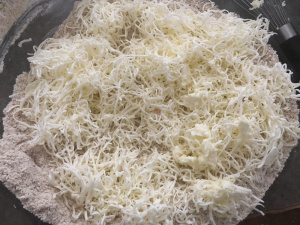
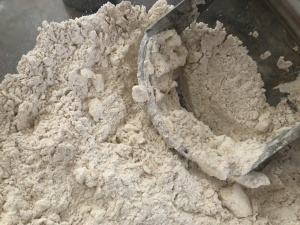
- My pastry cutter worked just fine.

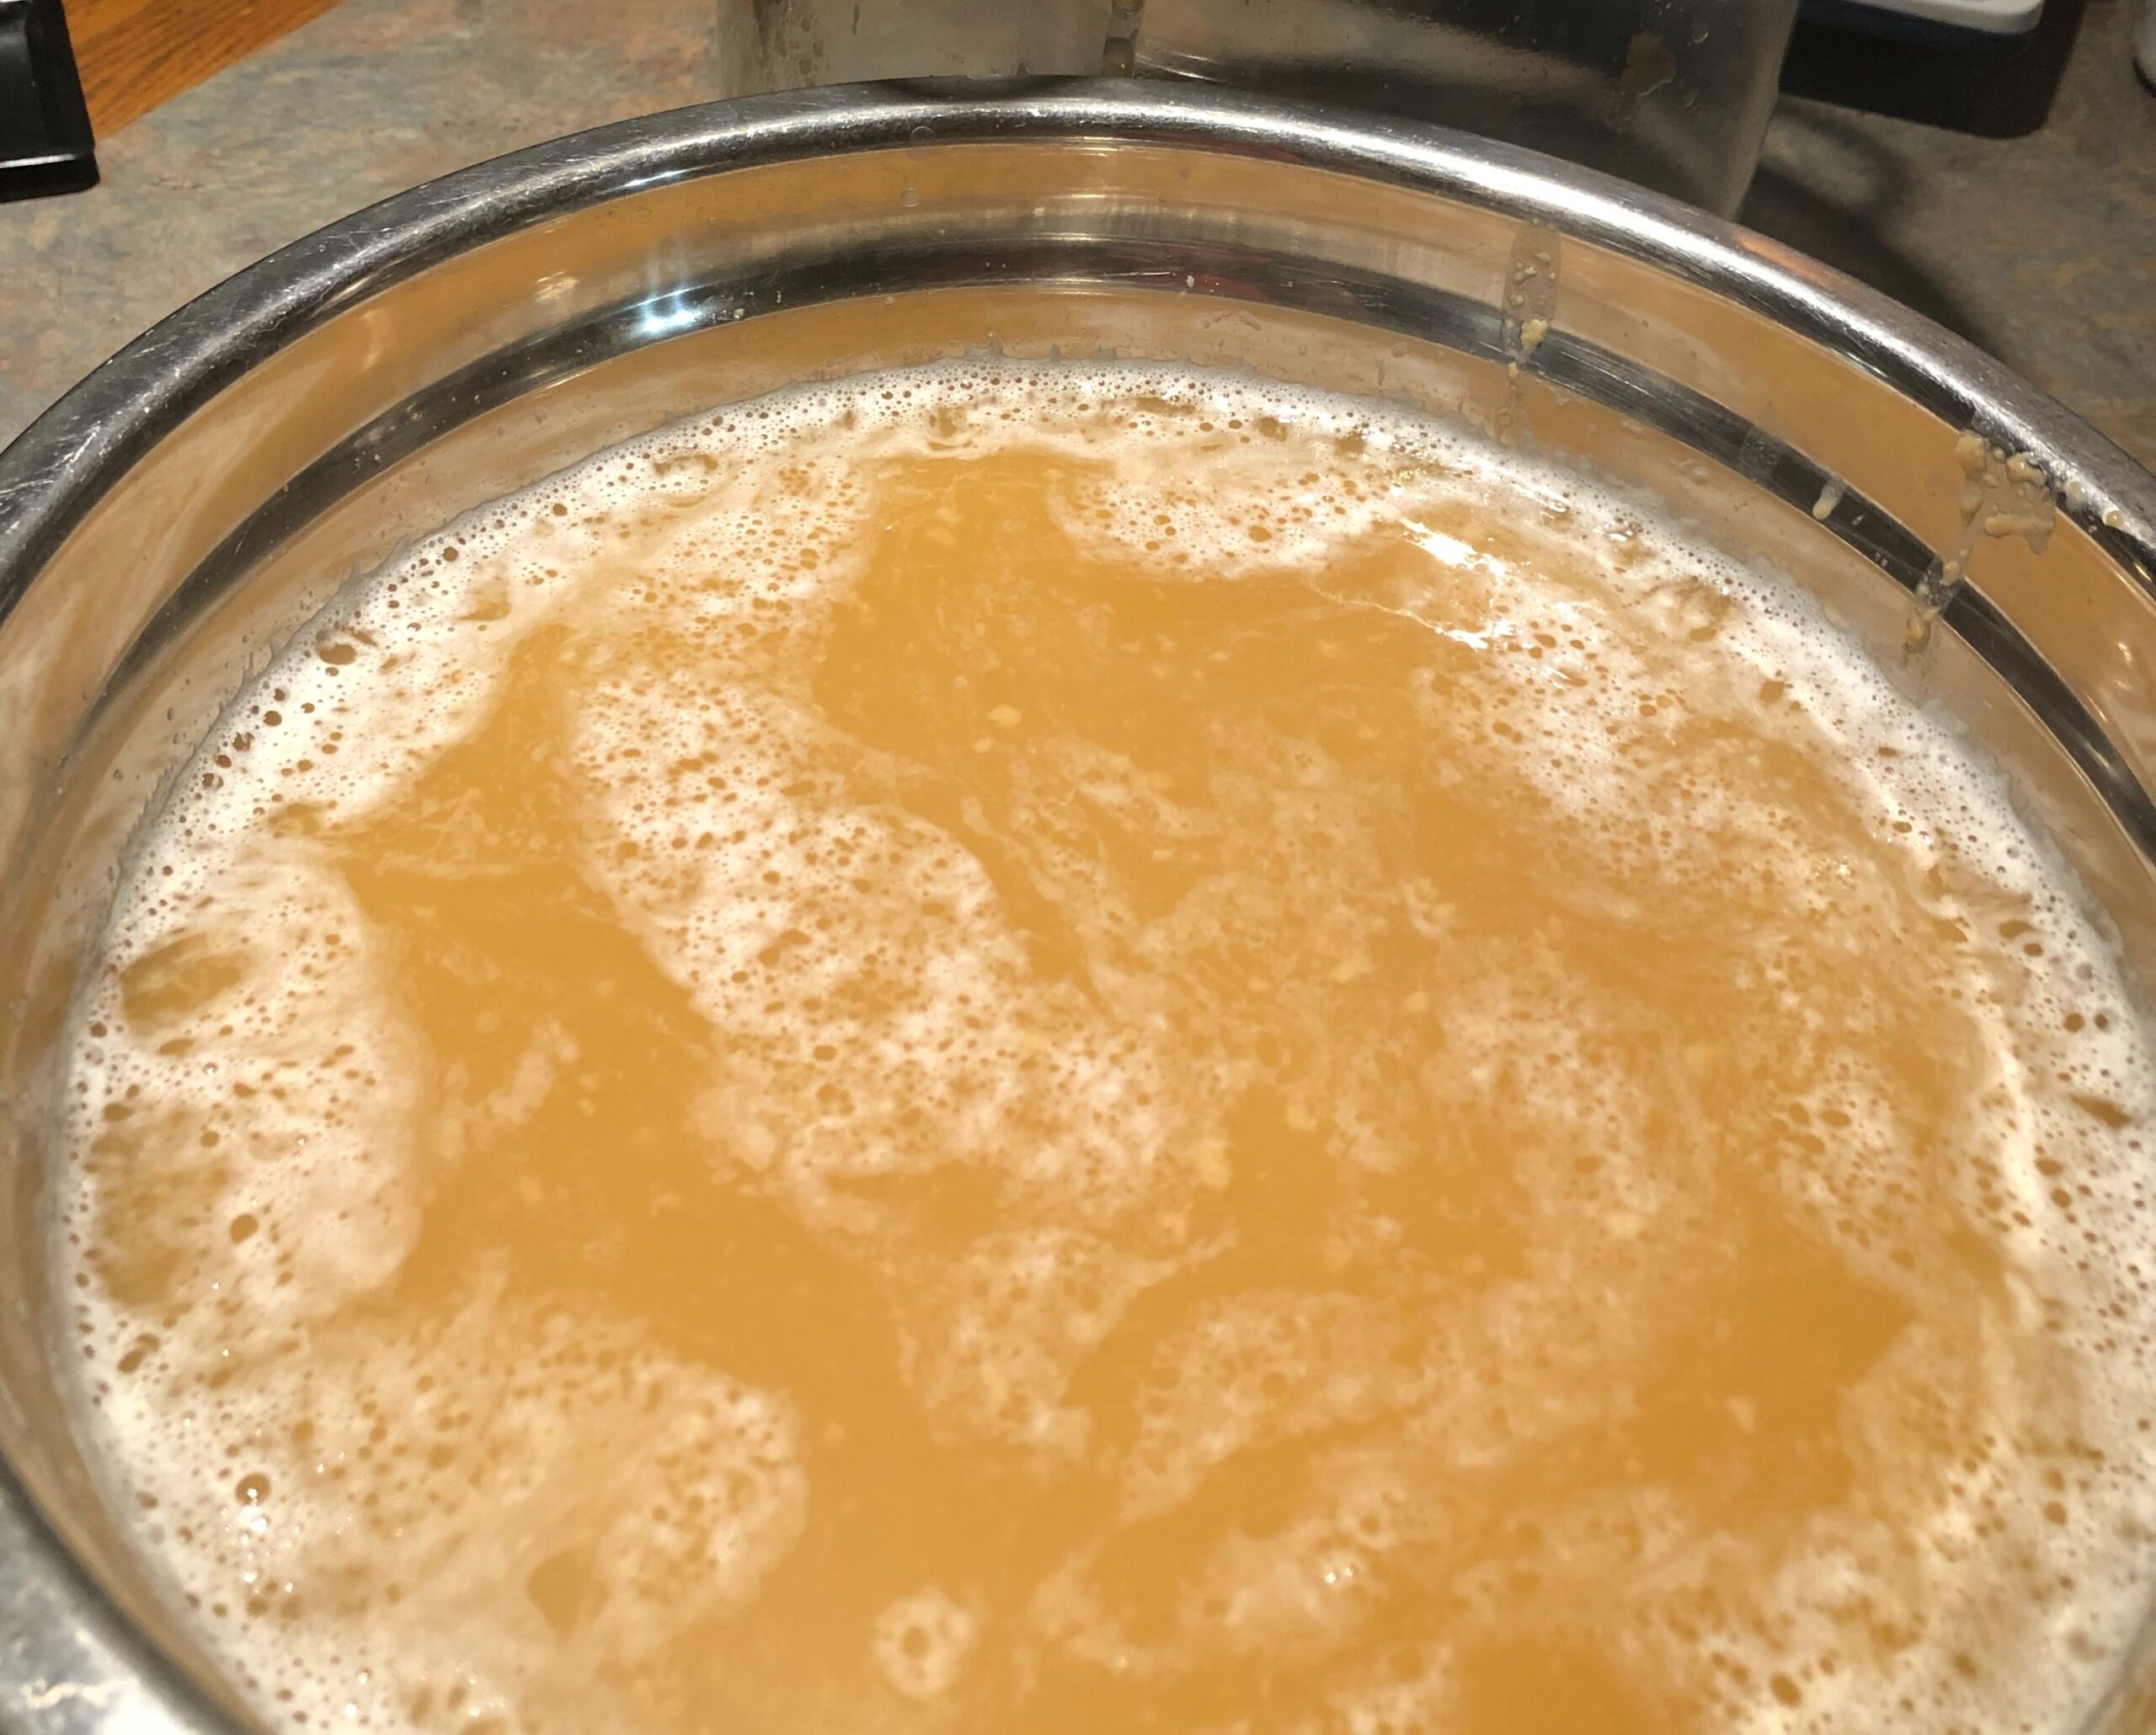
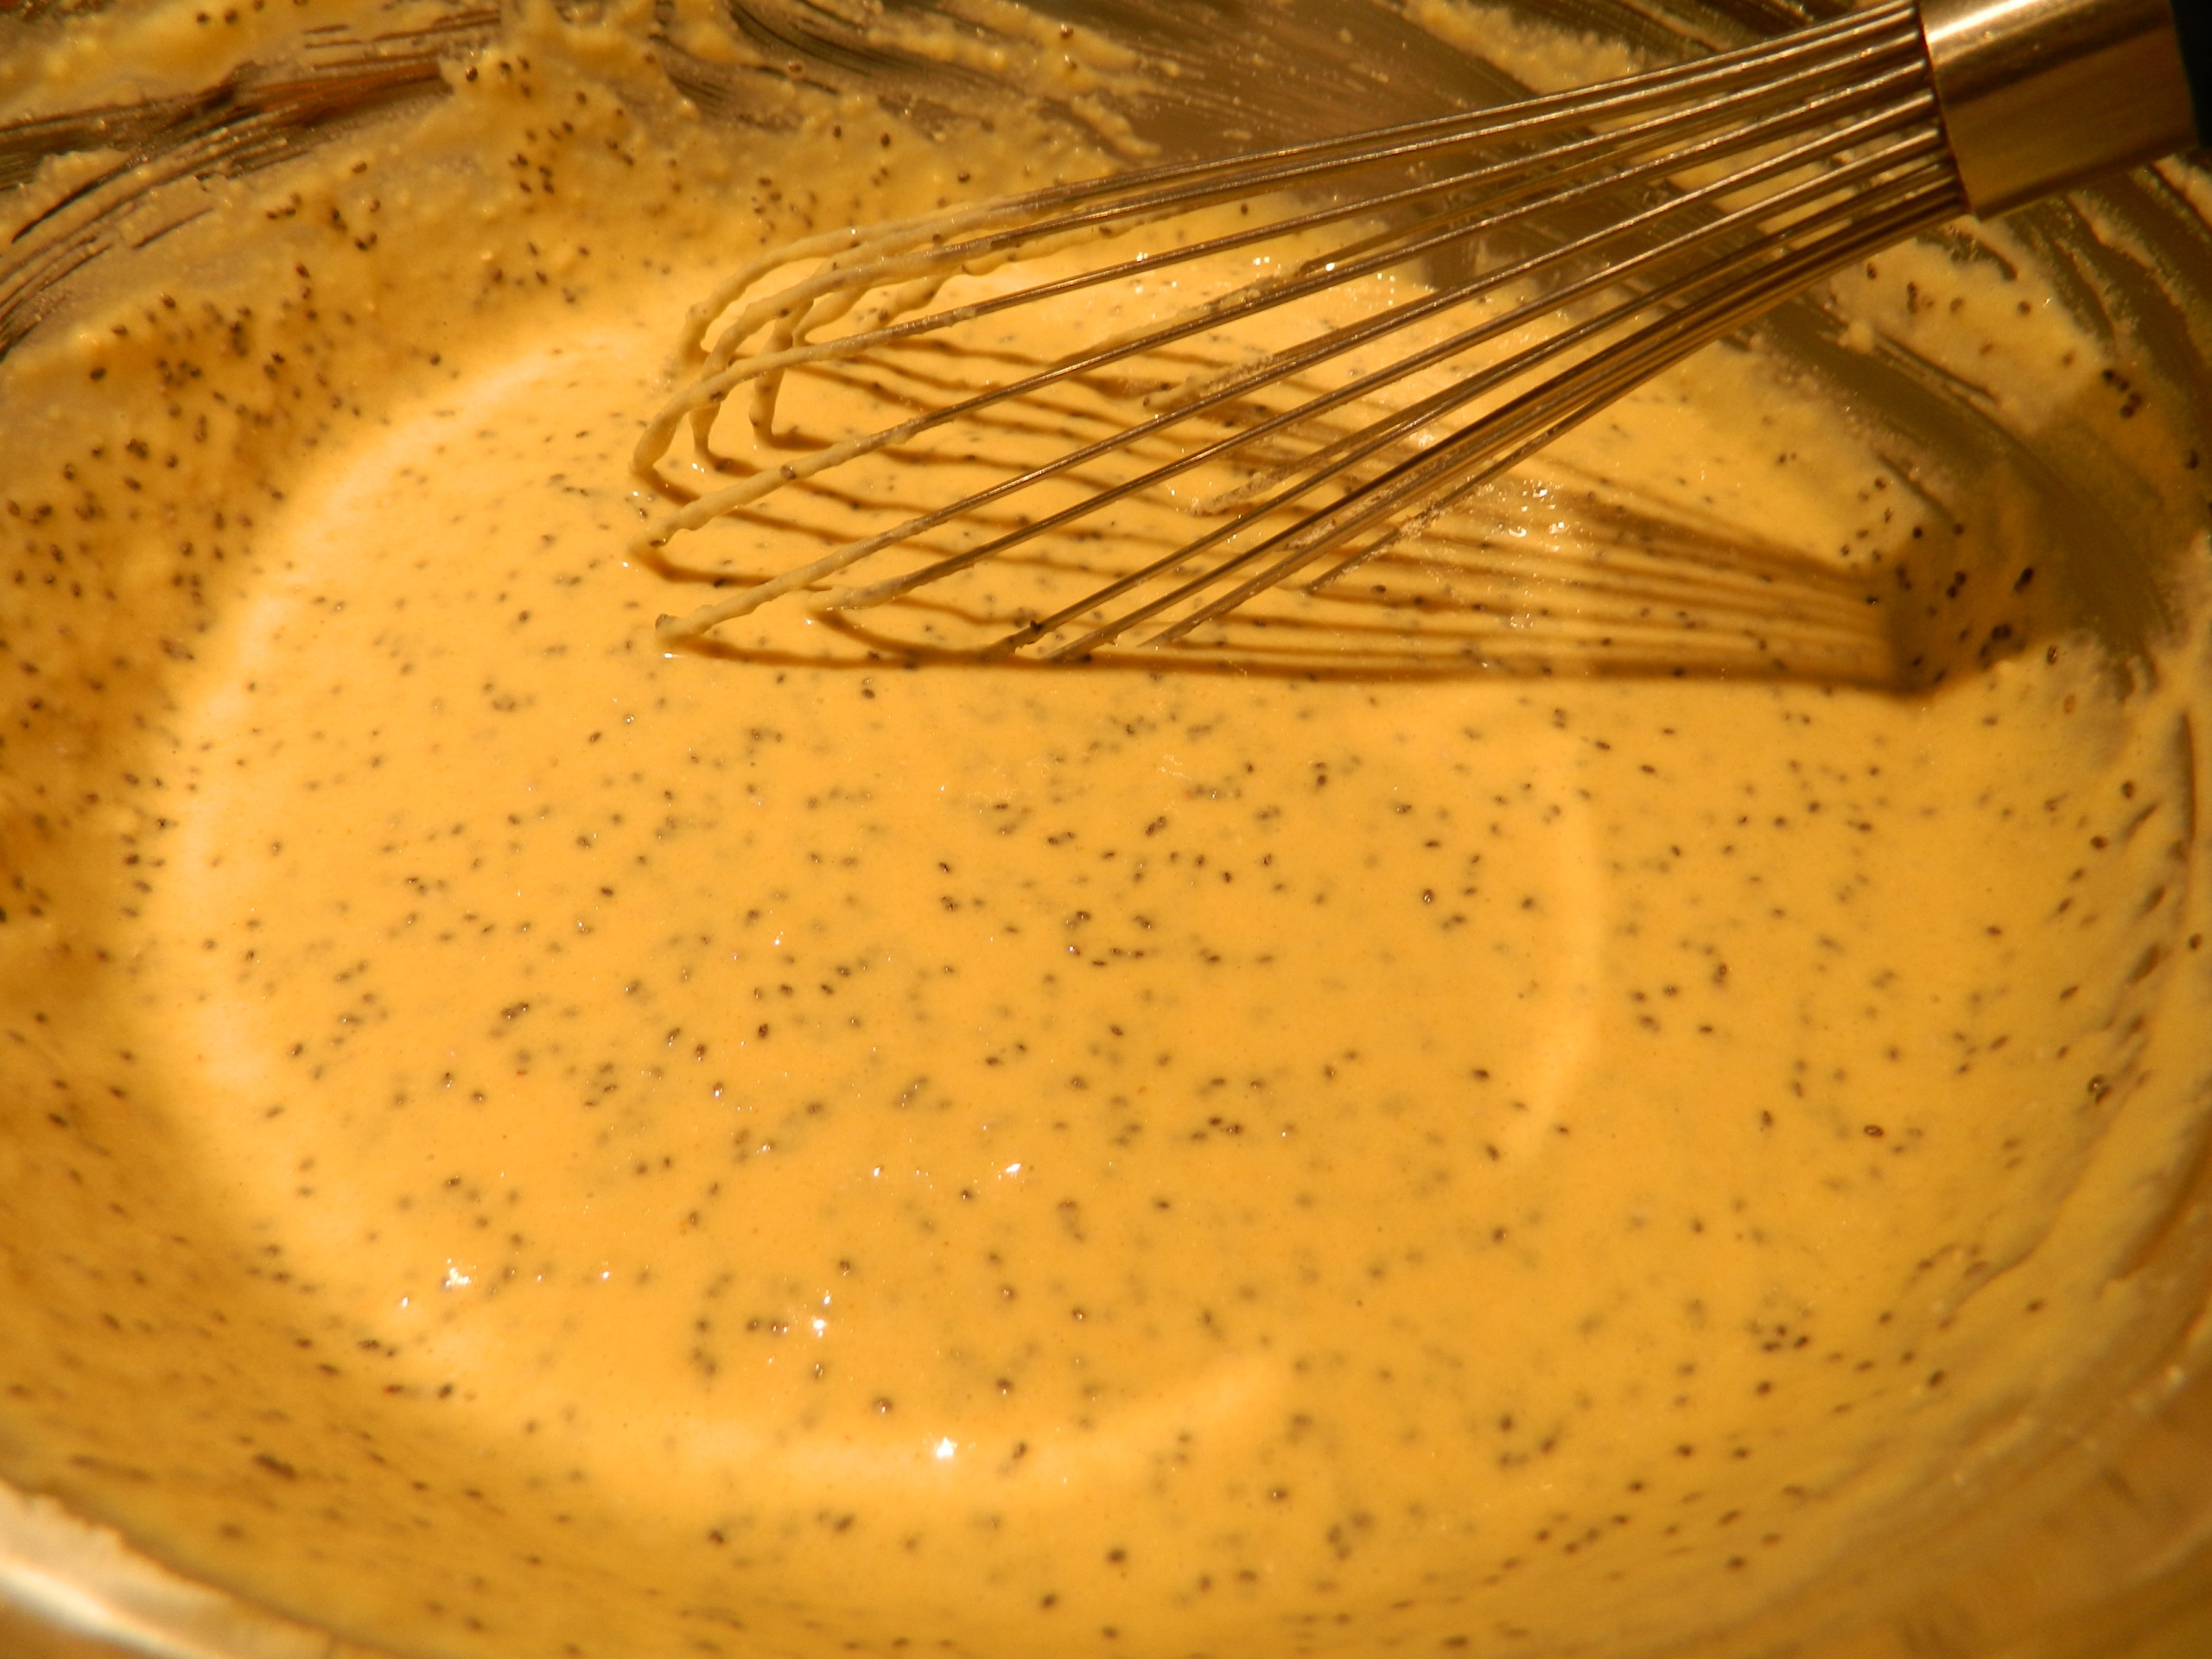
- In a separate bowl, I mixed together all my wet ingredients -- my sourdough and oat milk.

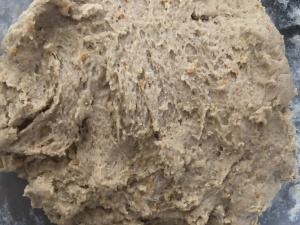
- I combined all my dry ingredients and all my wet ingredients. I mixed everything with my hands.
- The dough is a bit sticky, but very easy to work with.
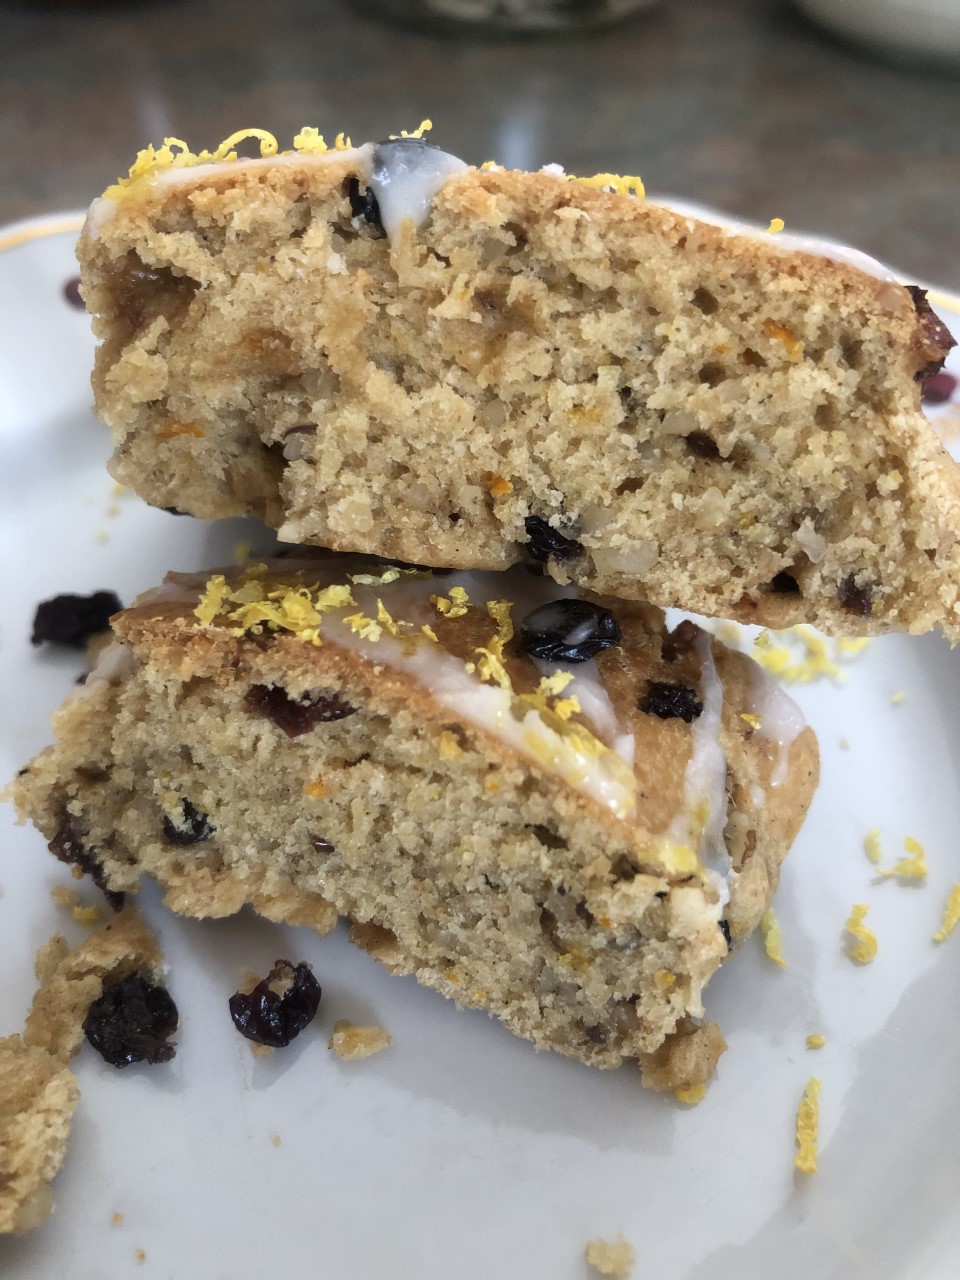
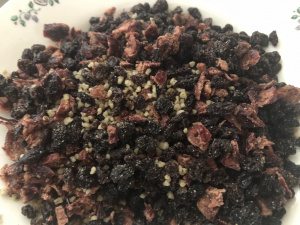
- In a separate bowl, I mixed together dried currants, dried cranberries and black walnuts. Dried currants are smaller than raisins, which is great for scones. I had to cut cranberries into smaller pieces to create more or less harmonious texture. I got finely chopped walnuts at a discounted price, so I did not have to cut them.
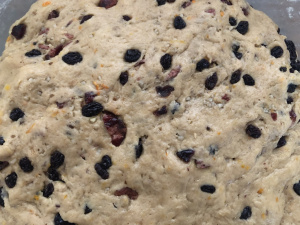
- I mixed my berries and walnuts into the dough with my hands.
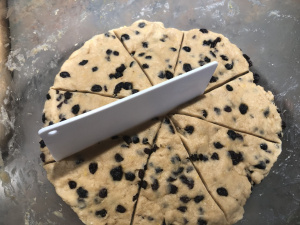
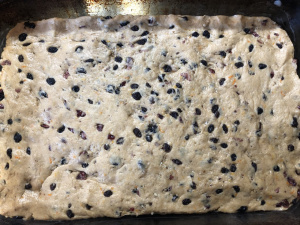
- I greased a square glass baking tray with Ghee and spread all my dough evenly all over it. Then I covered the tray with plastic wrap and put it into the refrigerator for a few hours. Chilled dough is easier to cut into pieces.
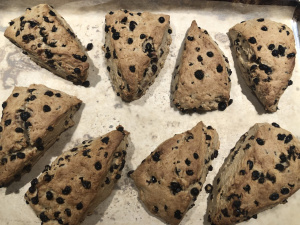
- I cut the dough into little triangles with a plastic dough cutter and put them onto a baking sheet lined with parchment paper.

- I baked these scones at 400°F or 204°C for 20 minutes. Then I lower the temperature to 375°F or 190°C and bake for 5 more minutes.

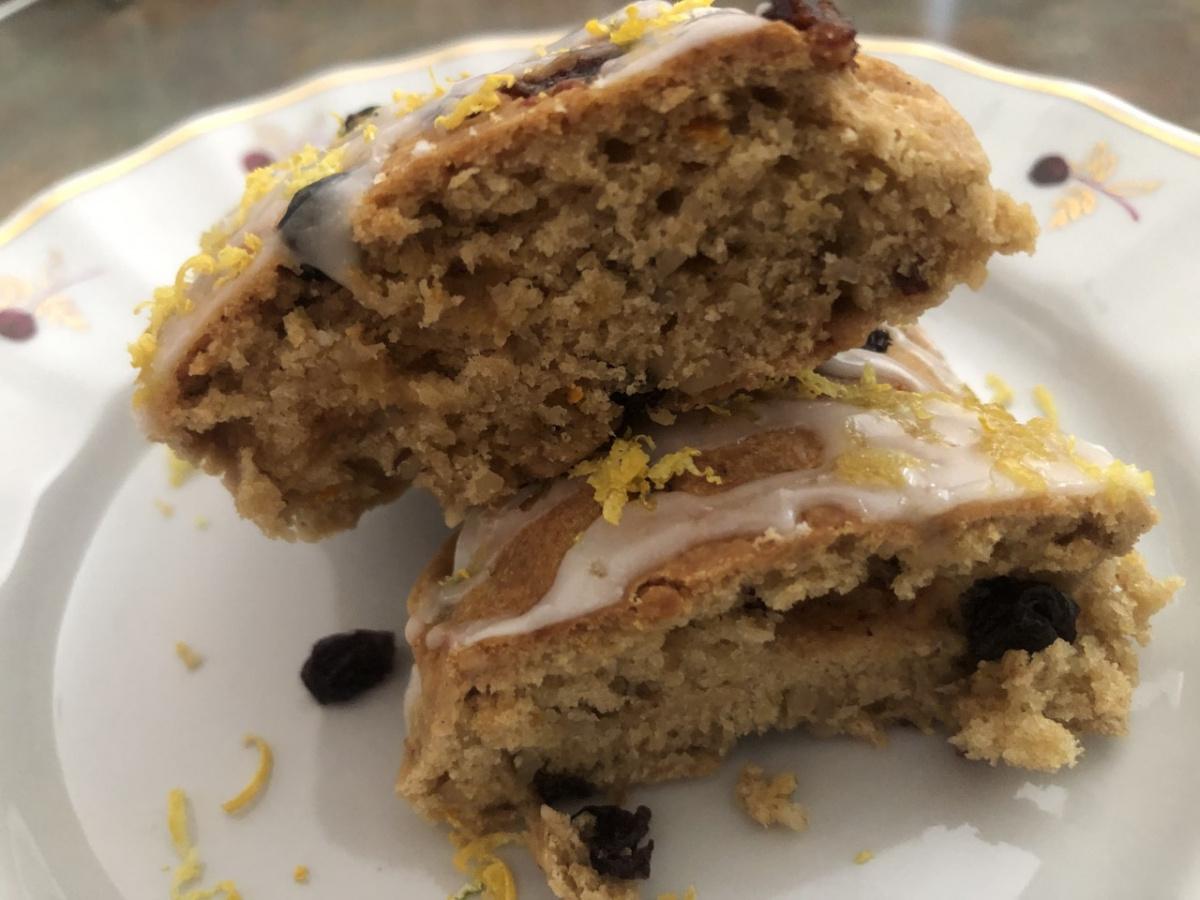
- It is best to enjoy these scones with a simple lemon glaze. You will need 1/4 cup of fresh lemon juice and 1 cup of powdered sugar. Whisk everything together and garnish your scones with it. I also like adding fresh lemon zest on top of the glaze.

Notes
These scones are moist and fragrant.
The recipe calls for many healthy ingredients, which are easily customizable.
Coconut sugar is a healthier replacement for traditional white sugar with a lower glycemic index.
You may use some other dried fruits and nuts in any combination you like.
Any nut milk will do just fine.
Have fun with your dessert!